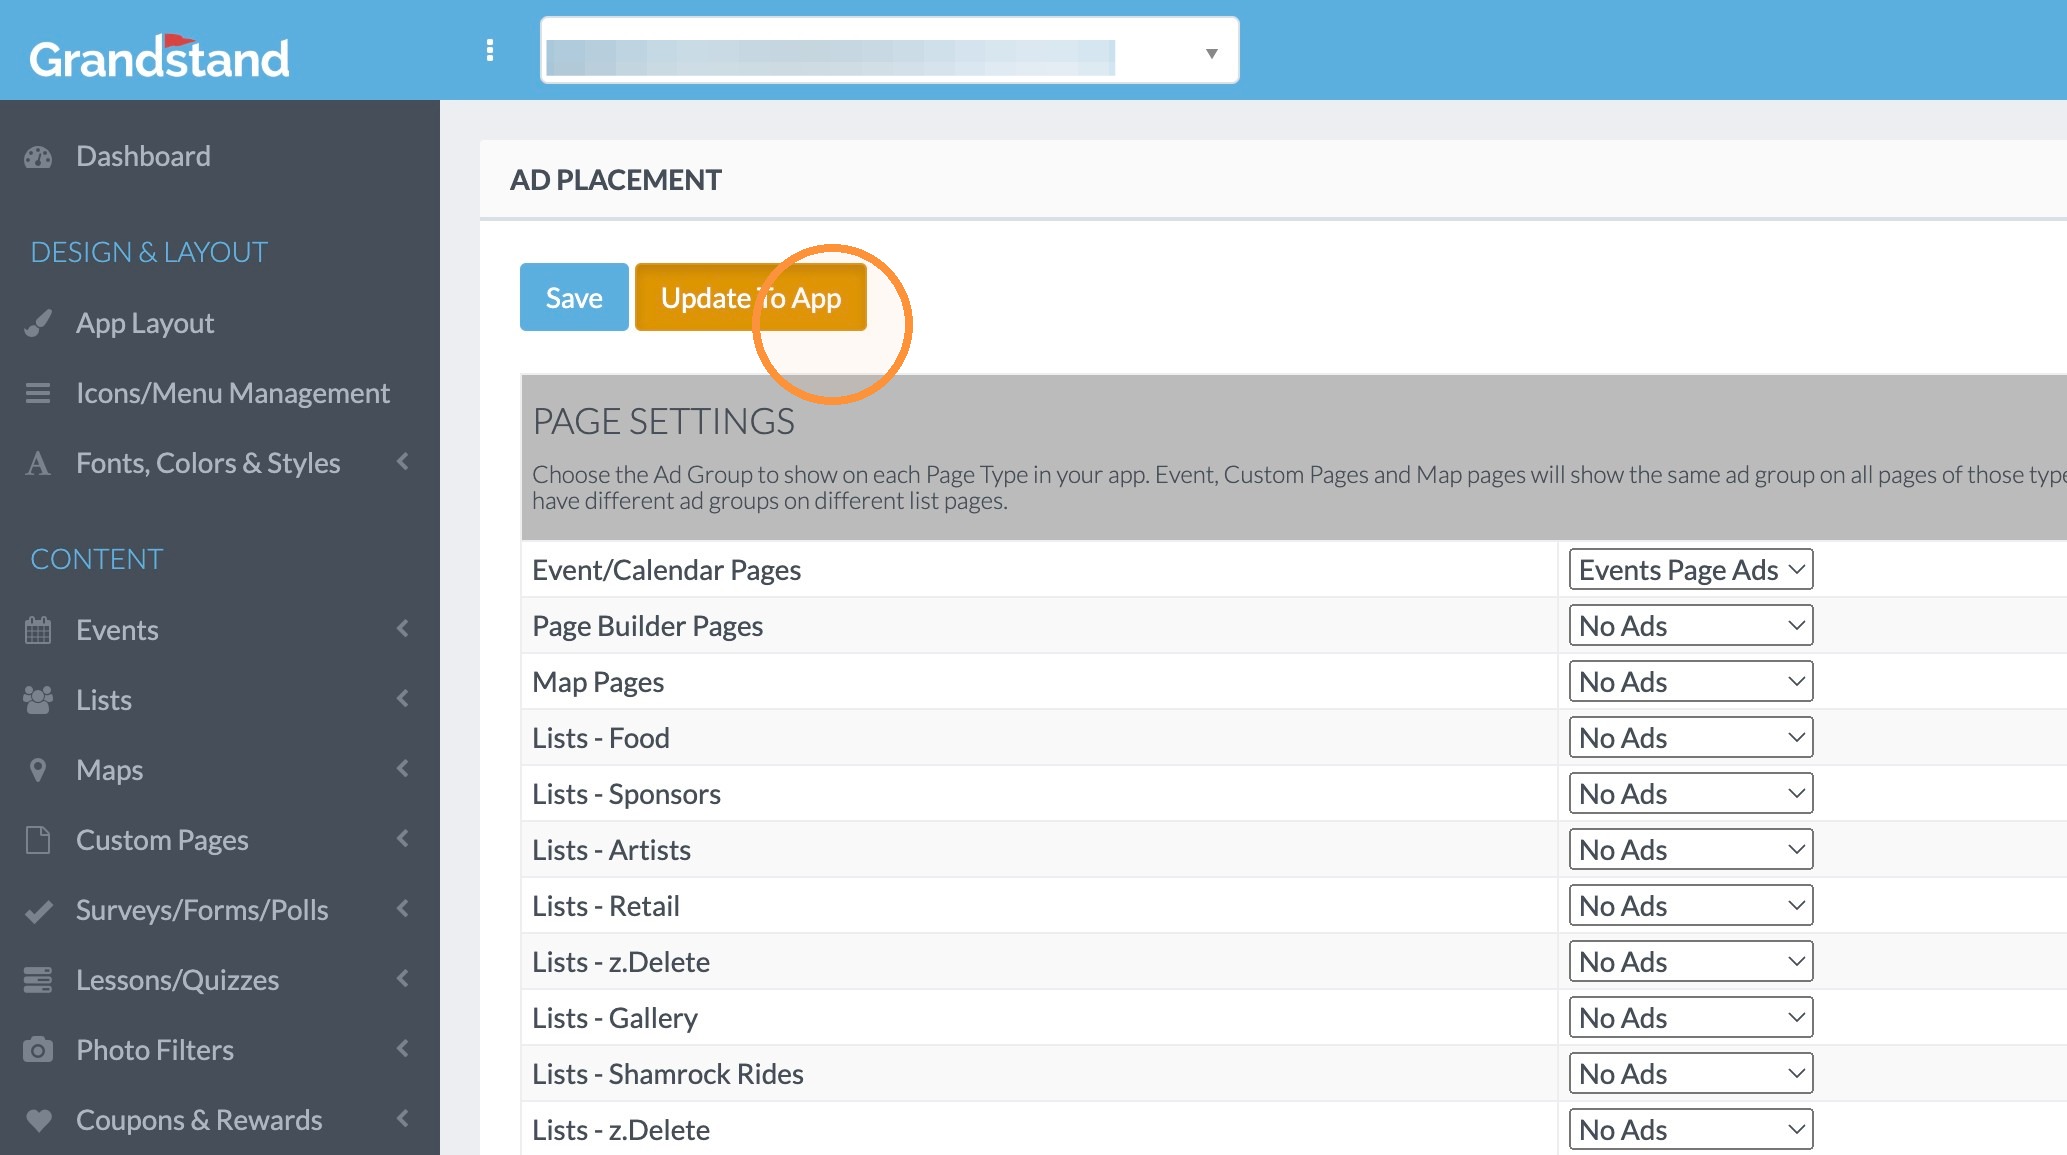
The ability to sell your own ads and publish them in your app is a huge opportunity to offset much or all of the cost of the app. There are several places within Grandstand Apps that work well for integrating ads. Following are those locations:You can create separate ad groups for your event pages, list pages, map pages, and Custom Pages.
- Rotating or static banner on the bottom of the main page
- Rotating or static banner on the bottom of the event pages, list pages, custom pages, or maps
- Schedule page in-stream ads above each day
- Full page, dismissible ads on event pages, list pages, custom pages, or maps
Following are instructions for how to set up ad groups, how to manage the placement of ad groups, and how to add an ad graphic to be used in a group.
Setting up the Ad Groups
1. Click "Ads"
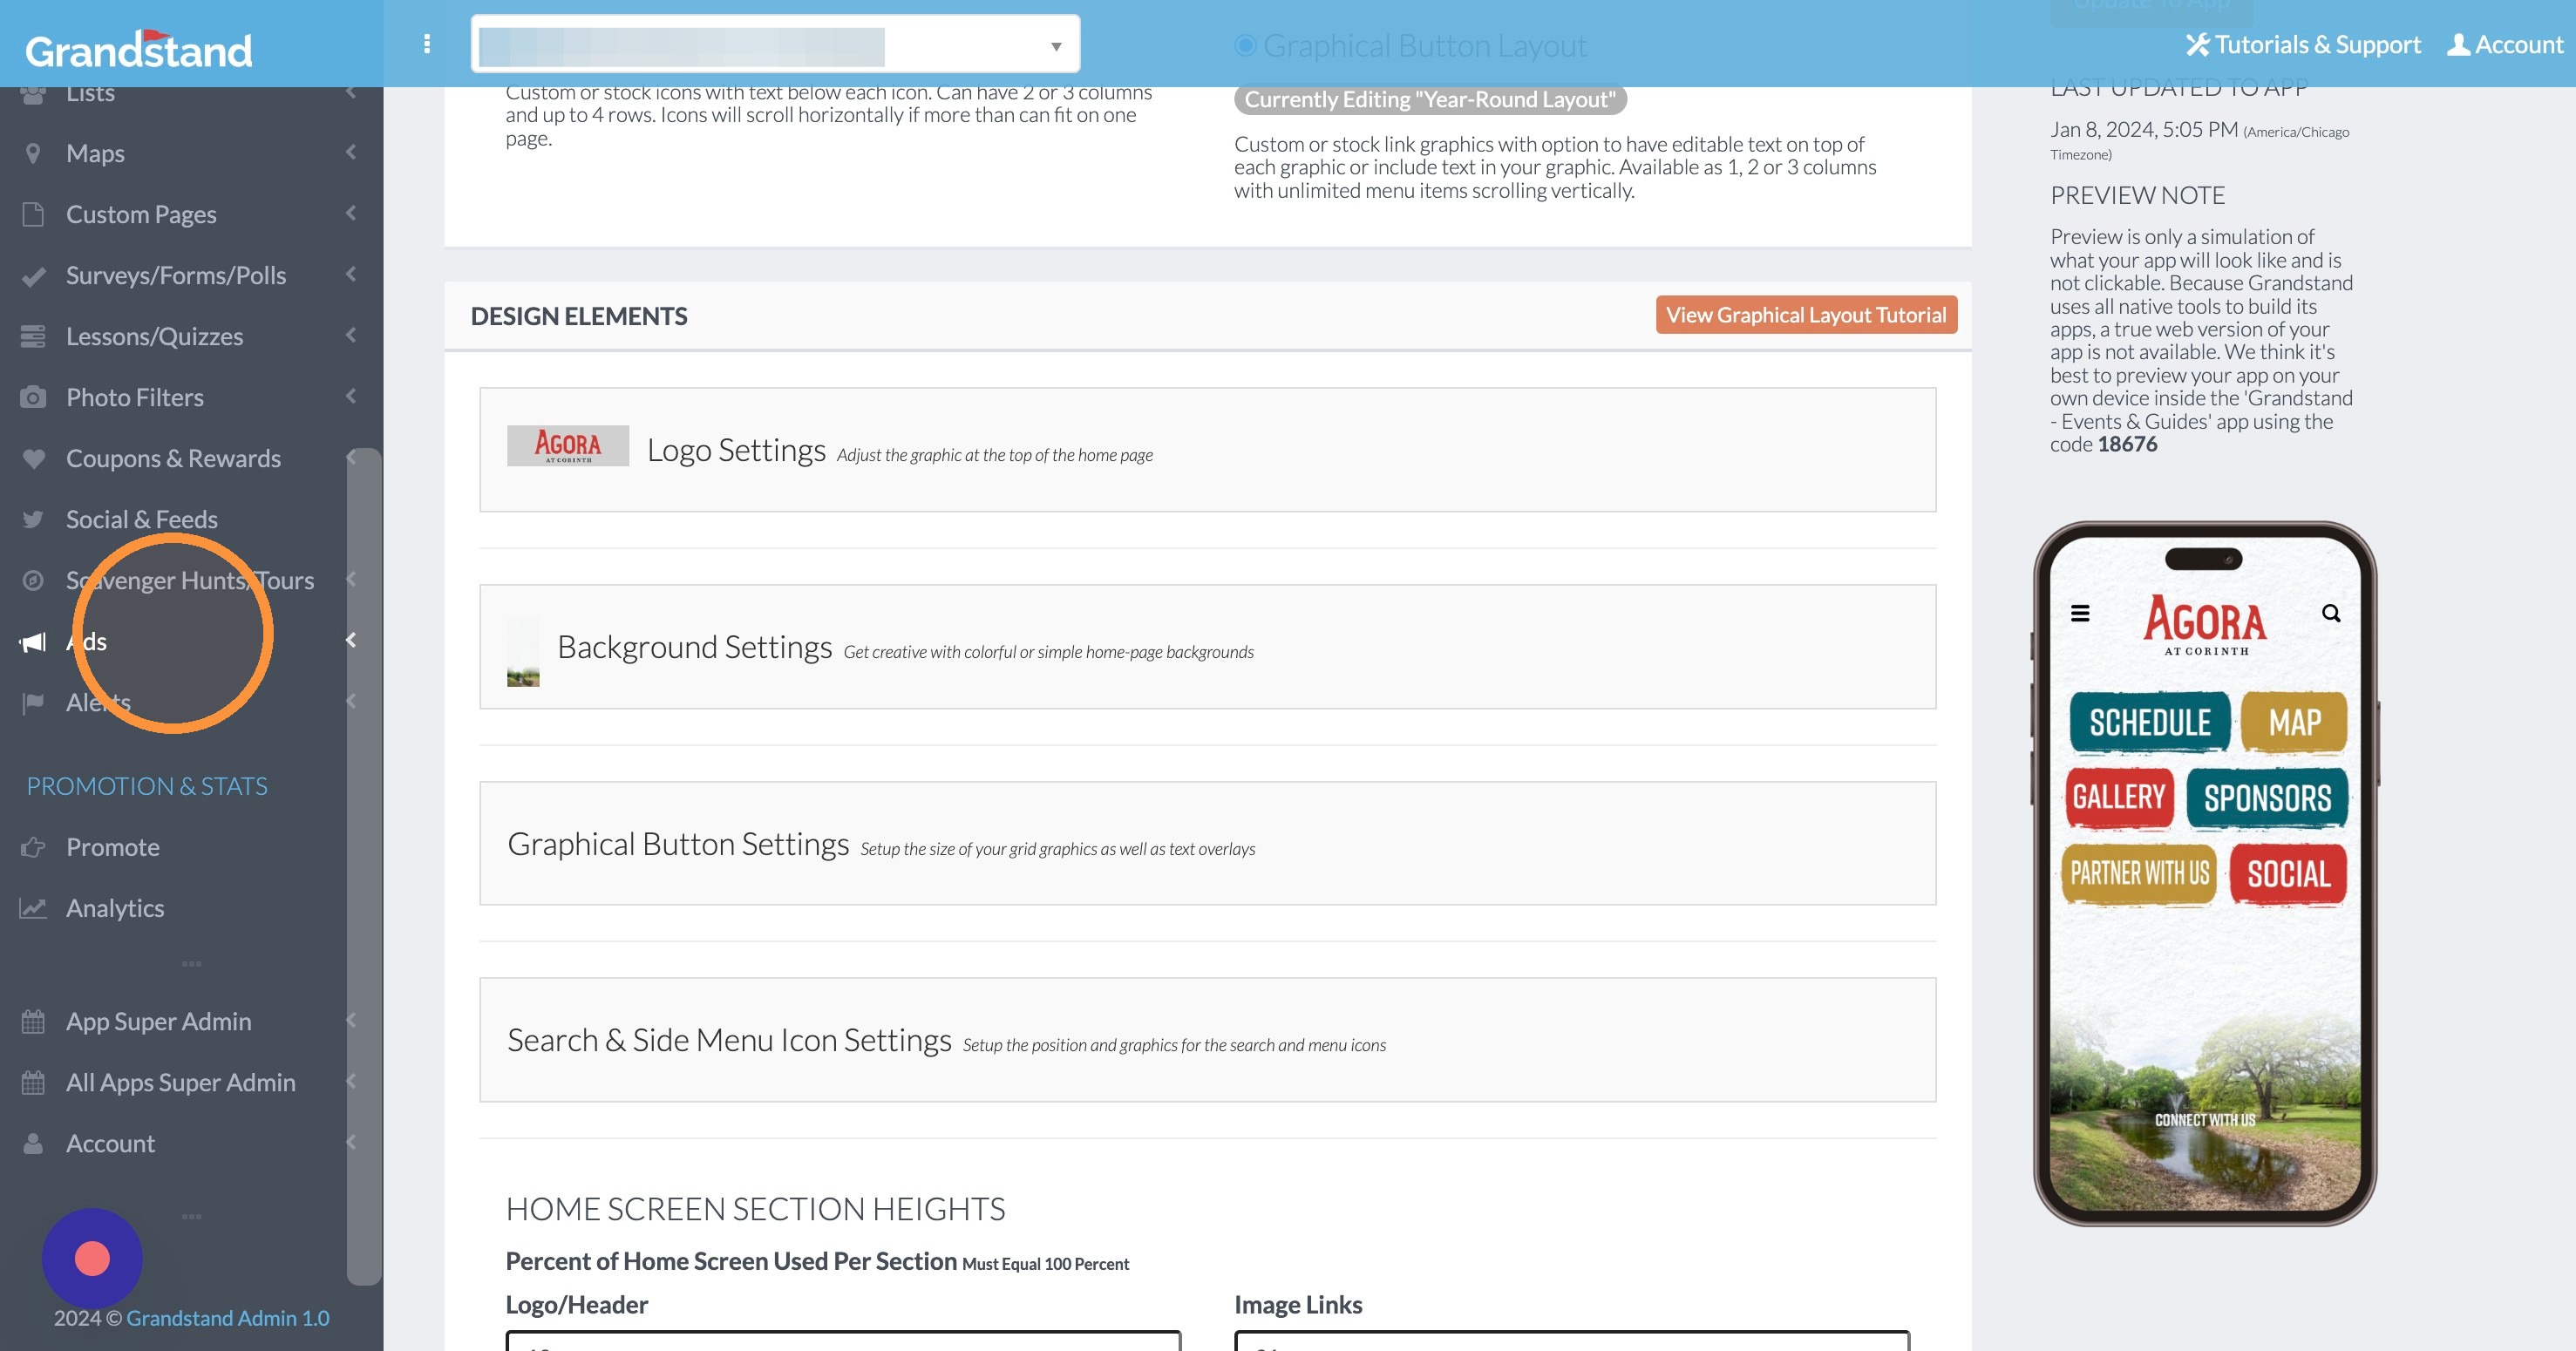
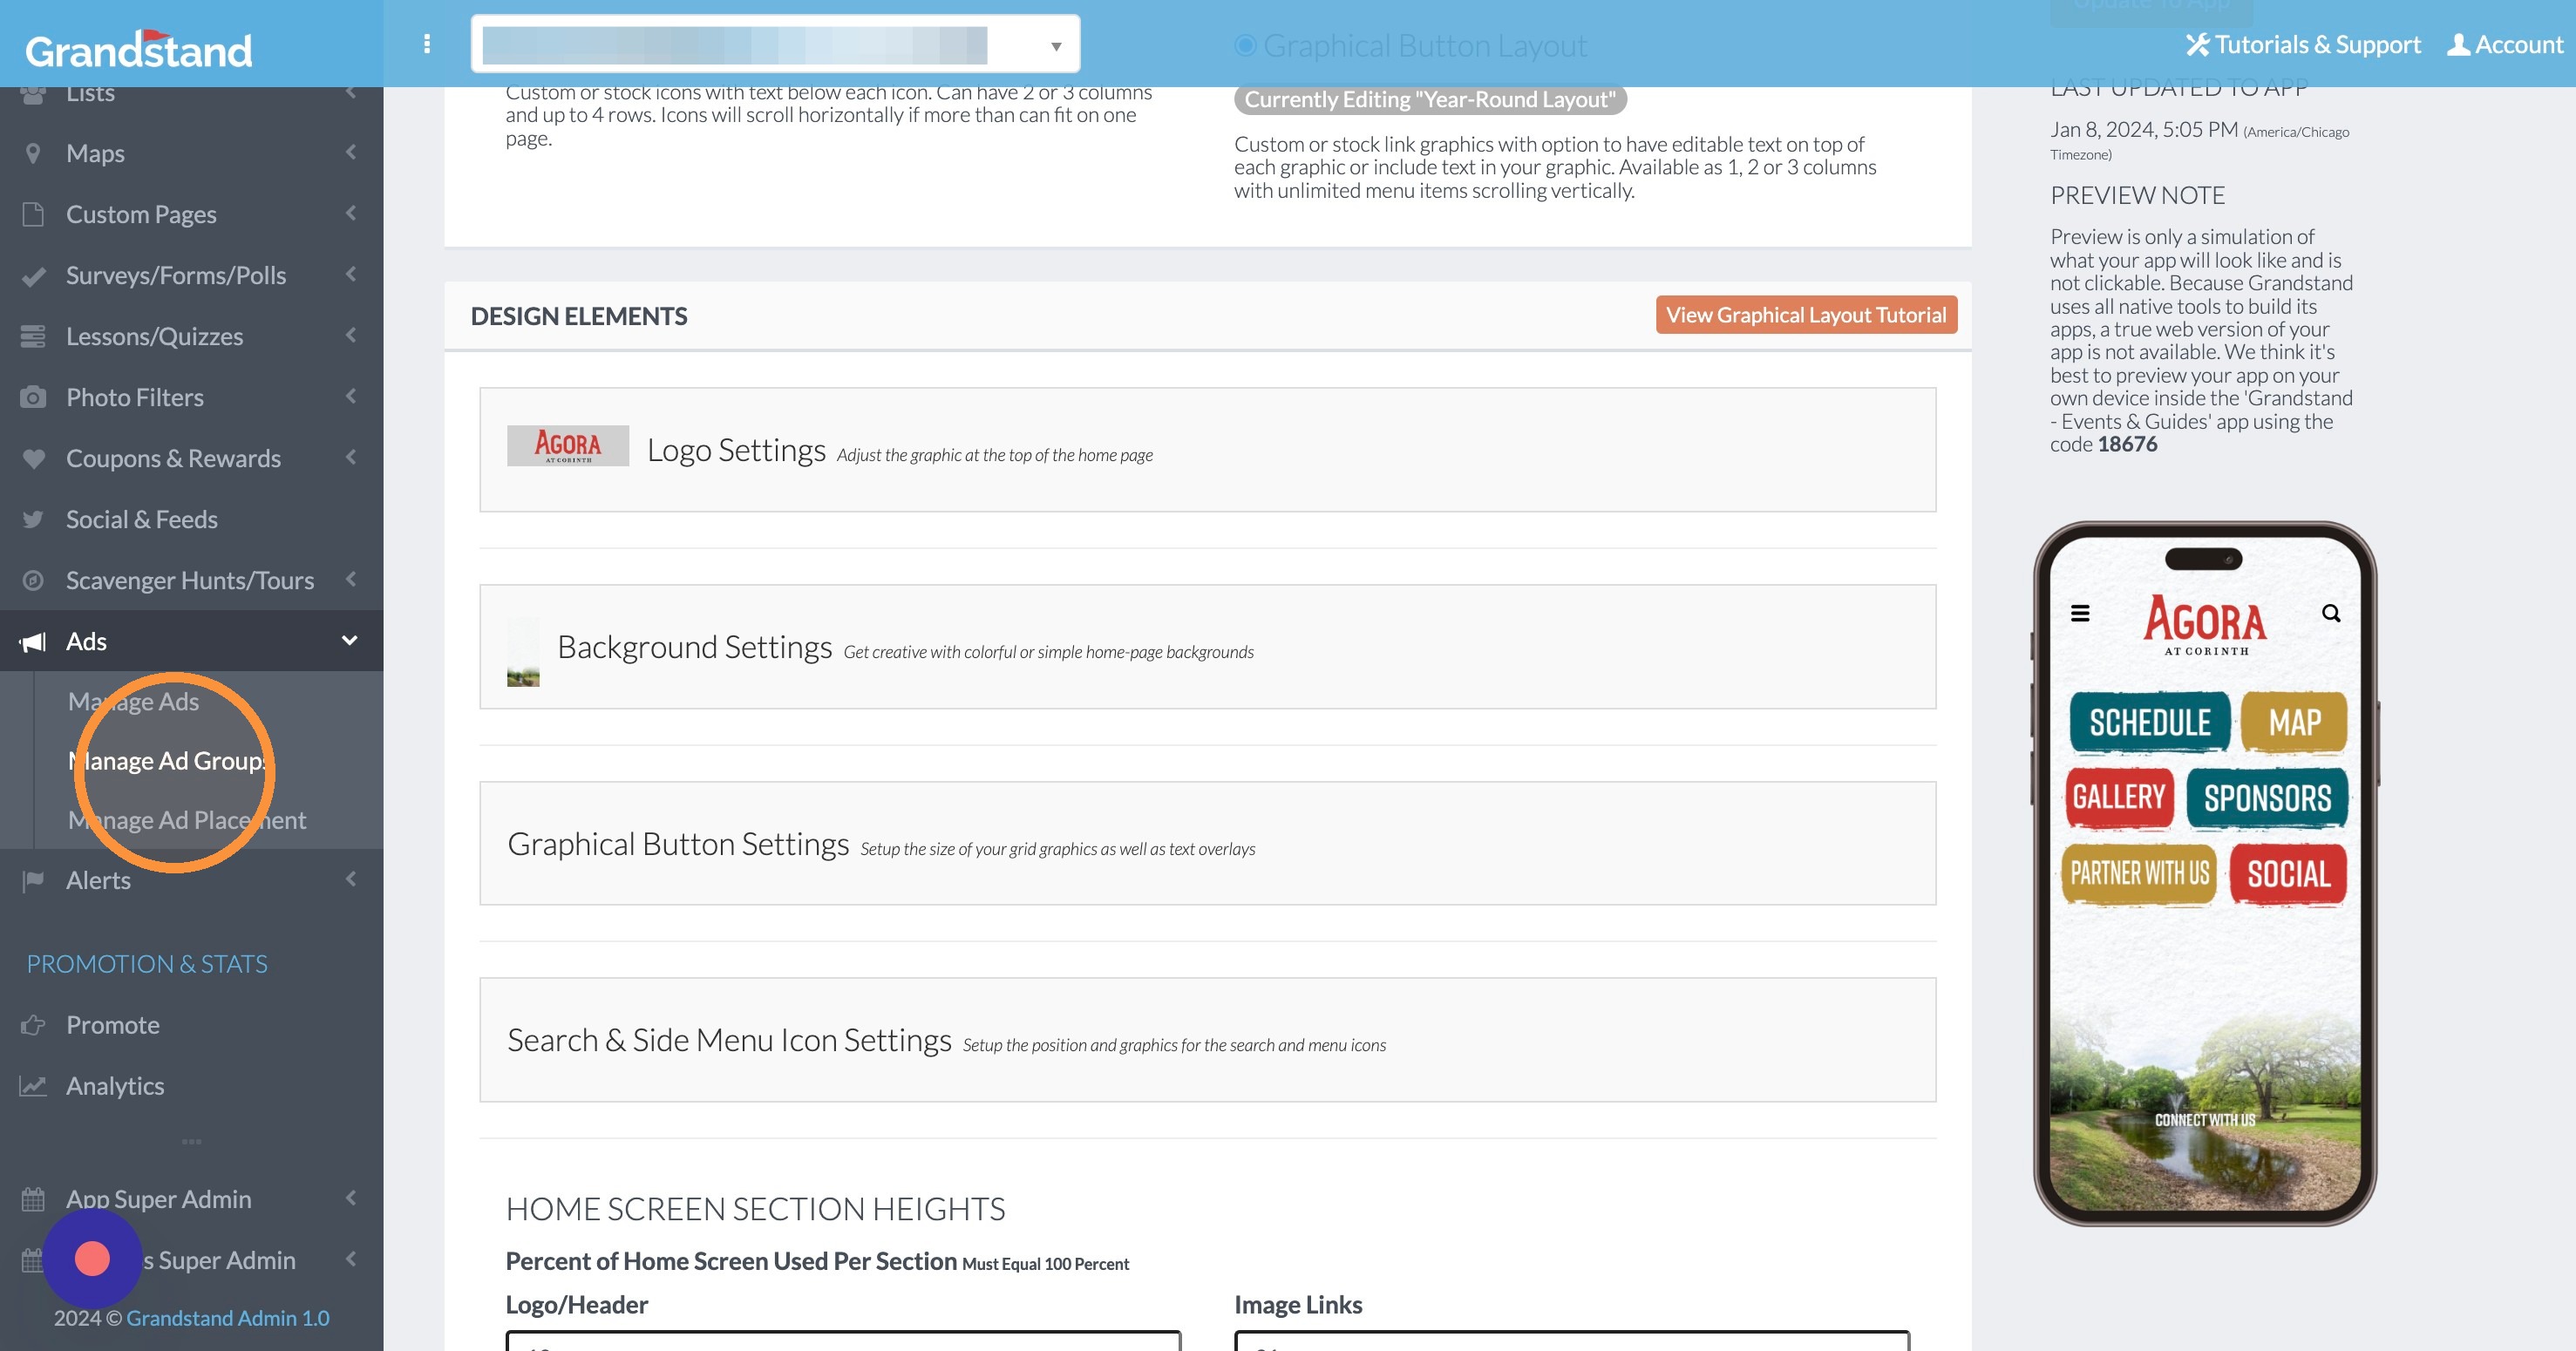
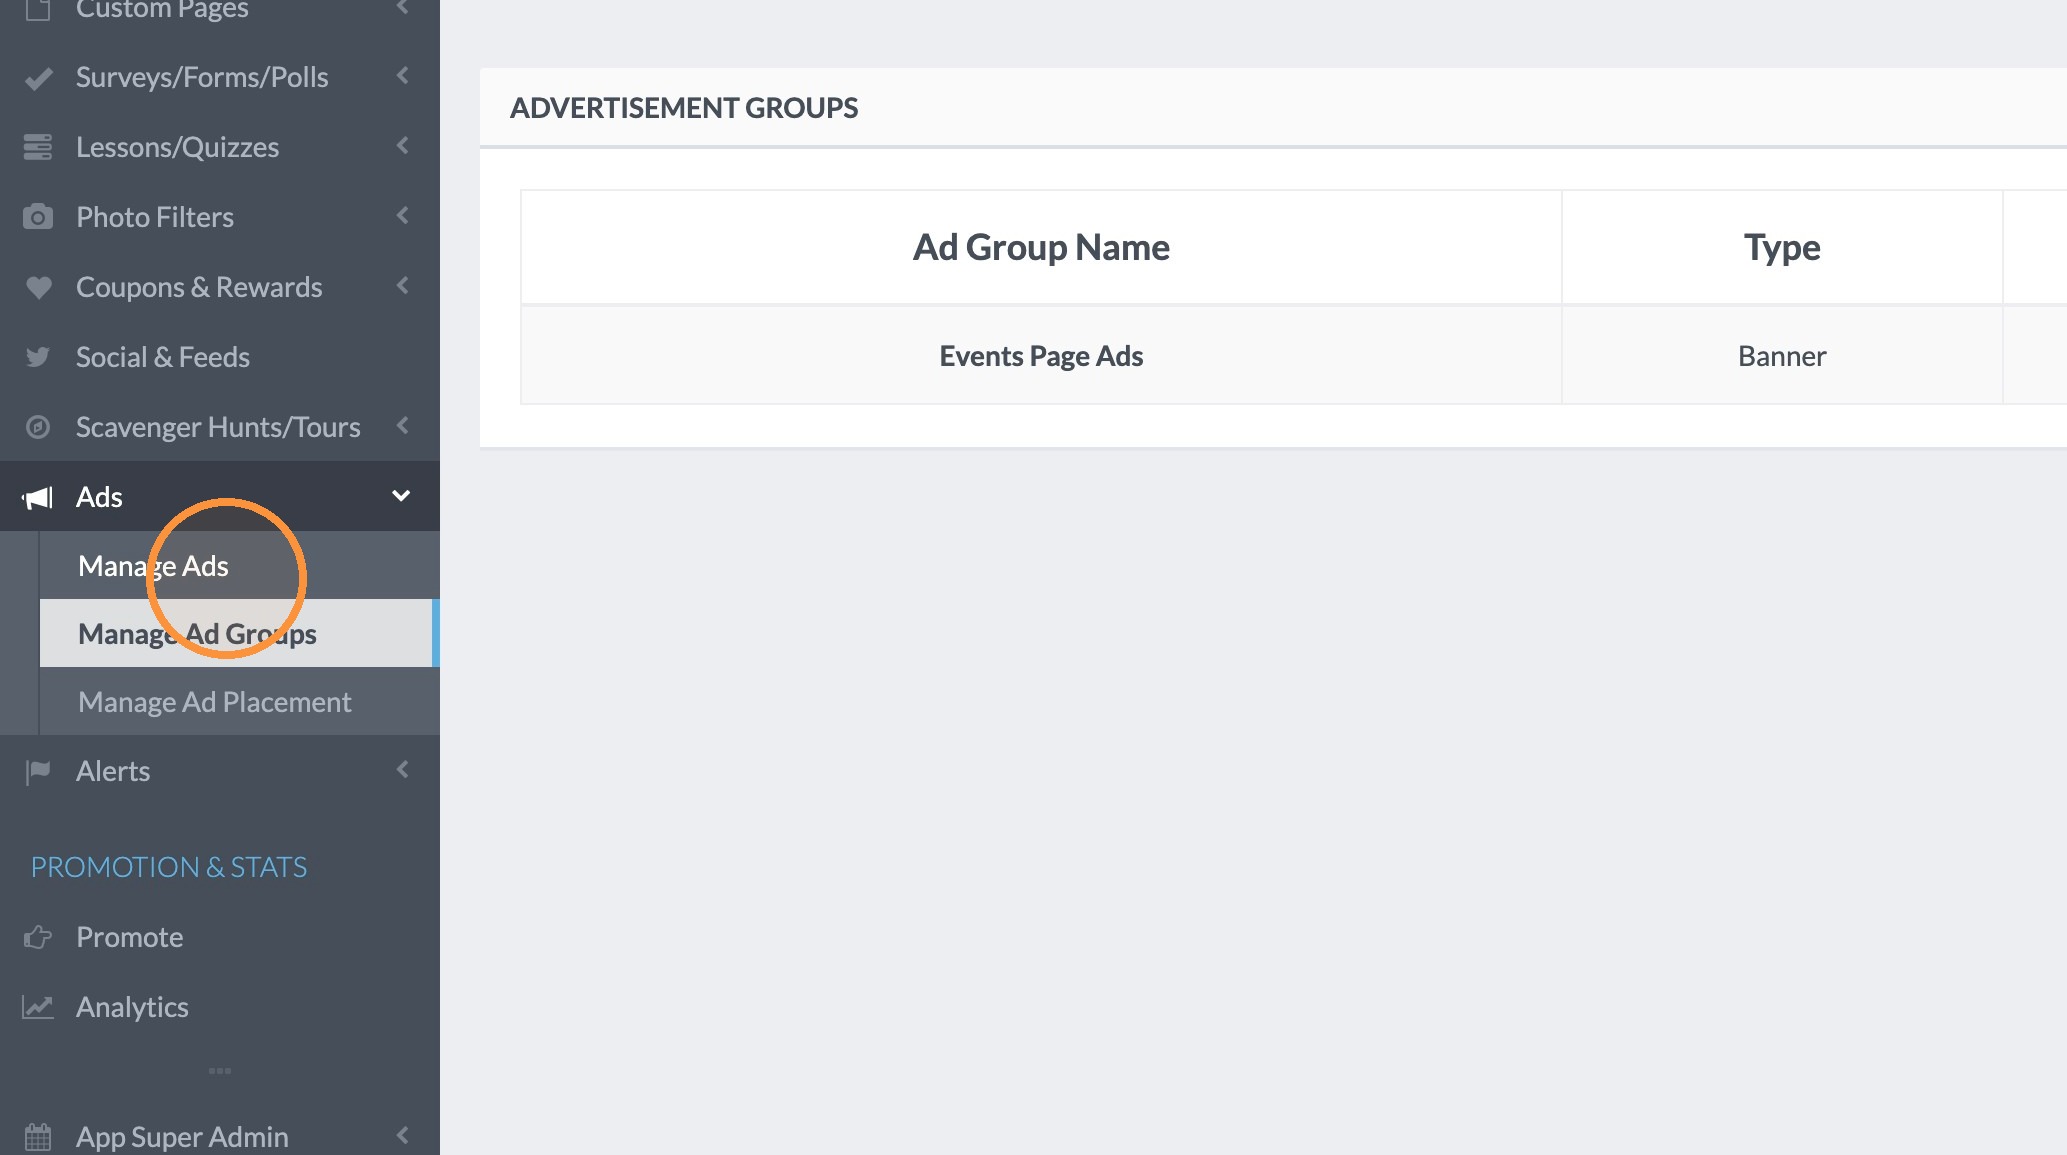
2. Click "Manage Ad Groups"
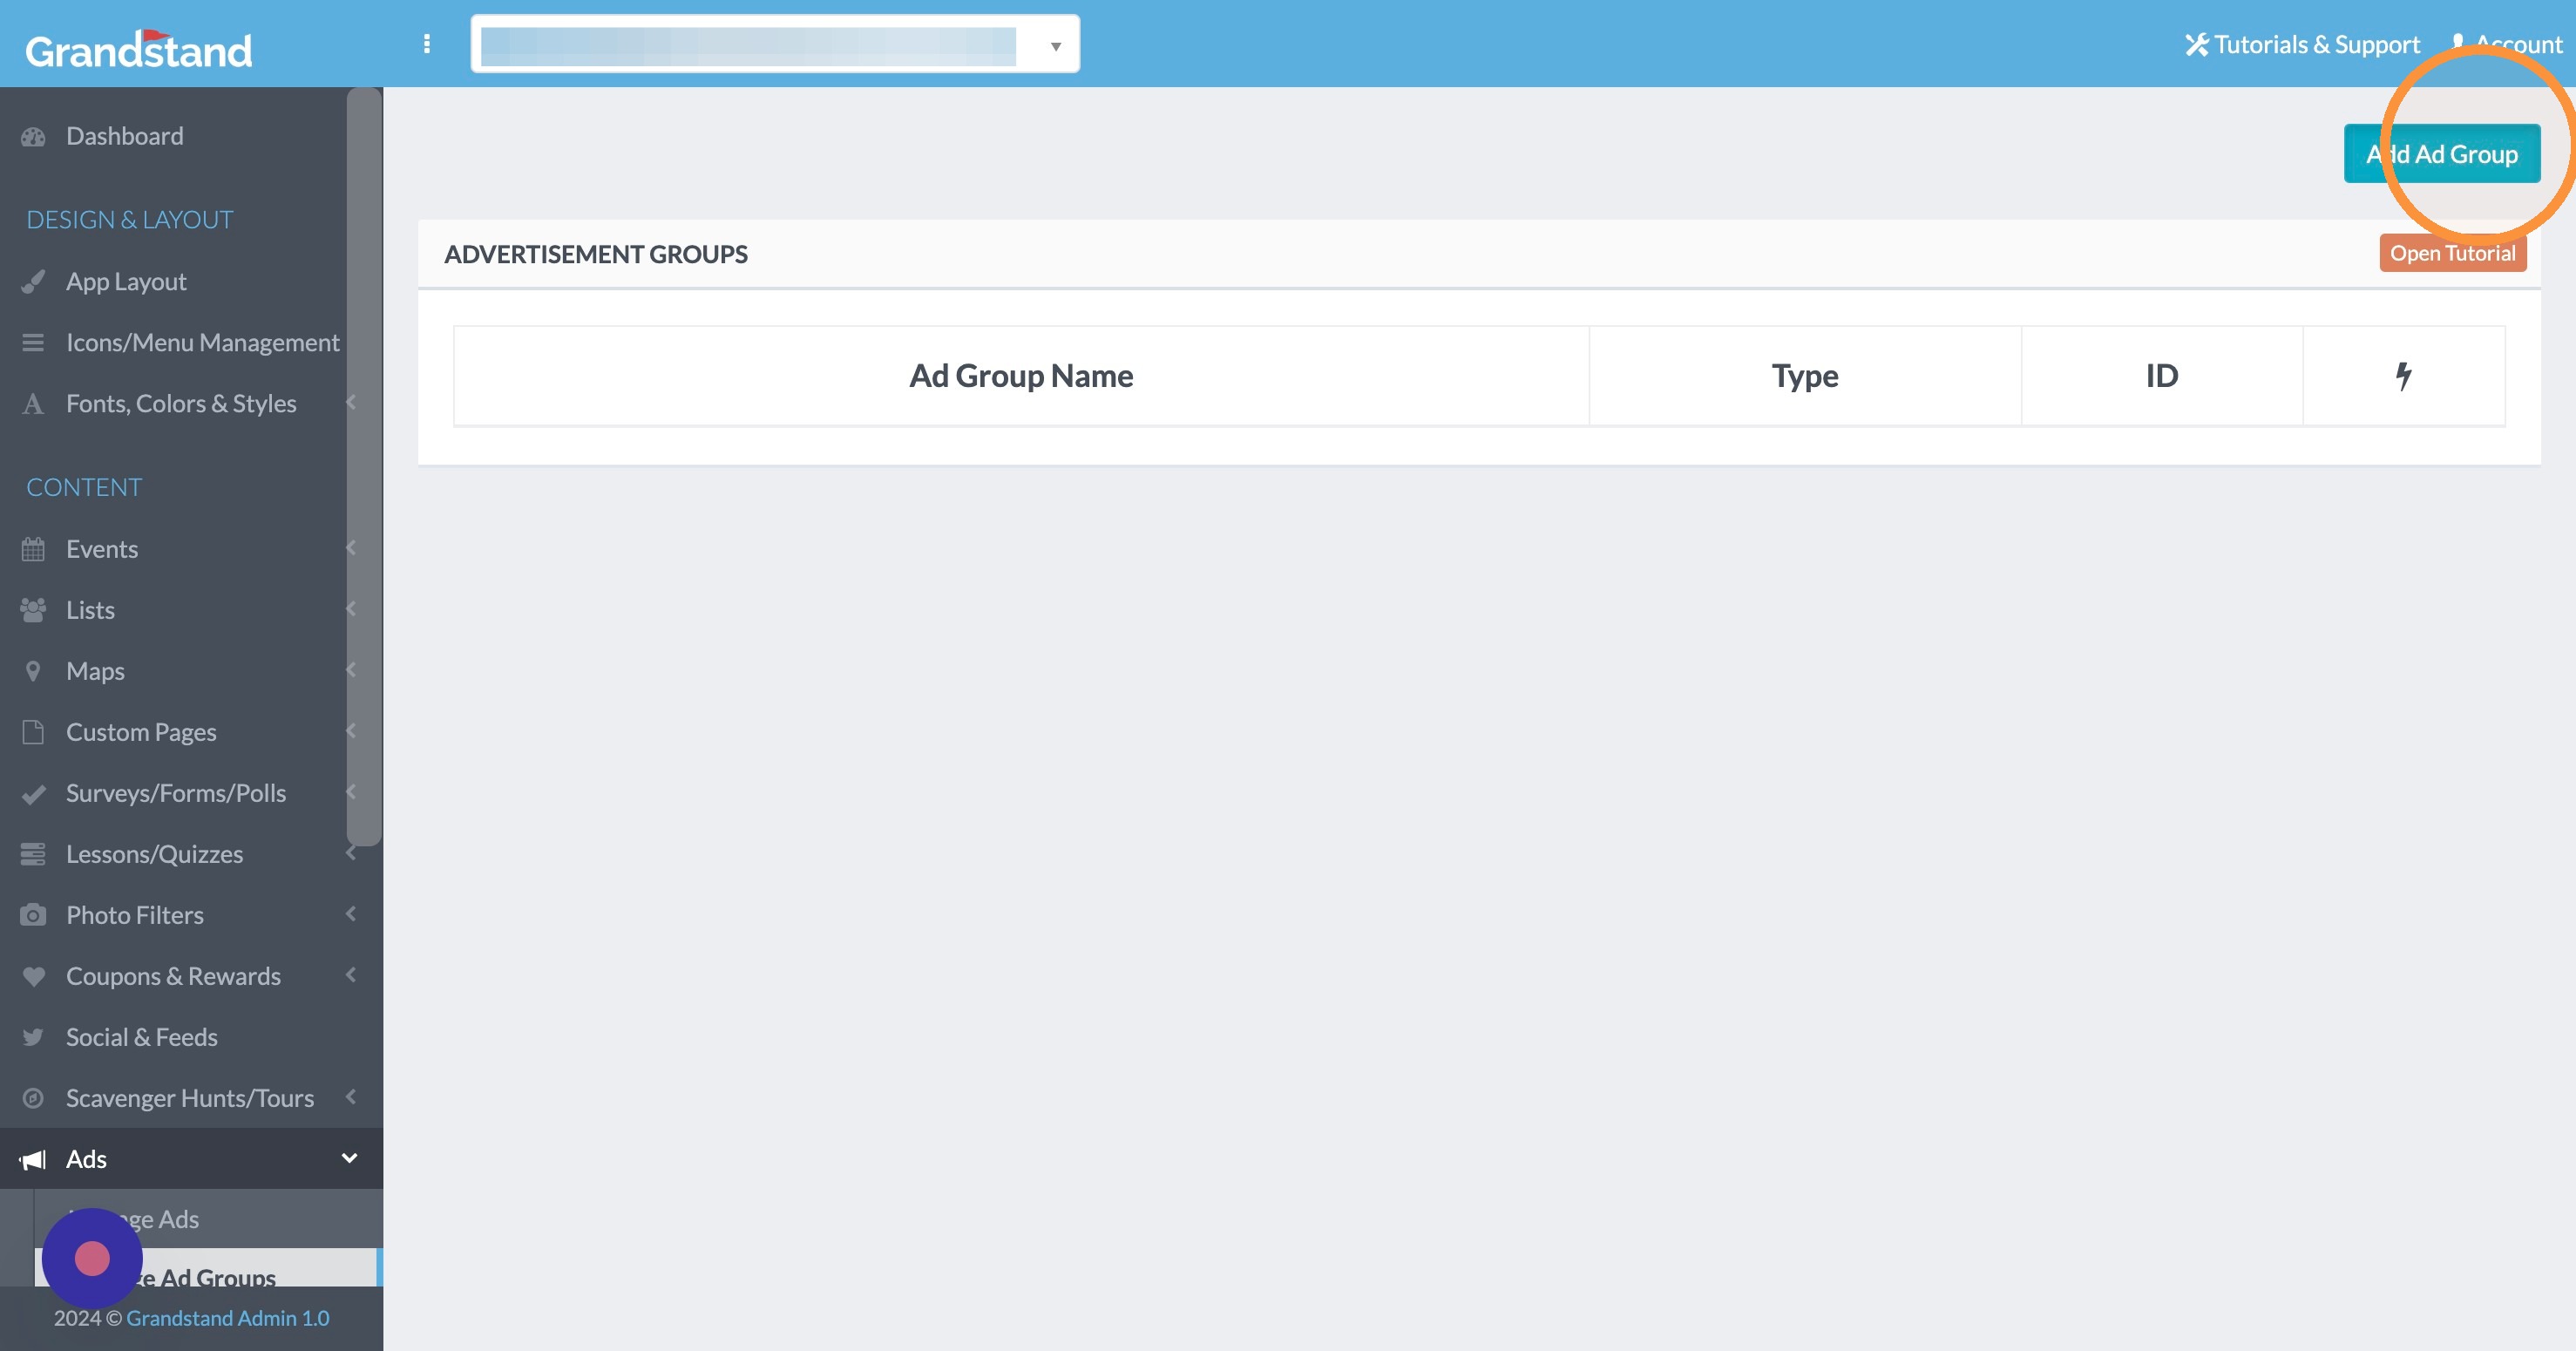
3. Click "Add Ad Group"
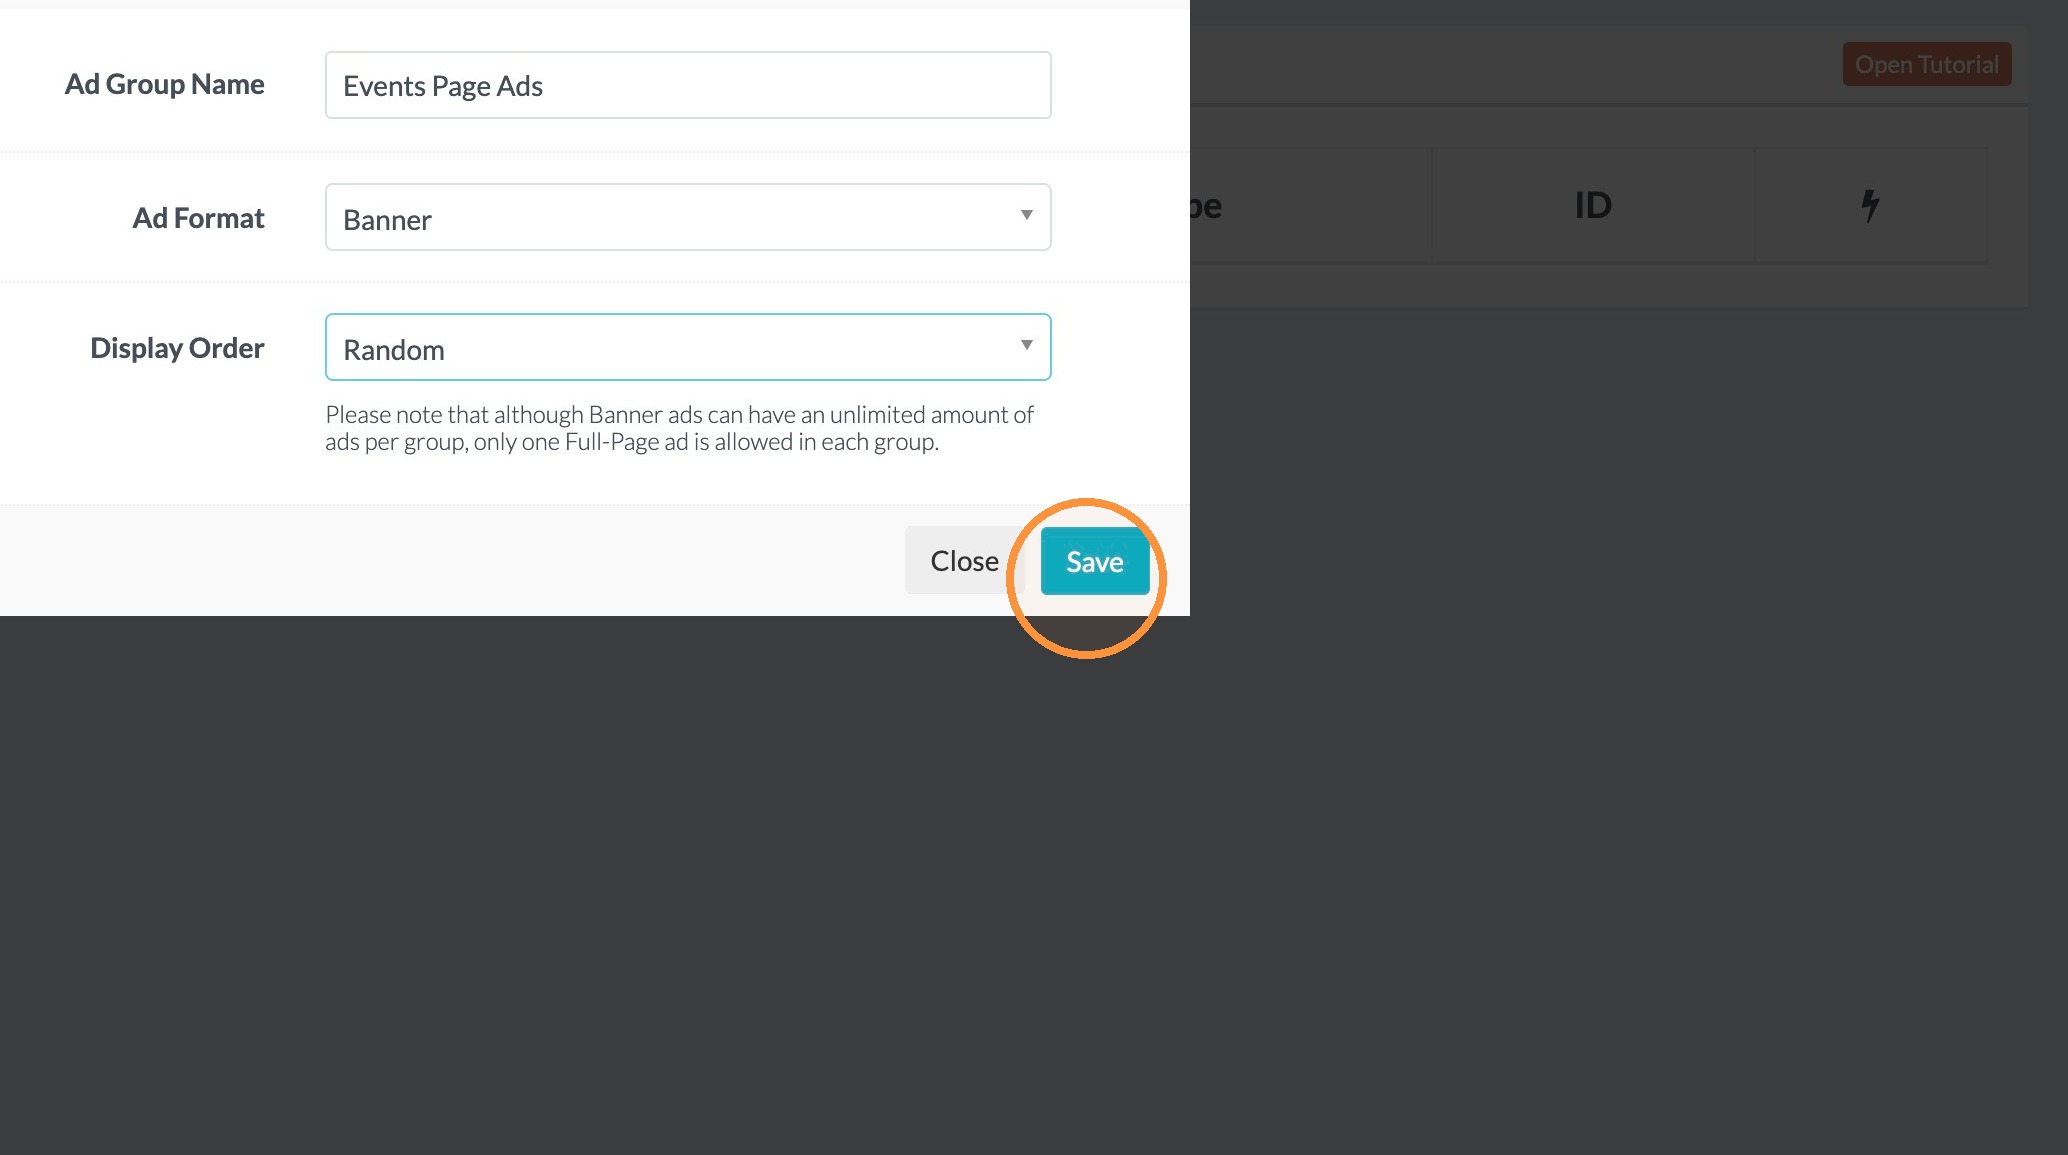
4. Name your ad group.
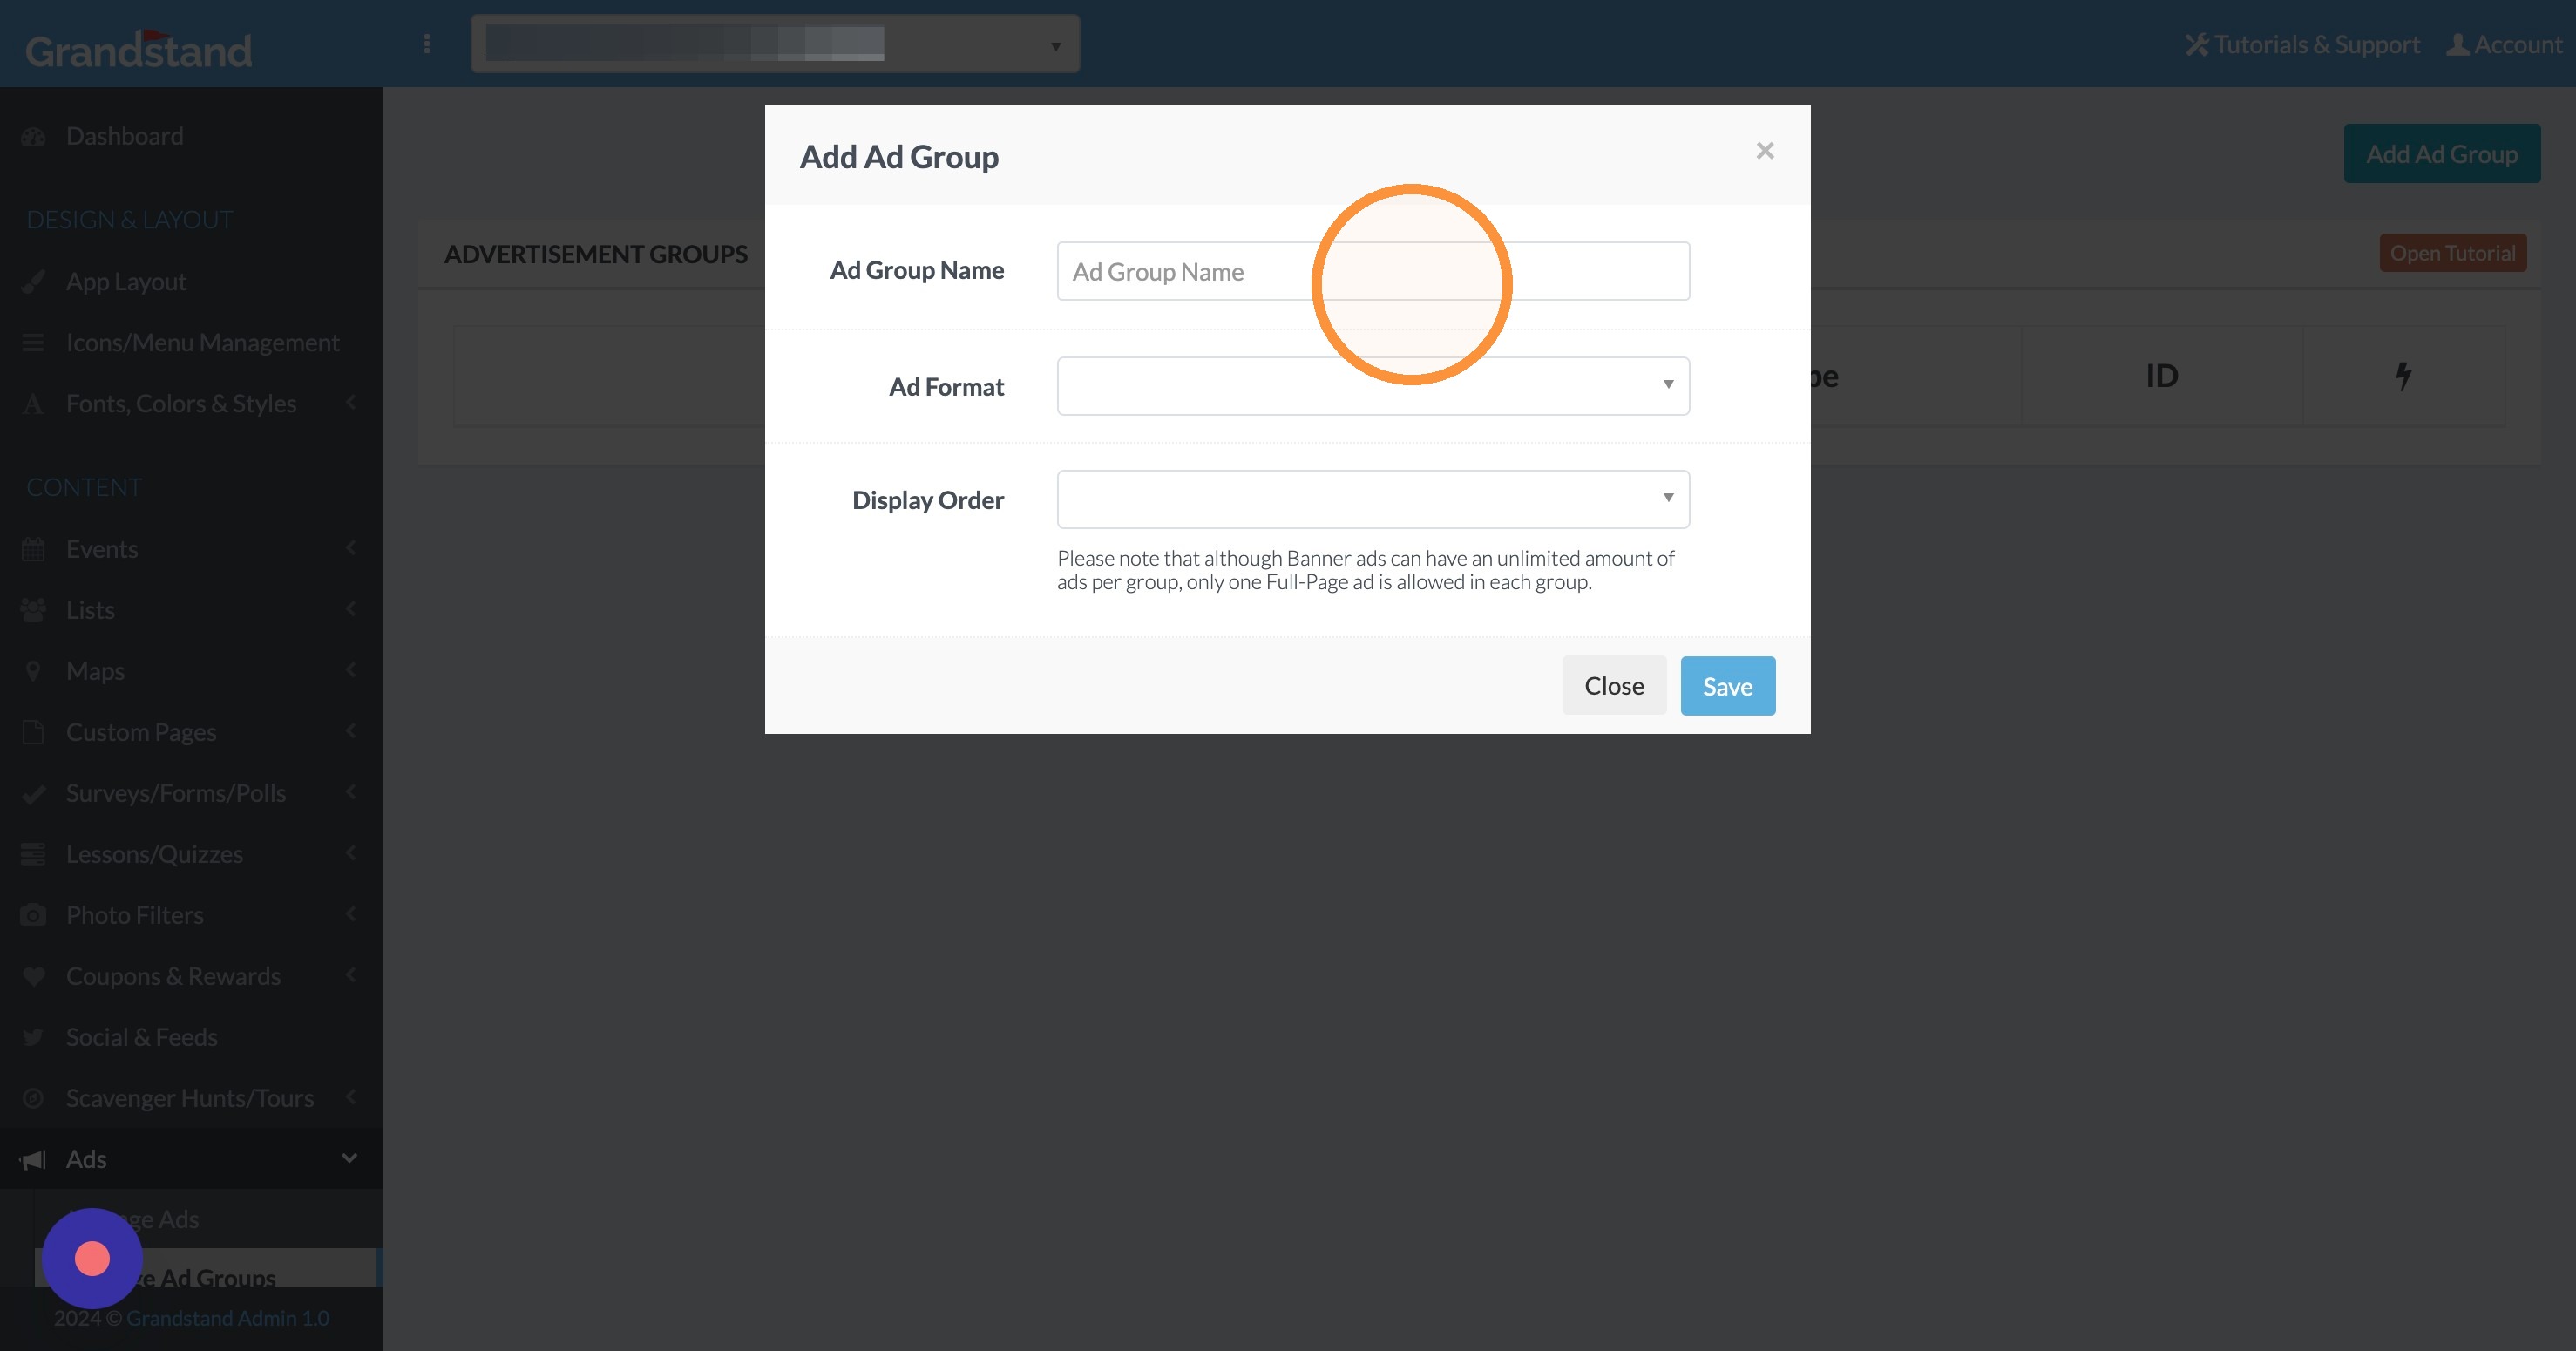
Tip: Tip! You can name the ad group for the app page that it is linked to in order to identify the groups easier. Ex. "Events Page Ads" for a group of ads that will be shown on the Events page.
5. Click "Ad Format."
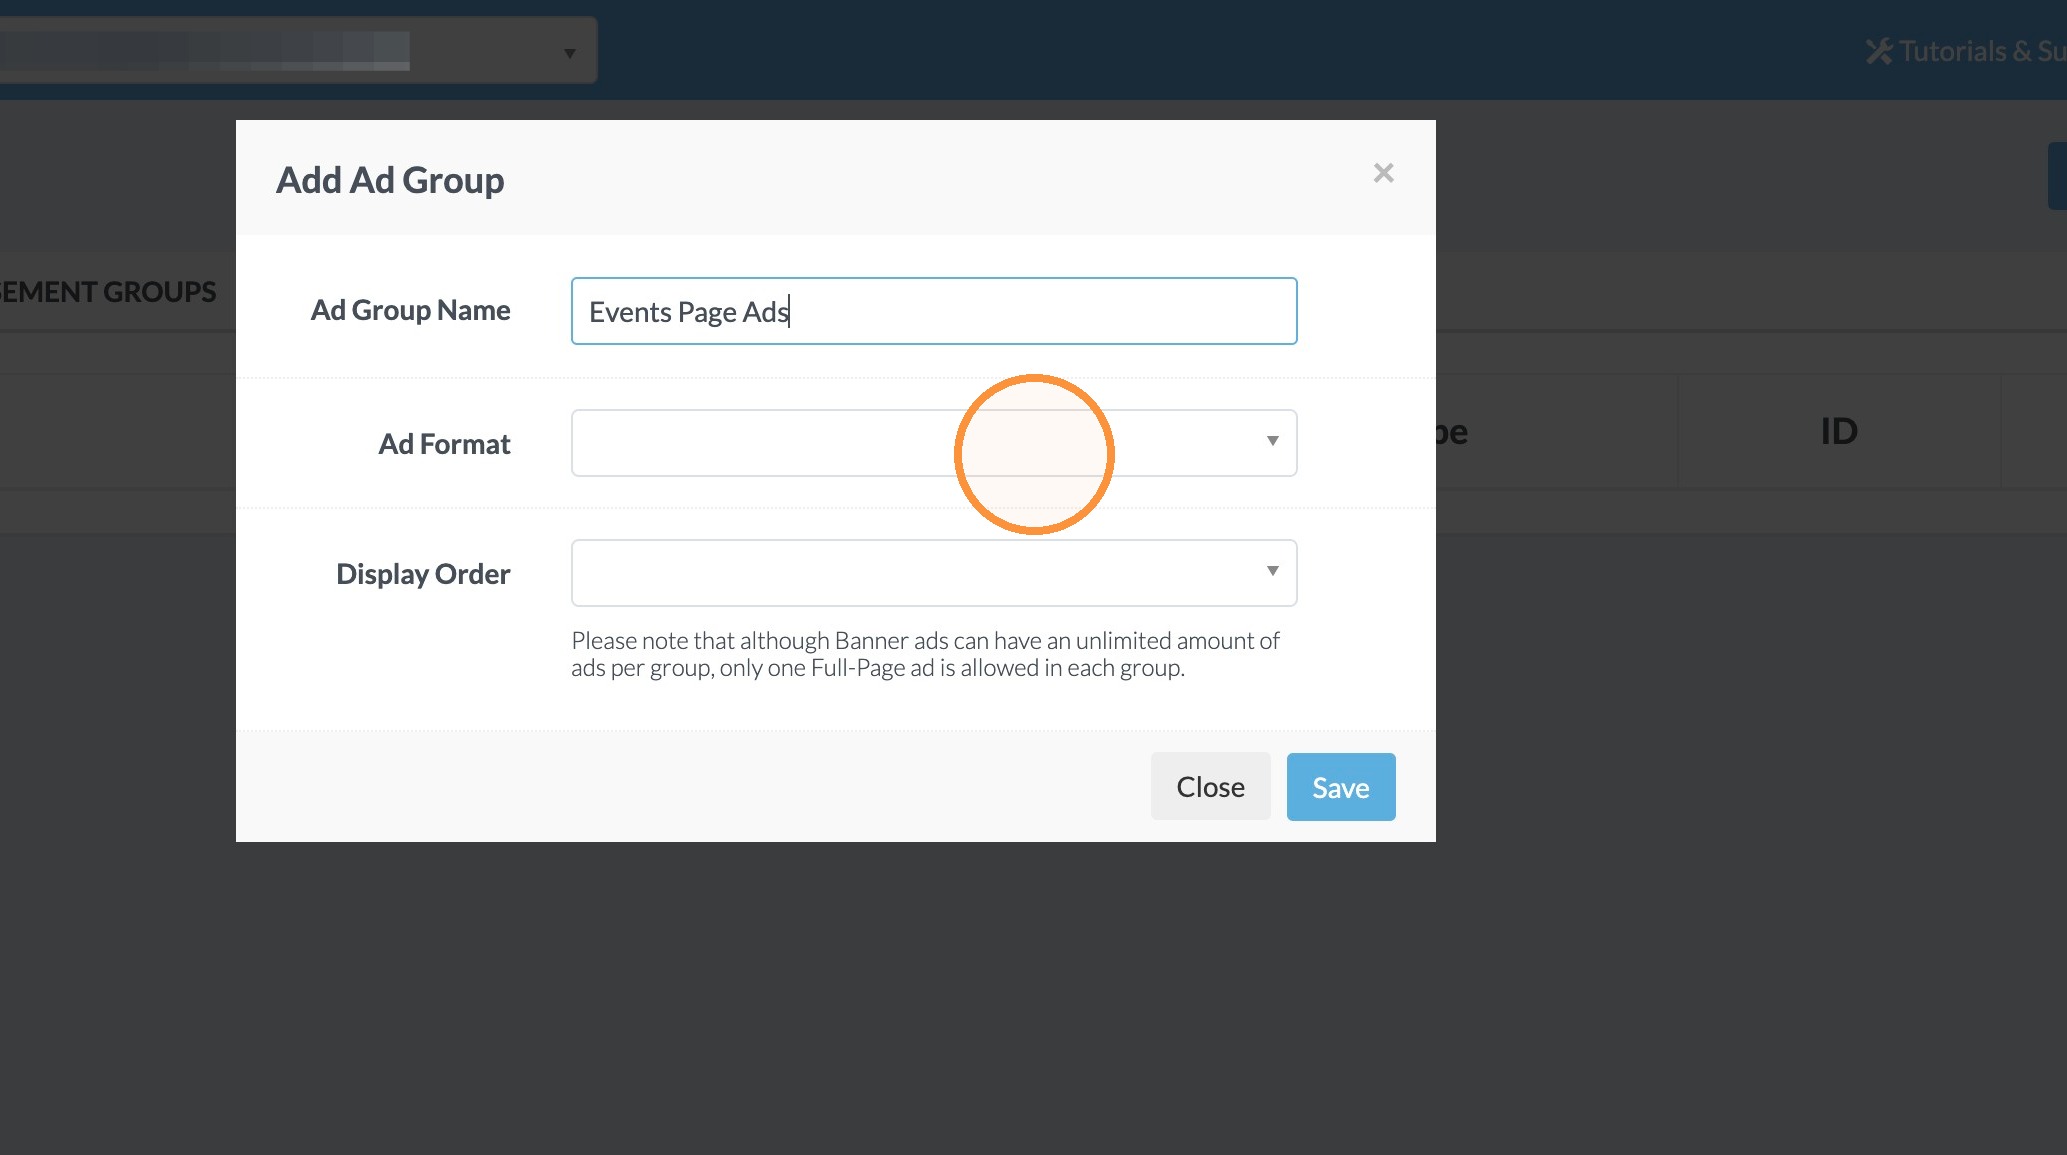
6. Select either "Banner" or "Full Page."
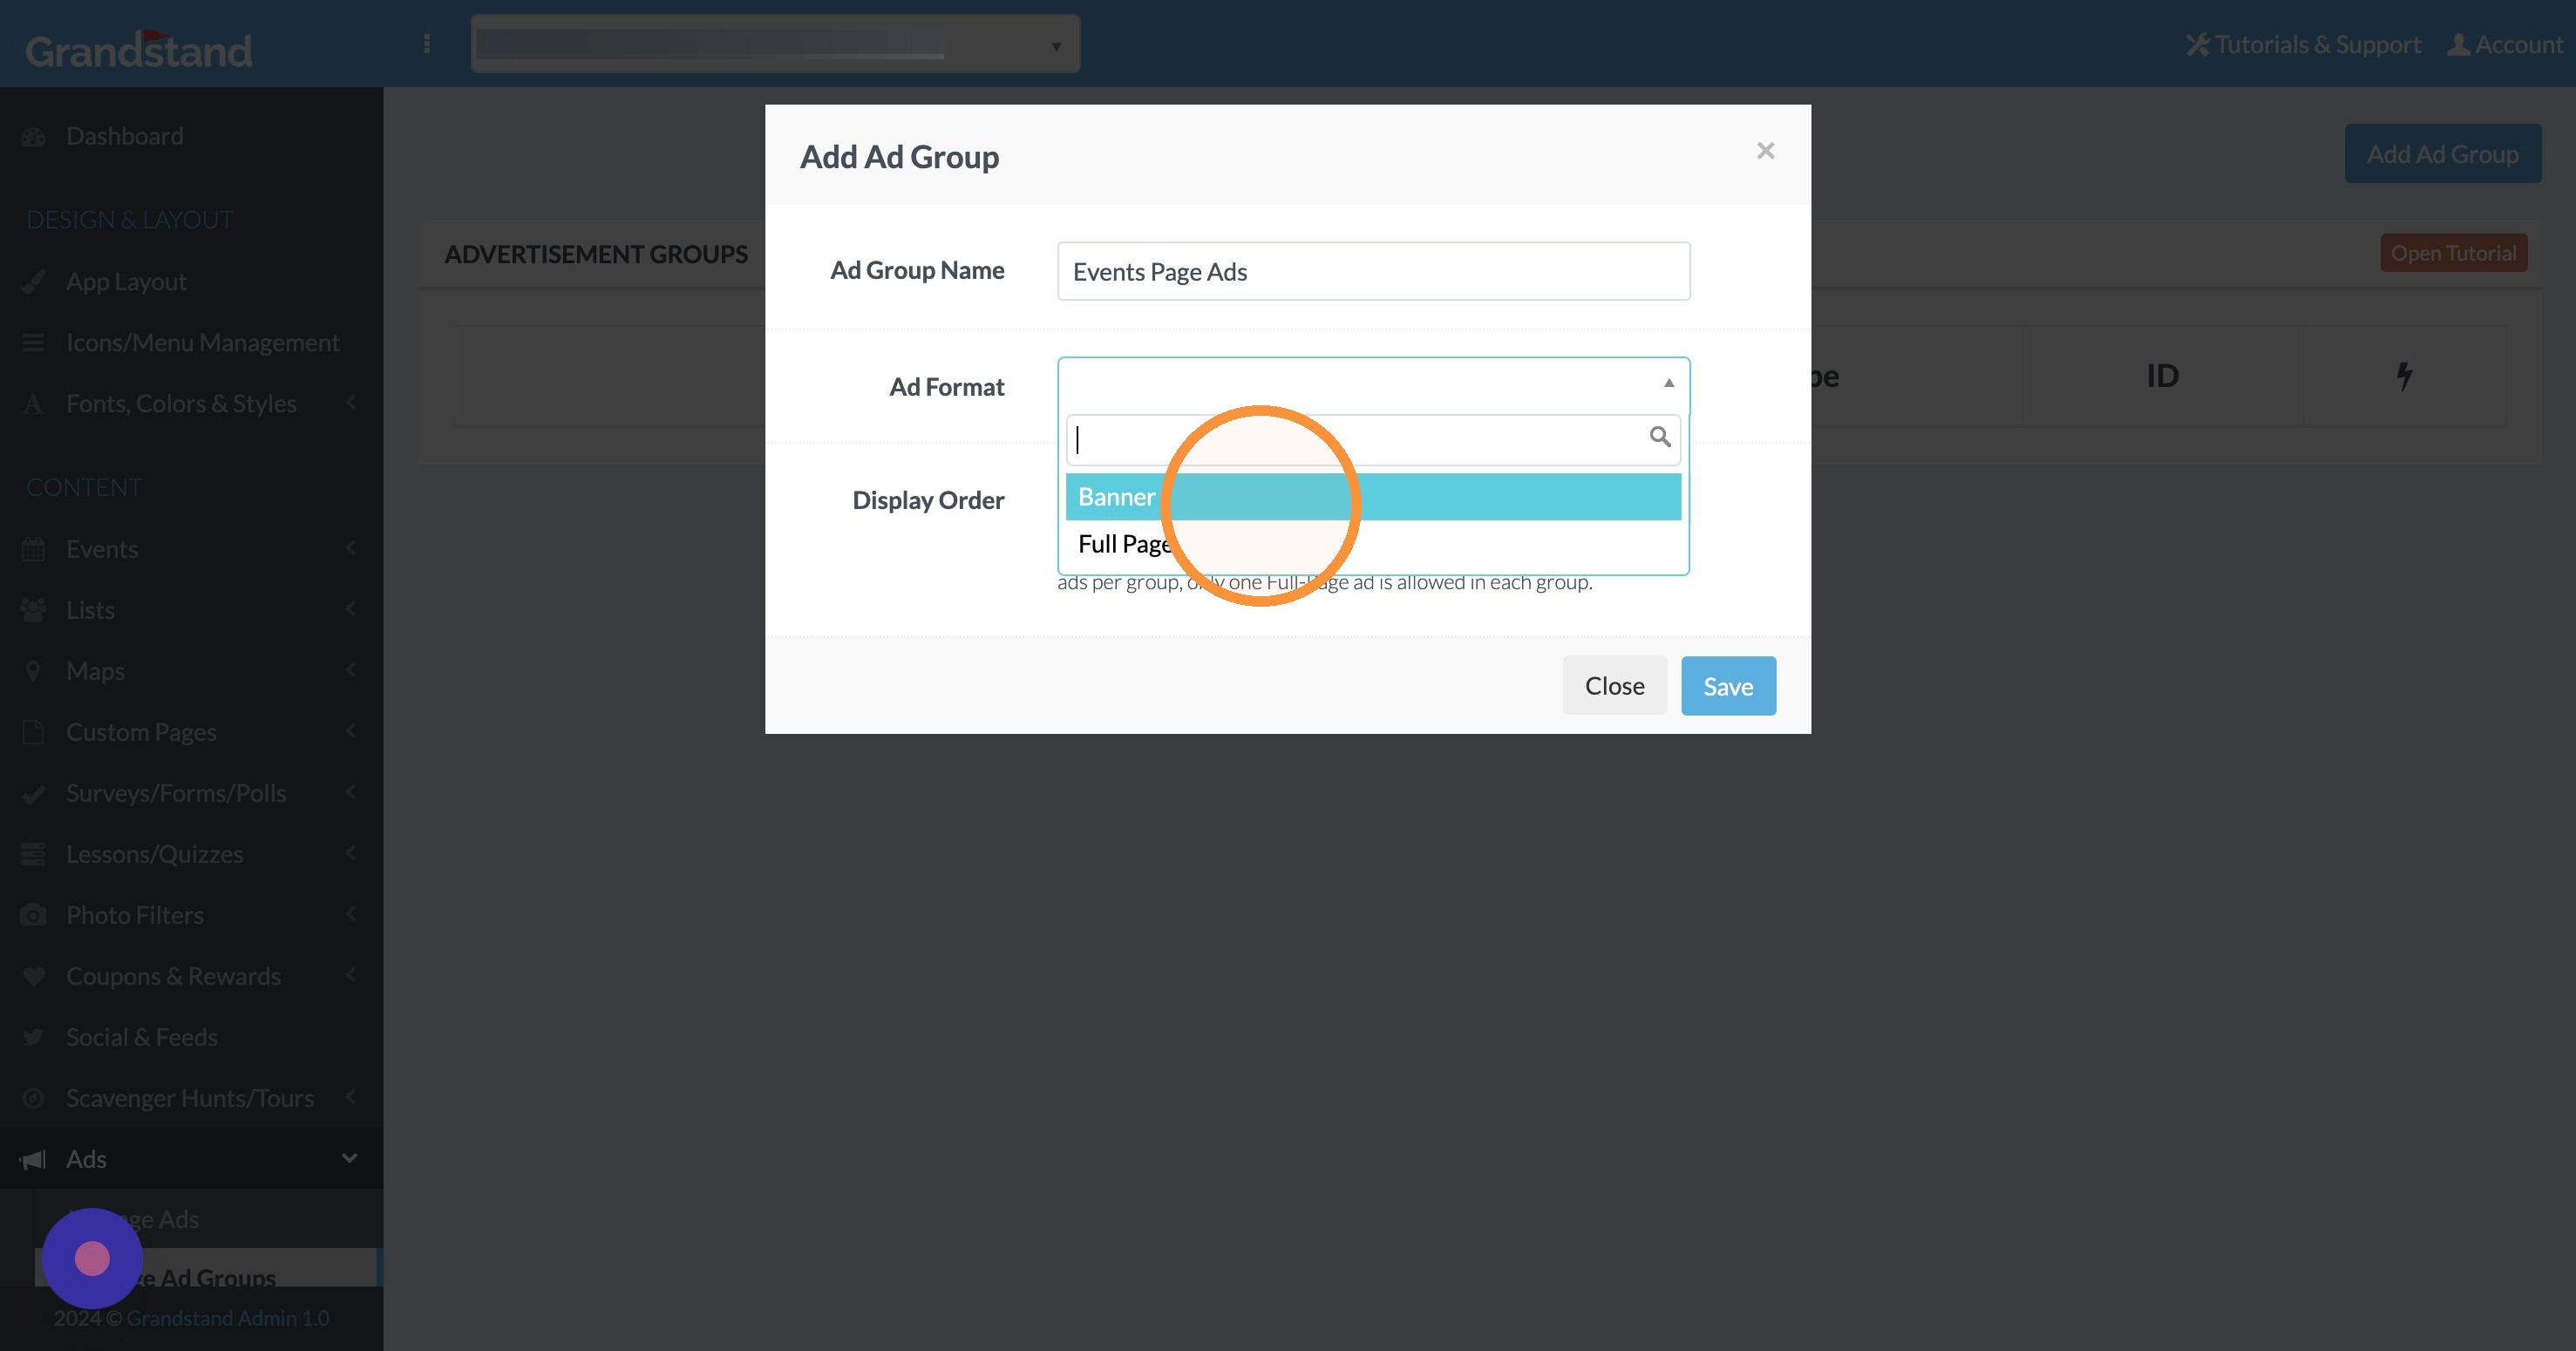
Tip: Tip! Select "Banner" for the ads to be shown as a bar at the bottom of the page. Select "Full Page" for the ad to pop up as a full image when the specific ad page is opened.
7. Click "Display Order" and select either "Random" or "Show in Order."
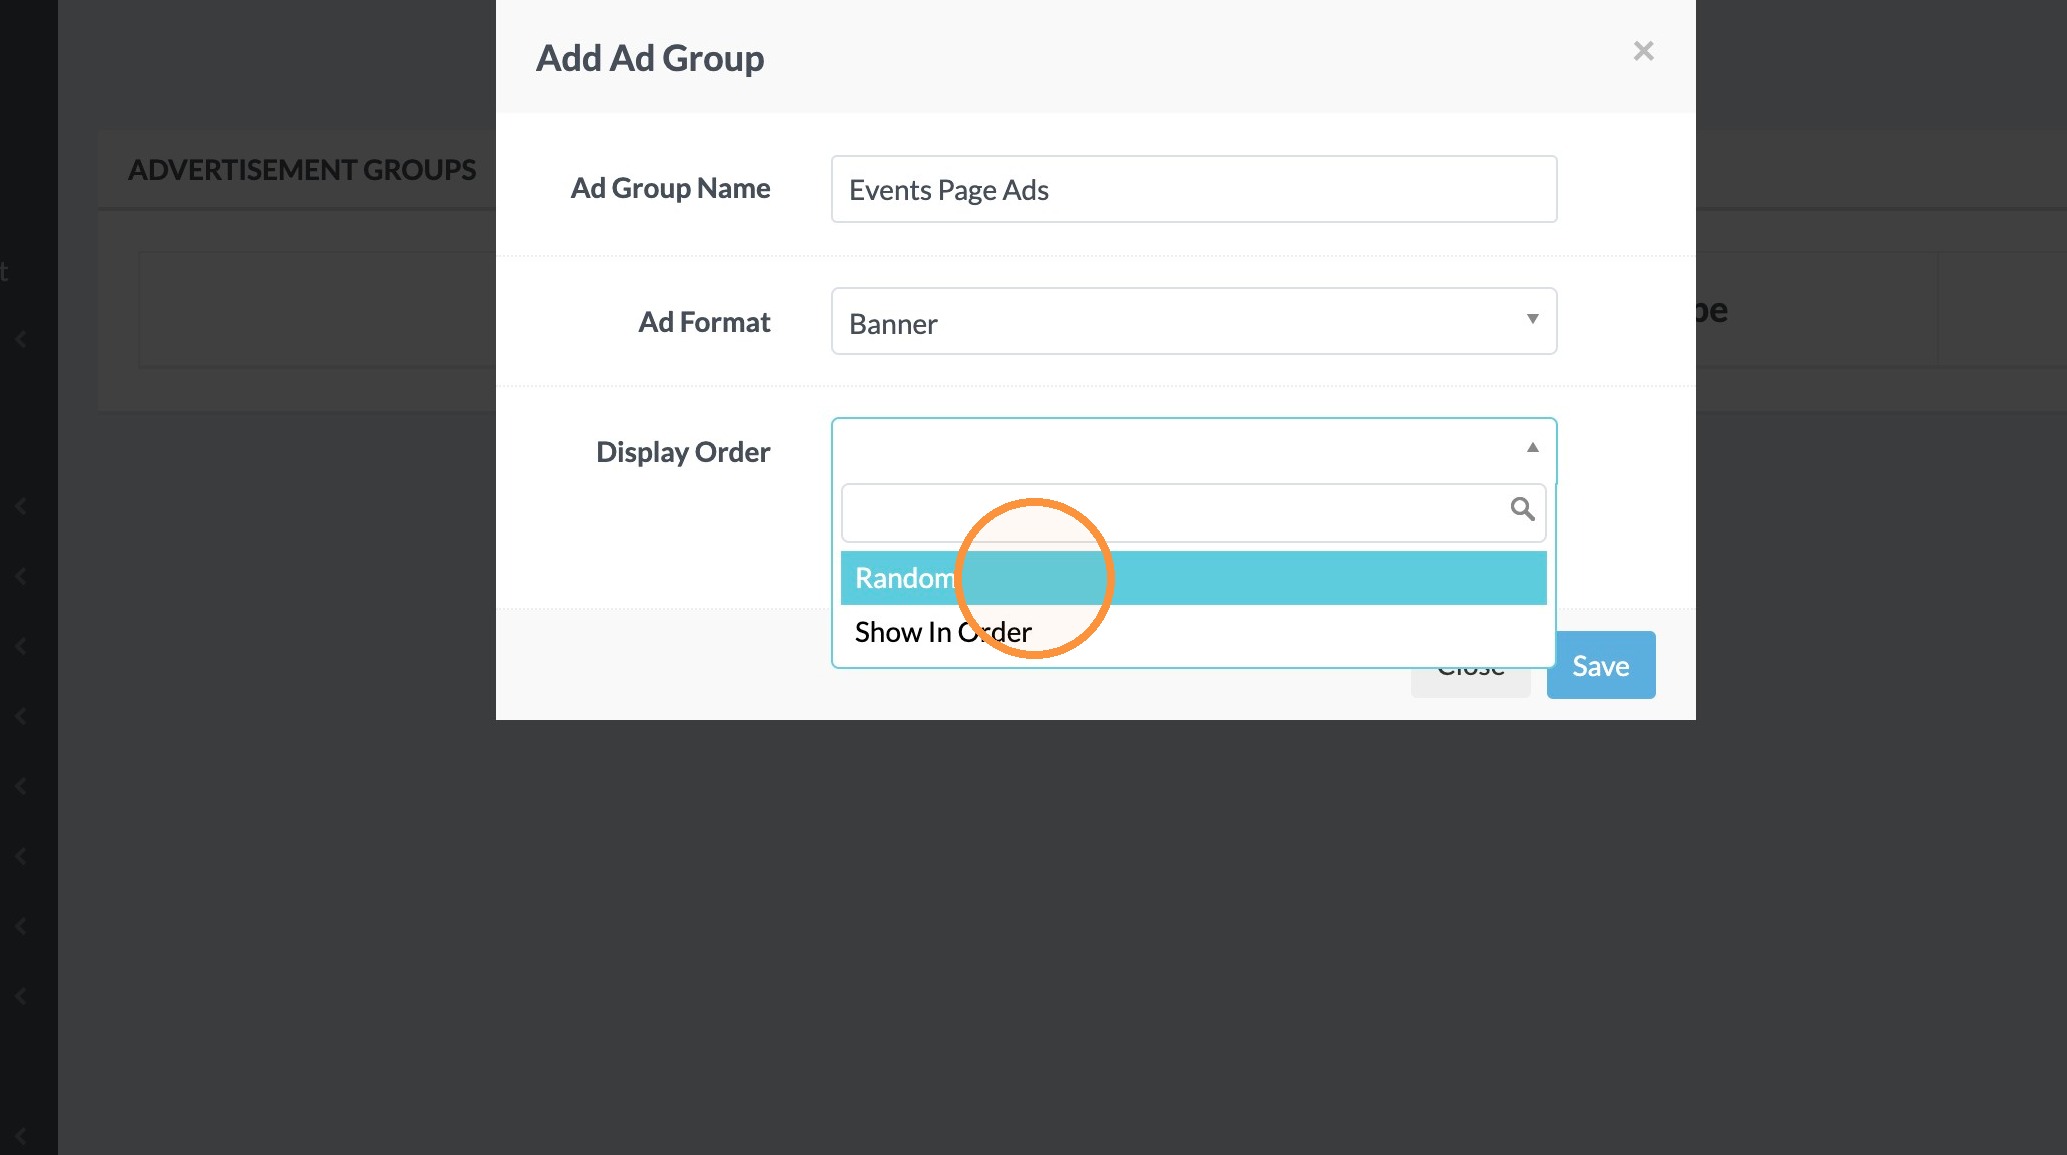
8. Click "Save"
Adding Individual Ads
Alert: Alert! You will have to go through these steps for each ad that you want in an ad group.
9. Click "Manage Ads"
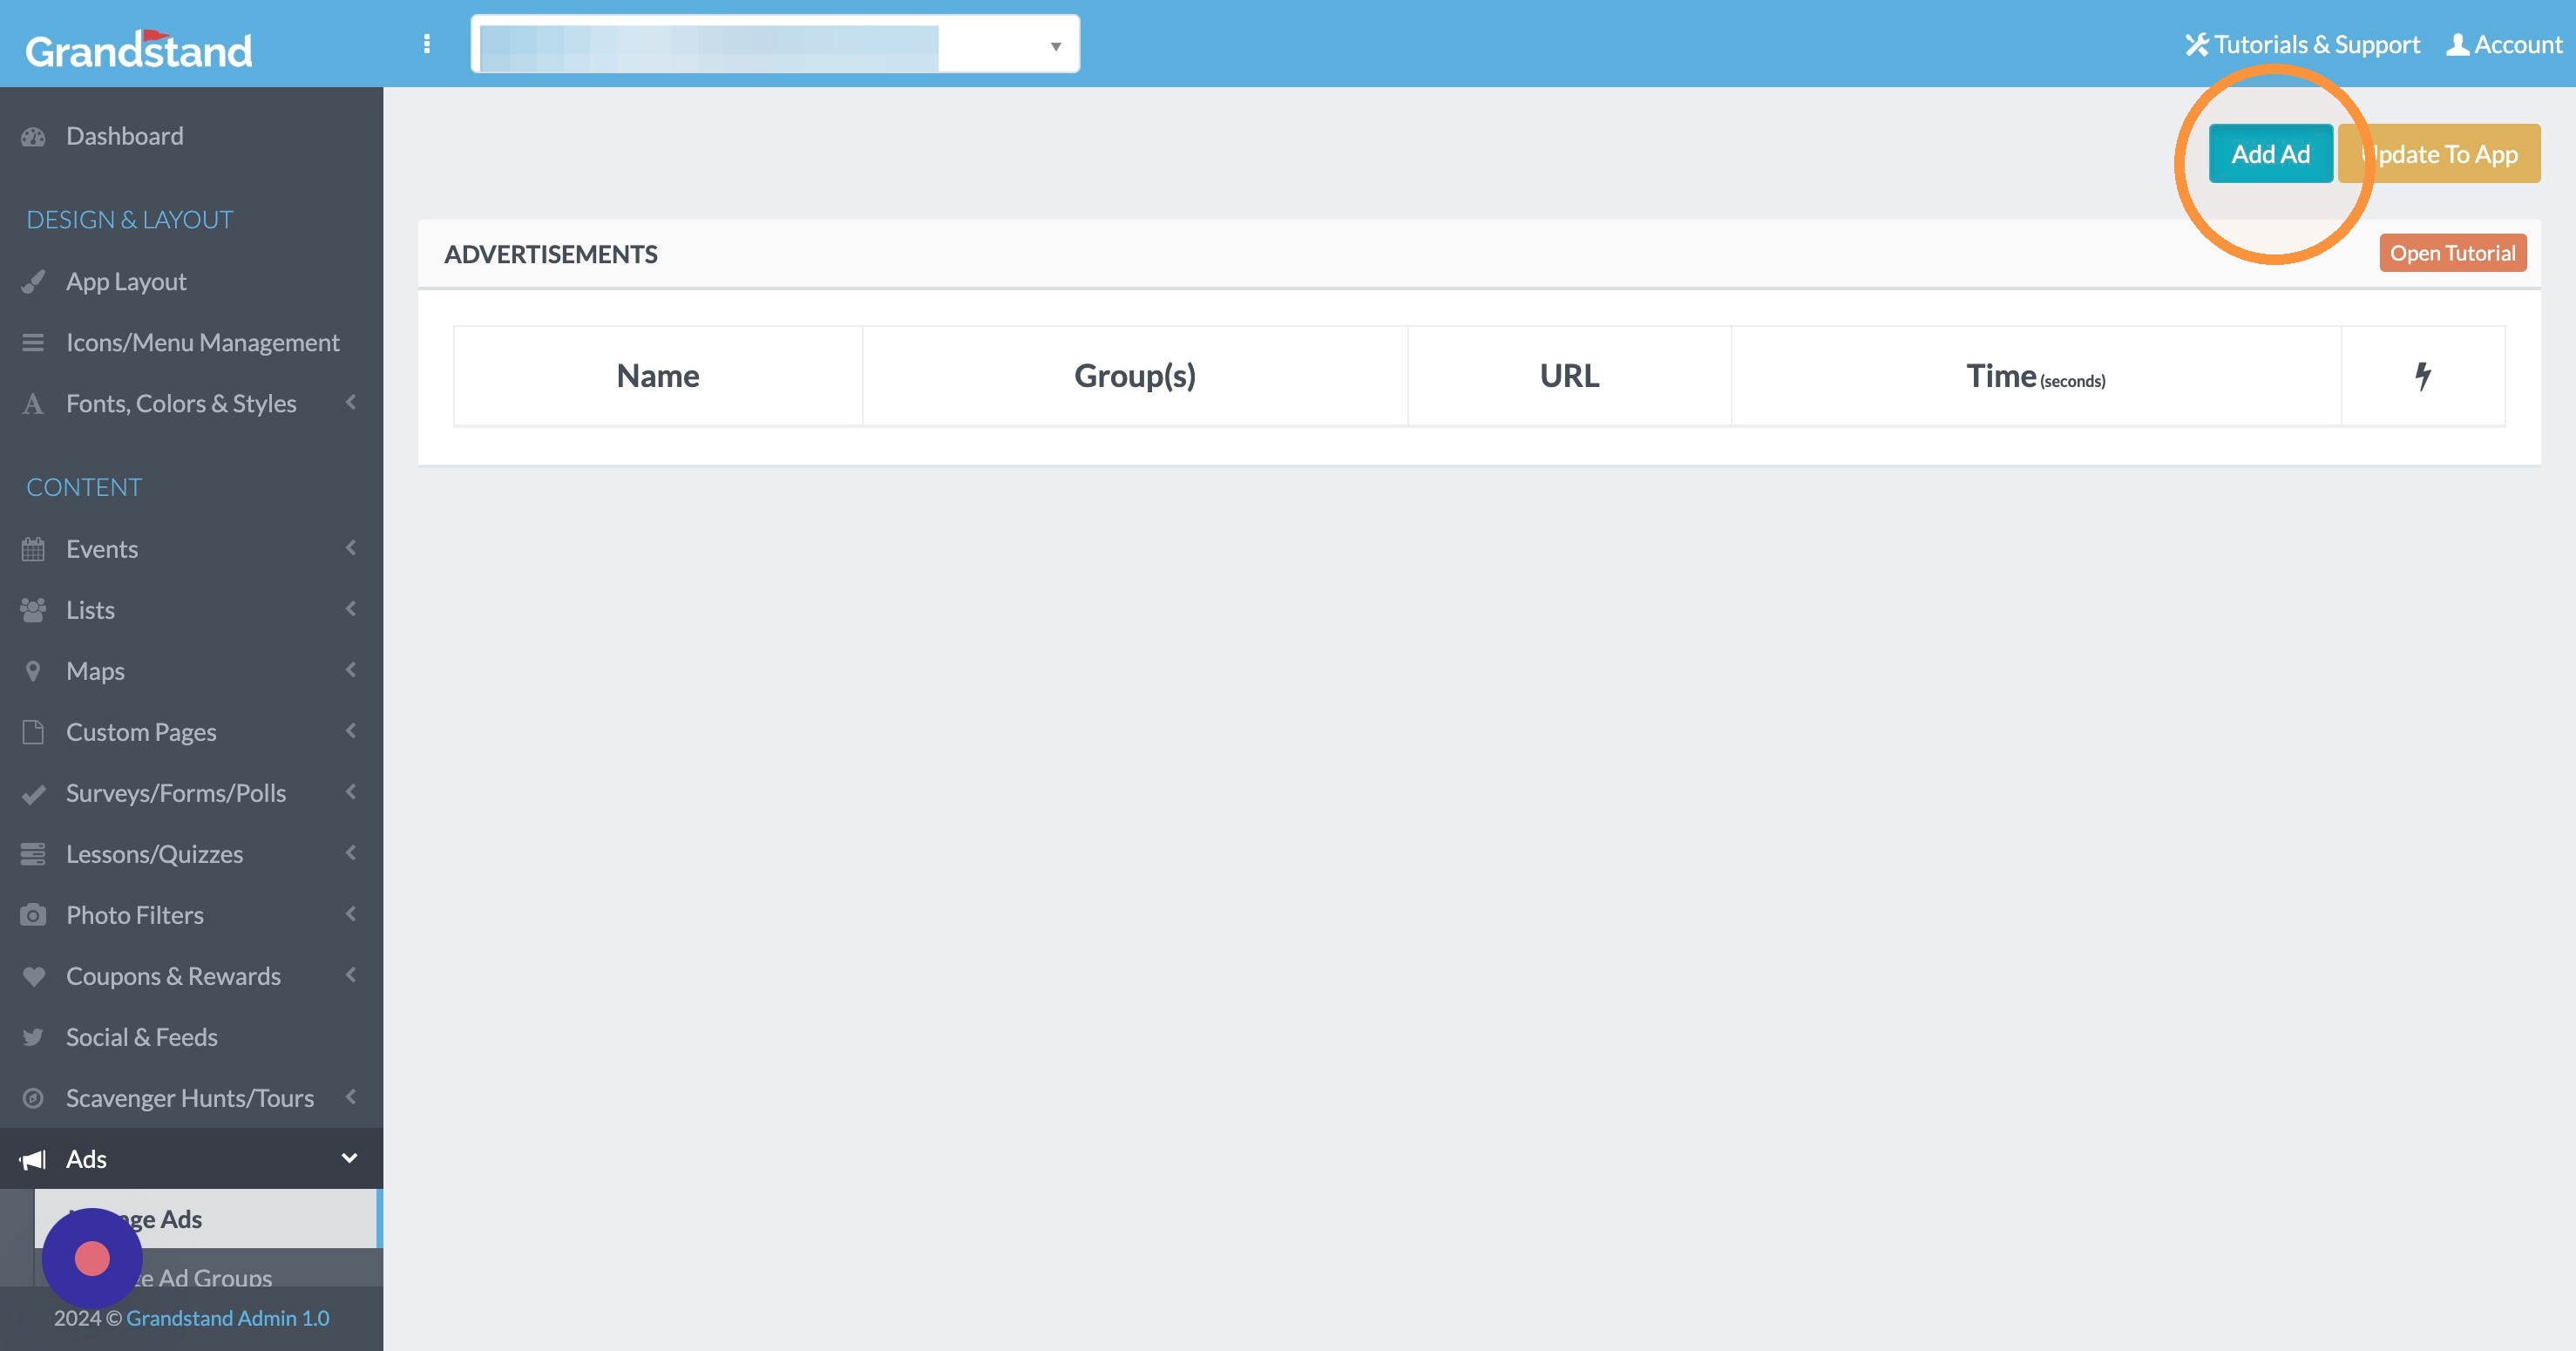
10. Click "Add Ad"
11. Give the ad a name.
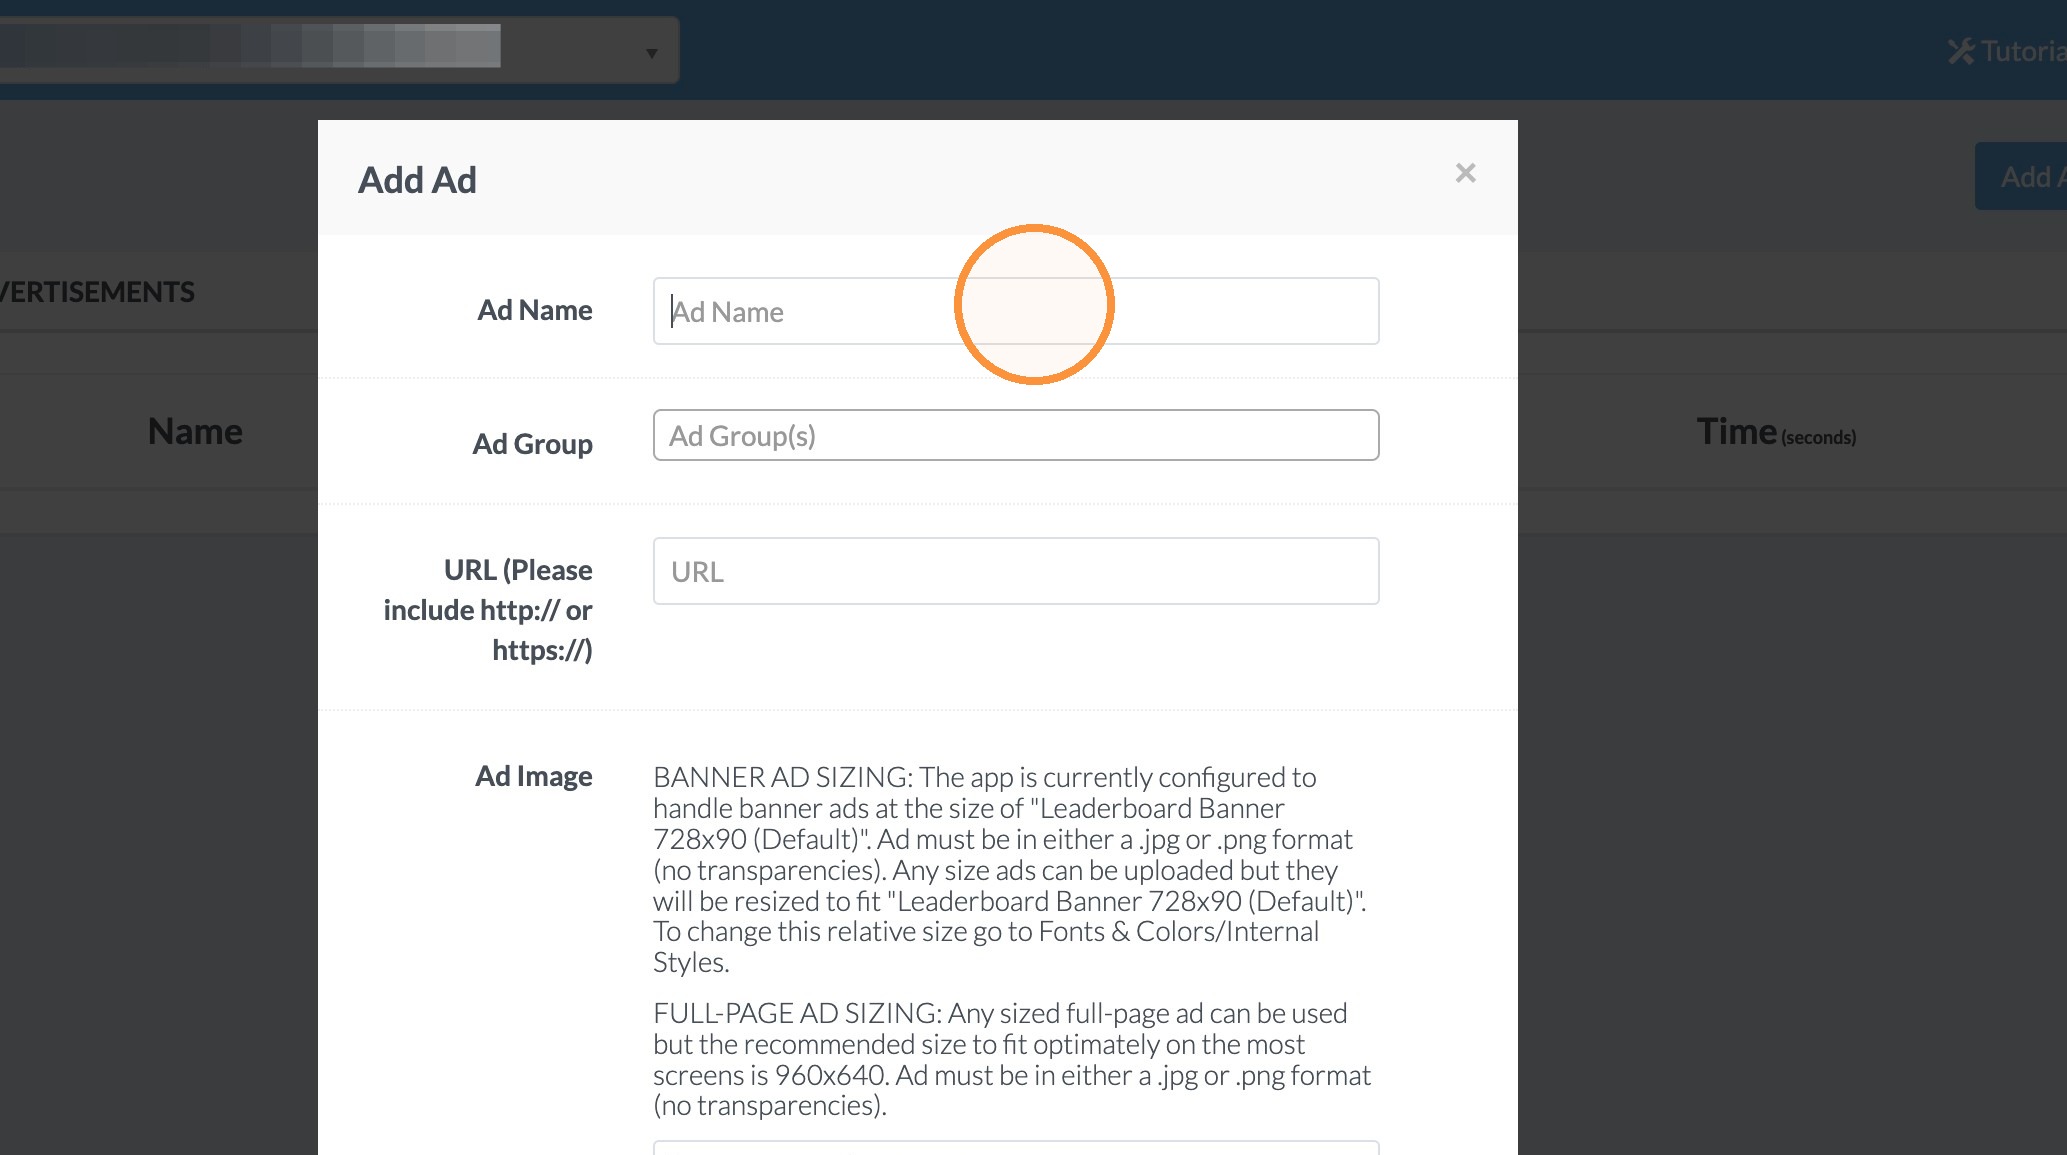
12. Click "Ad Group(s)"
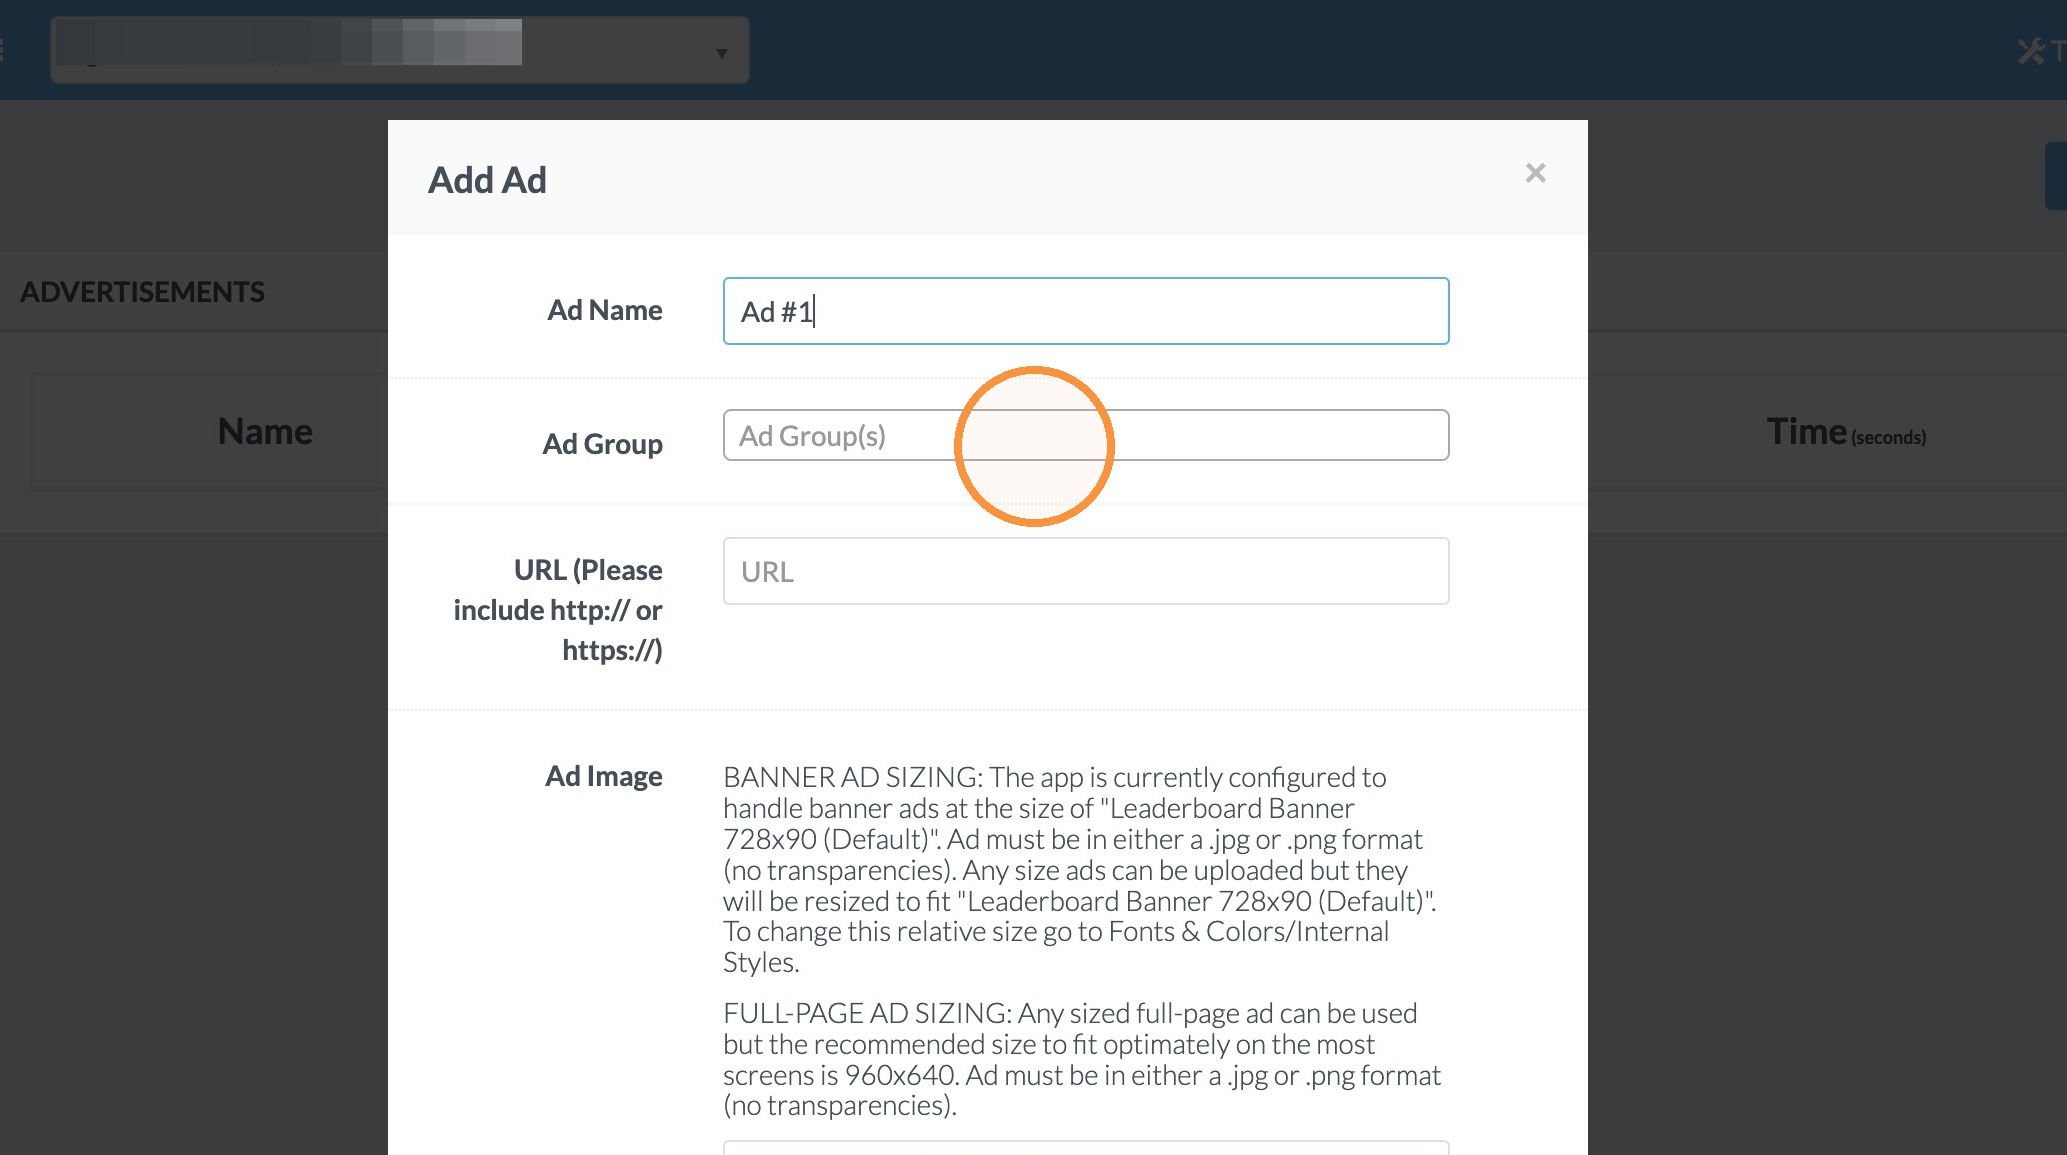
13. Select which group you would like to add an ad to.
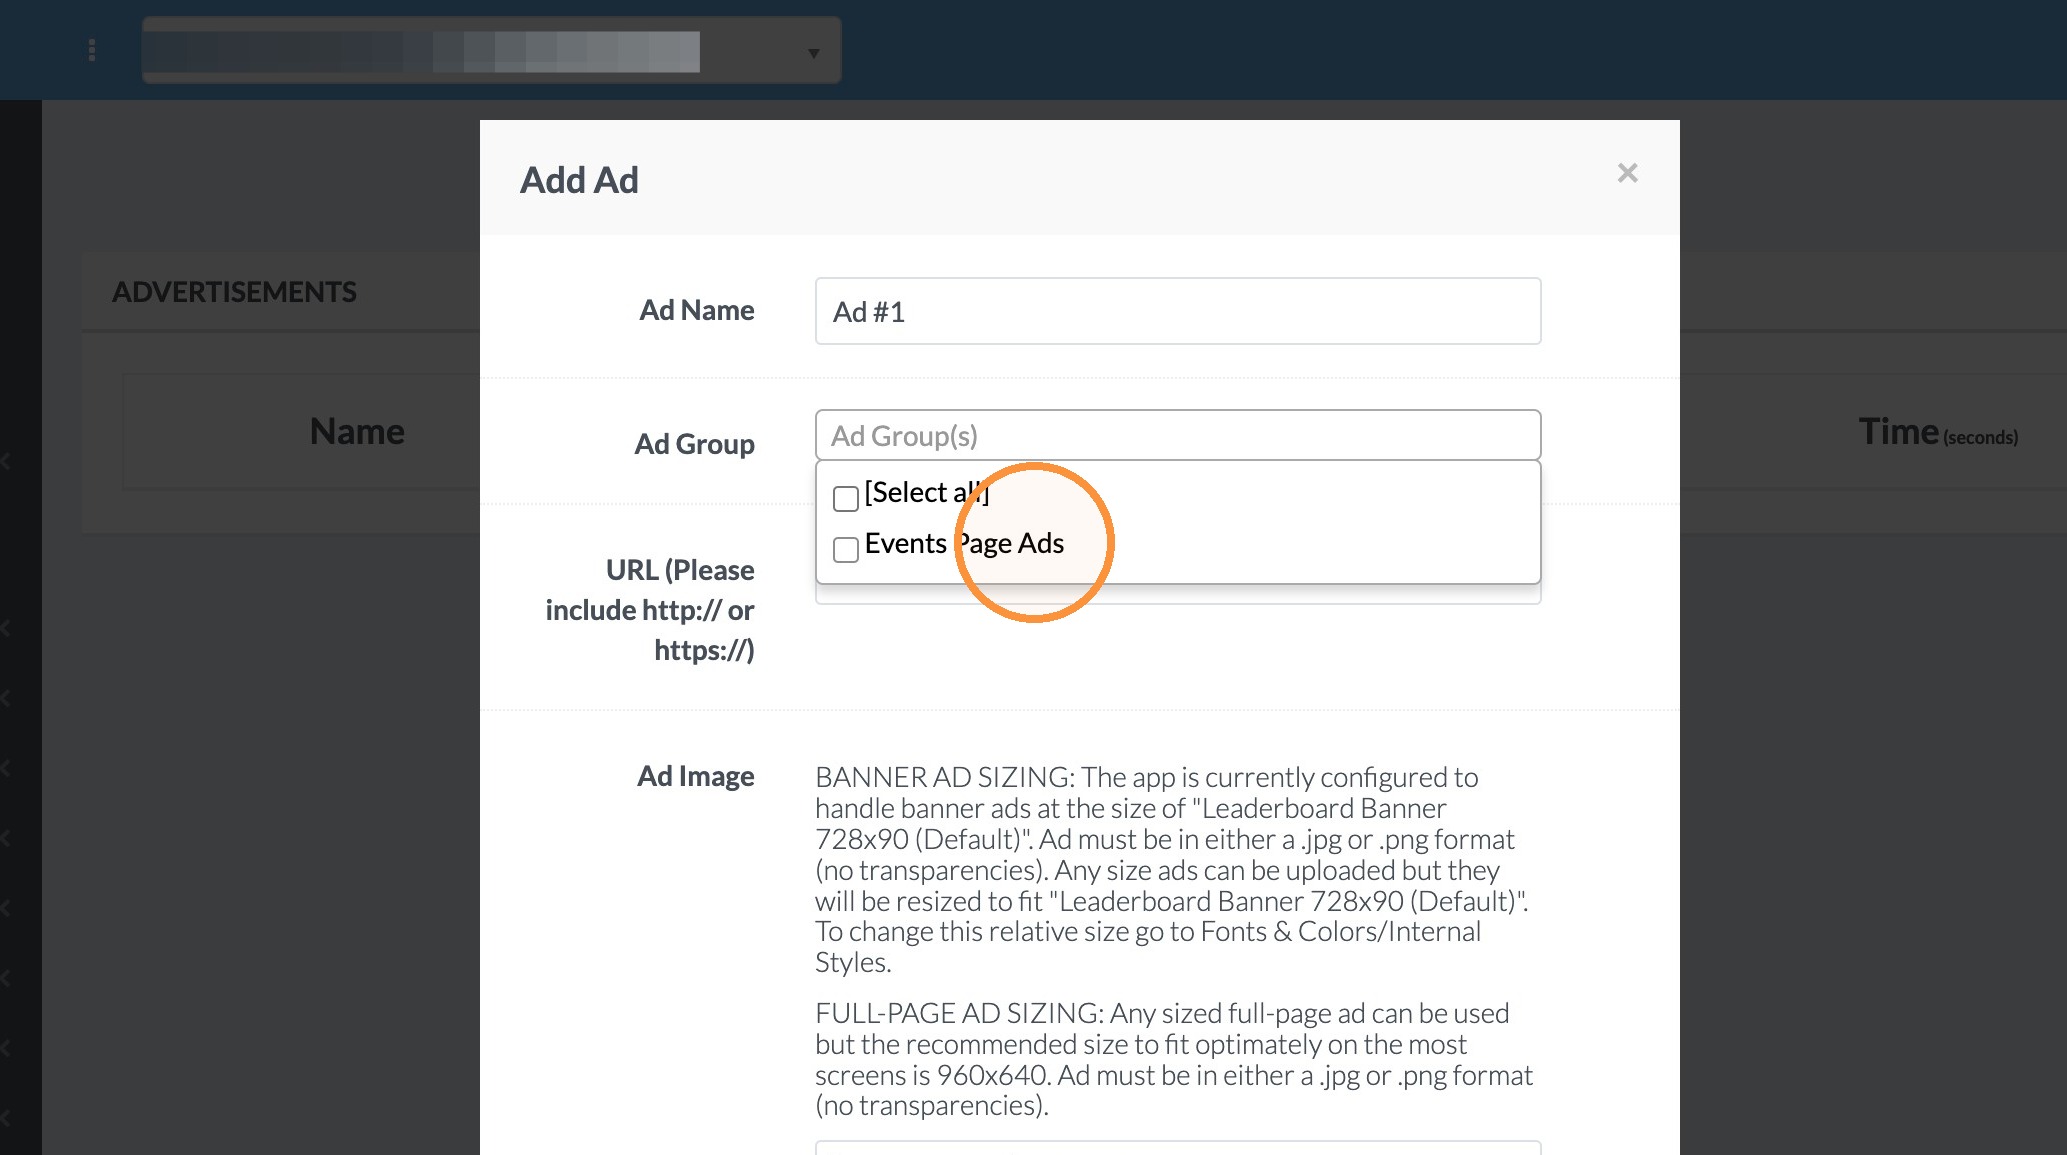
14. Click the "URL" field and add the website or URL that you would like the ad to be linked to. If there isn't one, you can leave this field blank.
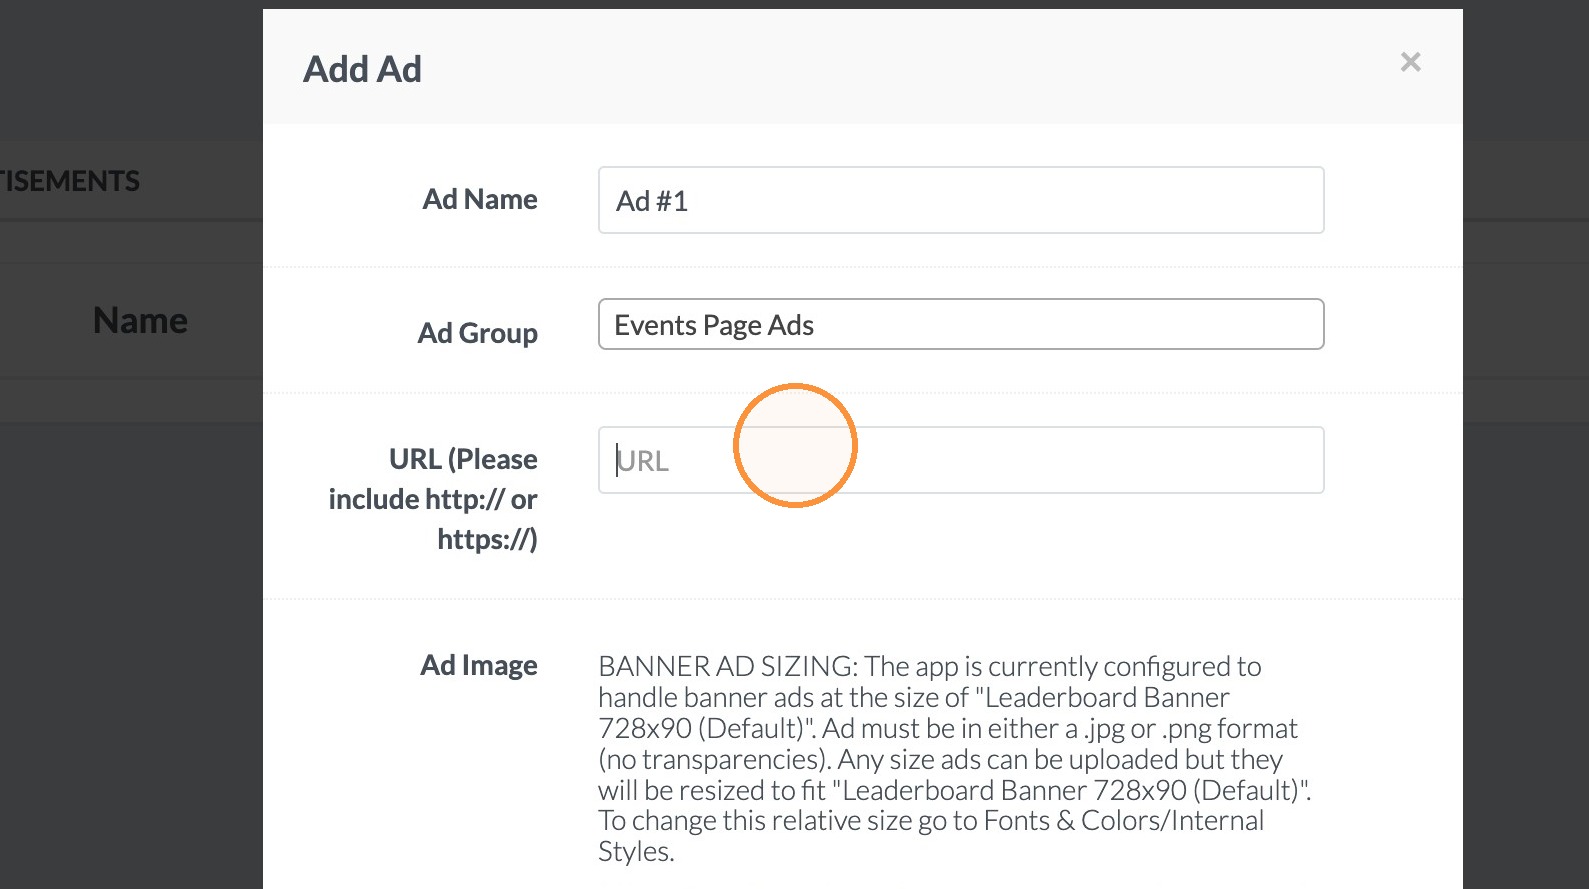
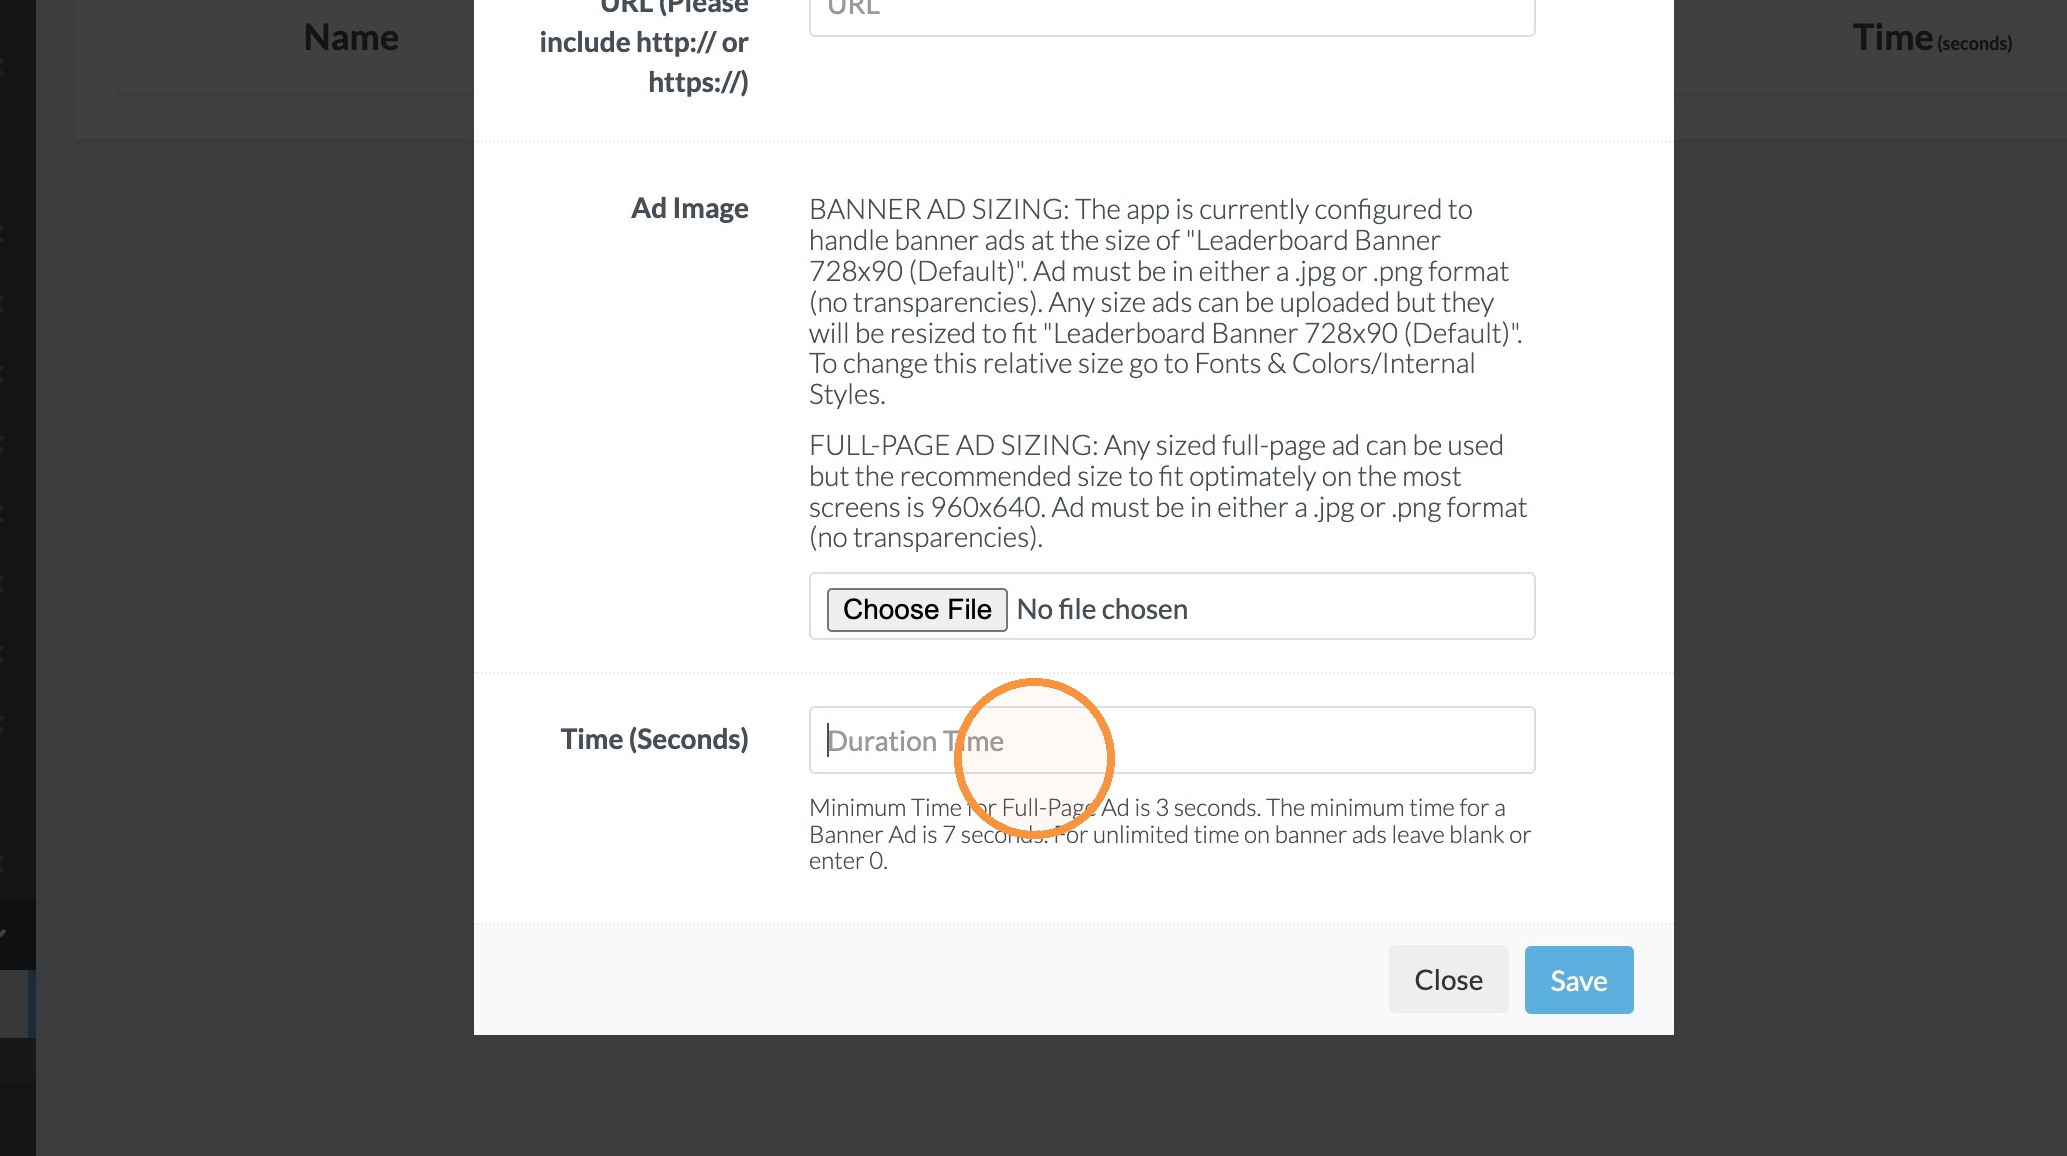
15. Click "Choose File" and select the ad from your documents.
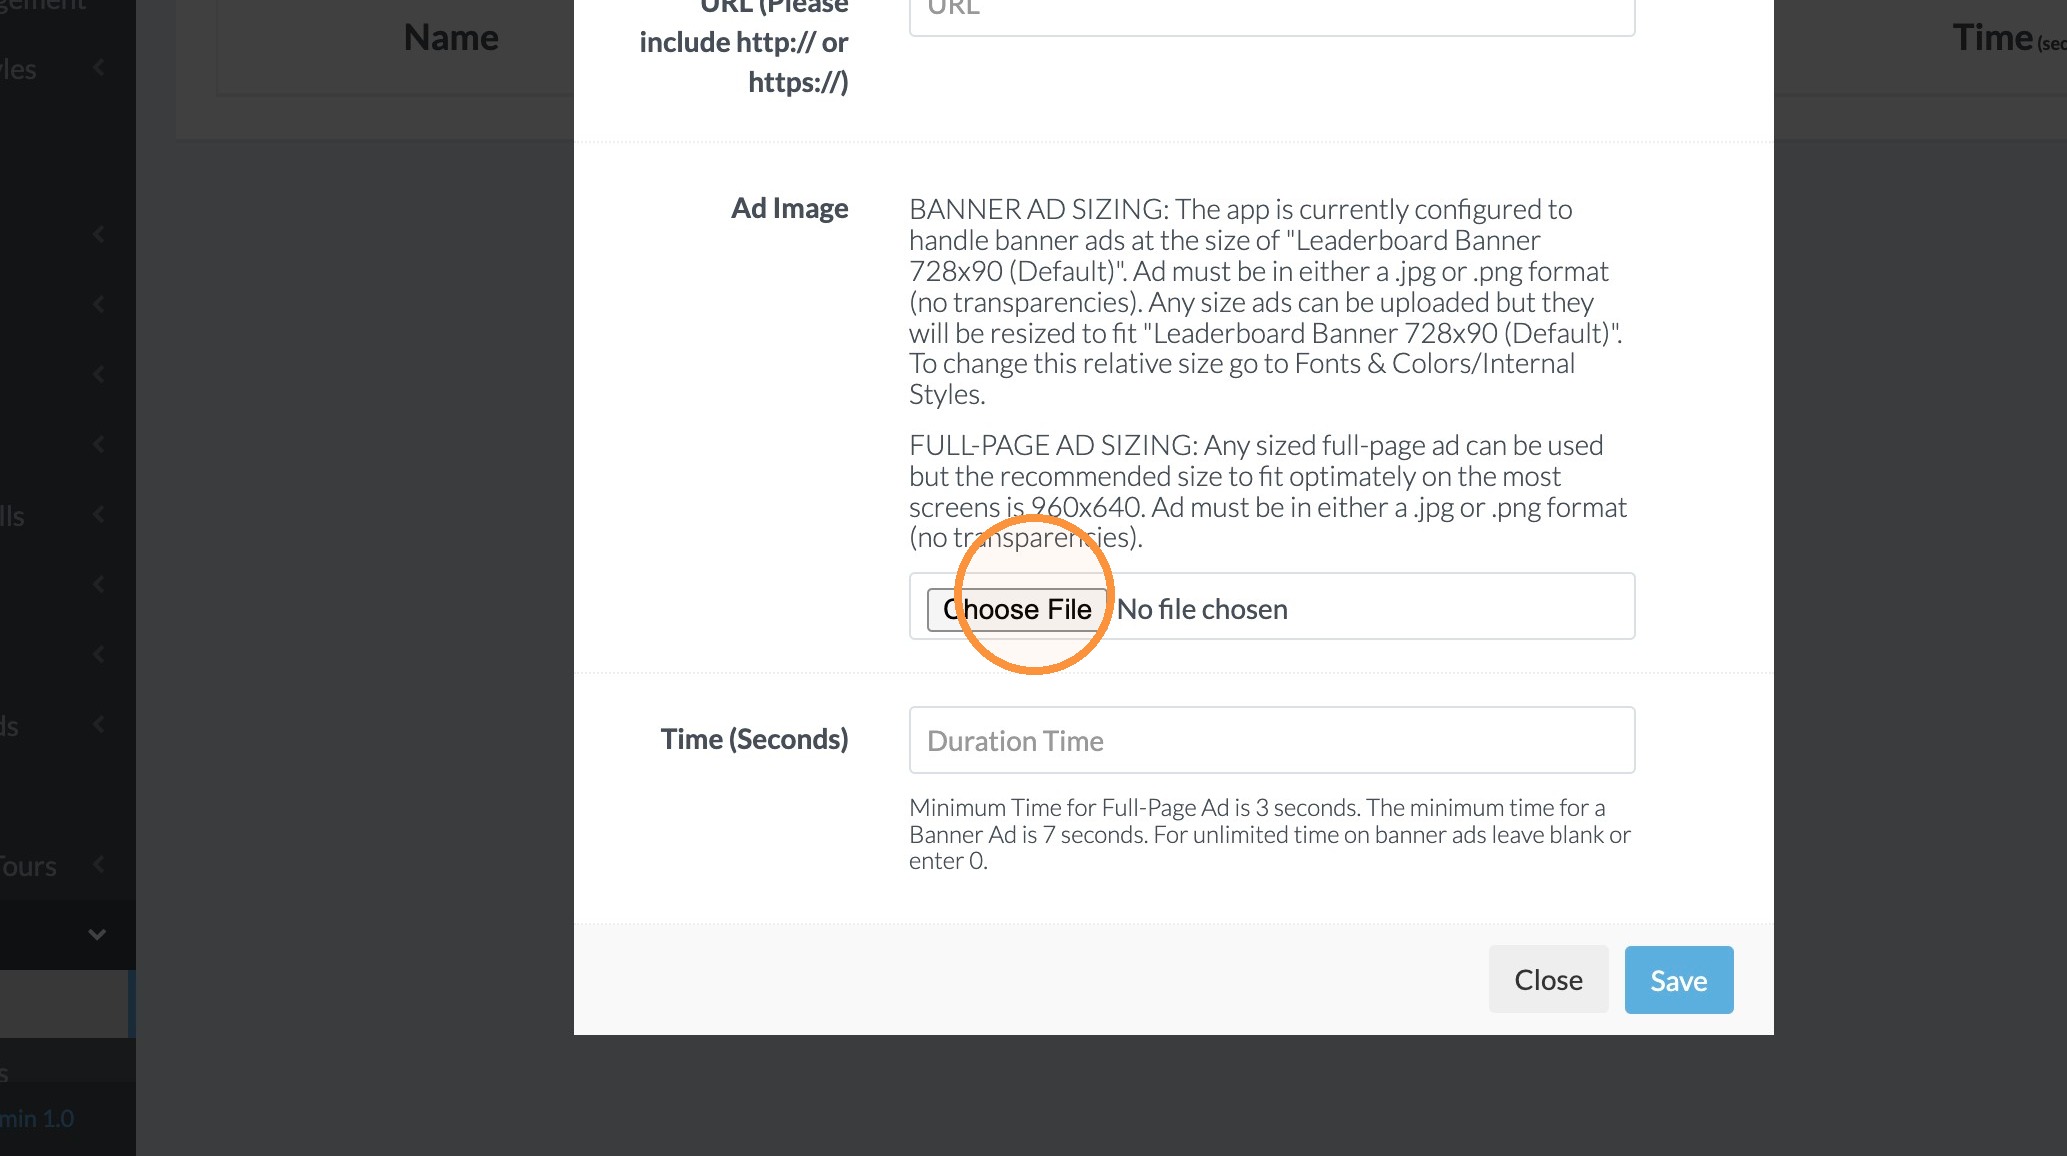
16. Click the "Duration Time" field and enter how long you would like the ad to show before rotating to the next ad.
17. Click "Save"
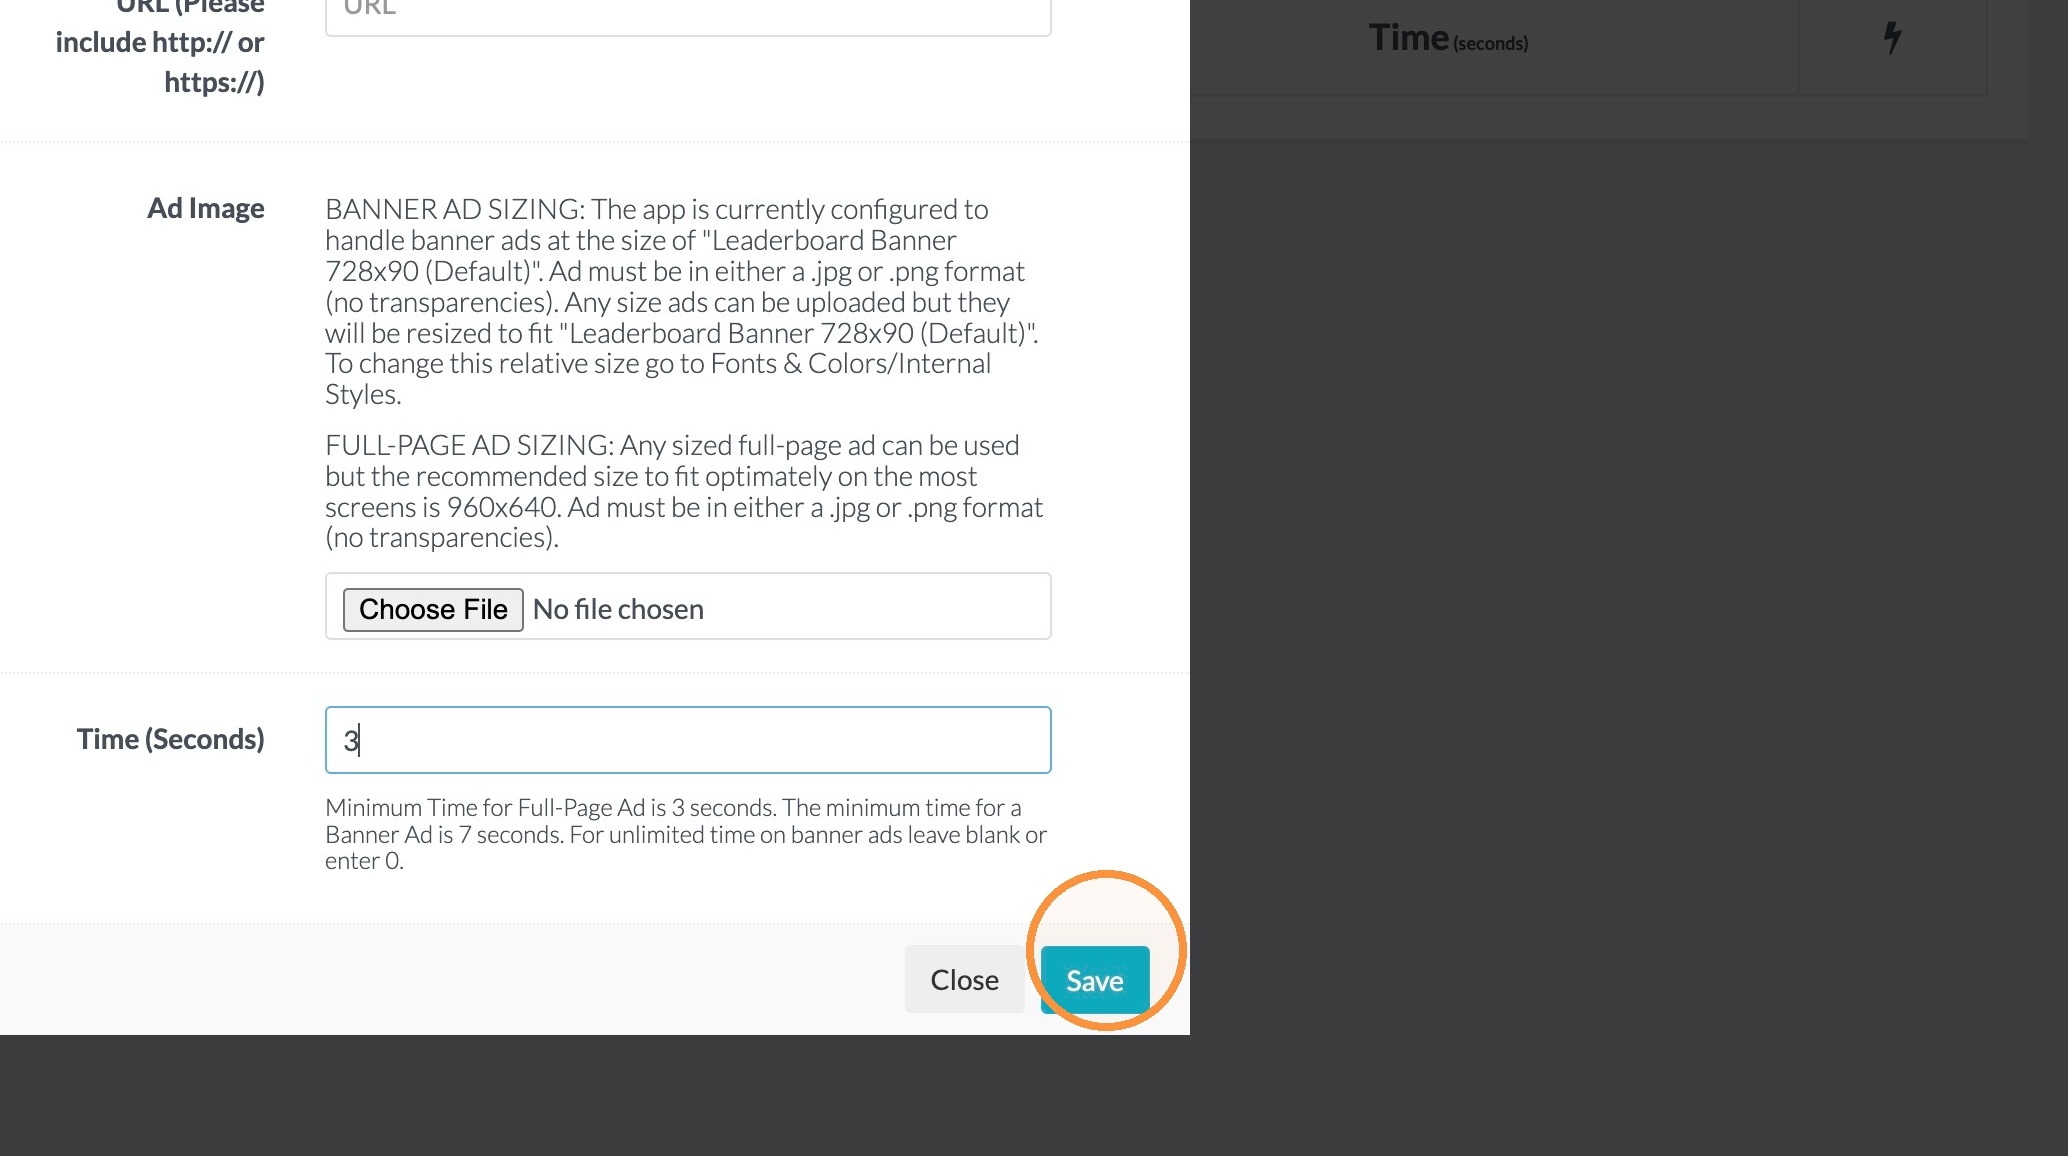
18. At this point, you can add additional ads to your ad group if you would like.
Linking the Ads to the App
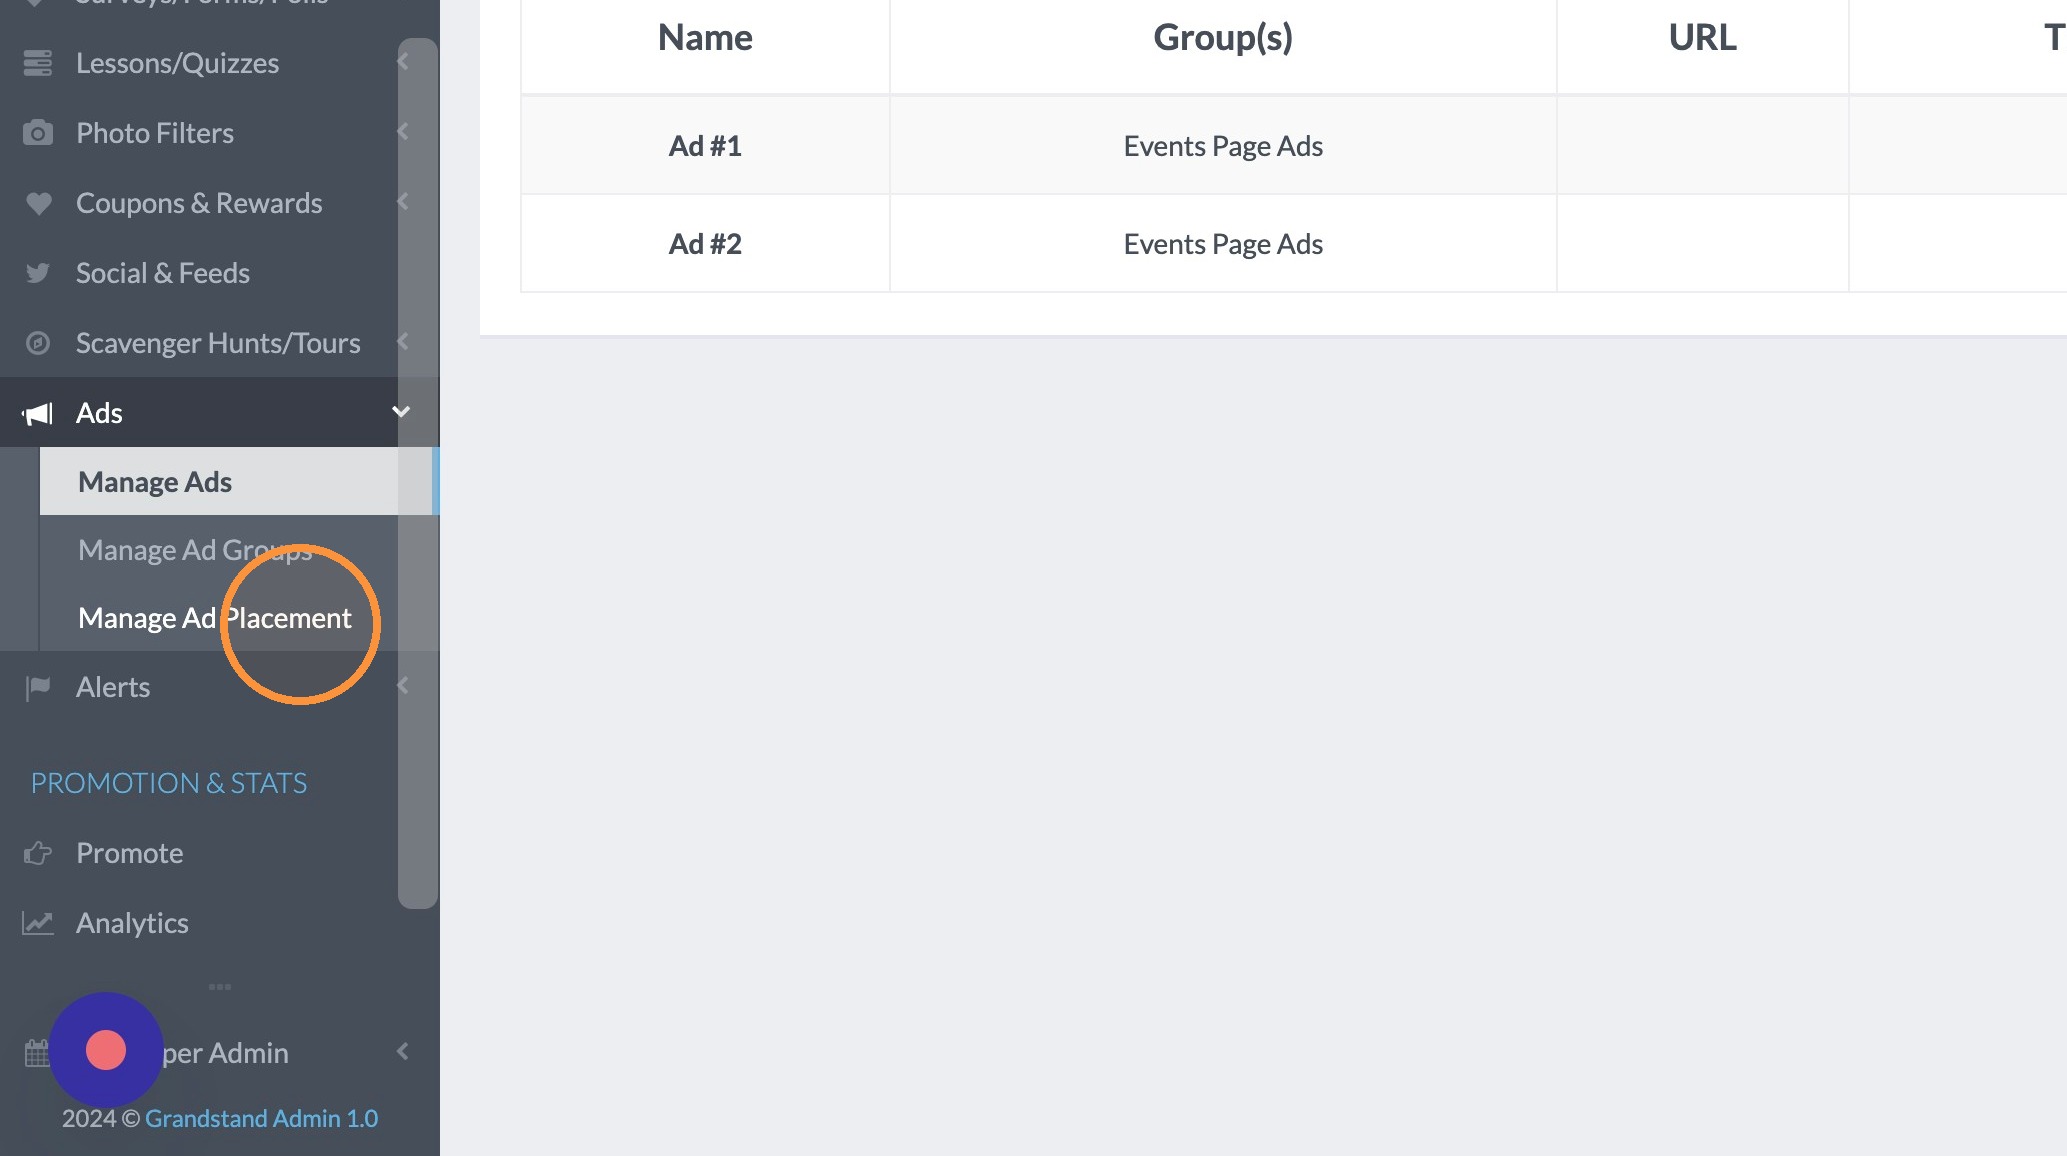
19. Click "Manage Ad Placement"
20. Click the dropdown arrow for which page you want your ad group to show on and select the ad group. In this case, "Events Page Ads" is selected.
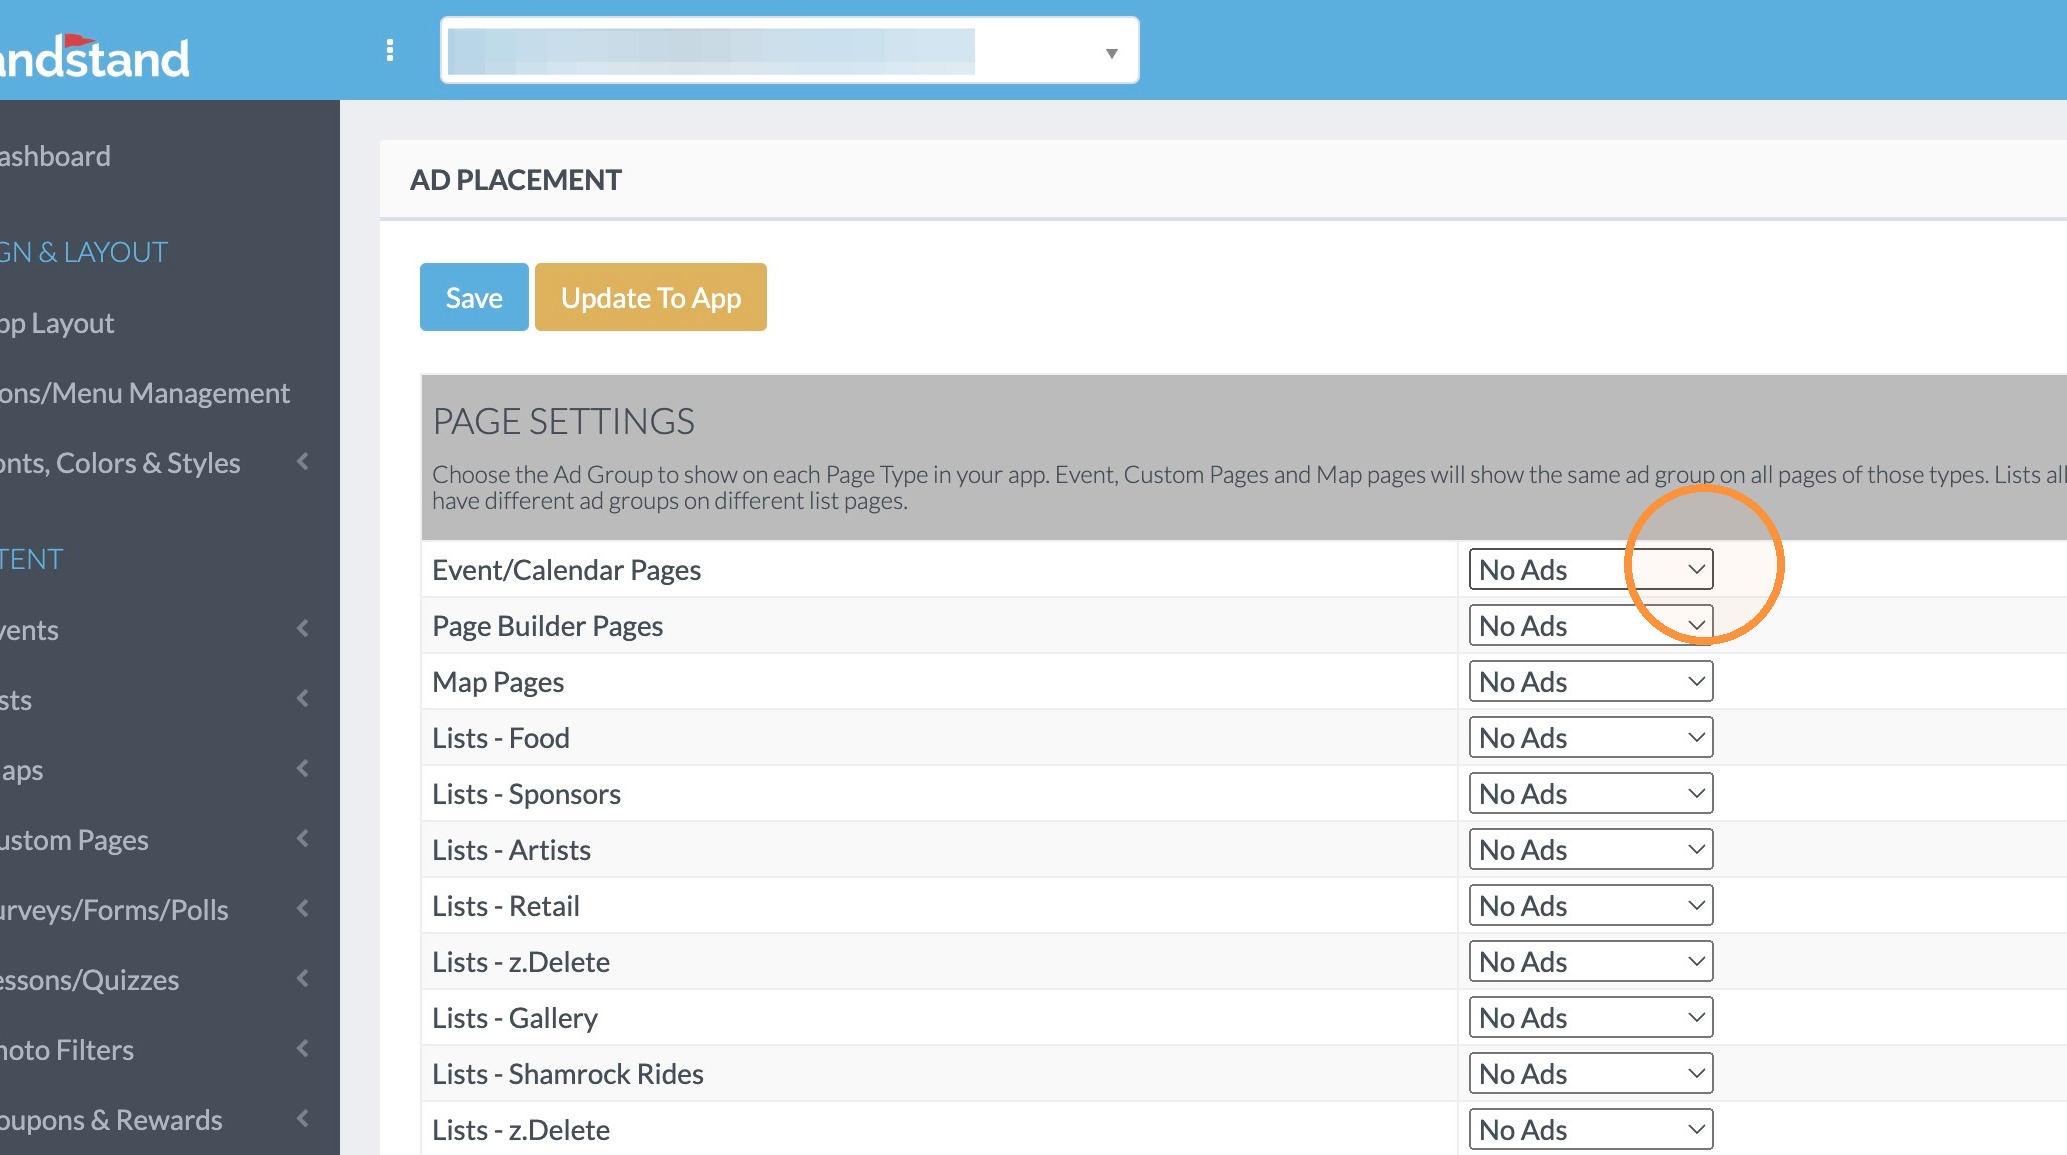
21. Click "Update To App"