1. Log in at grandstandapps.com/admin
2. Click "Surveys/Forms/Polls"
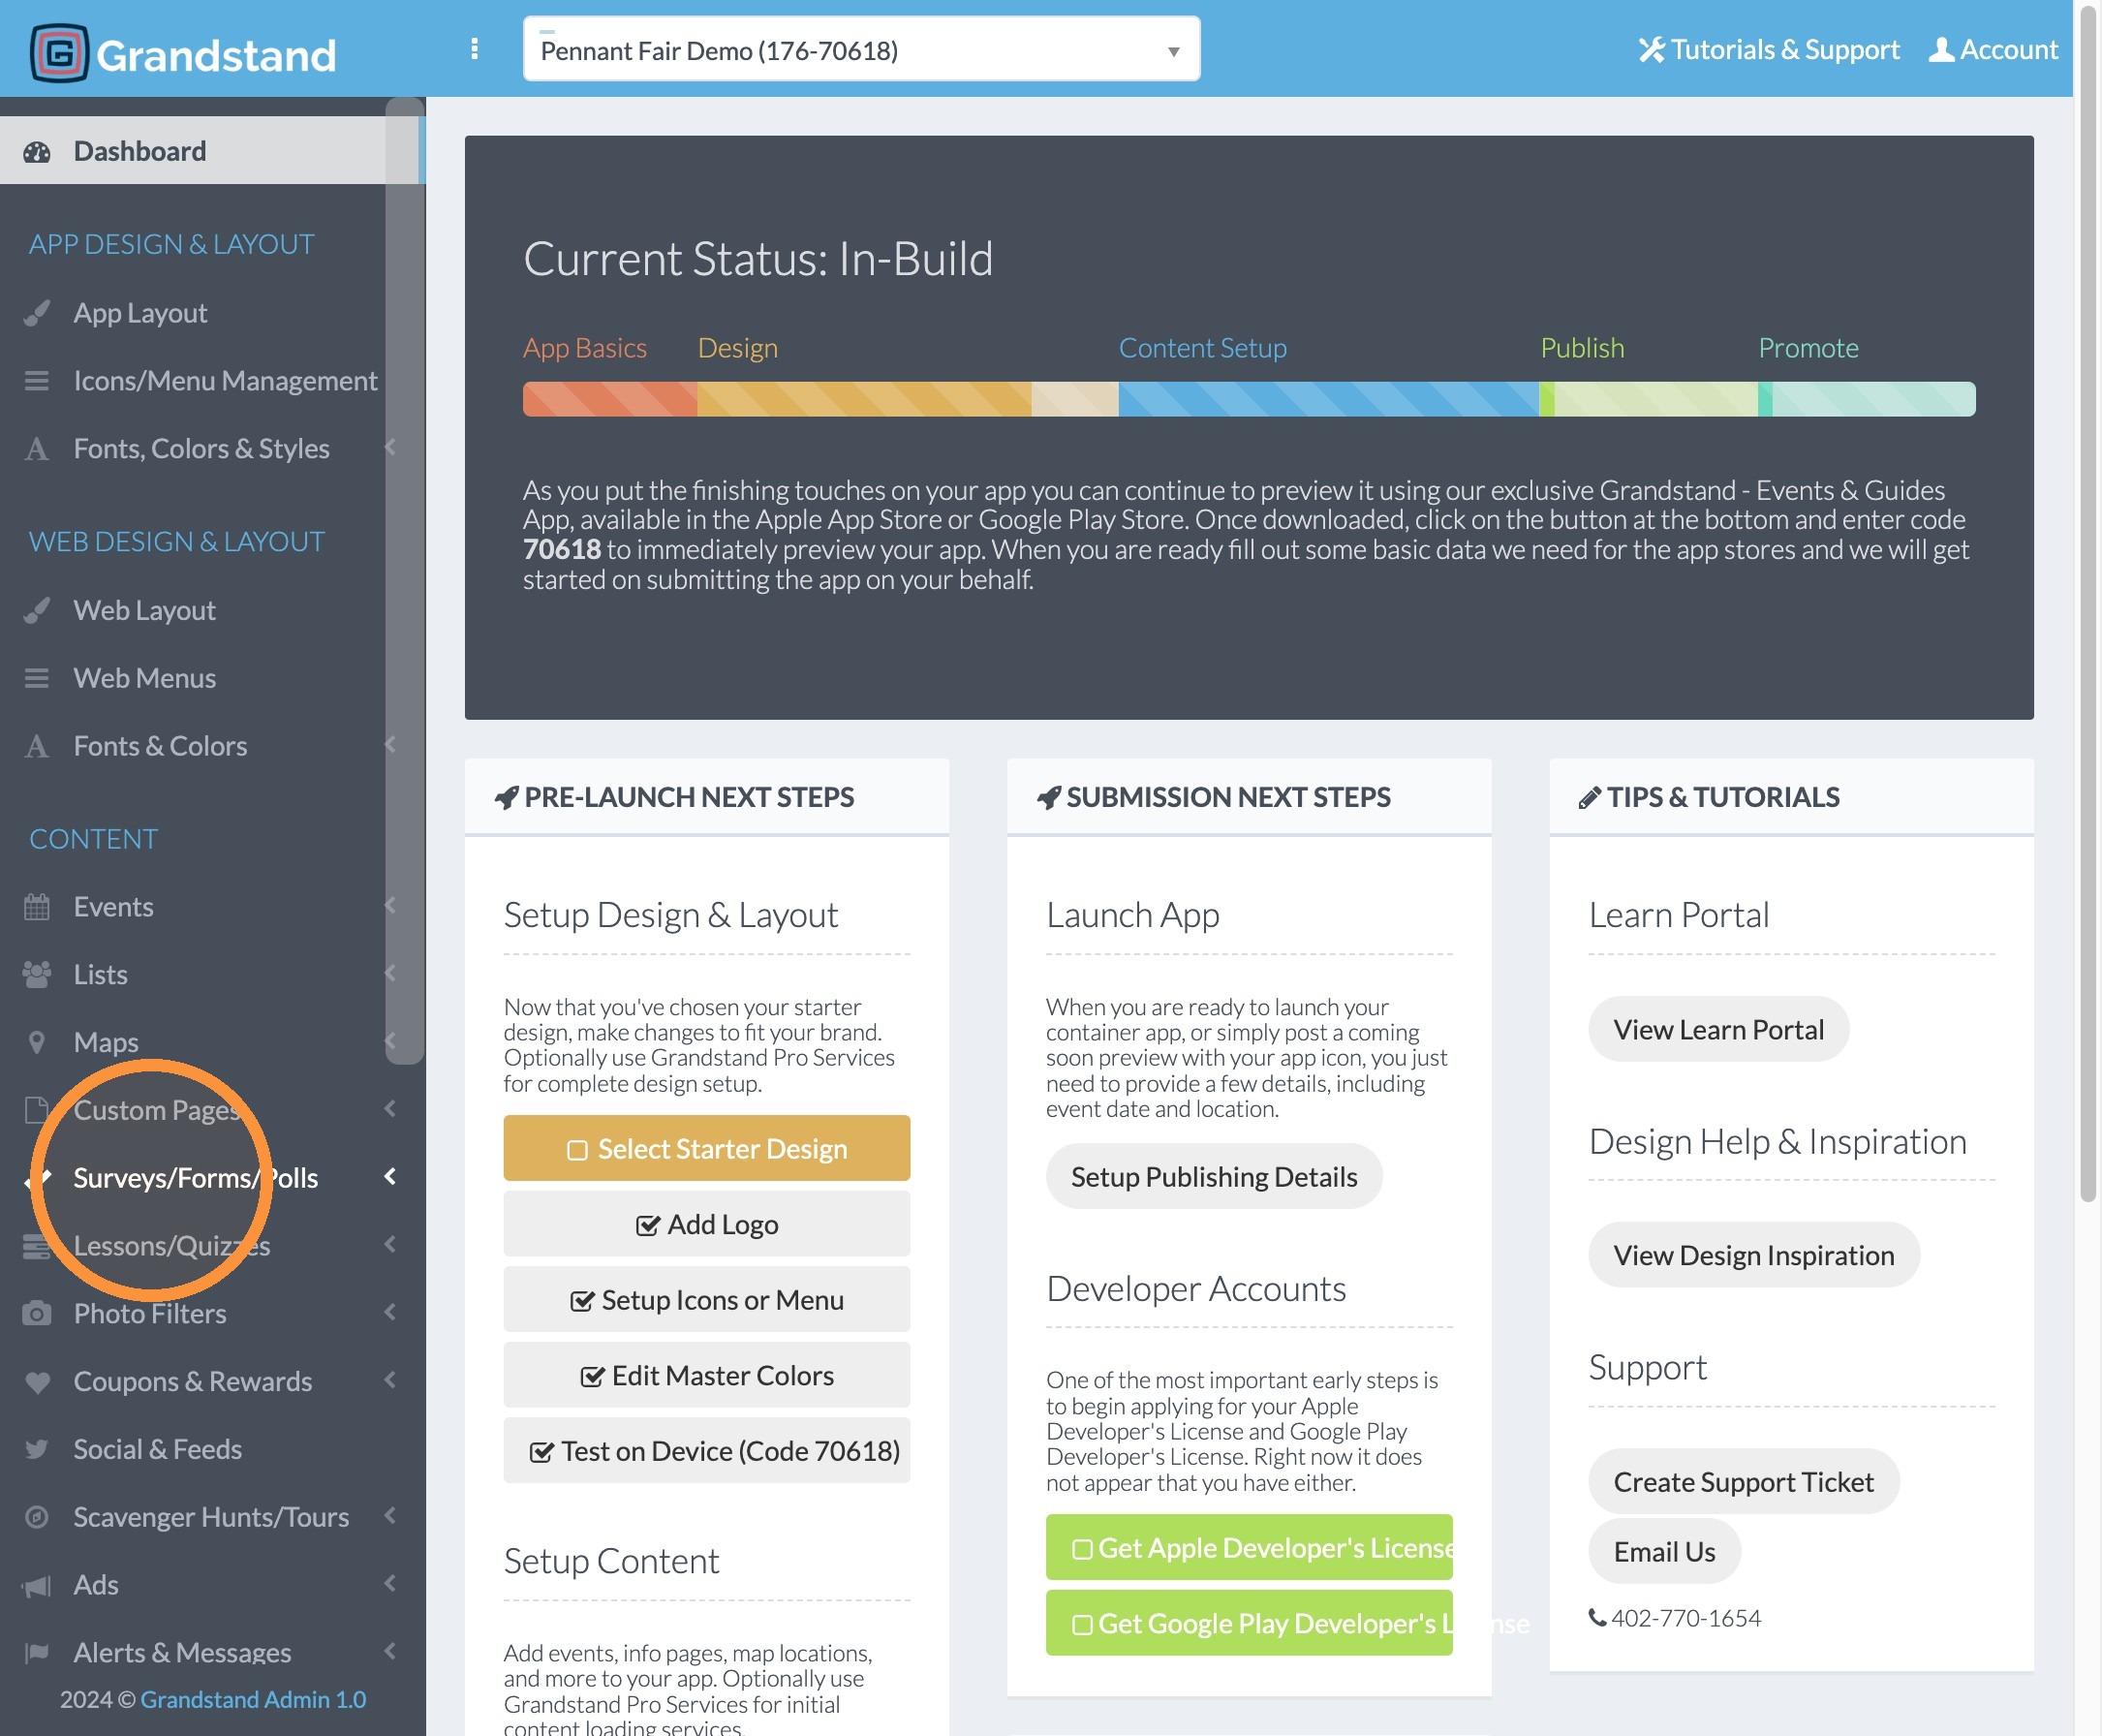
3. Click "Manage Survey/Form"
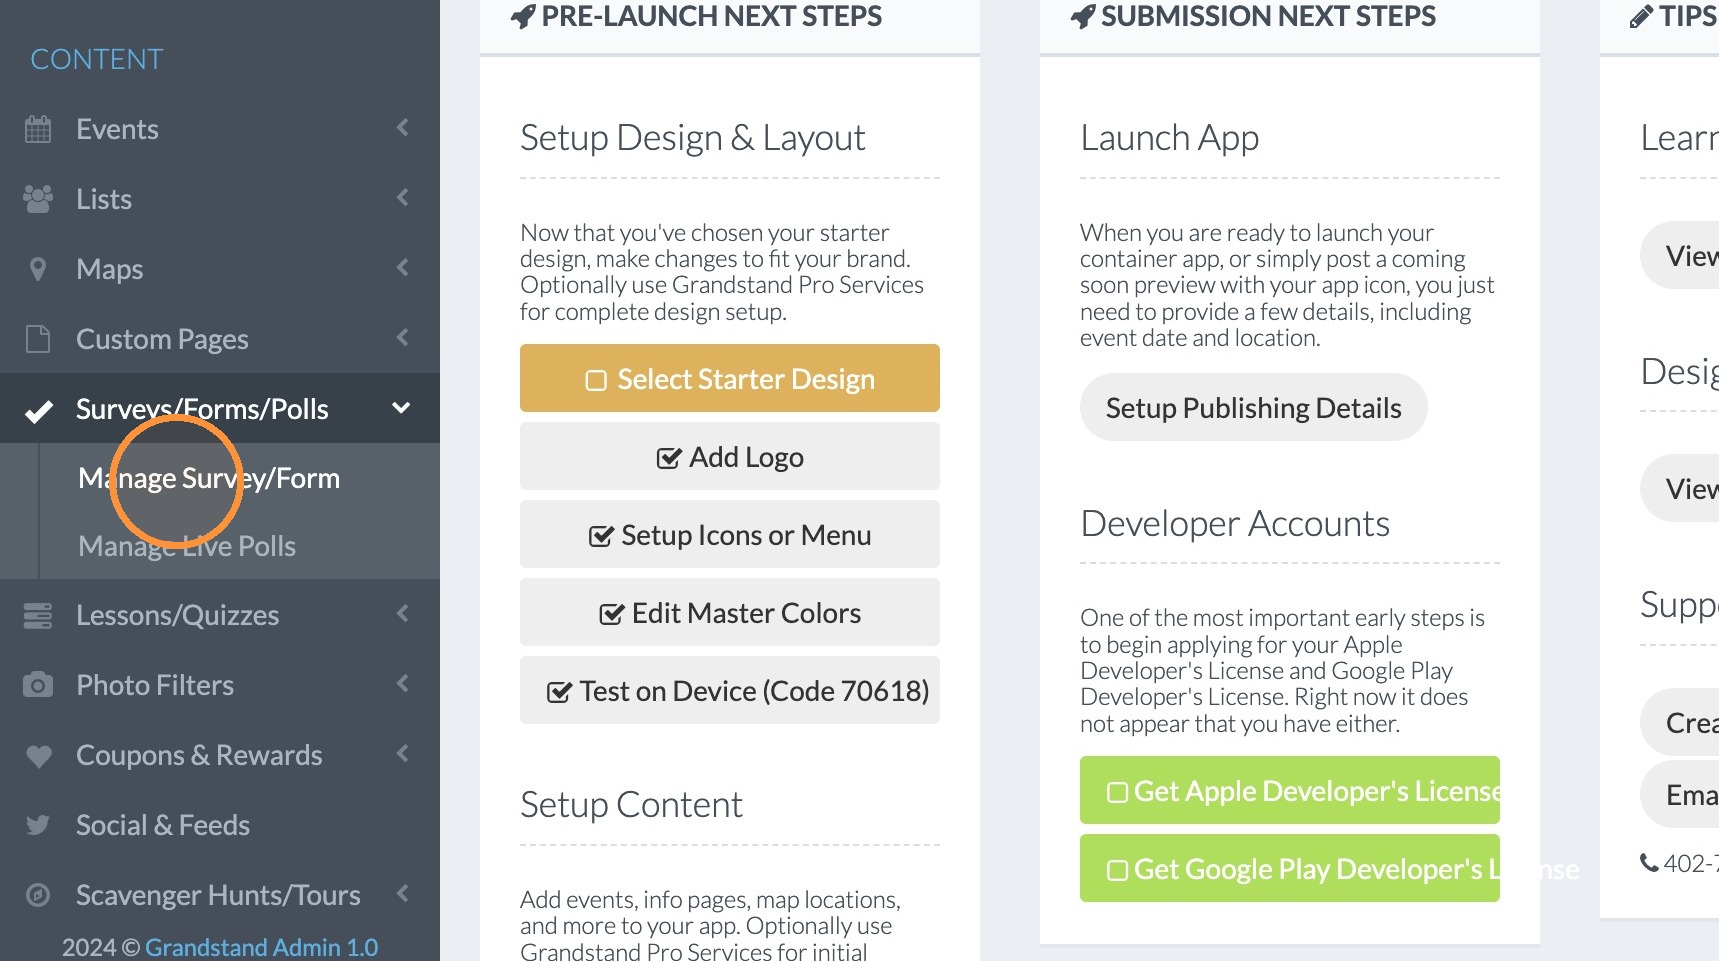
4. Click "Add Survey"
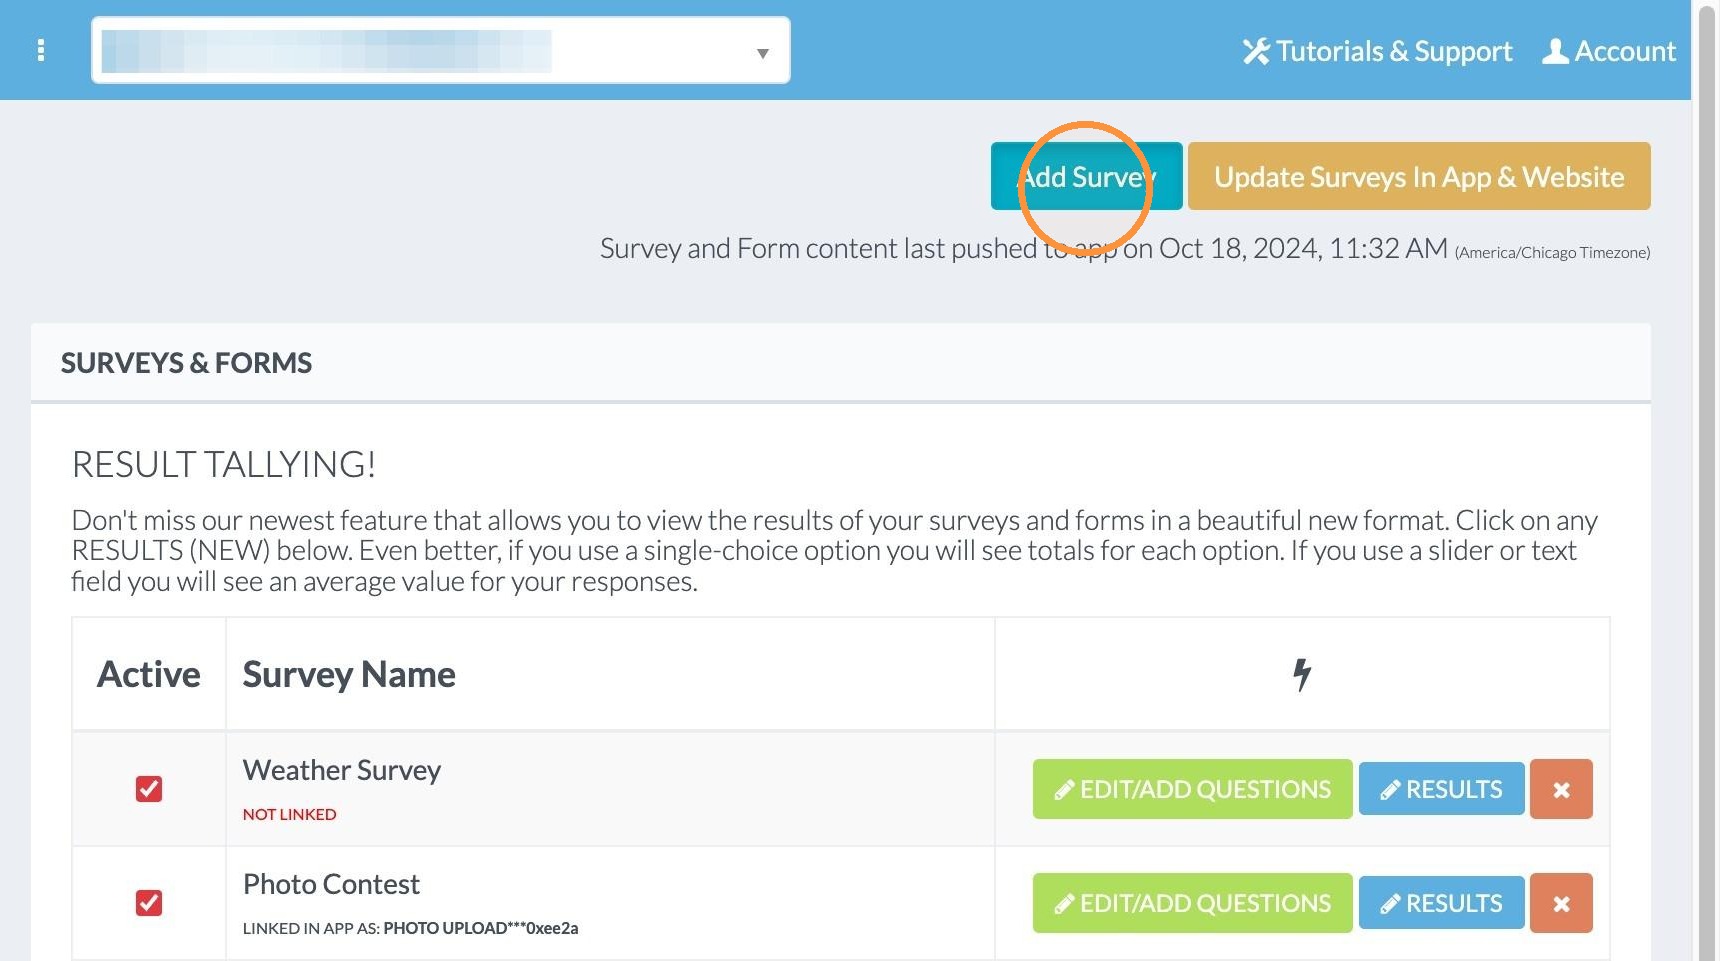
5. Click the "Survey Title" field and enter the name of the survey. We are naming this "Feedback"
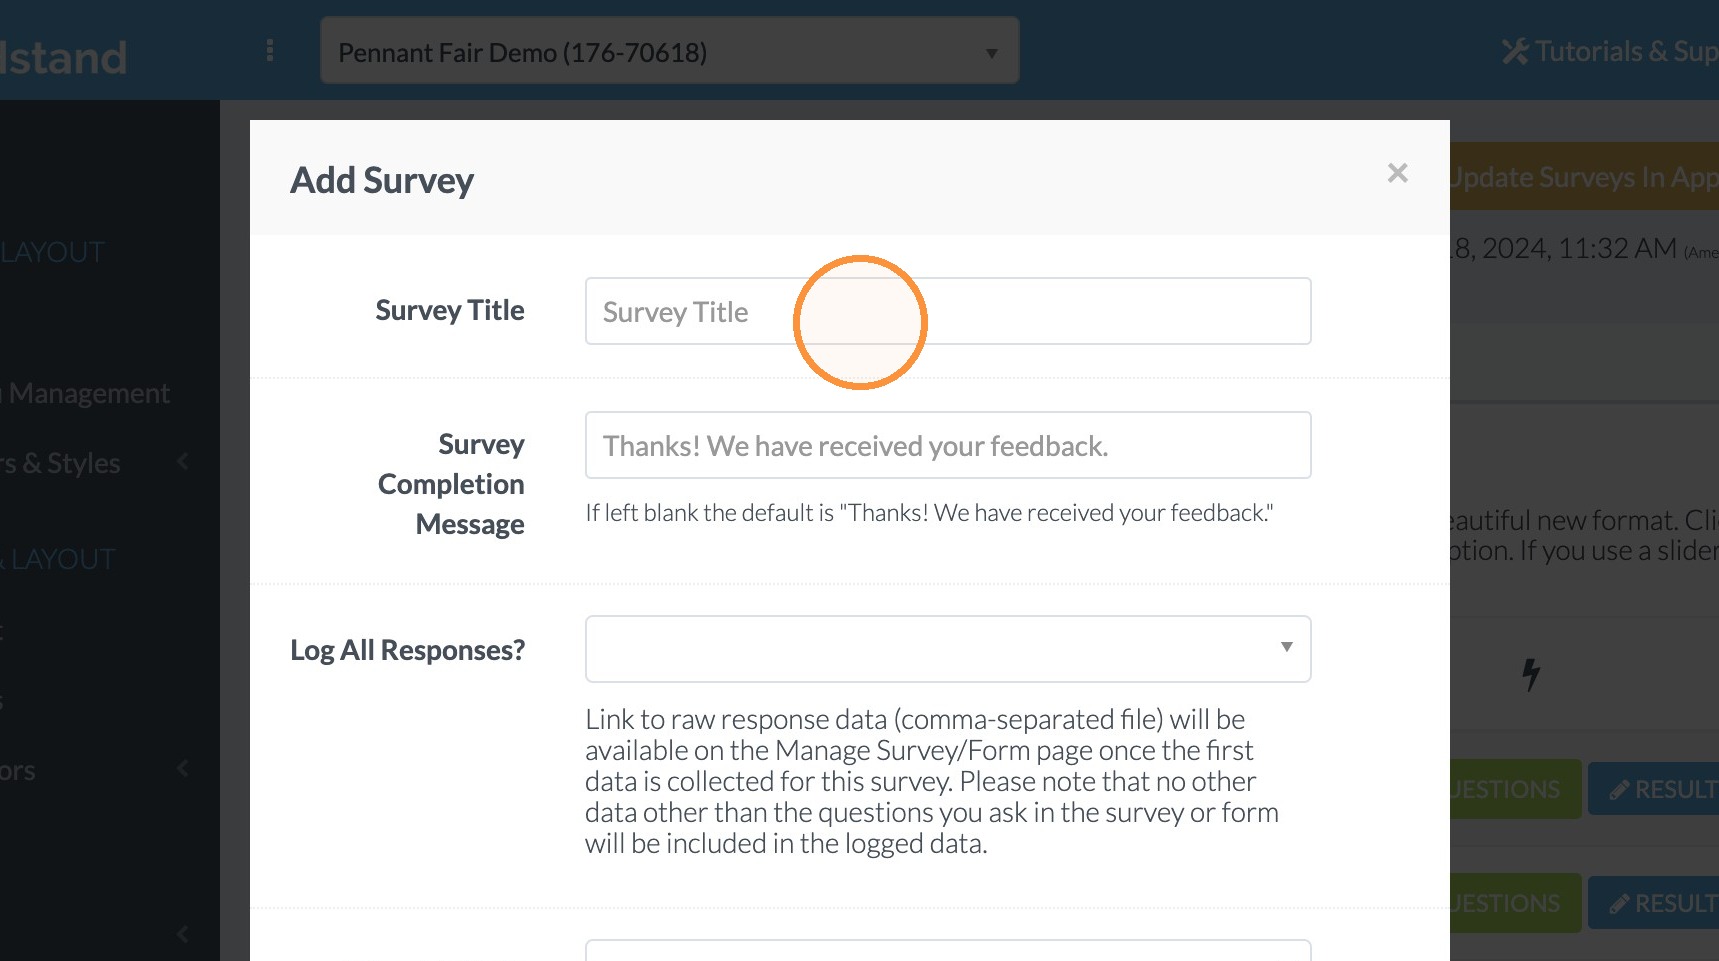
6. Click the in the Survey Completion Message box and type message for users. Here we used "Thanks! We have received your feedback."
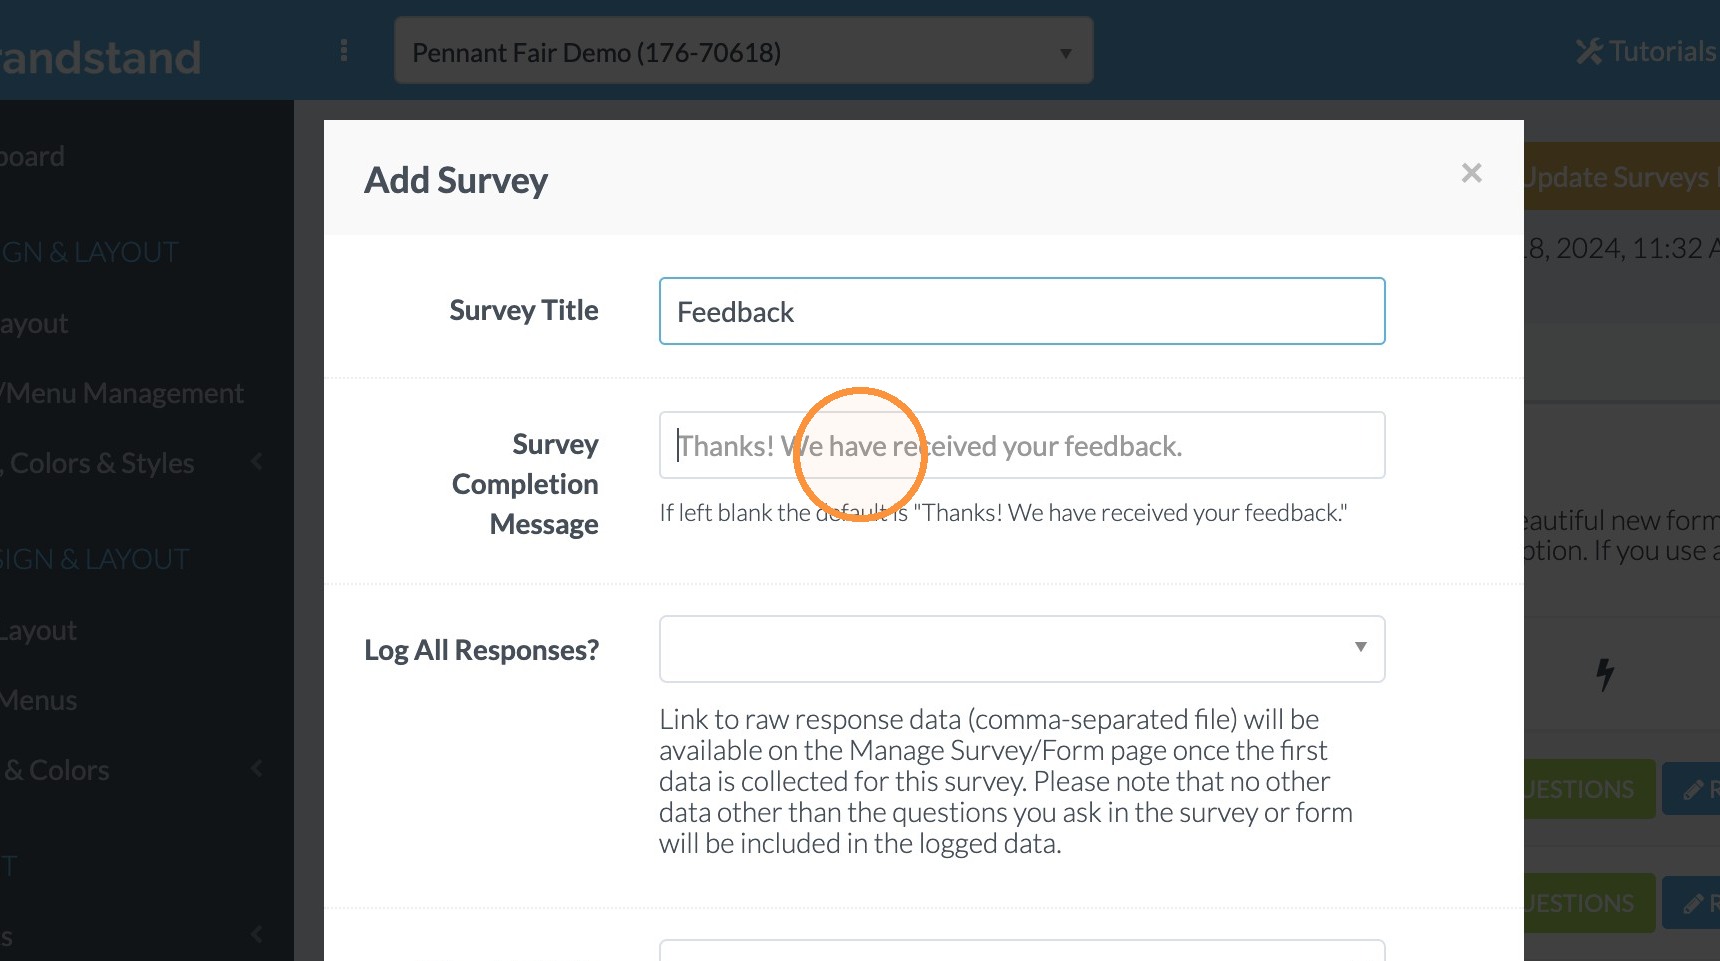
7. Click in the dropdown for Logging All Responses and select Yes or No. If you select Yes, there will be a results area next to the survey name in the Admin where you can see a table of all responses. You can then download the responses as a csv file to be imported into your preferred spreadsheet program (Excel, Google Sheets, Numbers, etc)
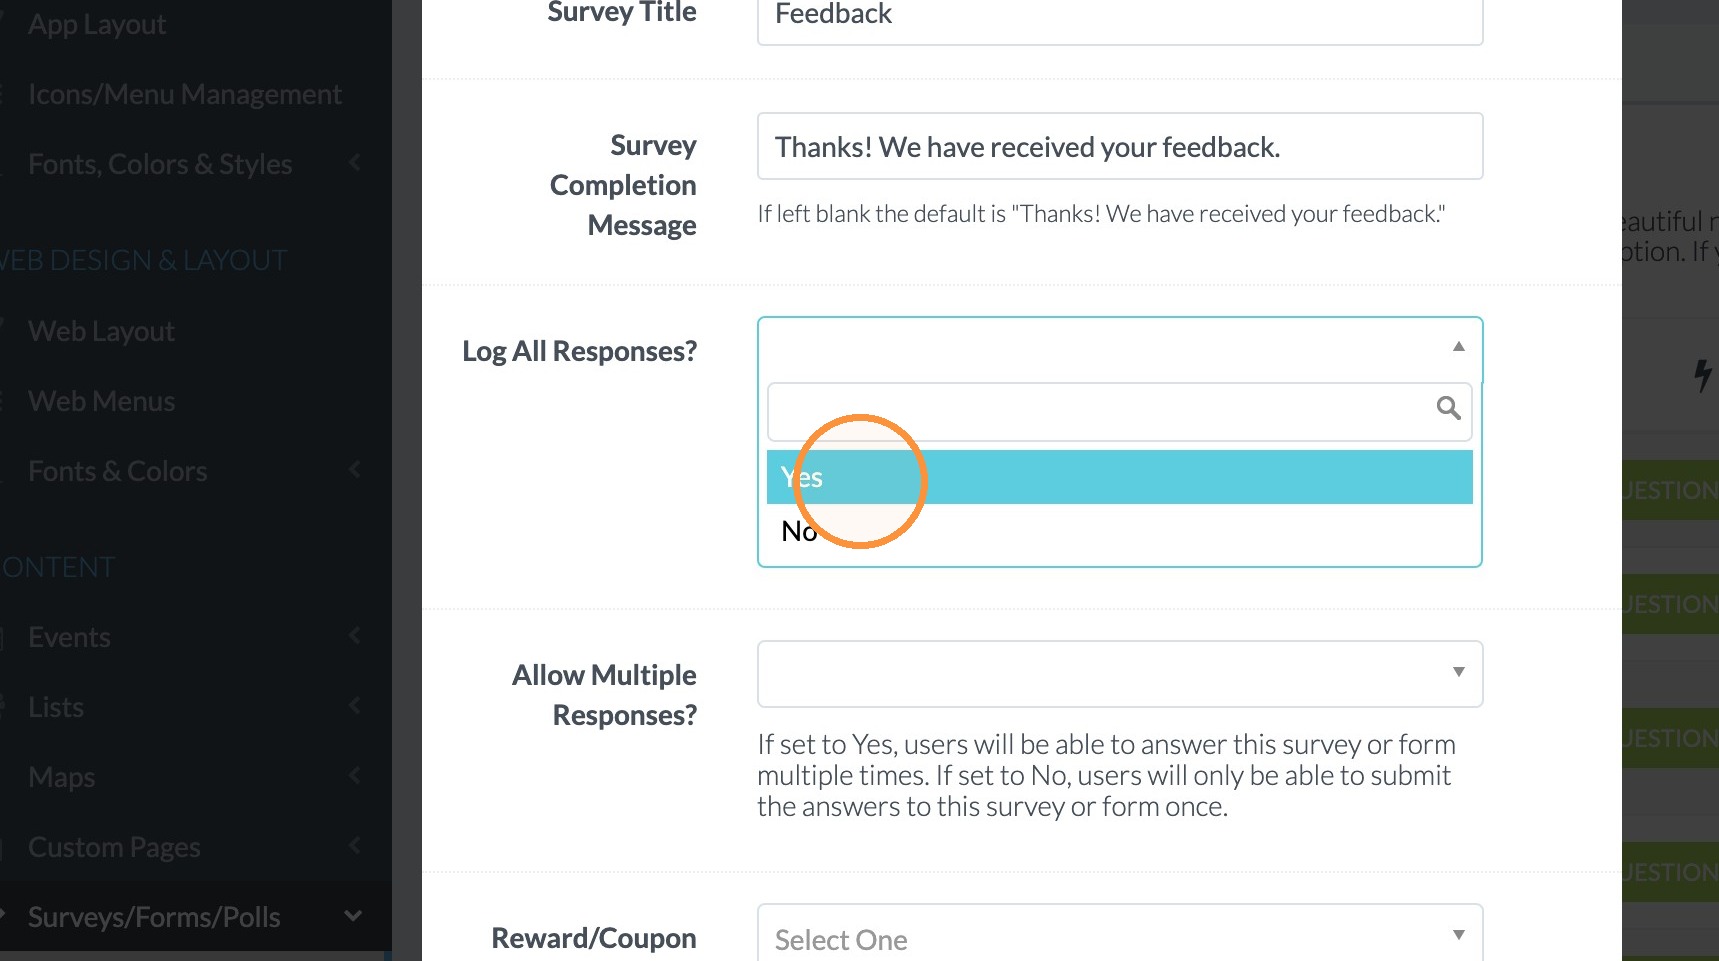
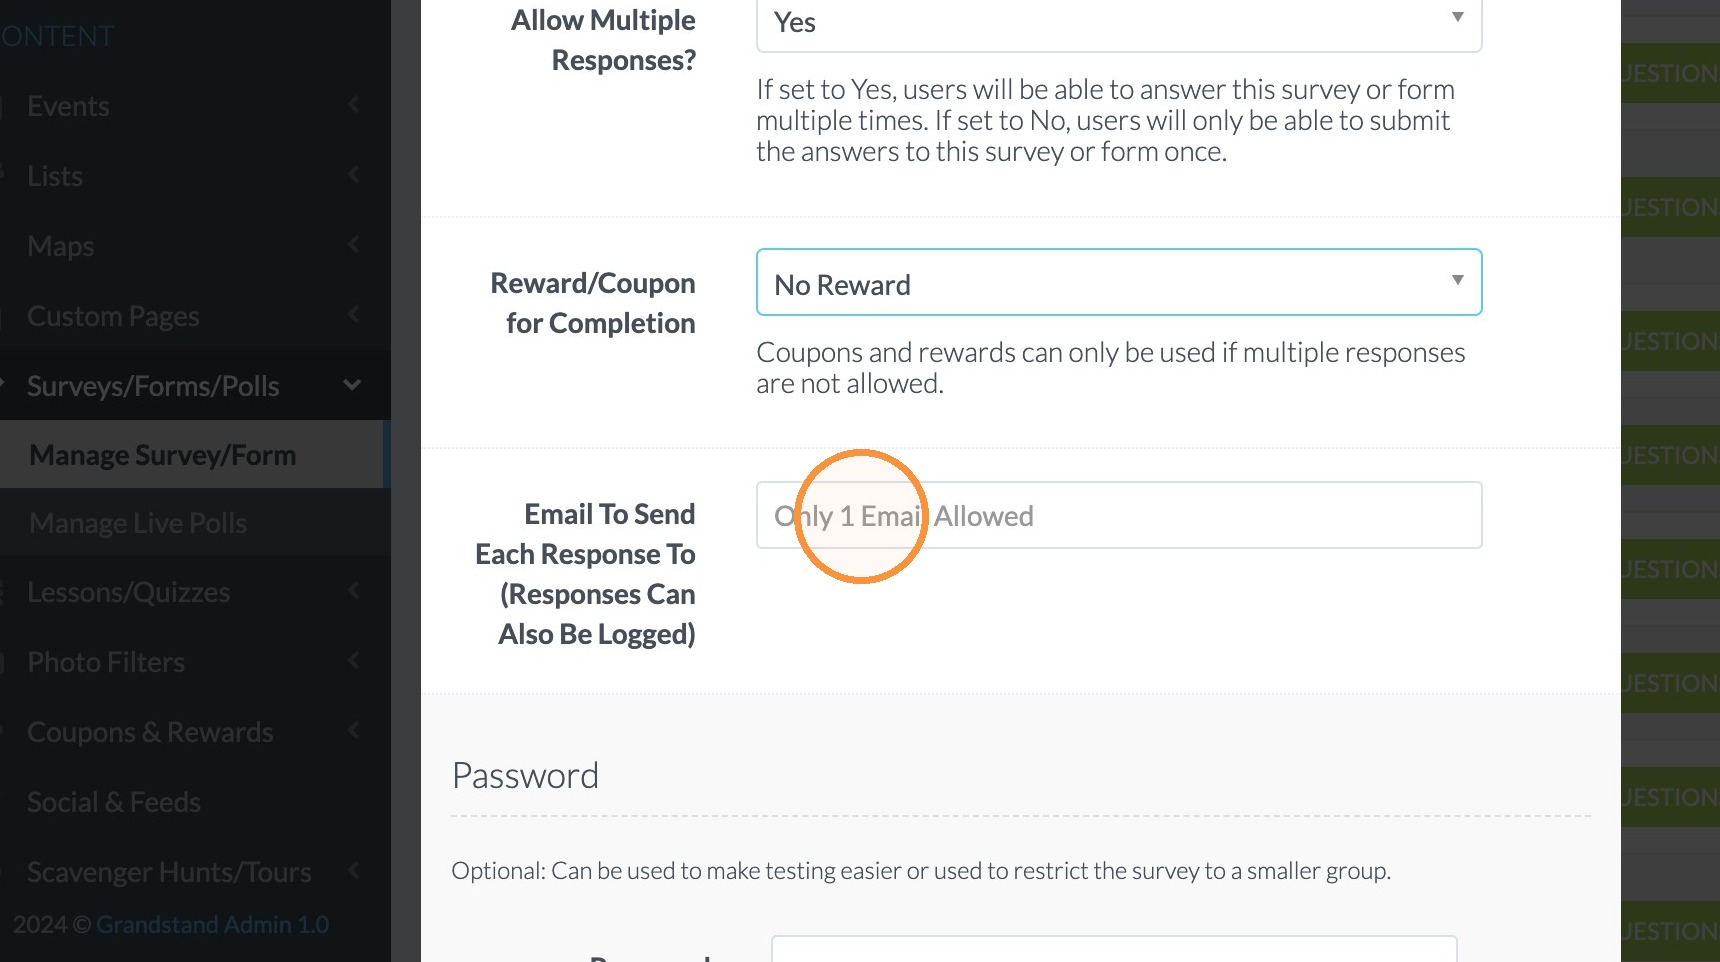
8. Click in the dropdown for allowing Multiple Responses from a single device. Select Yes or No.
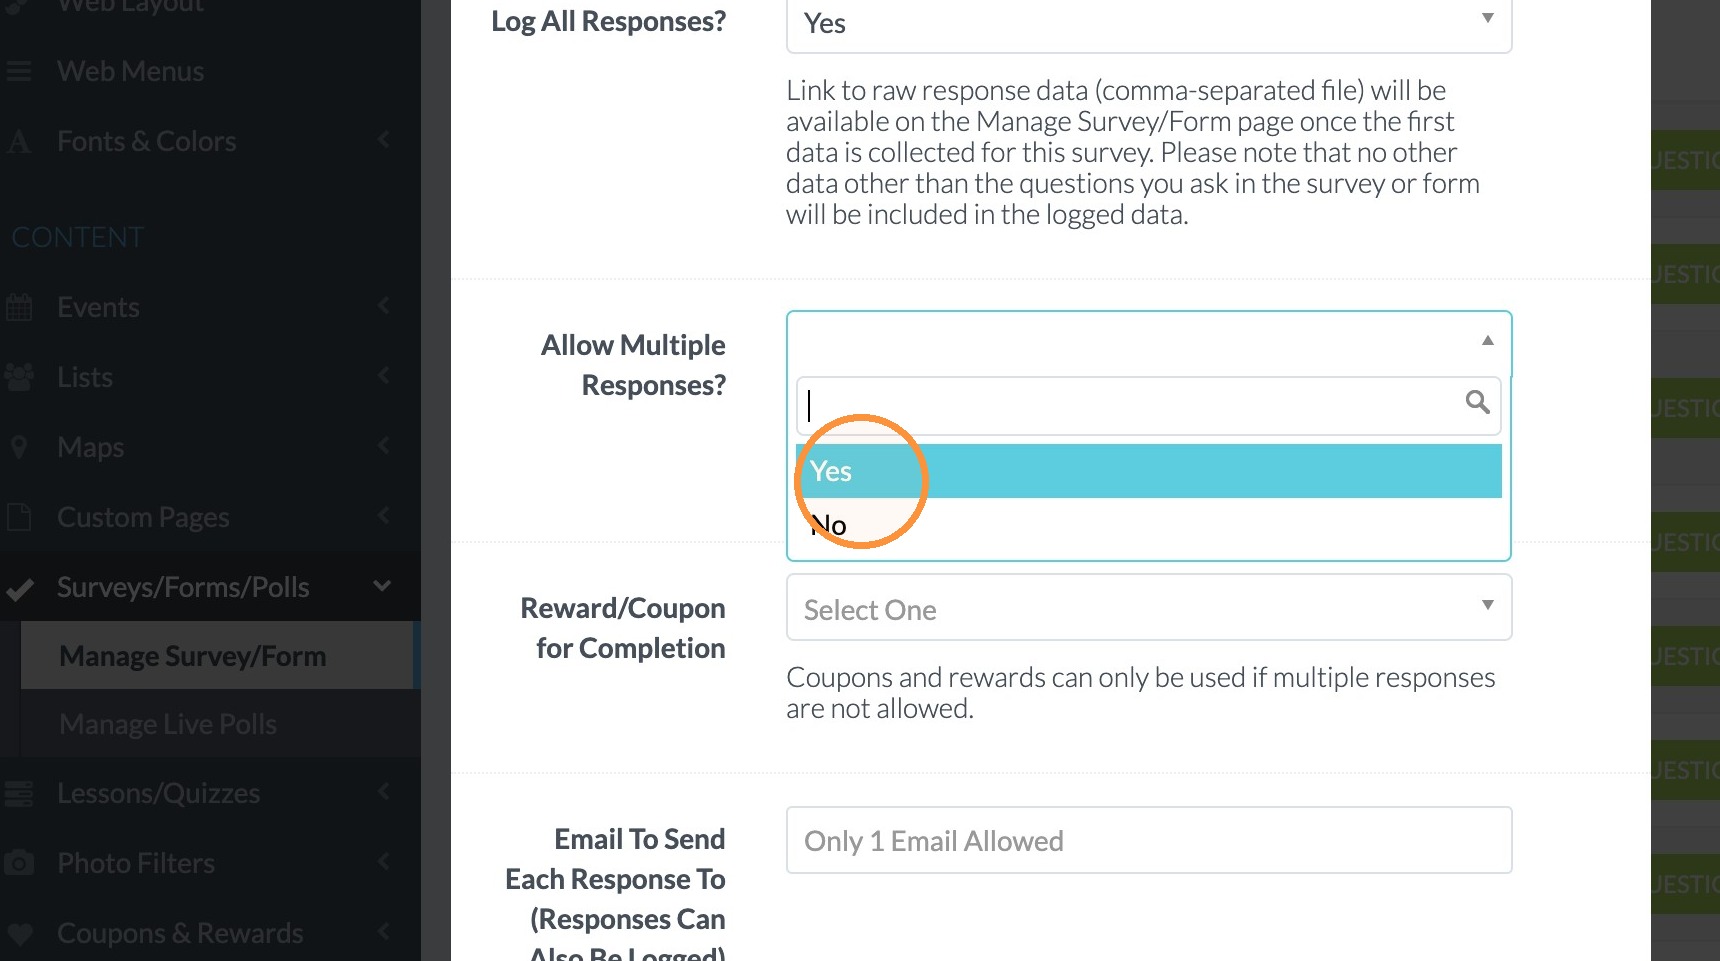
9. Click on the Reward/Coupon for Completion dropdown and select No Reward or select one of the rewards/coupons that you have already set up. To select a coupon or reward you must have this set up already in the Coupons & Rewards area of the Admin.
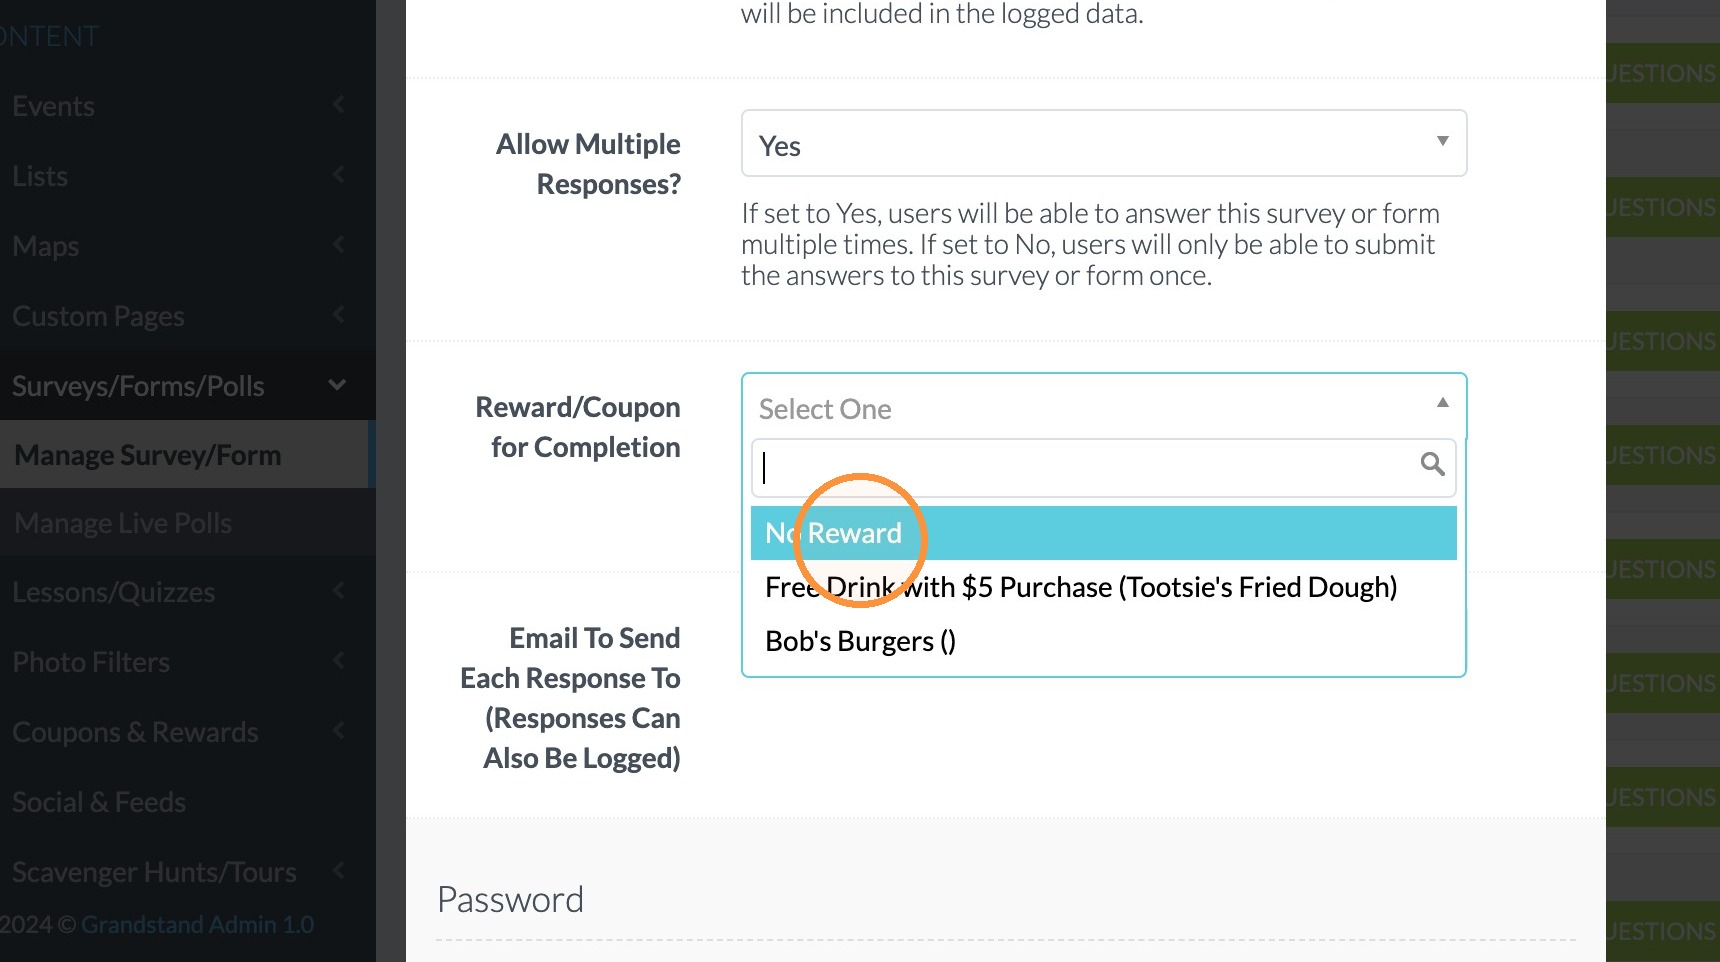
10. Click in the field for Email to Send Responses To. Enter just 1 email for responses to be sent to when they are completed by an app user.
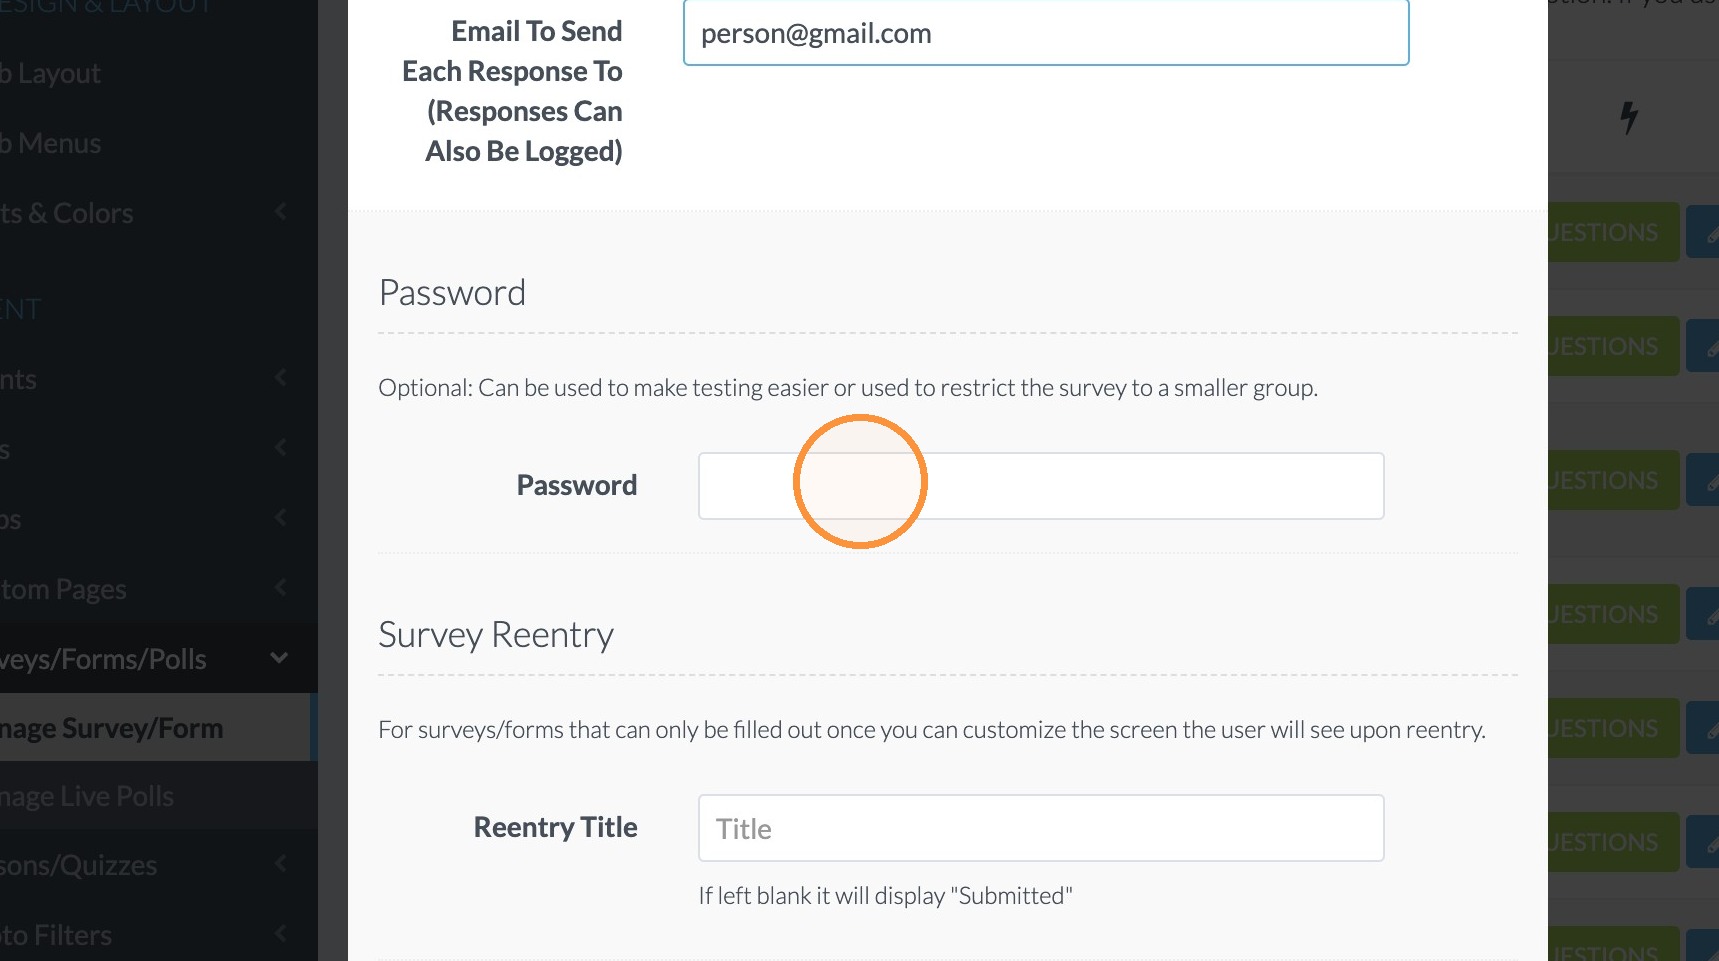
11. You can add a Password if you want to limit who can access & fill out the form.
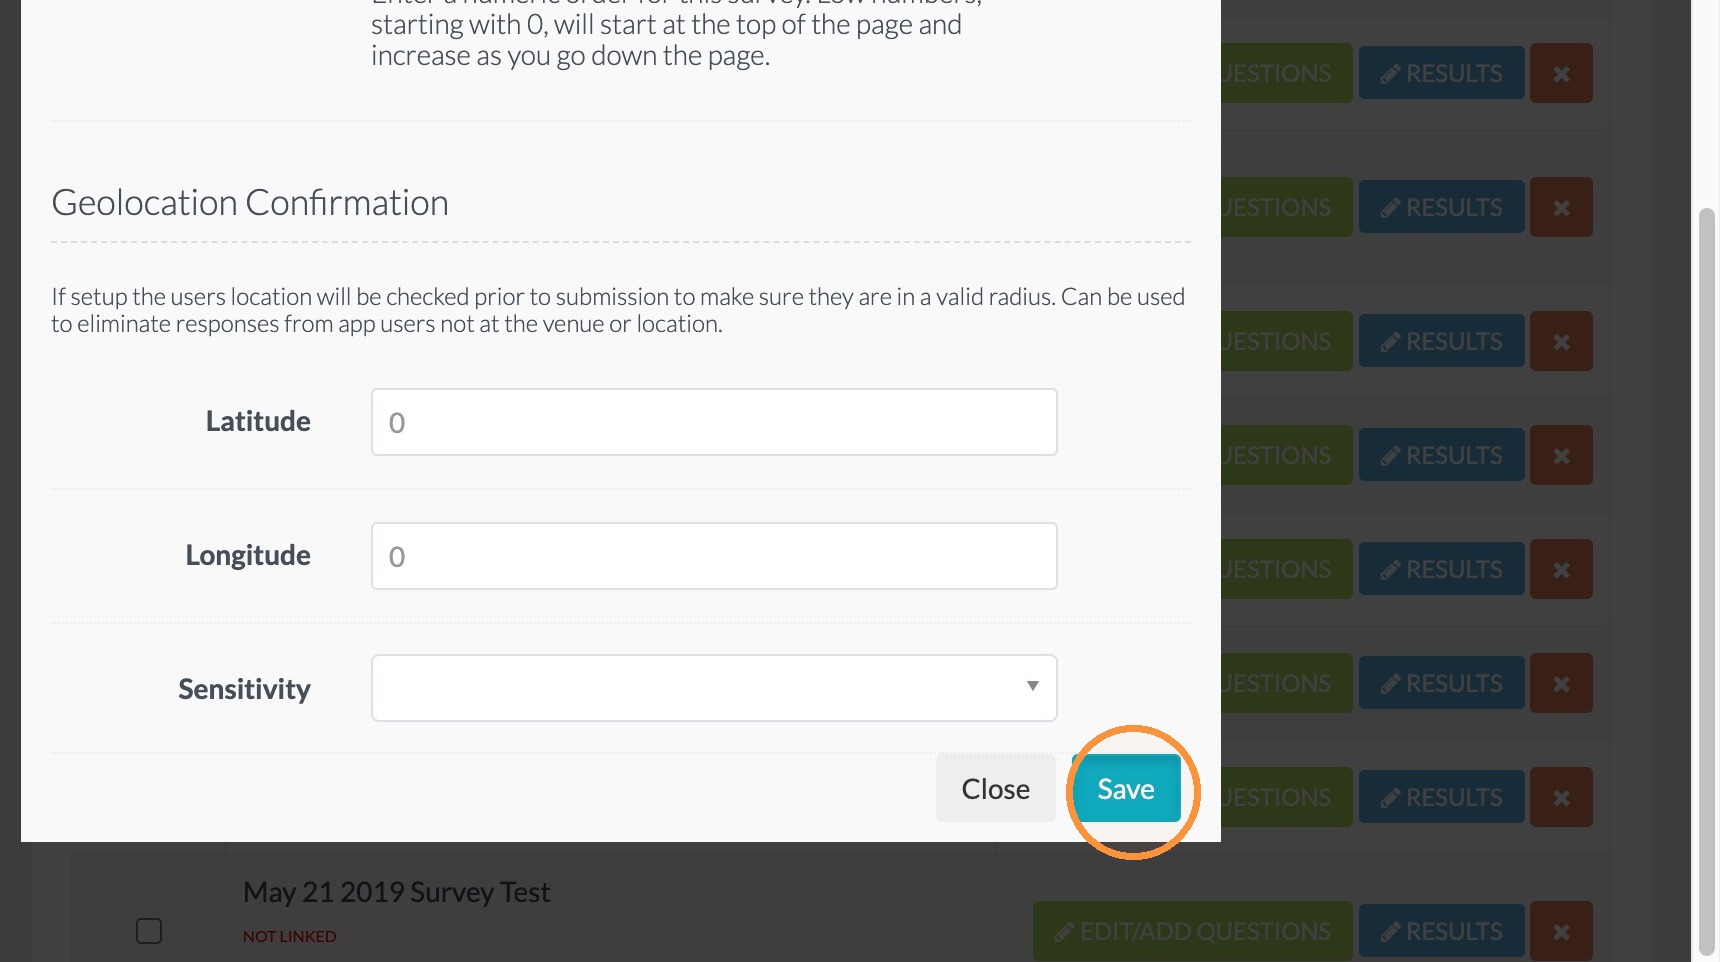
12. Click "Save"
13. Click "Update Surveys In App & Website."
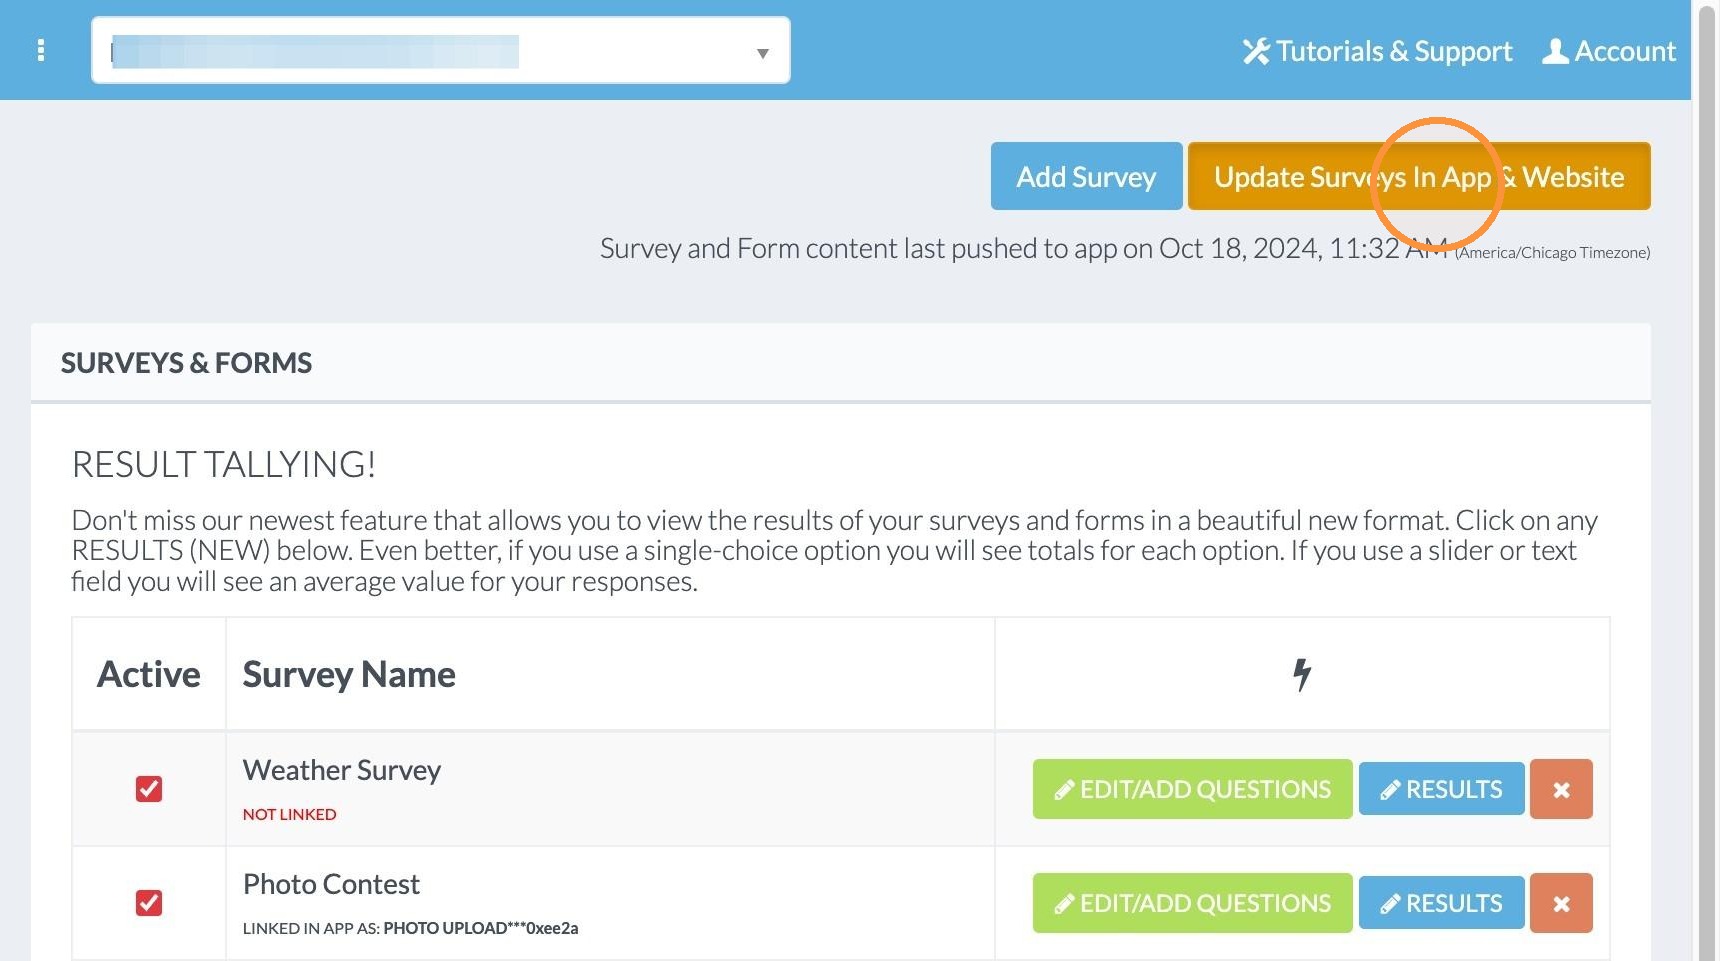
Alert: Remember, this survey is not accessible to an app user until a menu item is set up to link to this particular survey.
Add Questions to the Survey
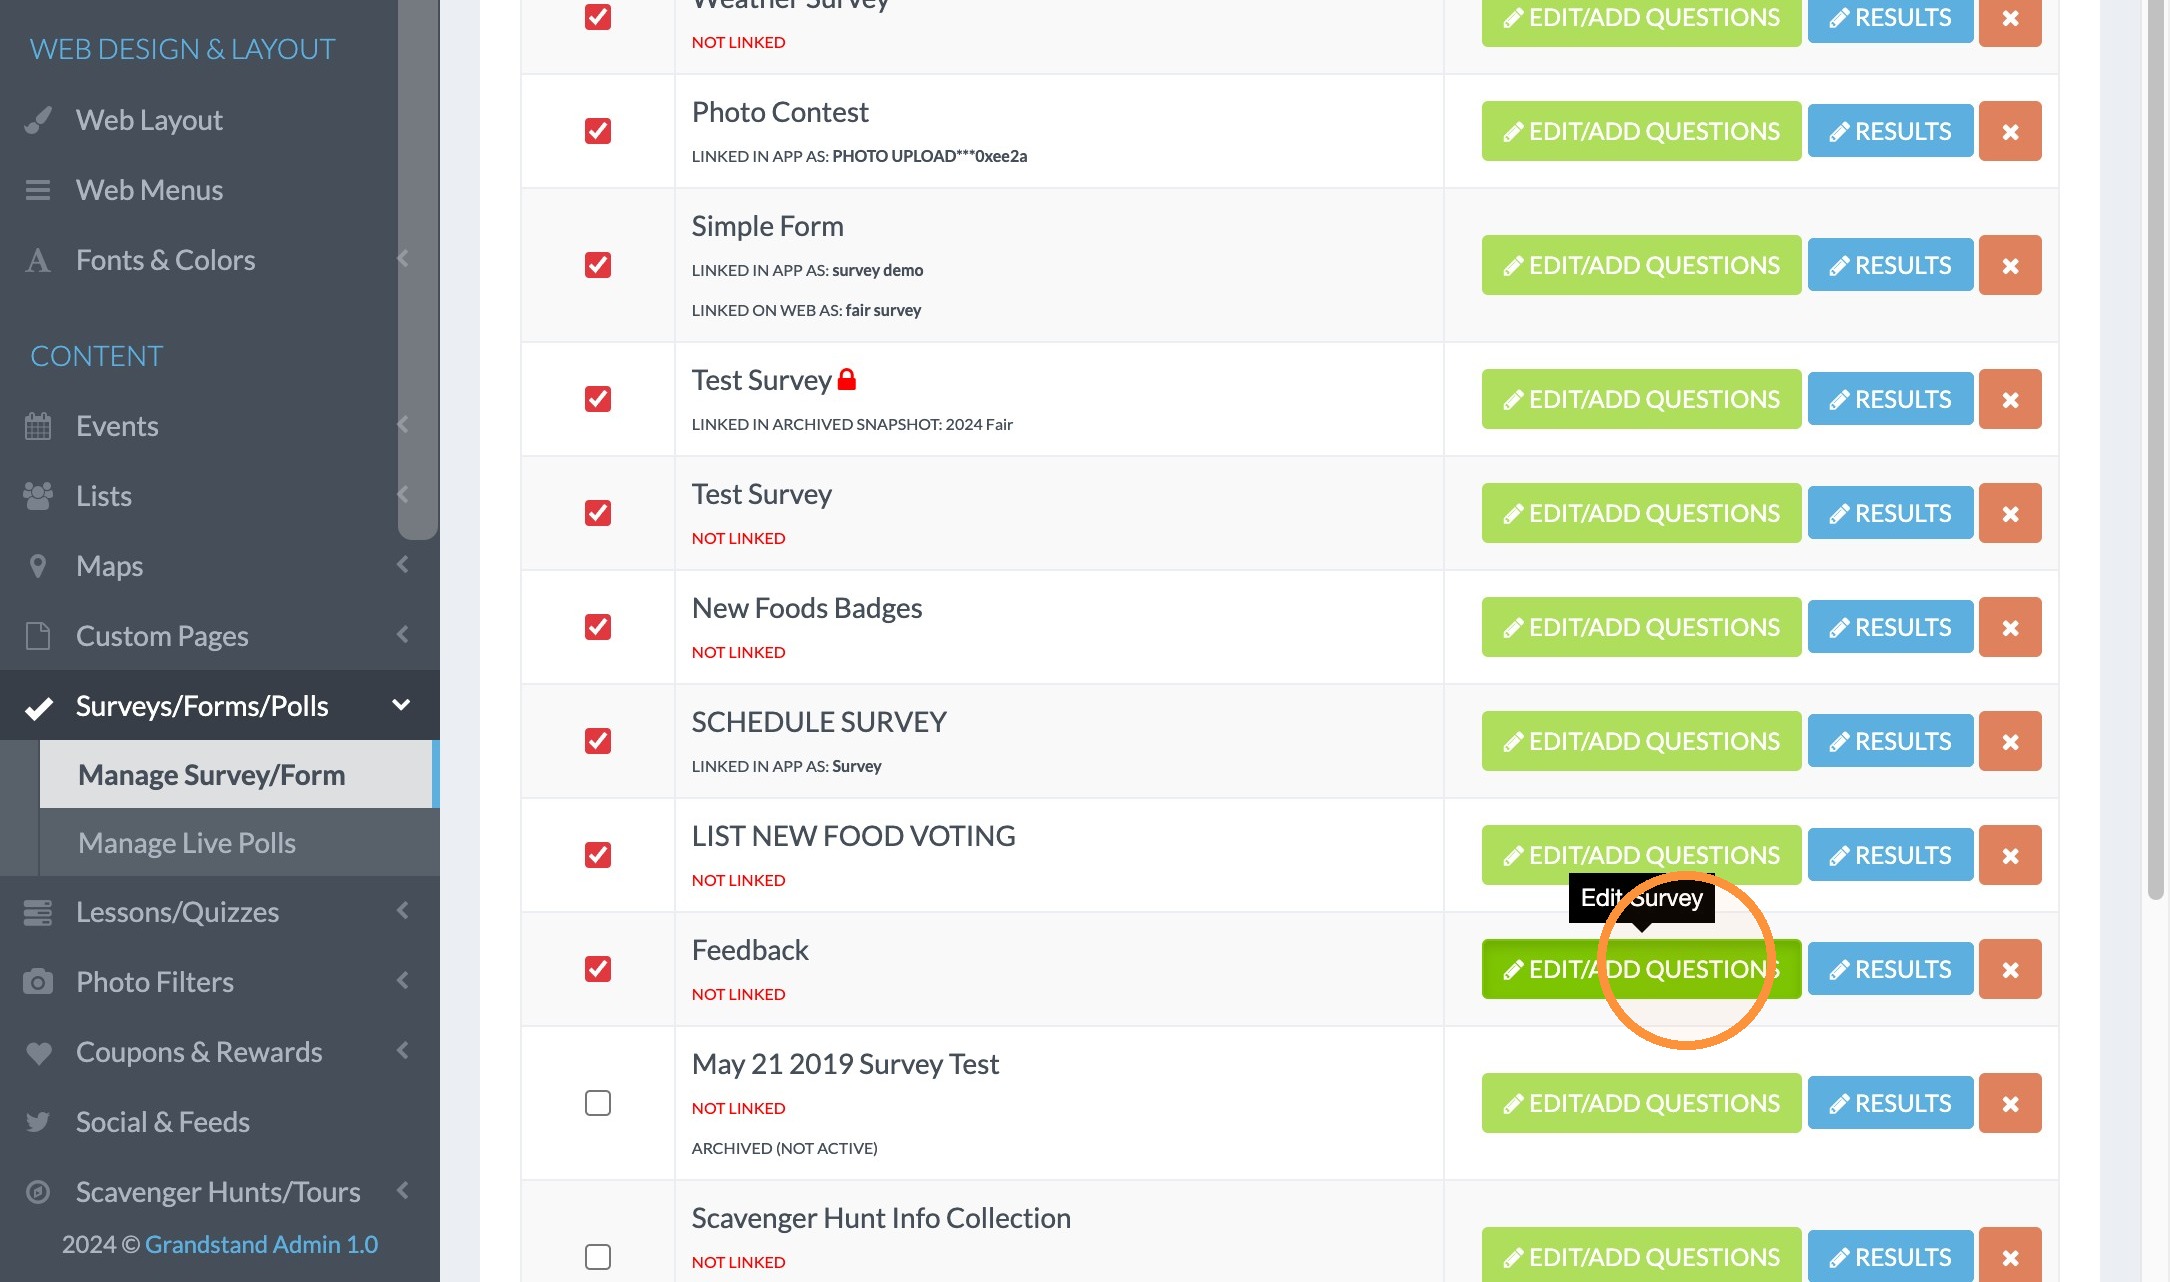
14. Click "EDIT/ADD QUESTIONS"
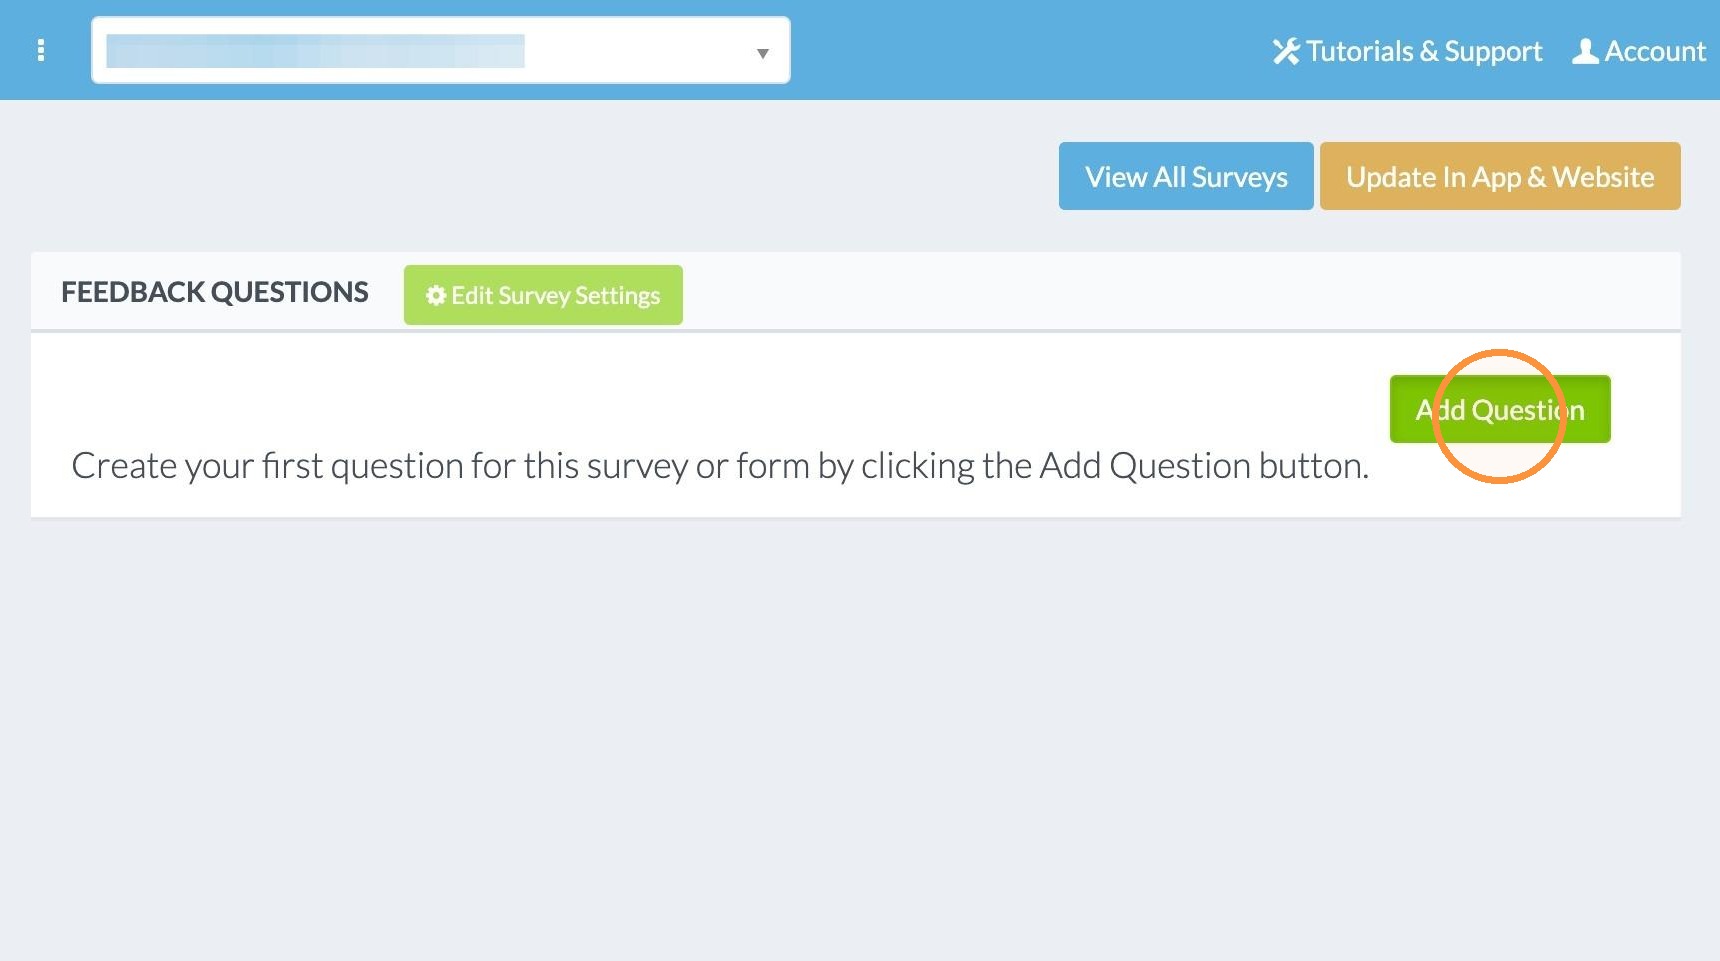
15. Click "Add Question"
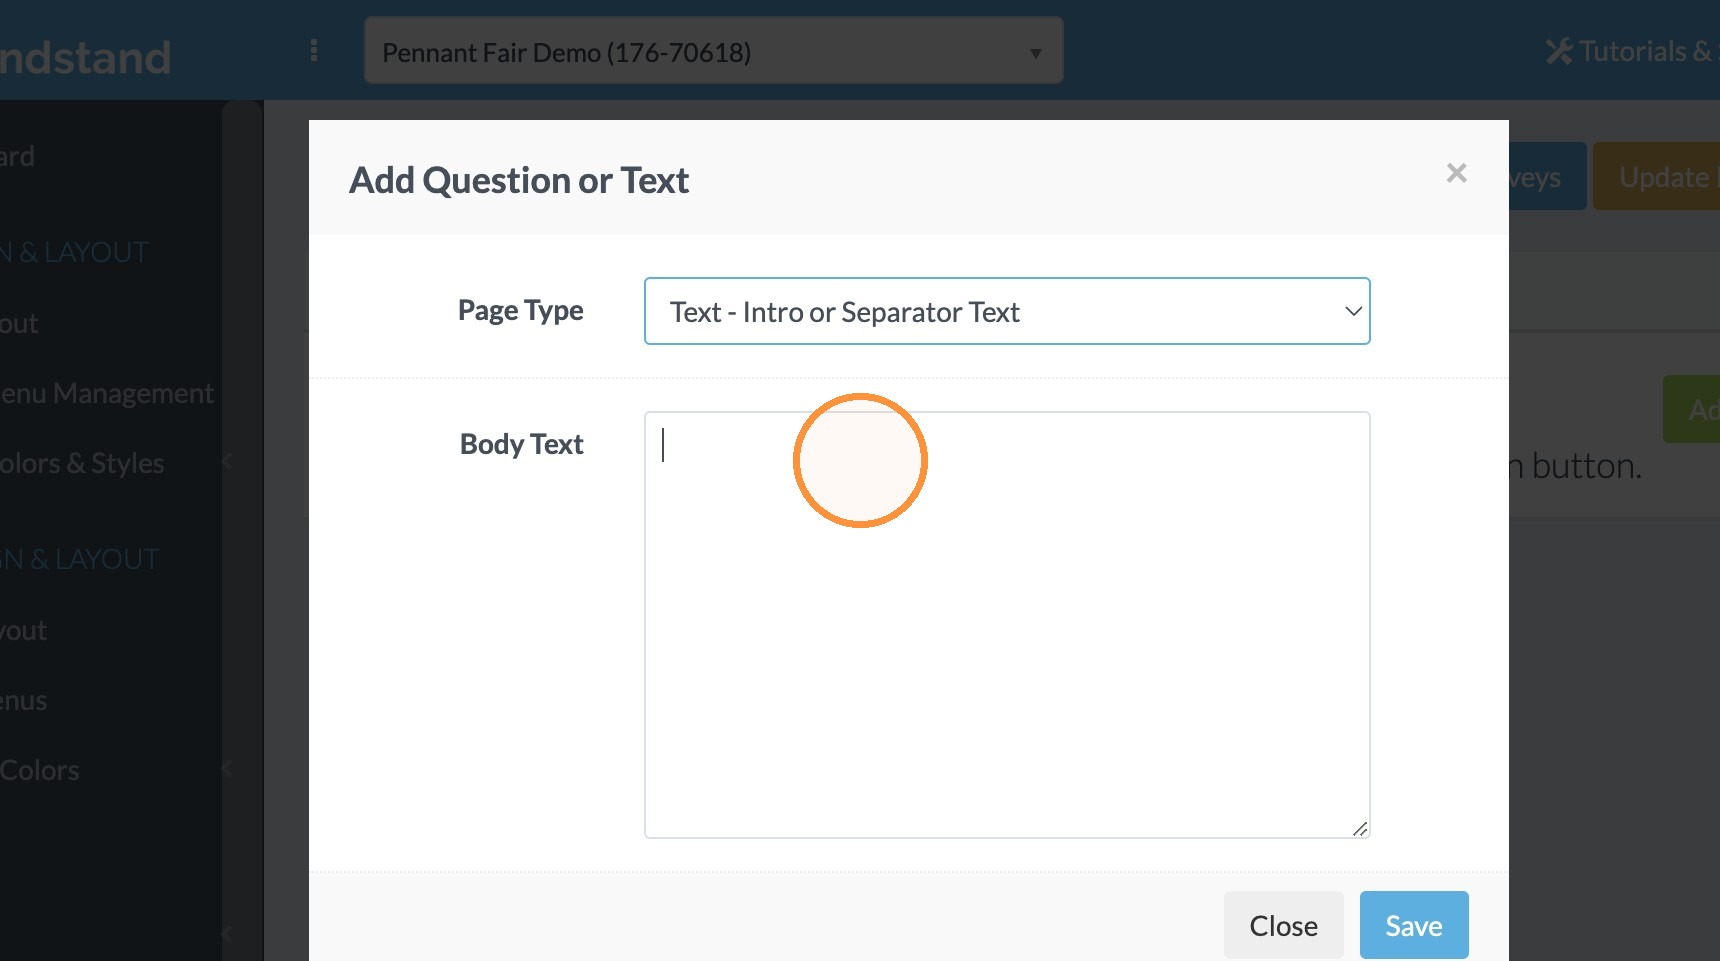
16. Click in the Page Type drop down and select the type of question this is. Here we selected Text - Intro or Separator Text so we can add some intro info for the survey. In the Body Text box we enter the info for the intro.
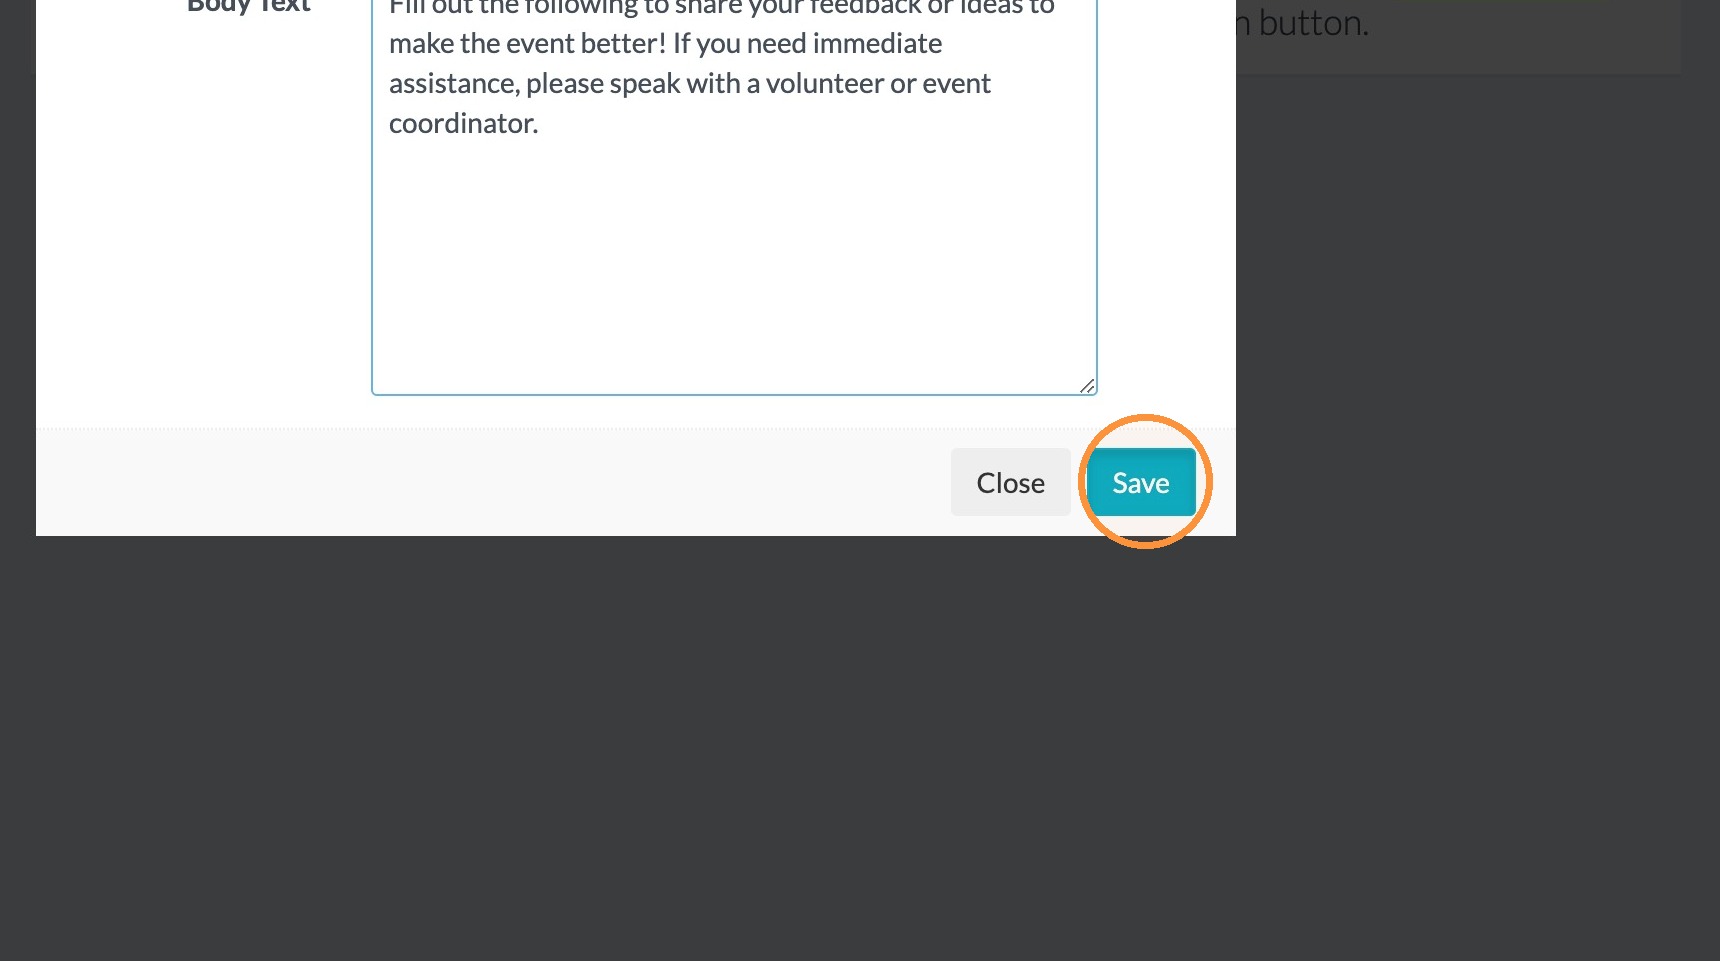
17. Type "Fill out the following to share your feedback or ideas to make the event better! If you need immediate assistance, please speak with a volunteer or event coordinator."
18. Click "Save"
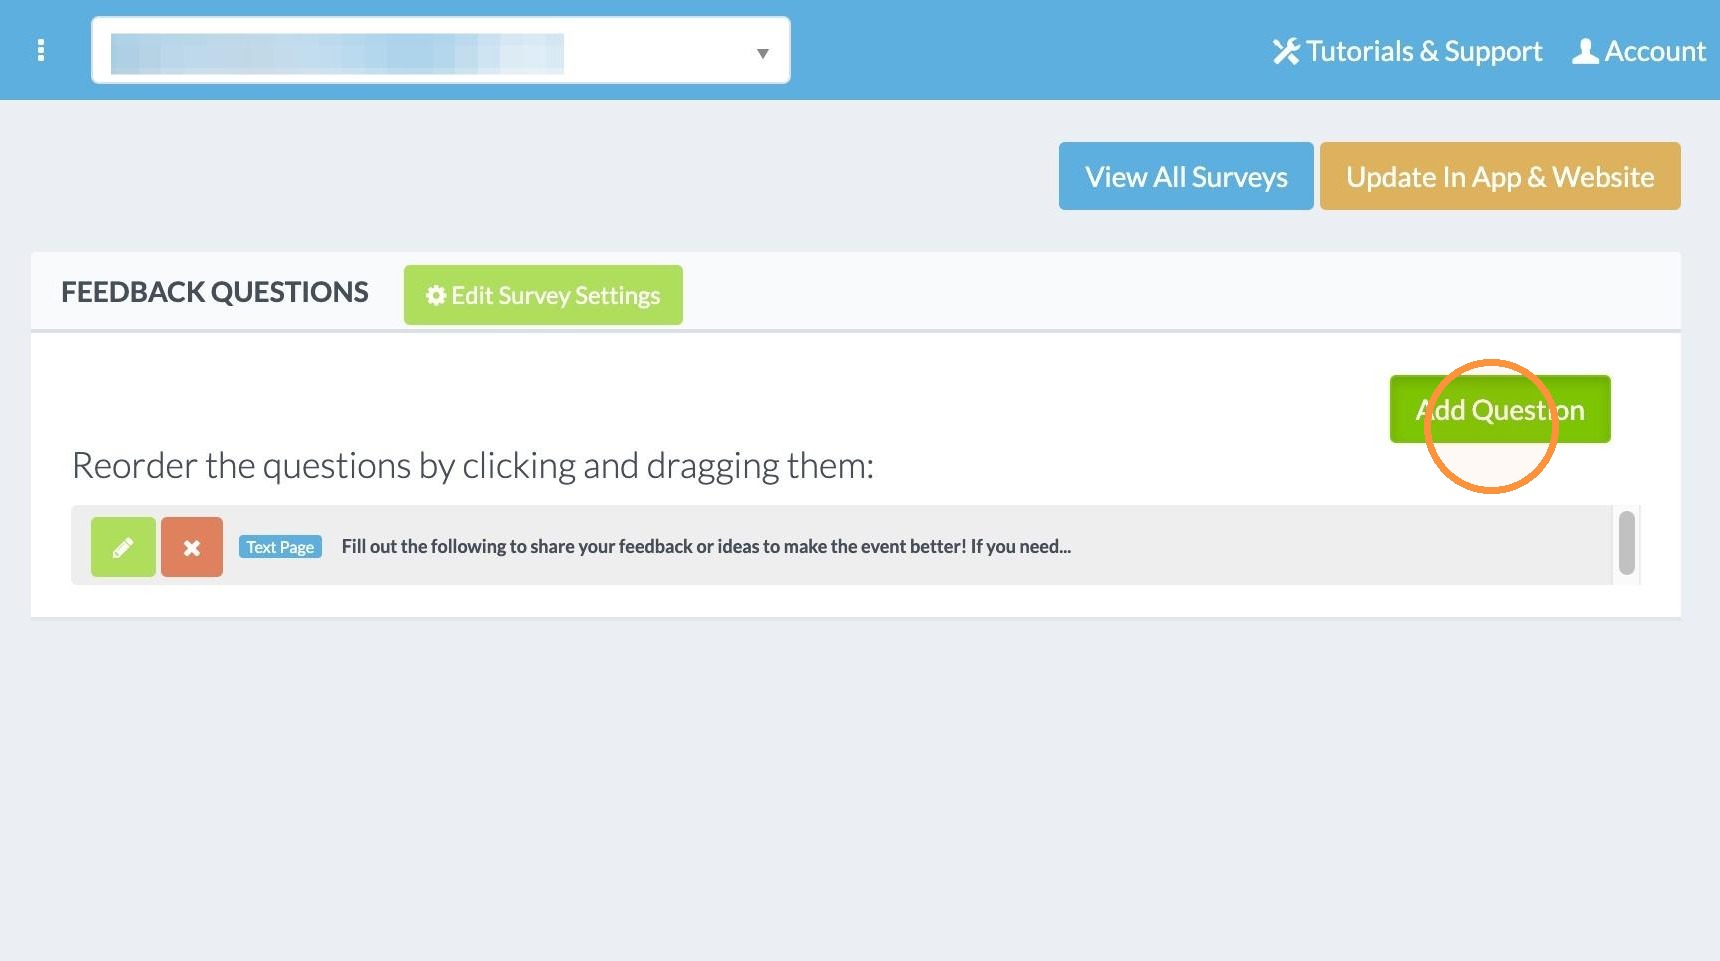
19. Click "Add Question"
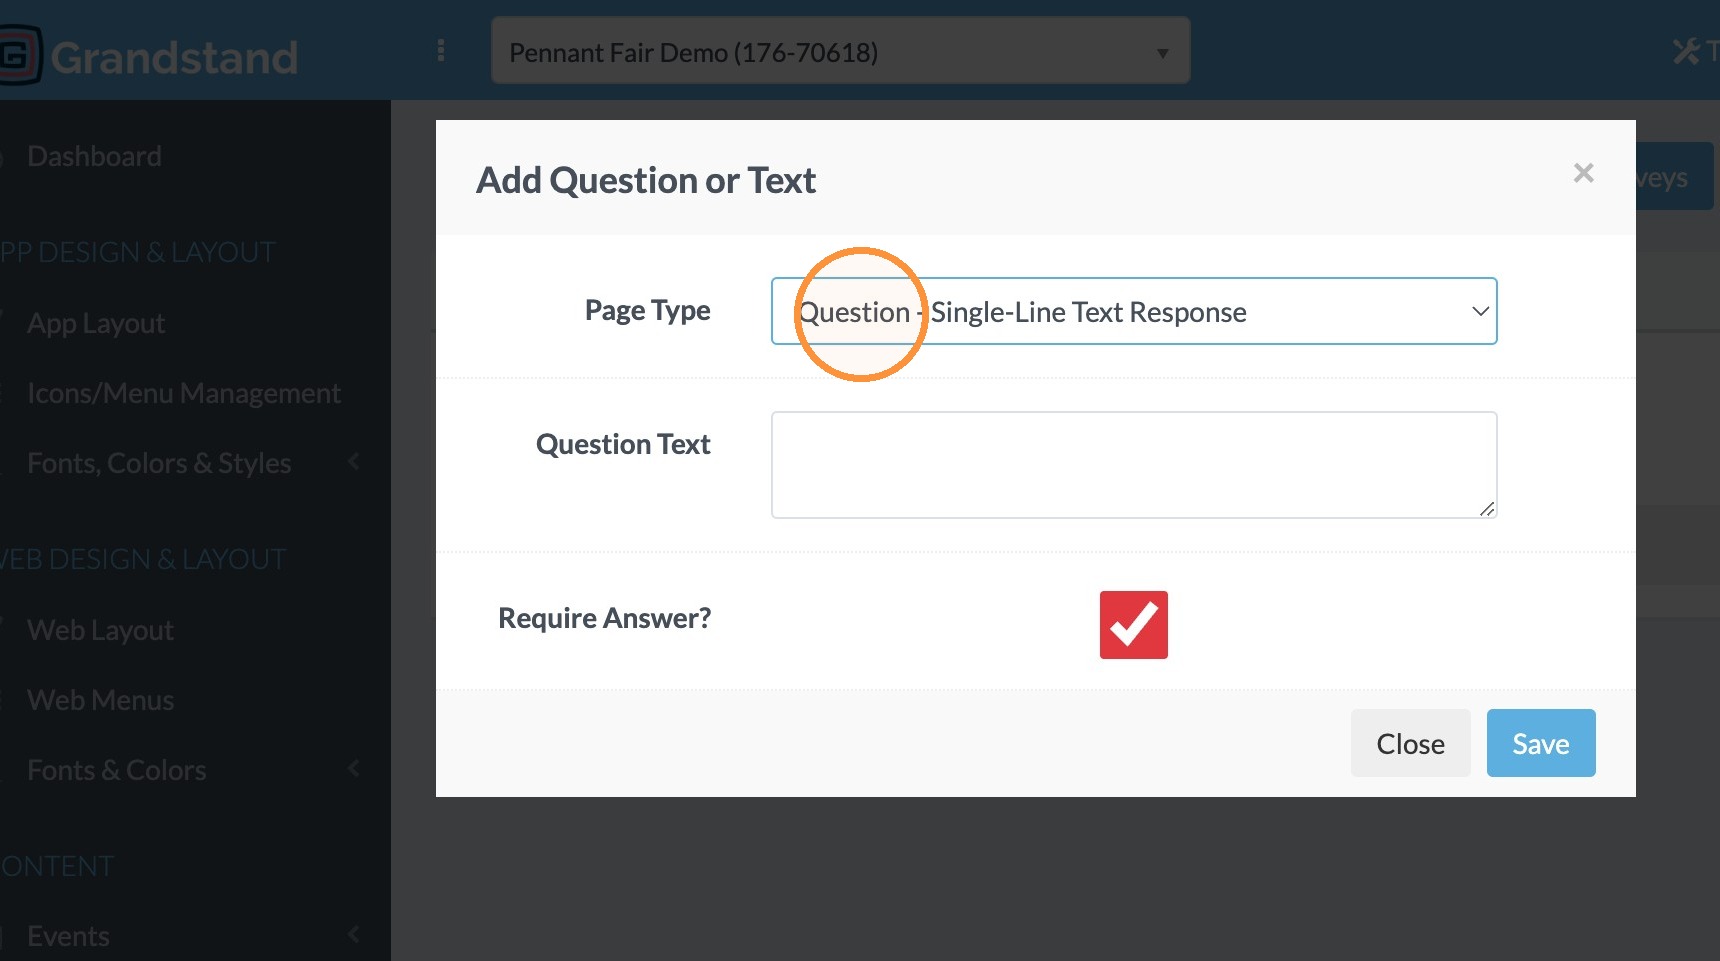
20. Click Page Type dropdown and select Question - Single-Line Text Response.
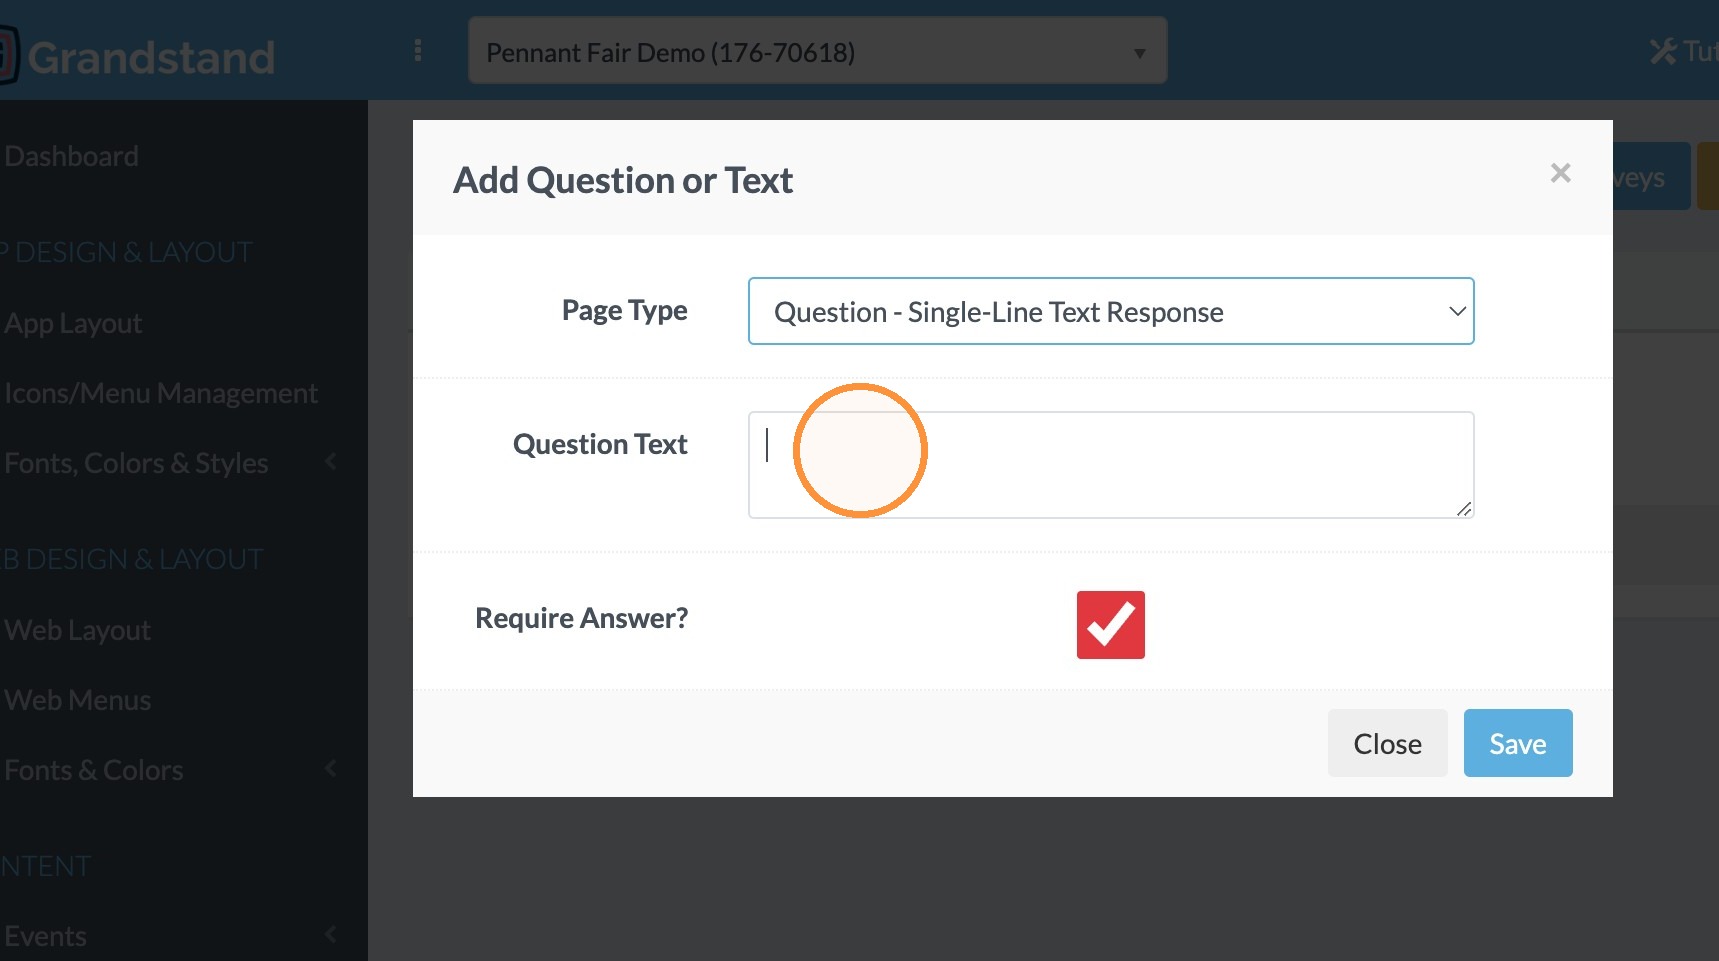
21. Click in the Question Text field and enter the question (here we want the app user's name)
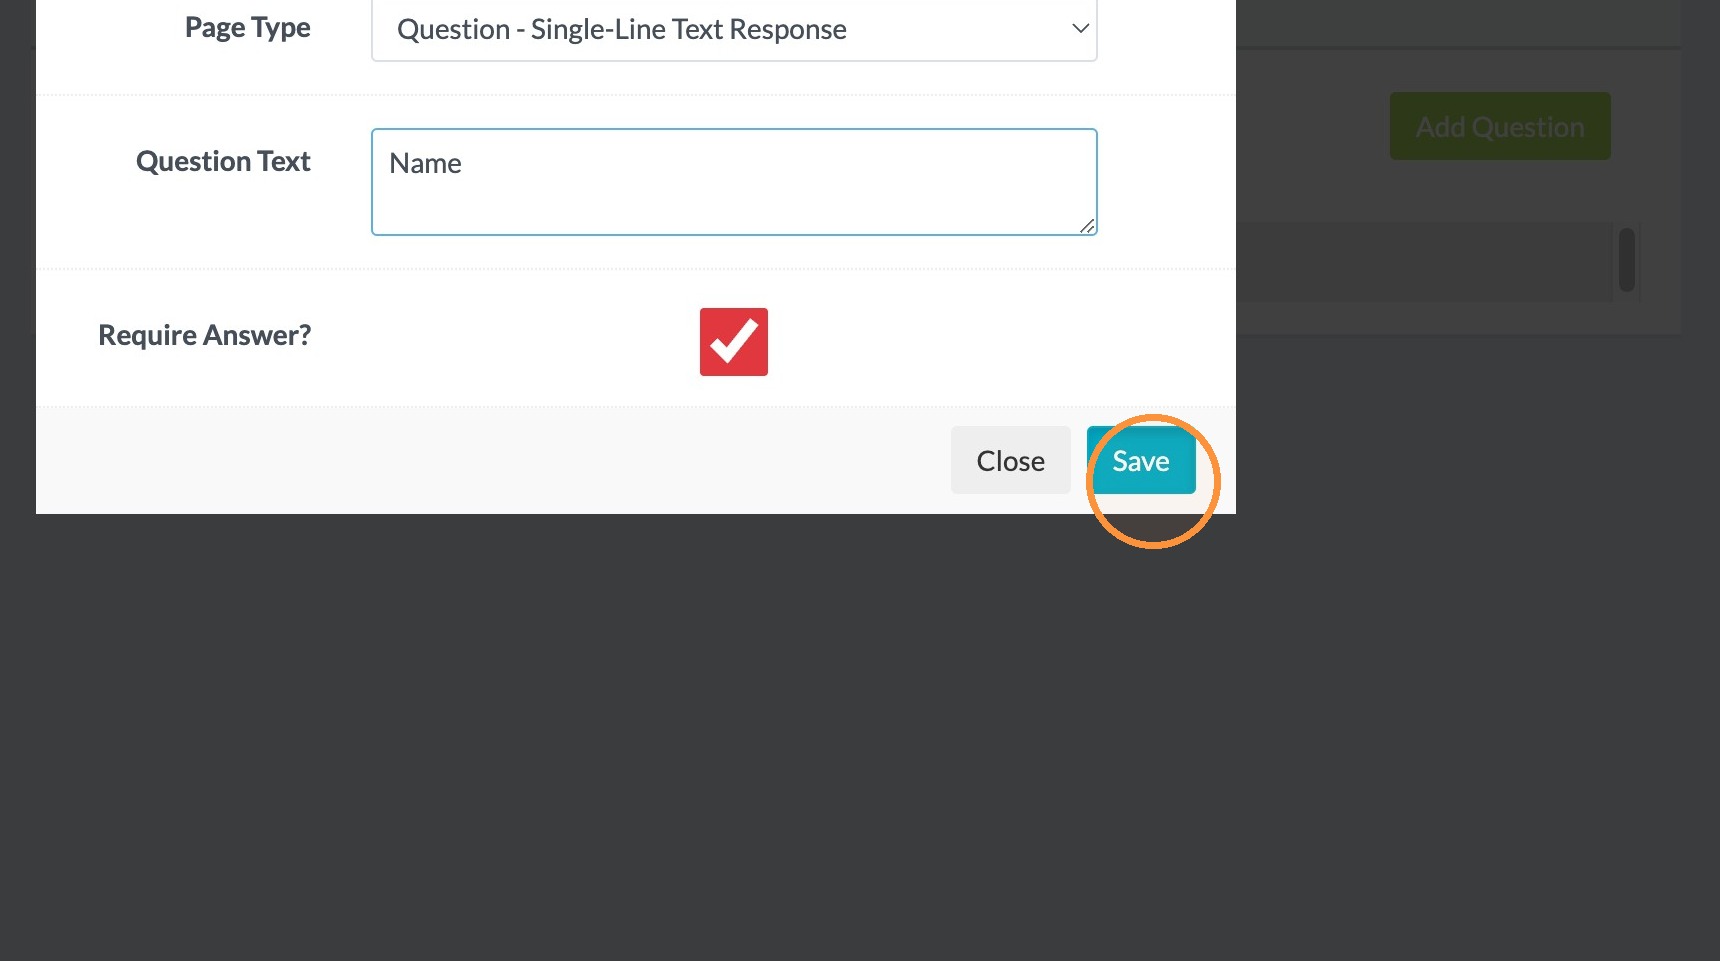
22. Click "Save"
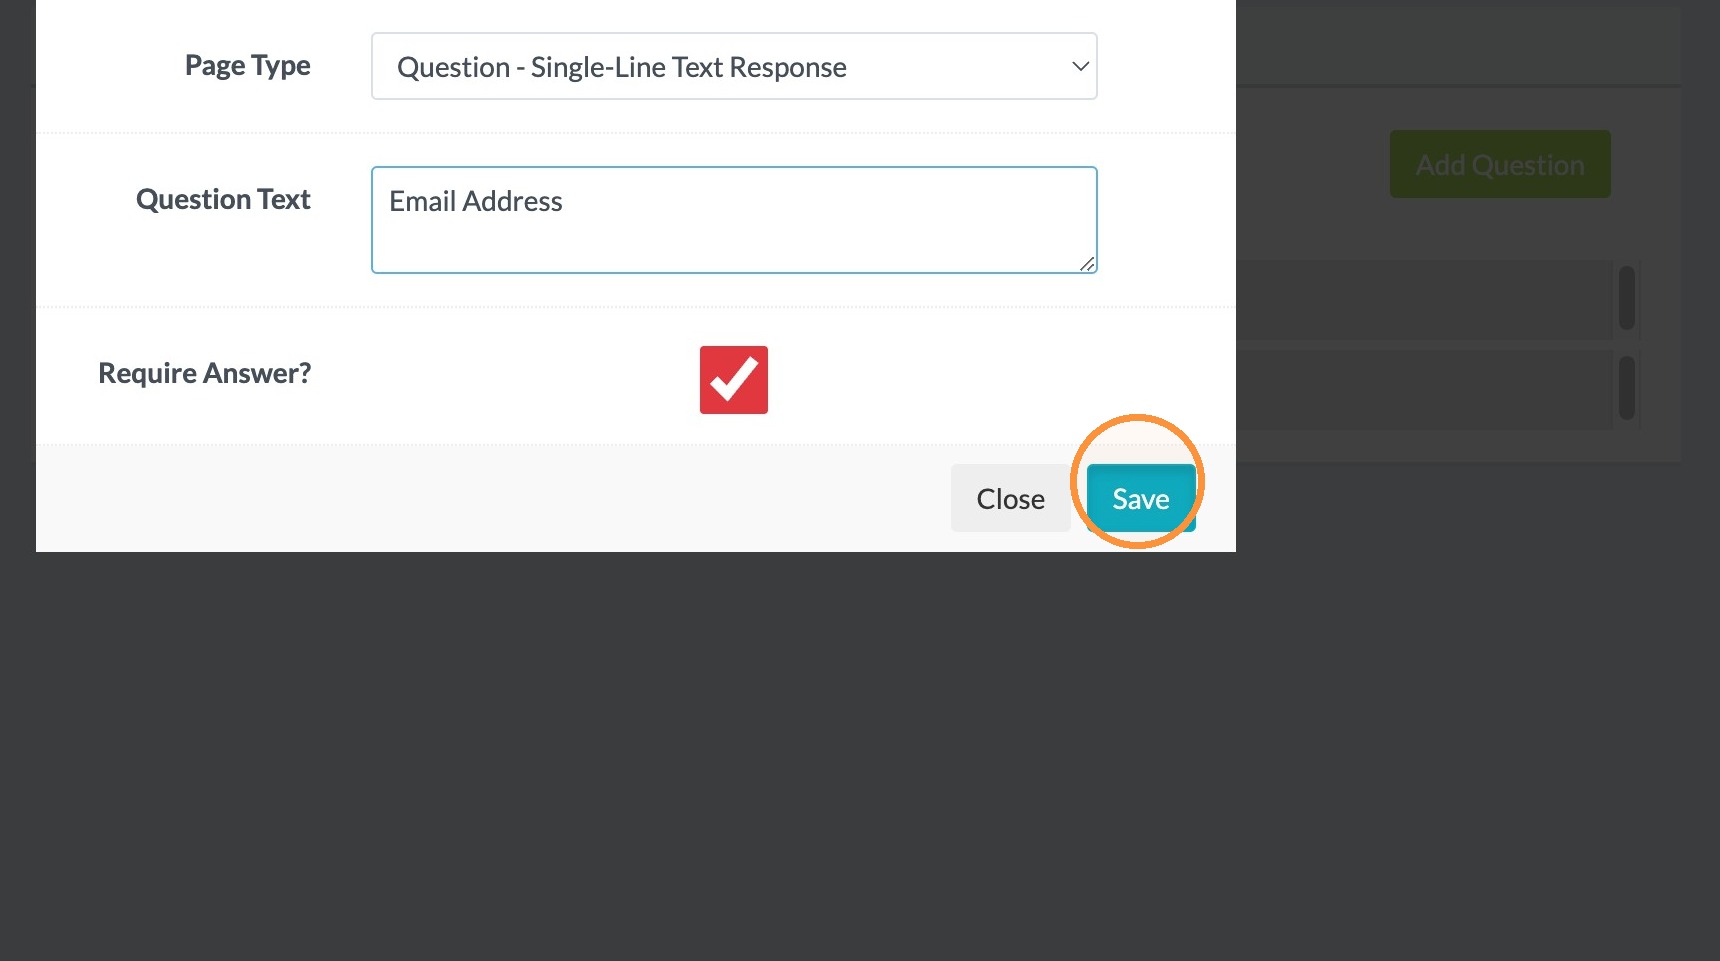
23. Click "Add Question" and add another Single-Line Text Response to collect email.
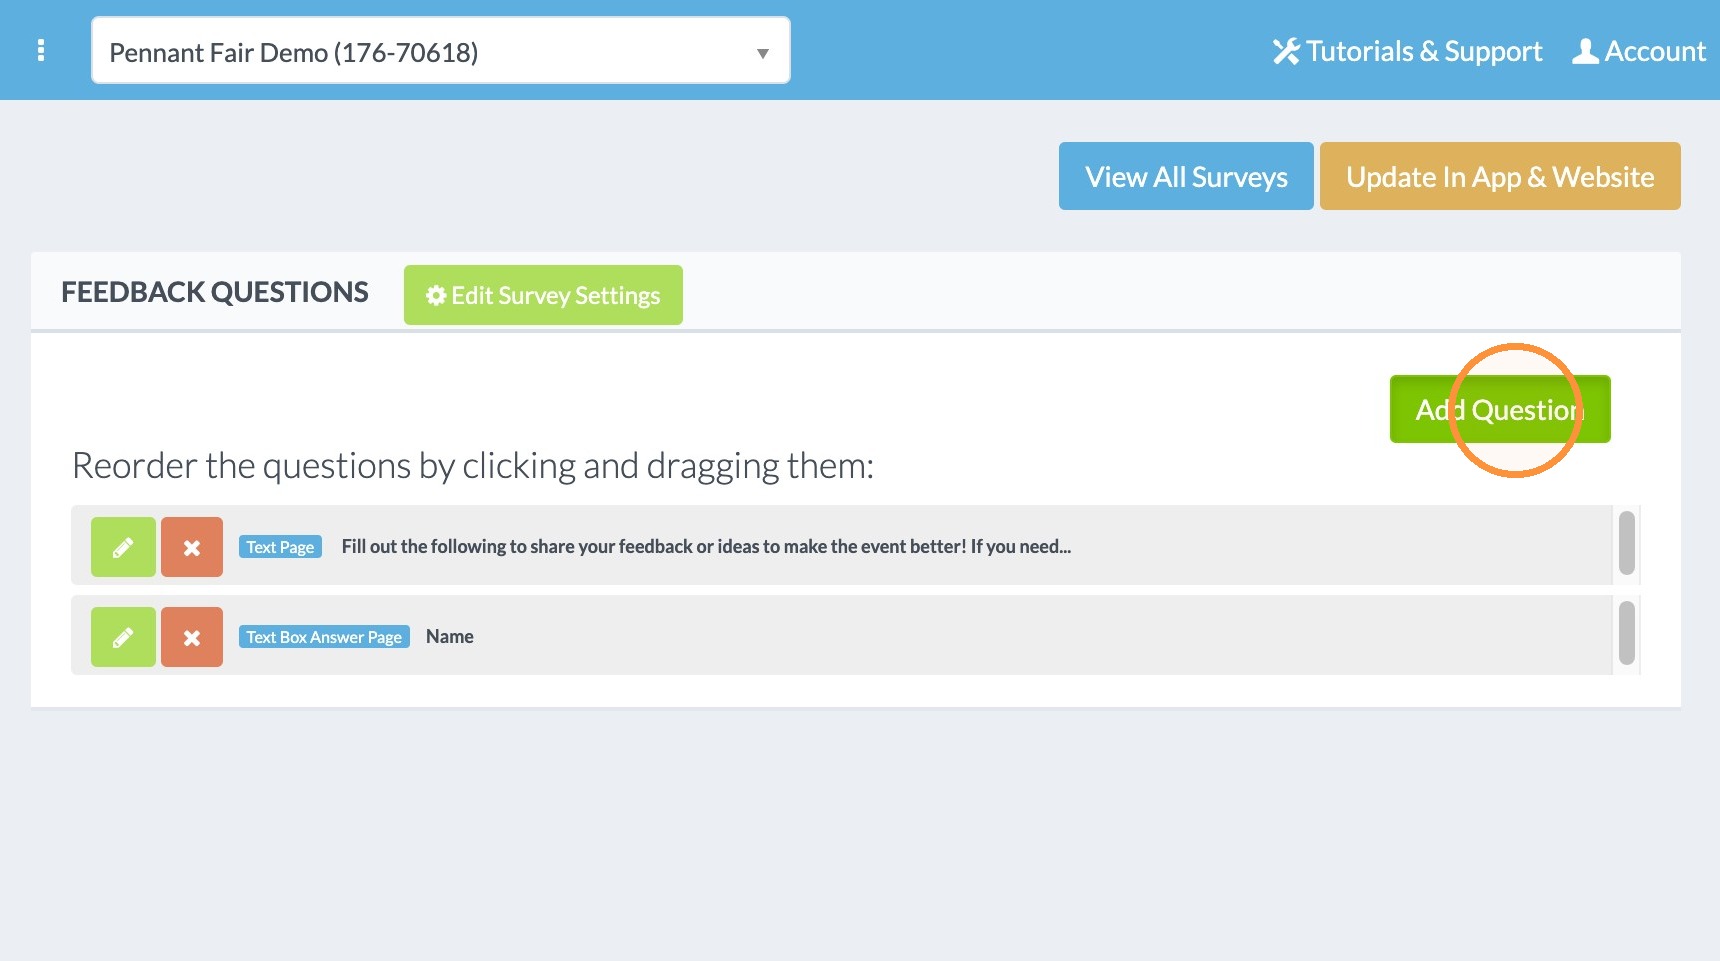
24. Click "Save"
25. Click "Add Question"
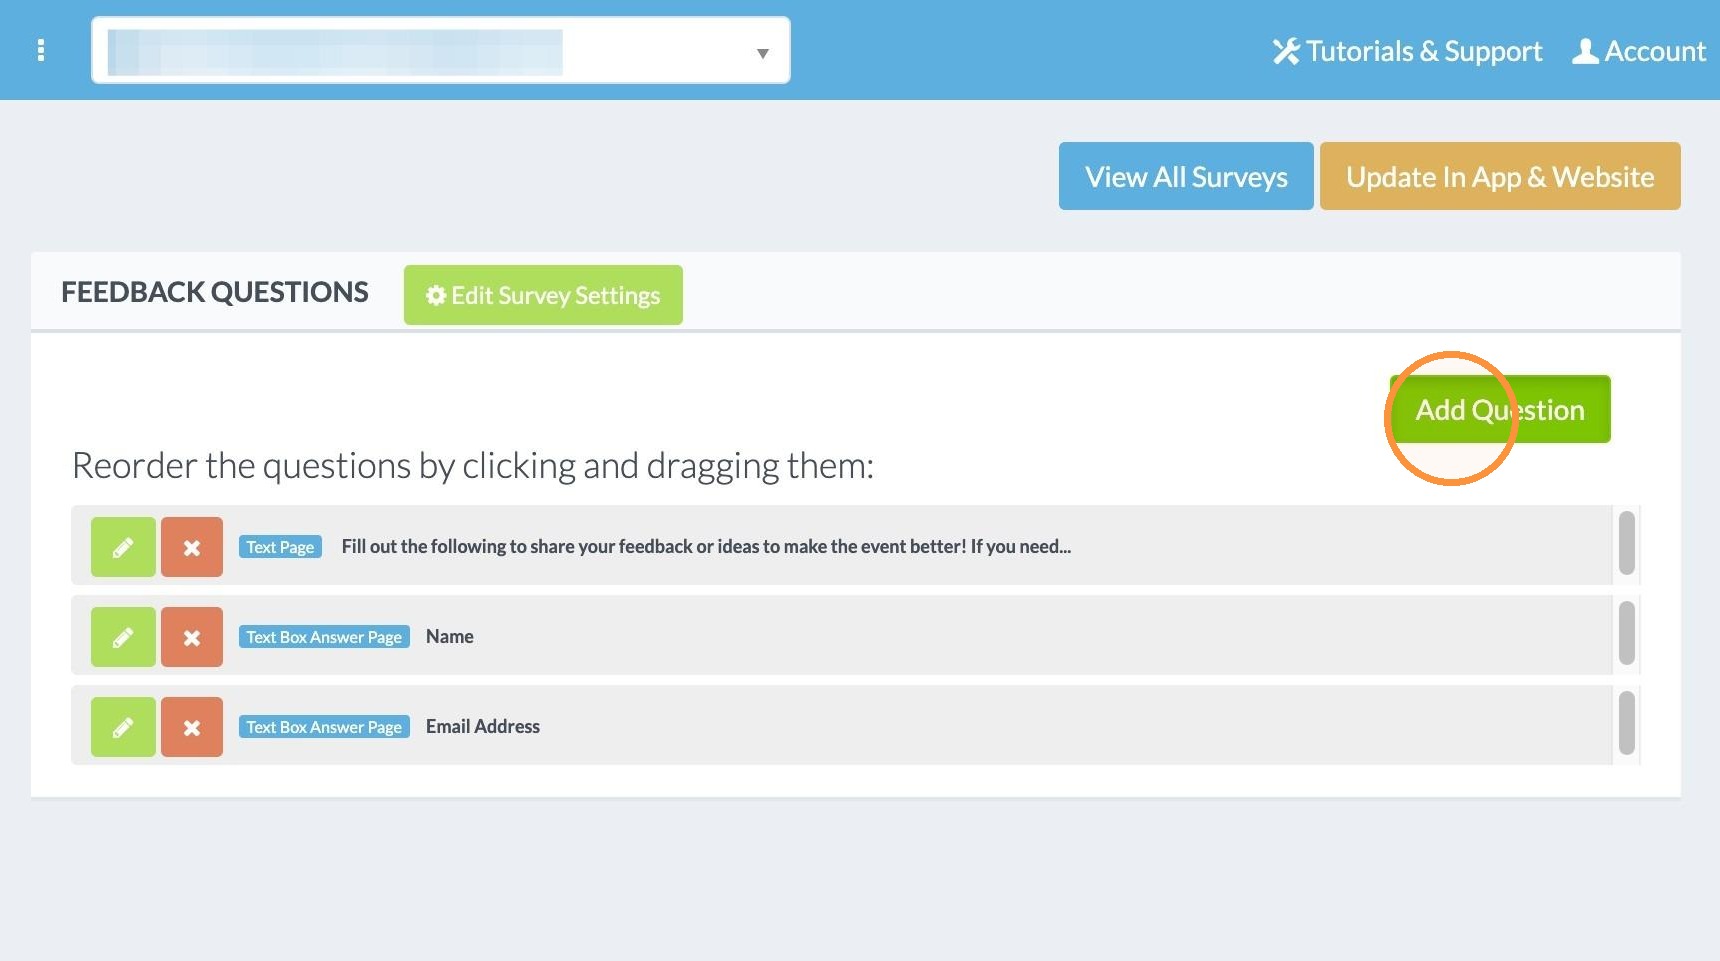
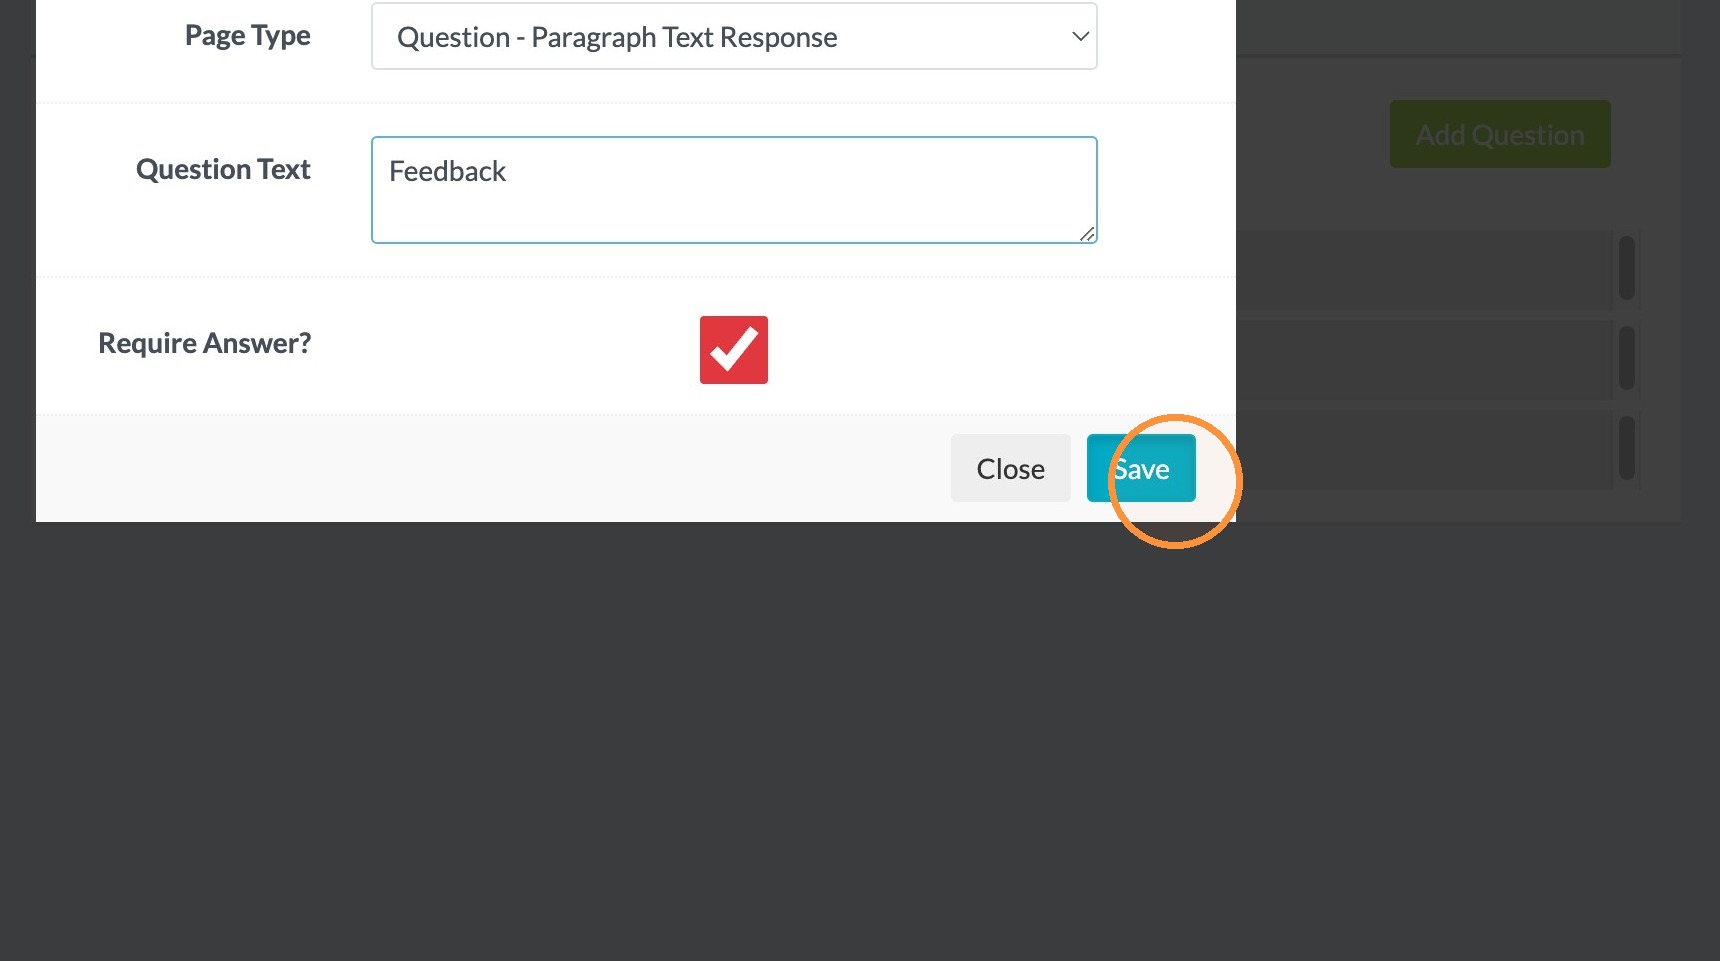
26. Select Paragraph Text Response to collect the response of the person.
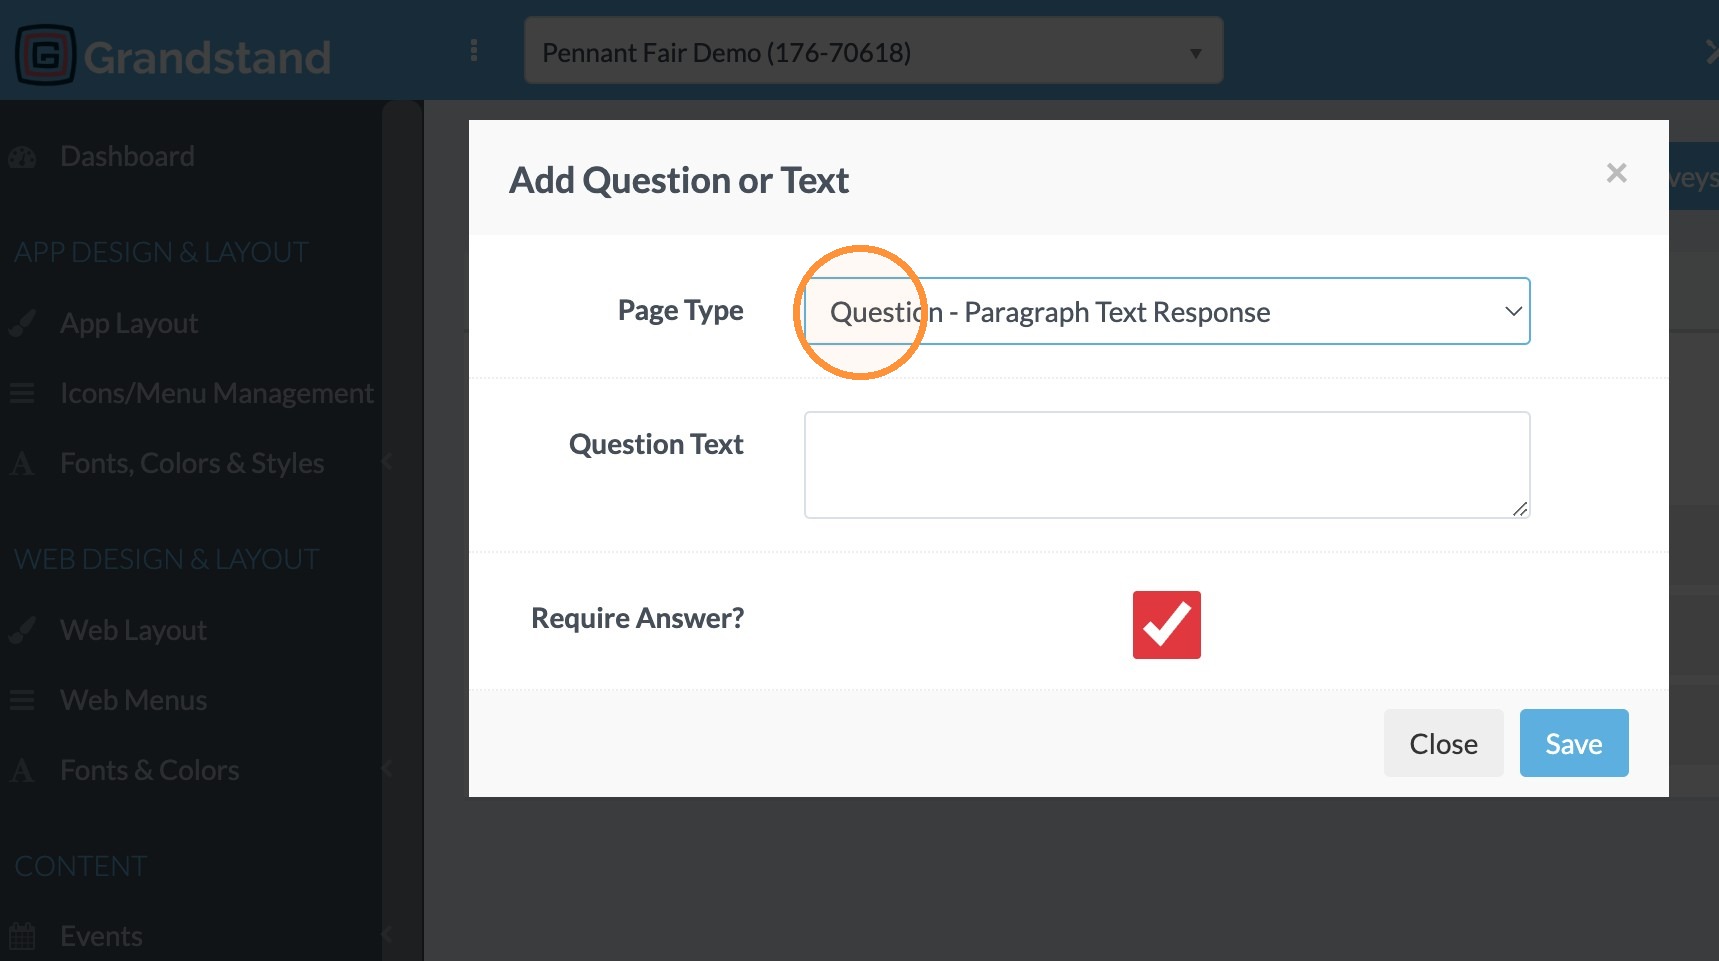
27. Click "Save"
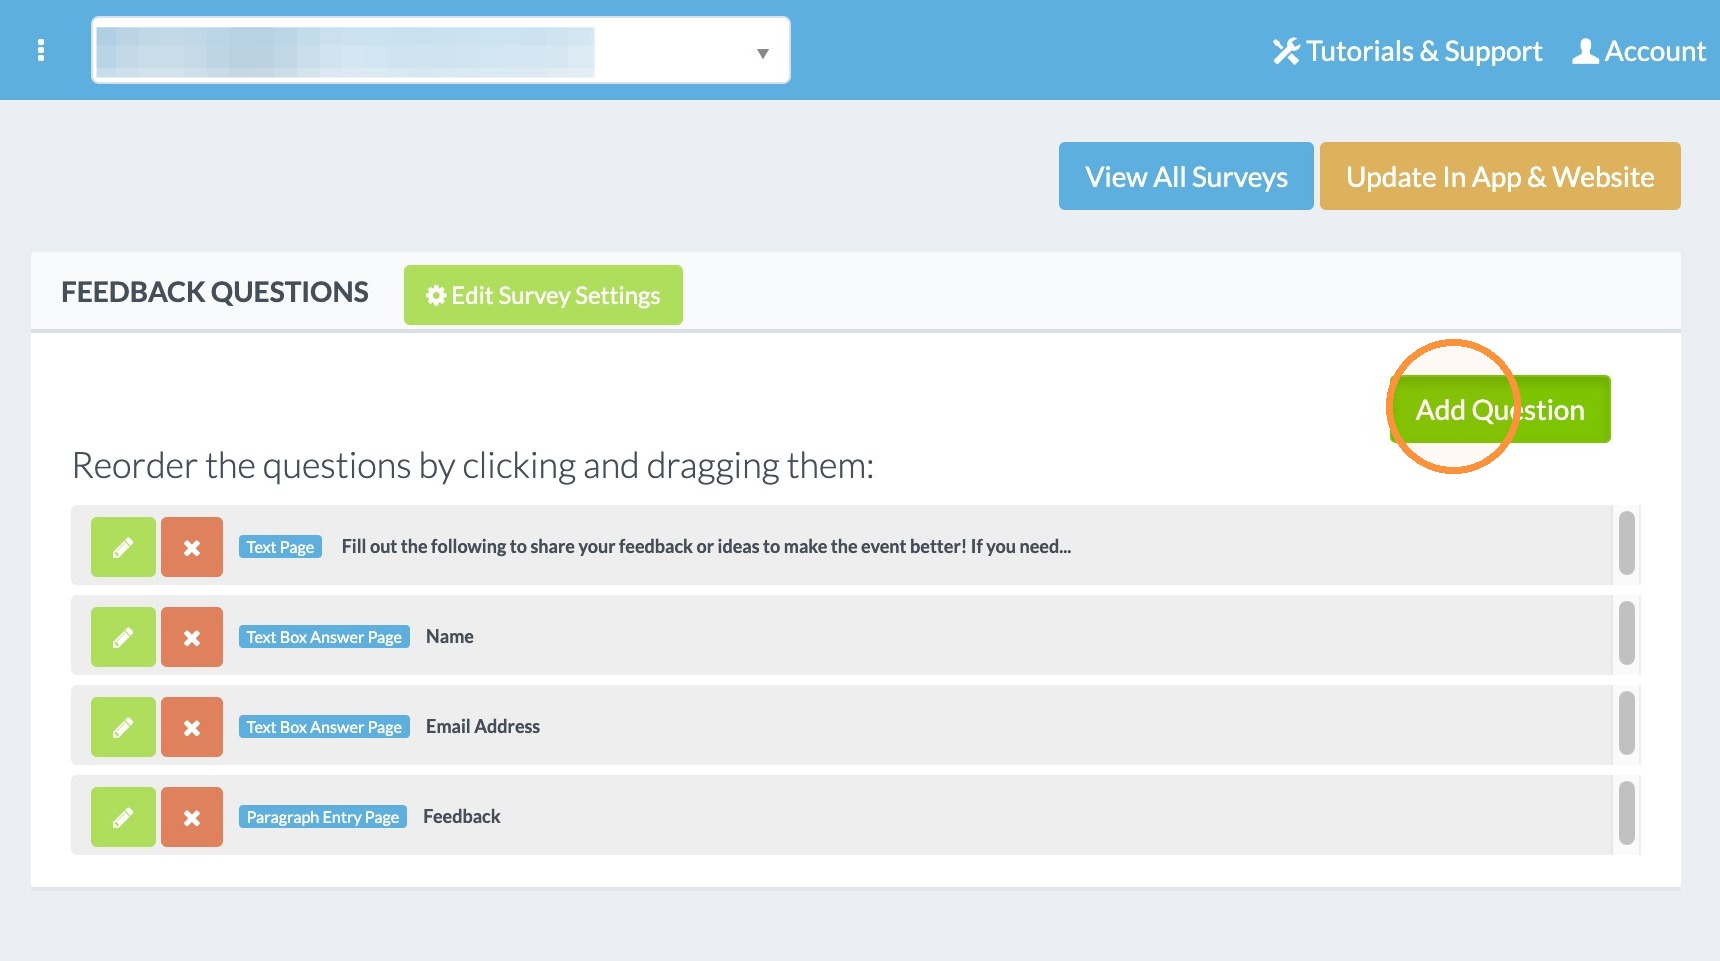
28. Click "Add Question"
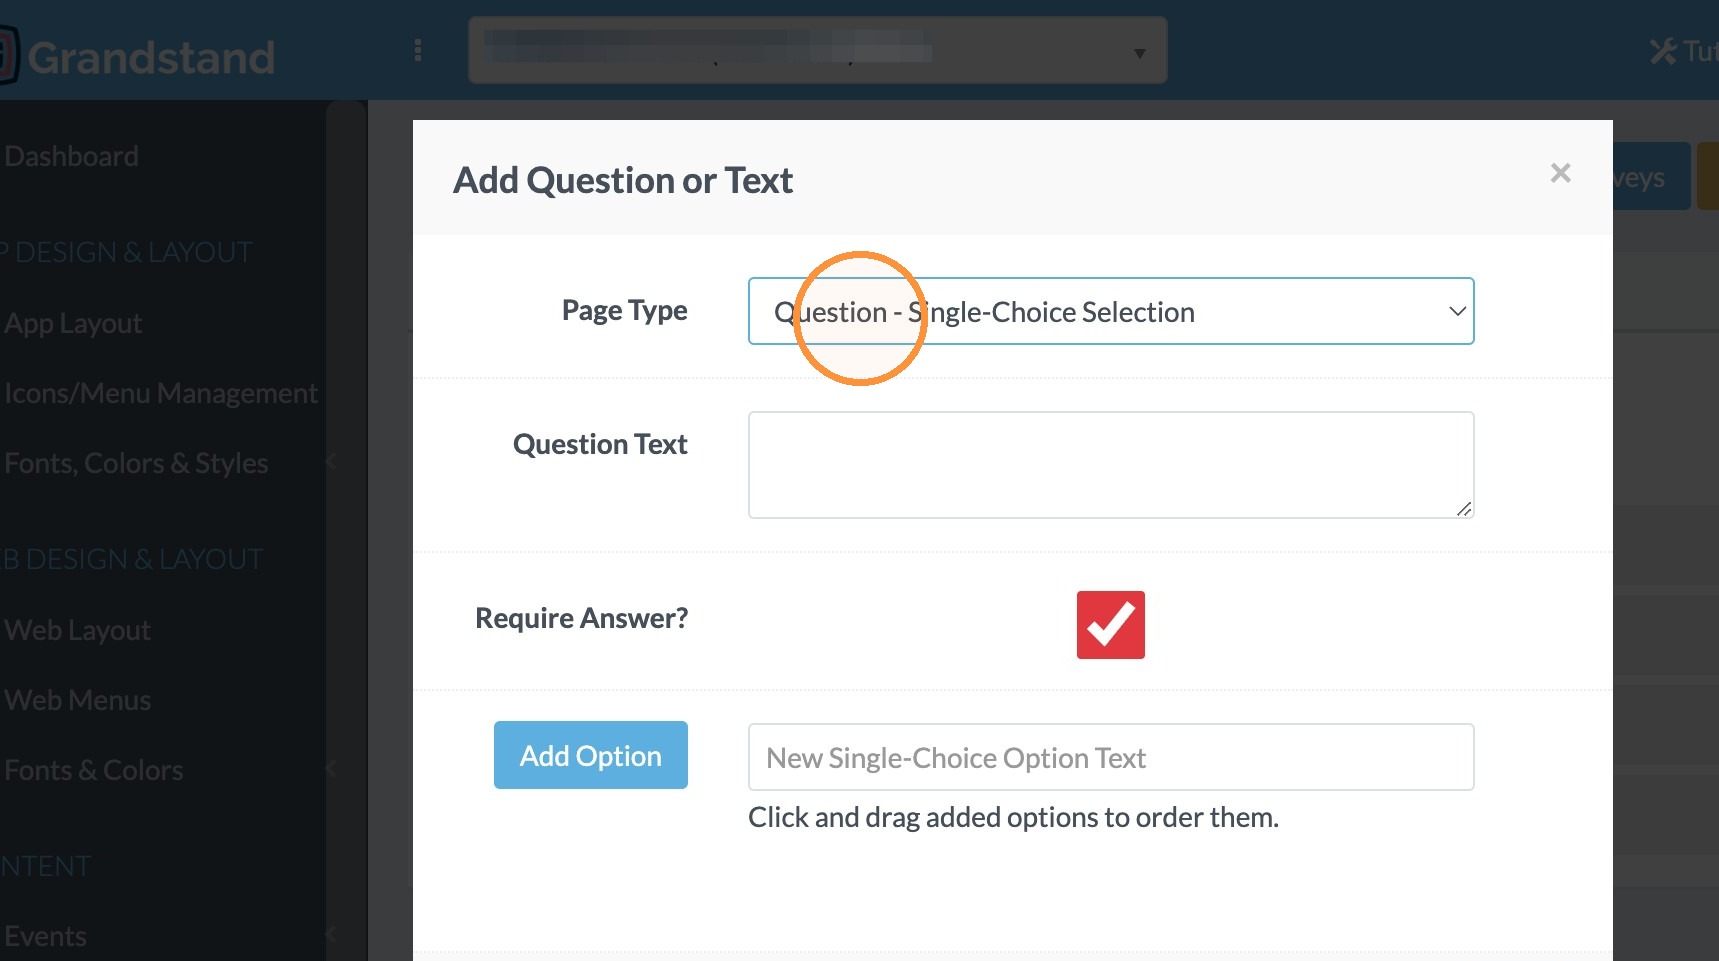
29. Select Question - Single-Choice Selection to add a question where the respondent selects one choice.
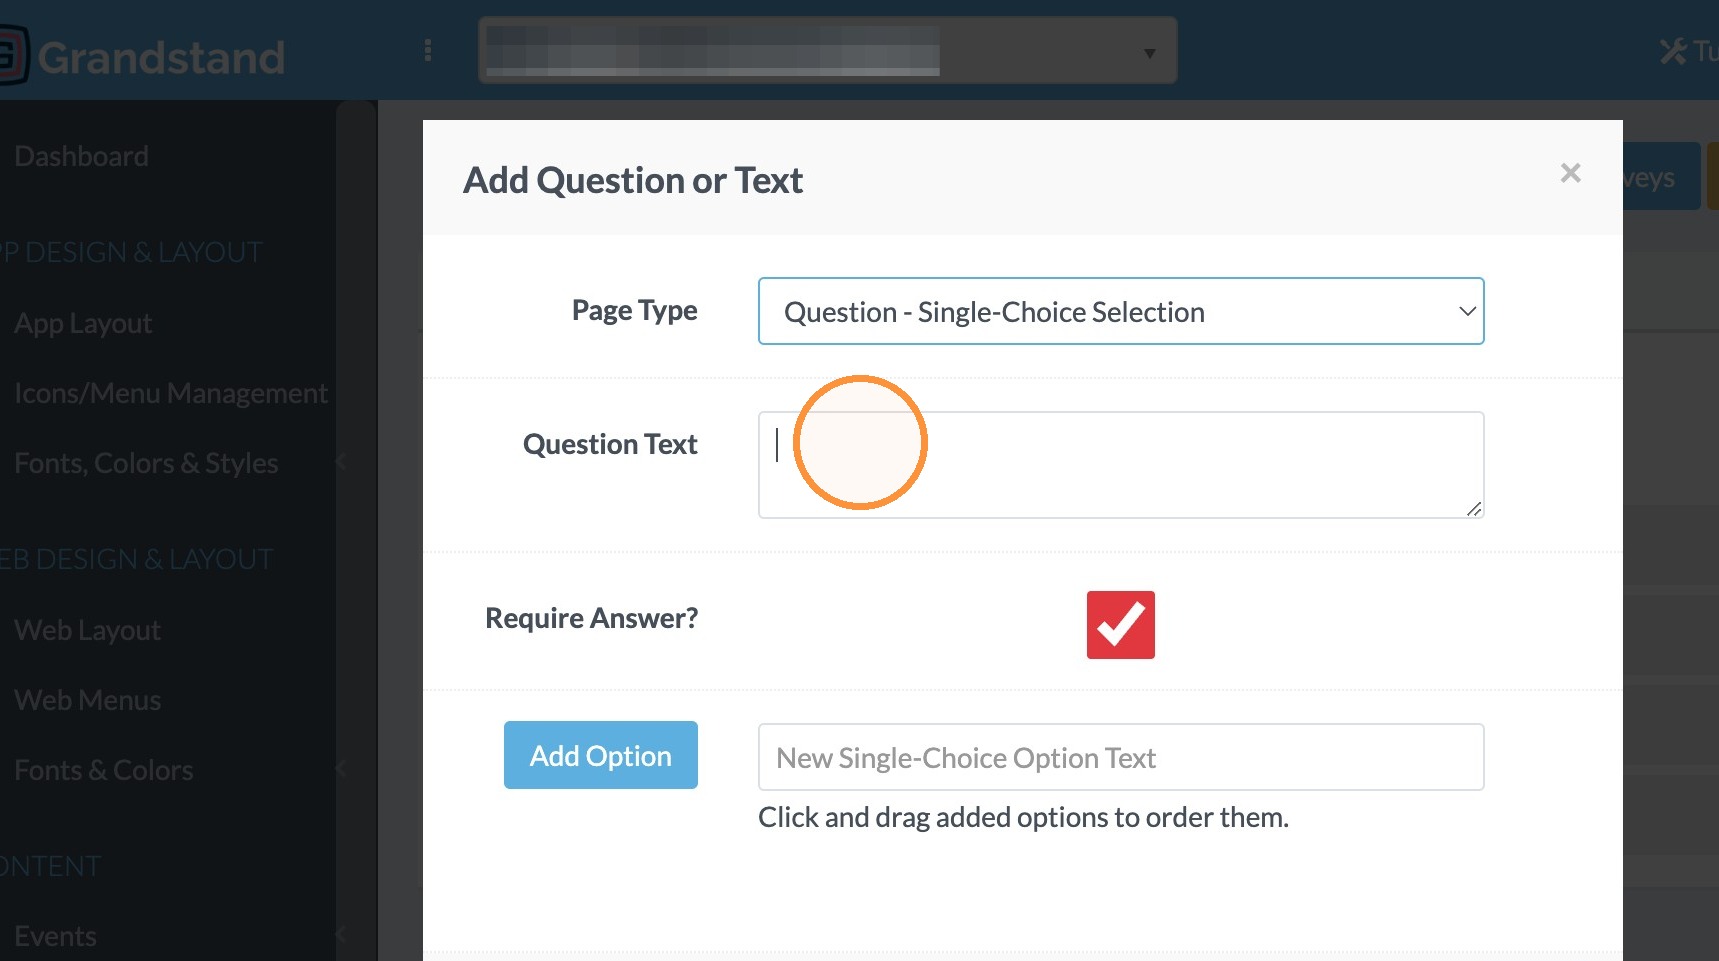
30. Click in the Question Text field and type the question. For this example: "Is this your first visit to the Festival?"
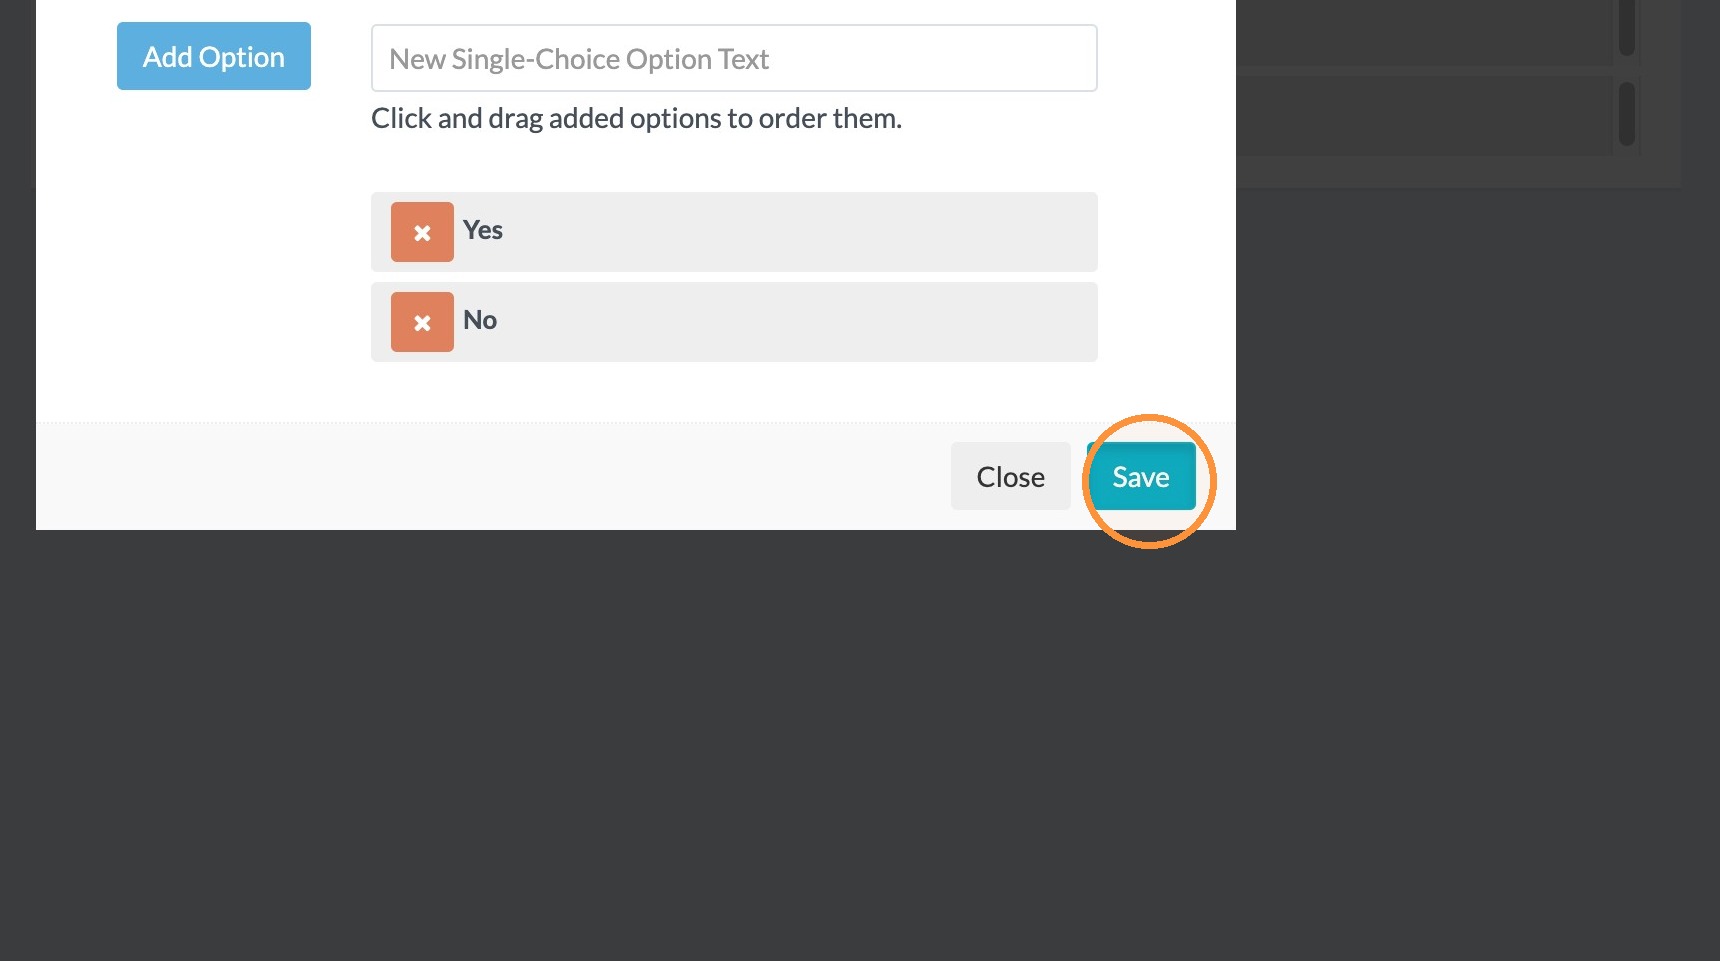
31. Click the "New Single-Choice Option Text" field and type "Yes"
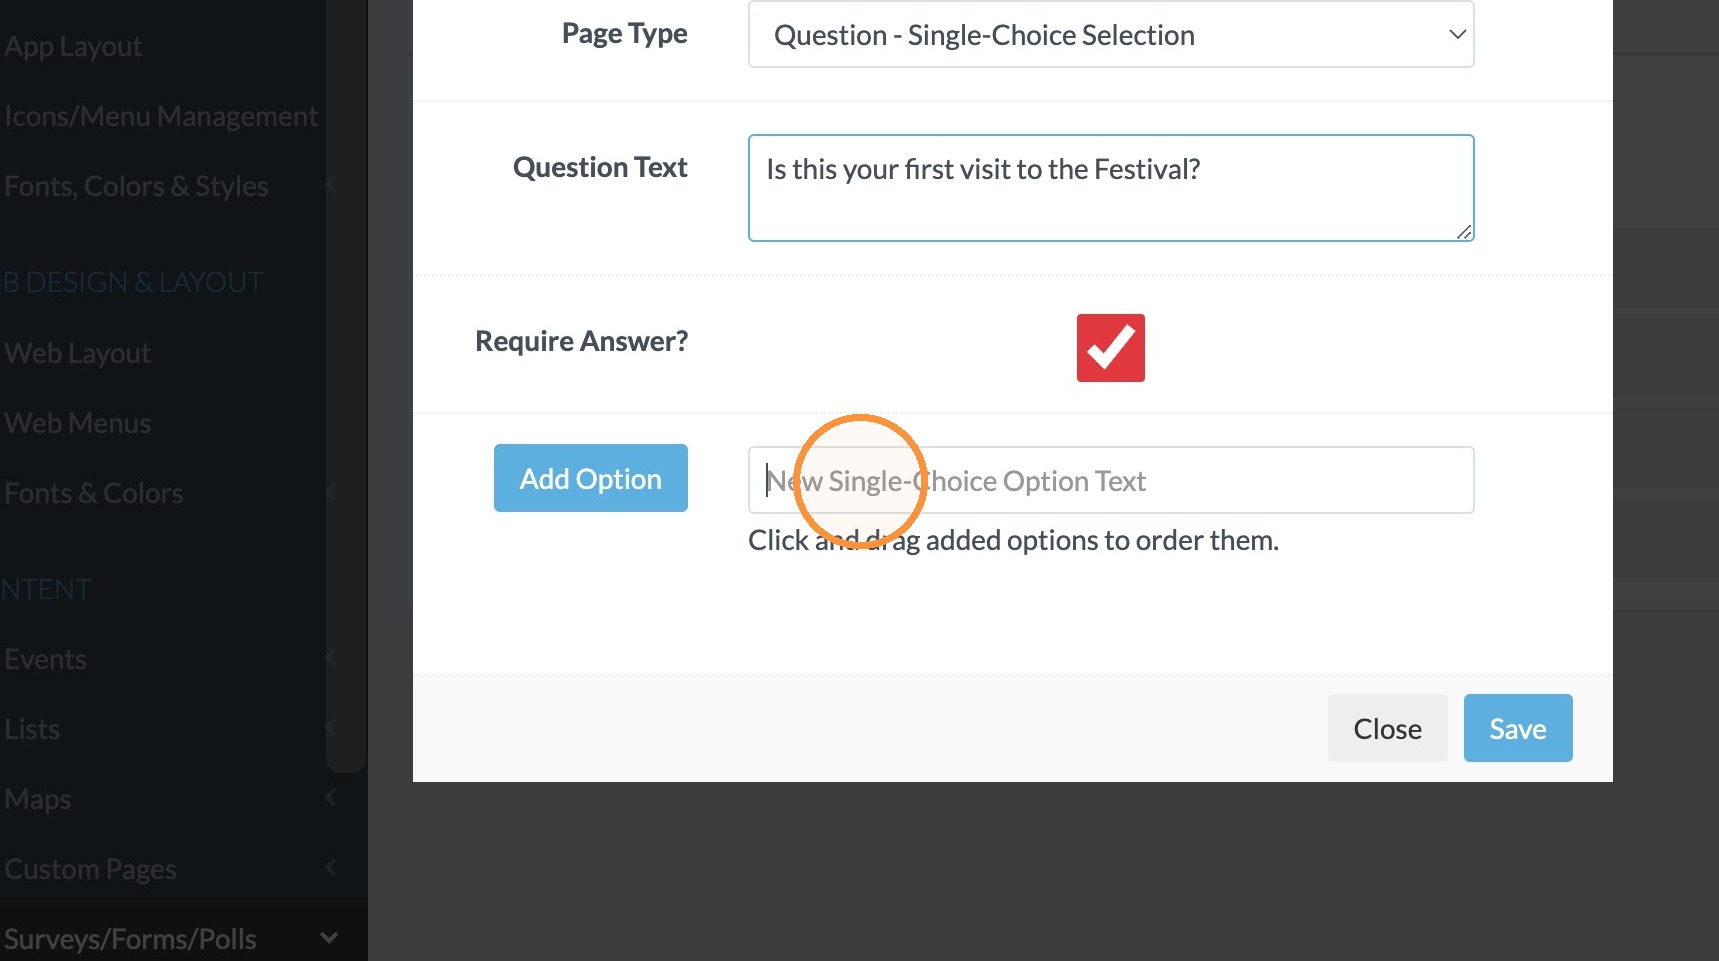
32. Click "Add Option"
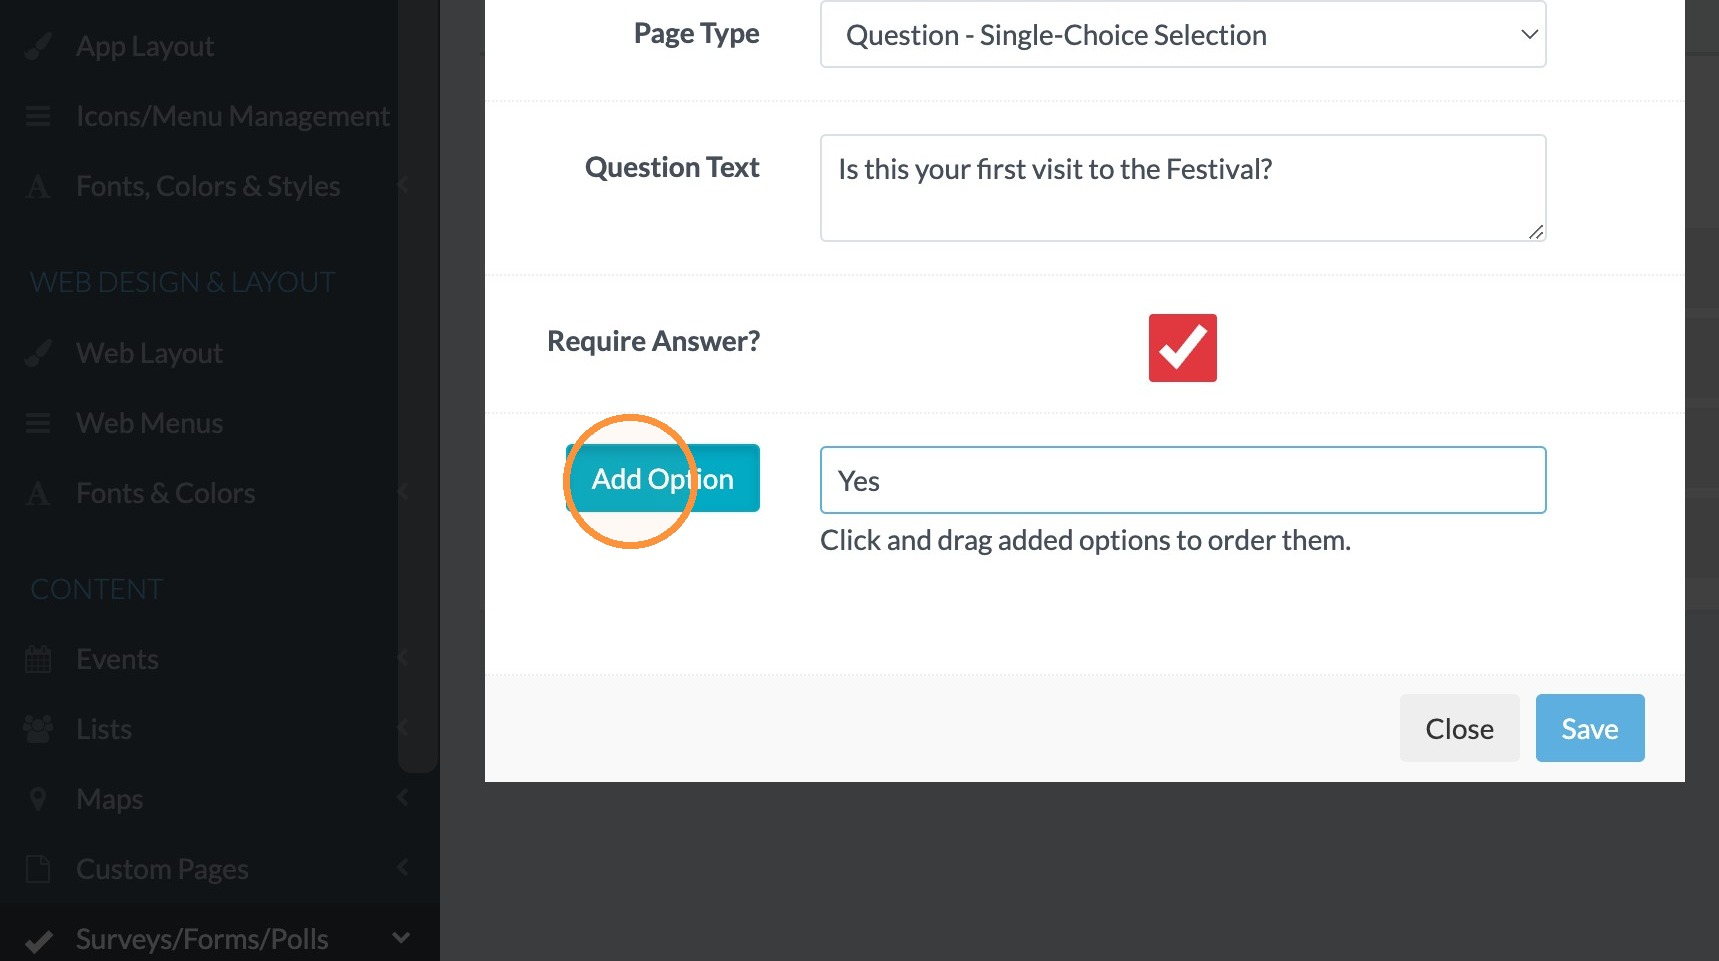
33. Click in the "Single-Choice Option Text" field and type "No"
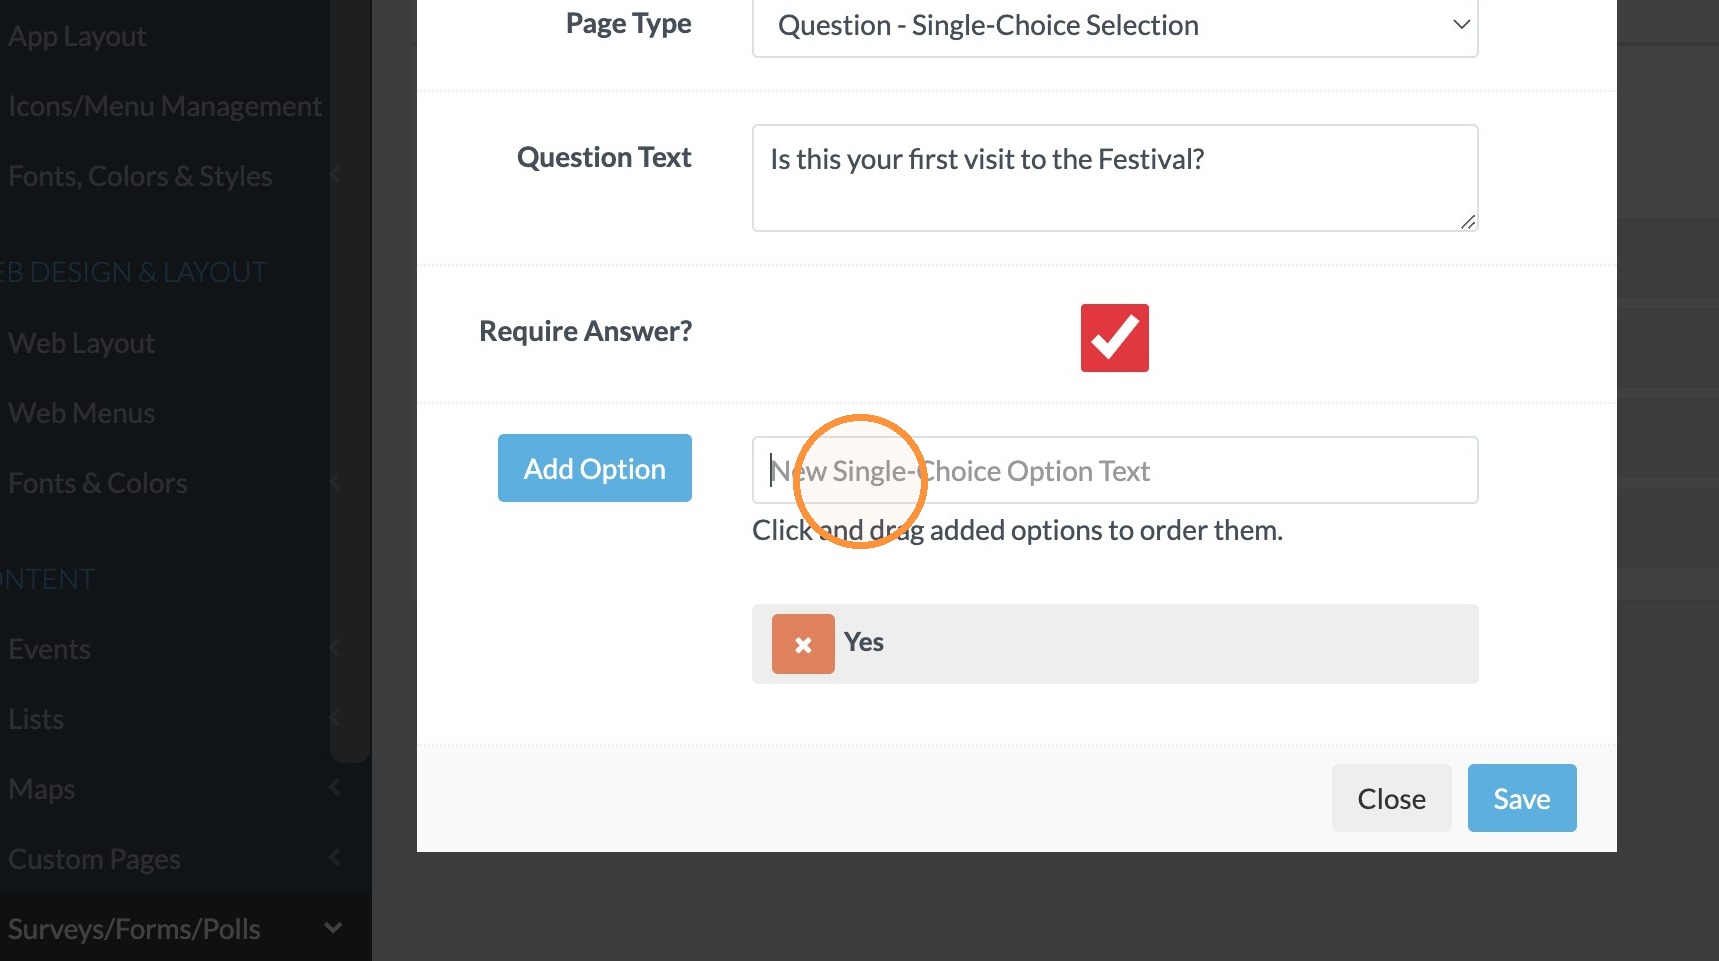
34. Click "Add Option"
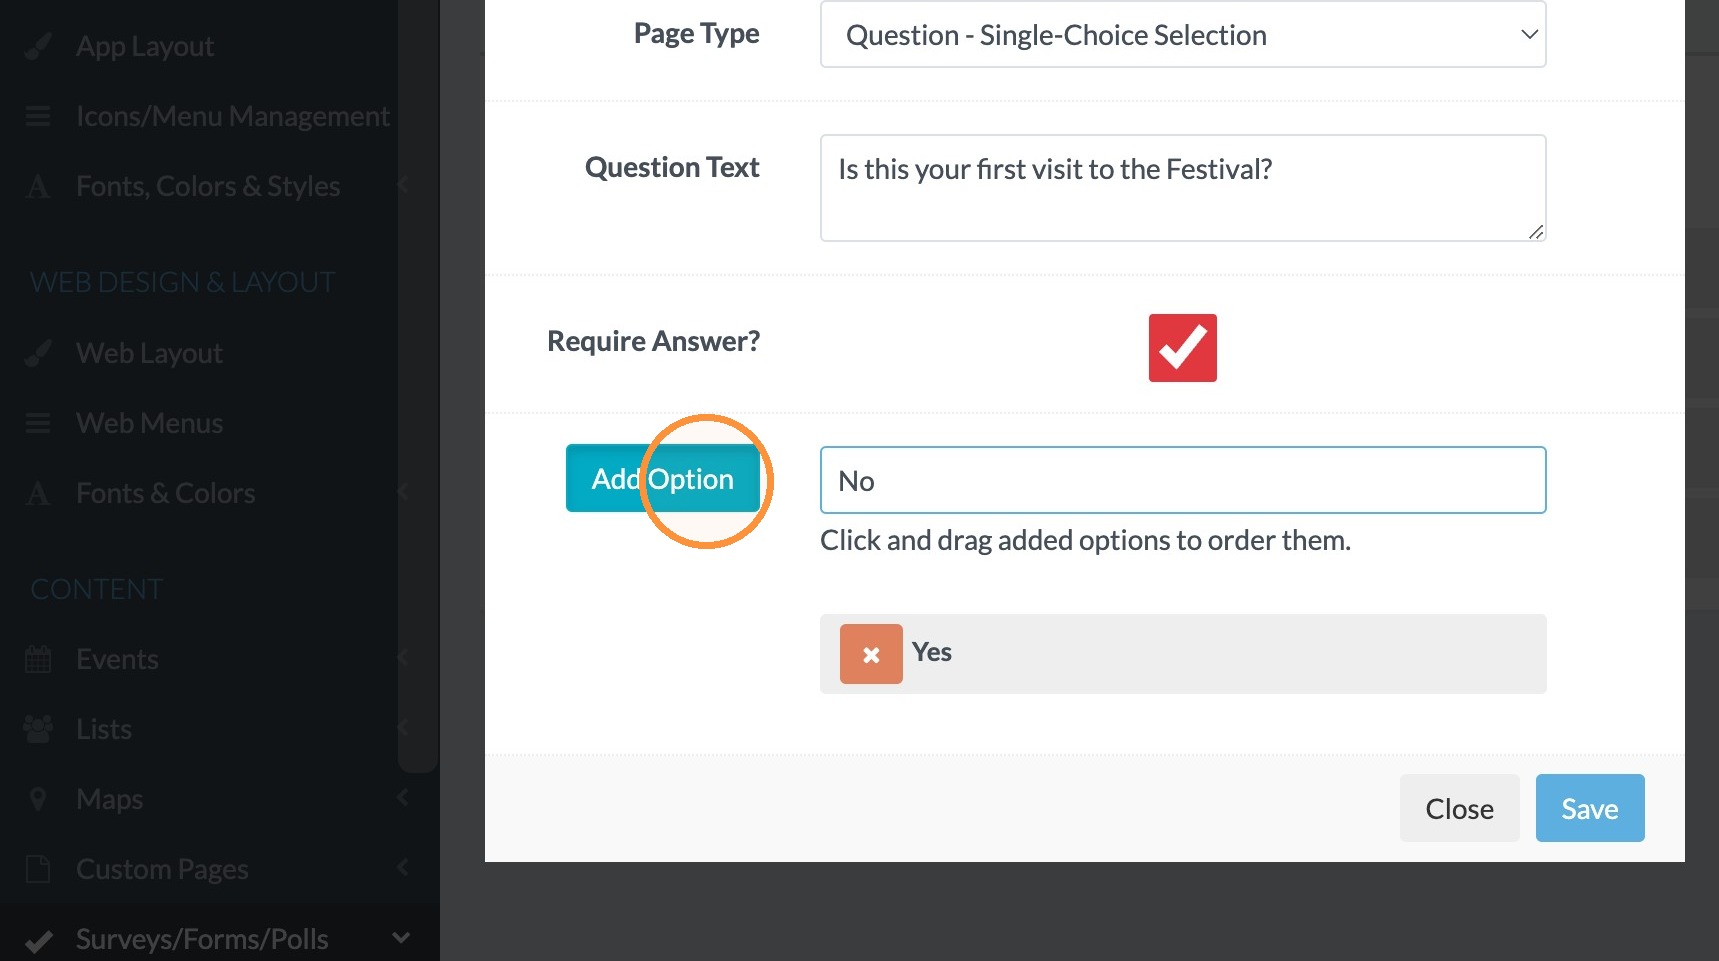
35. Click "Save"
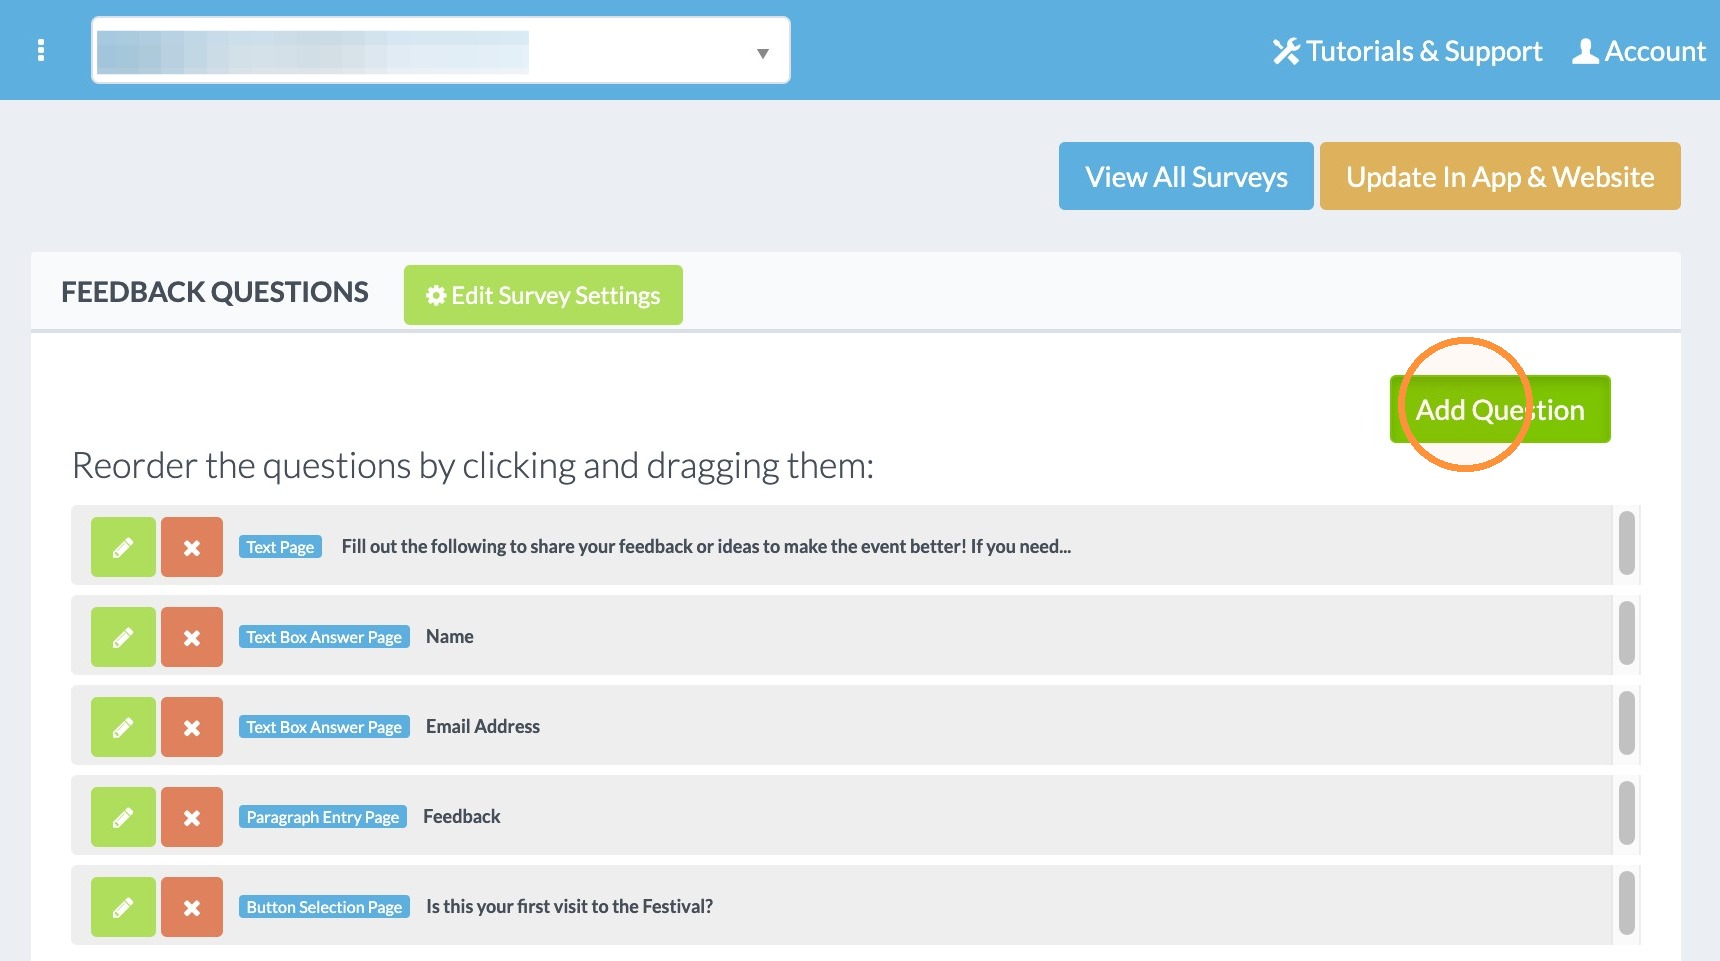
36. Click "Add Question" to add a slider question.
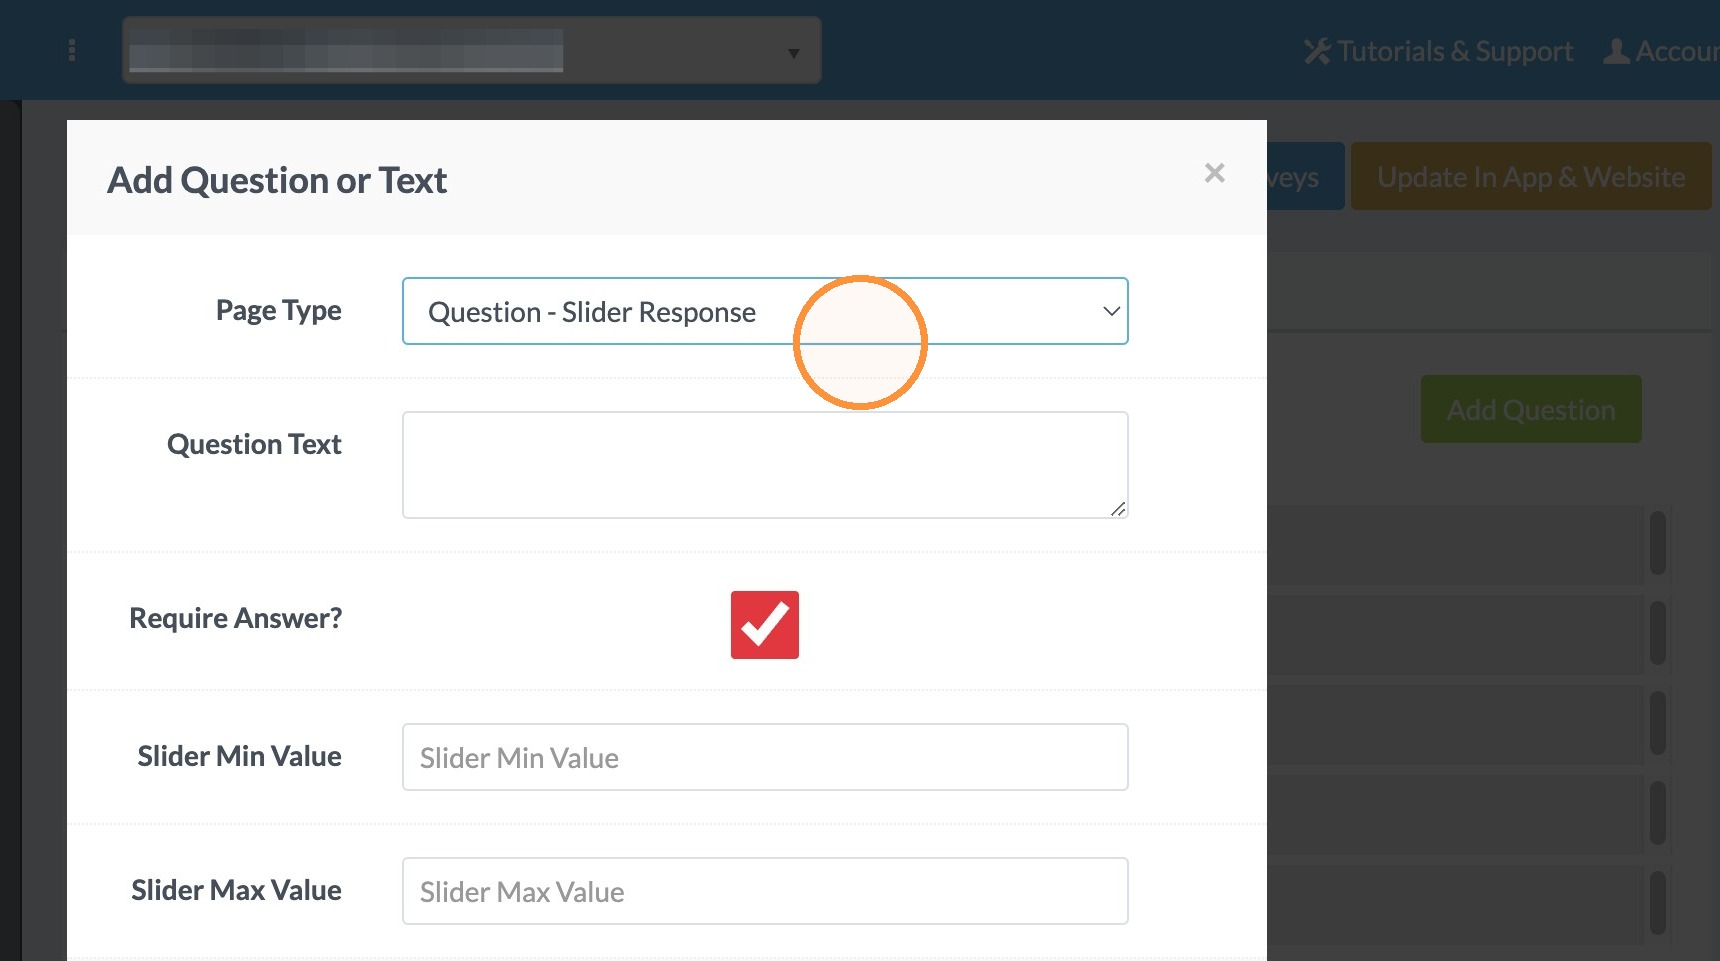
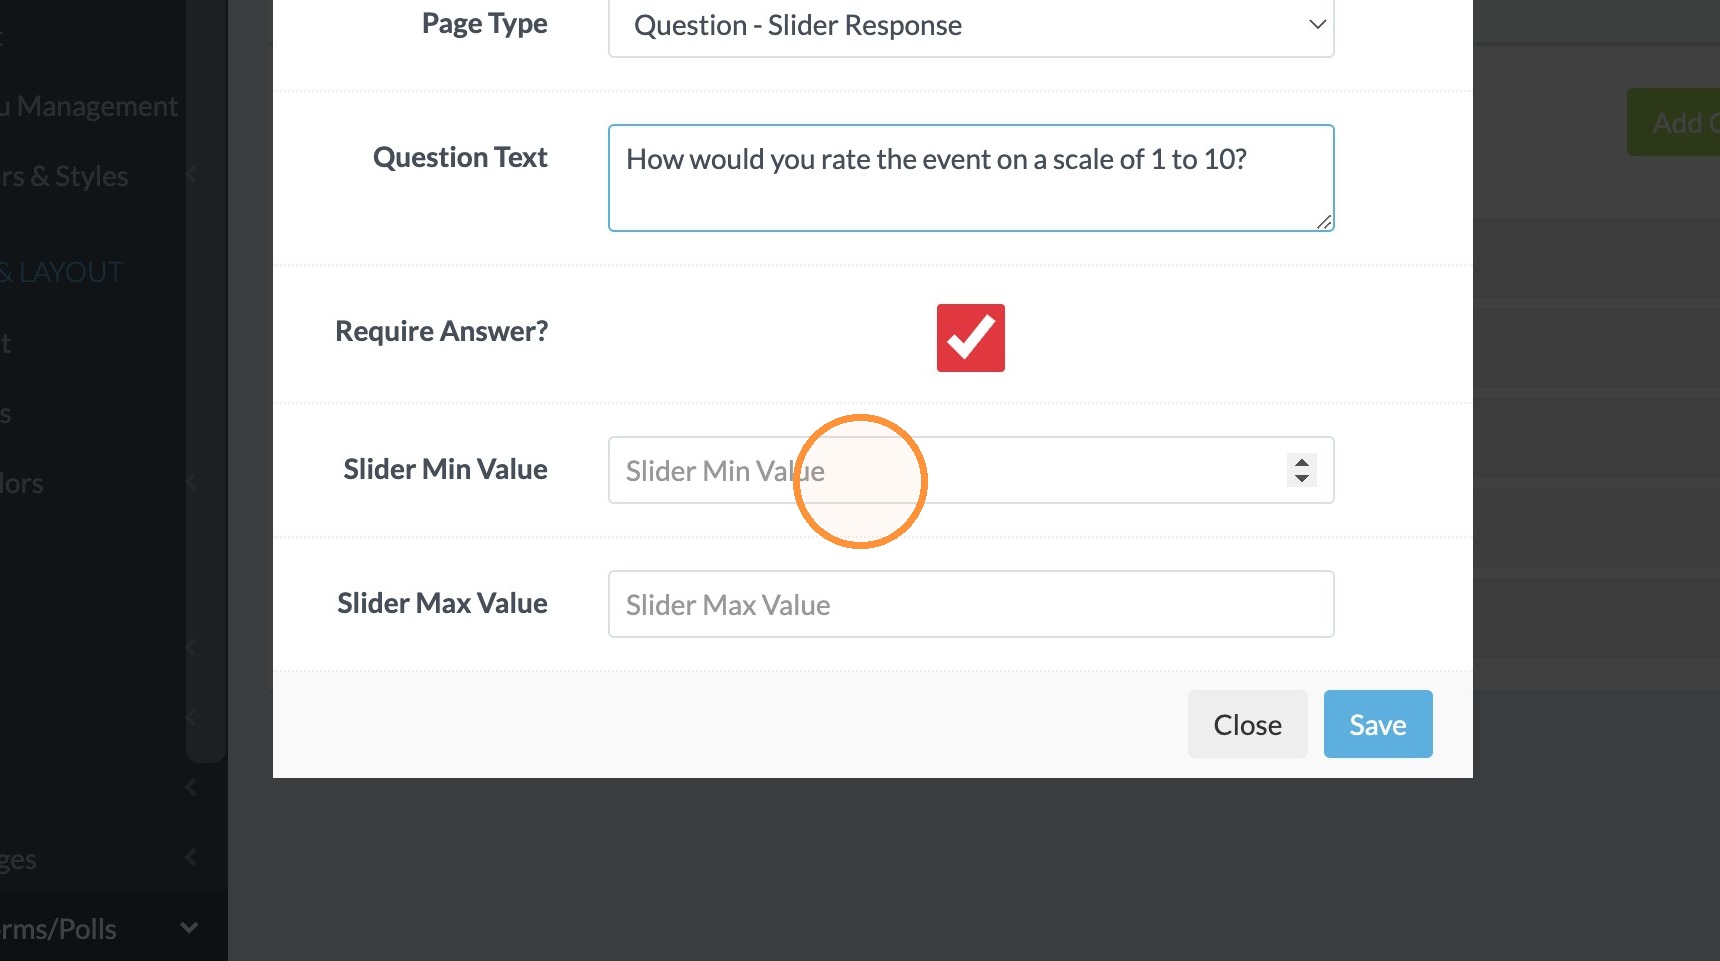
37. Select Question - Slider Response in Page Type.
38. Click in the Question Text area and type "How would you rate the event on a scale of 1 to 10?".
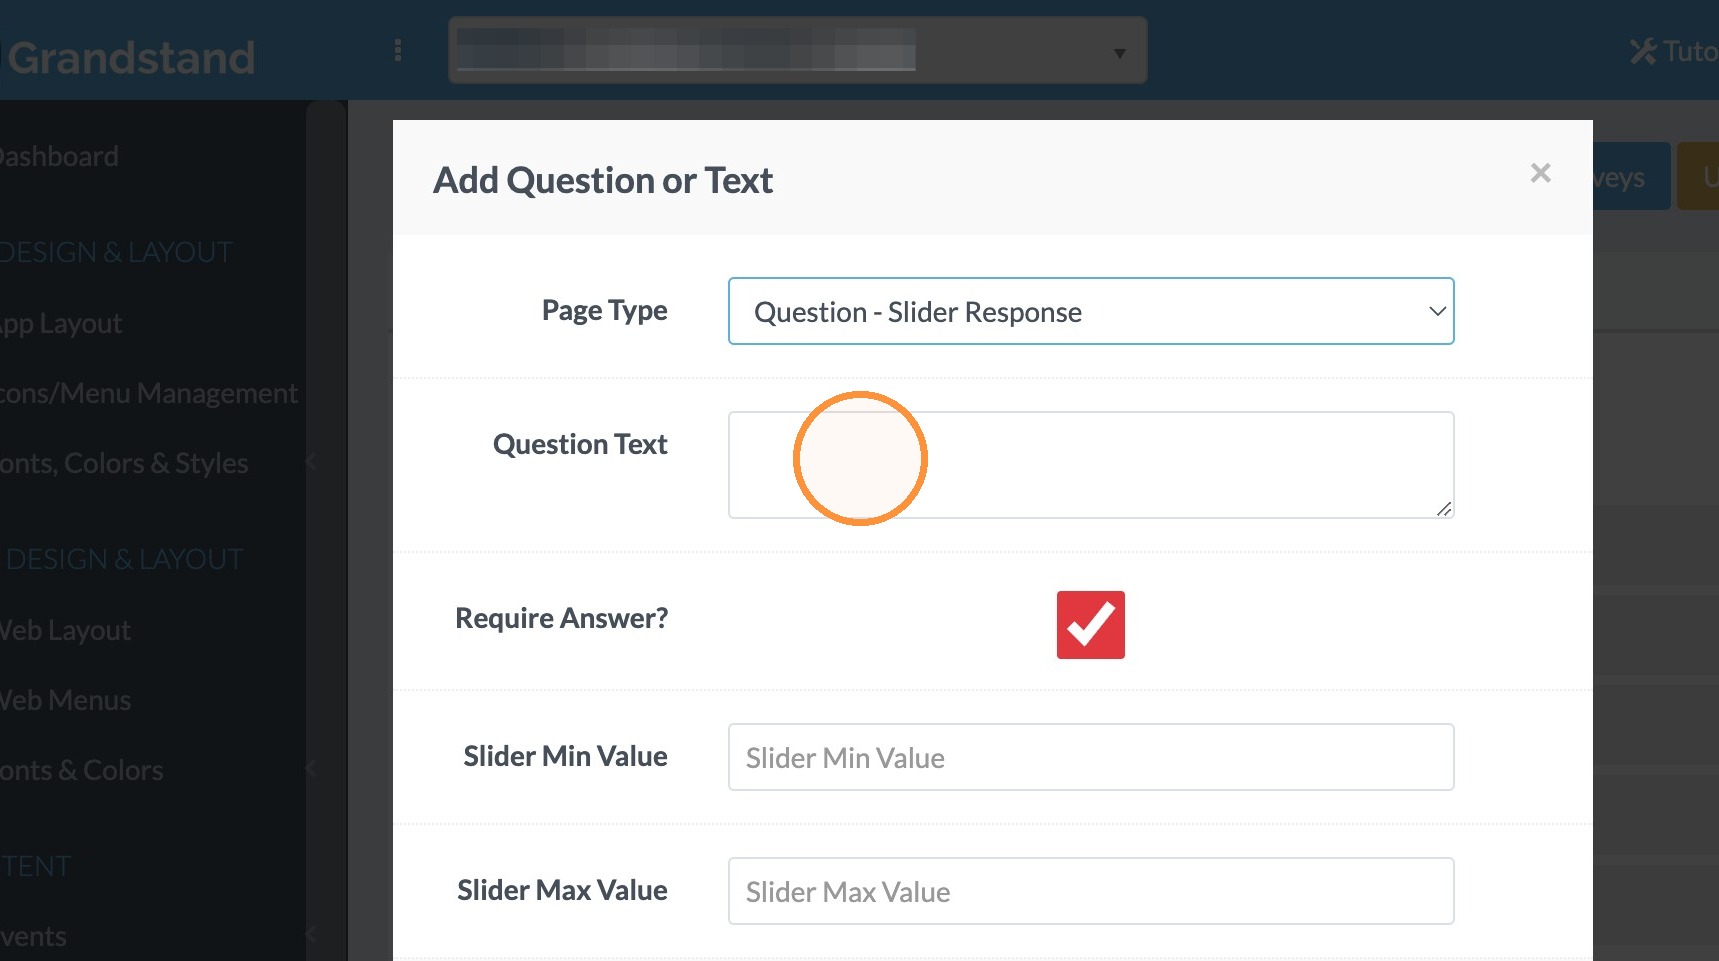
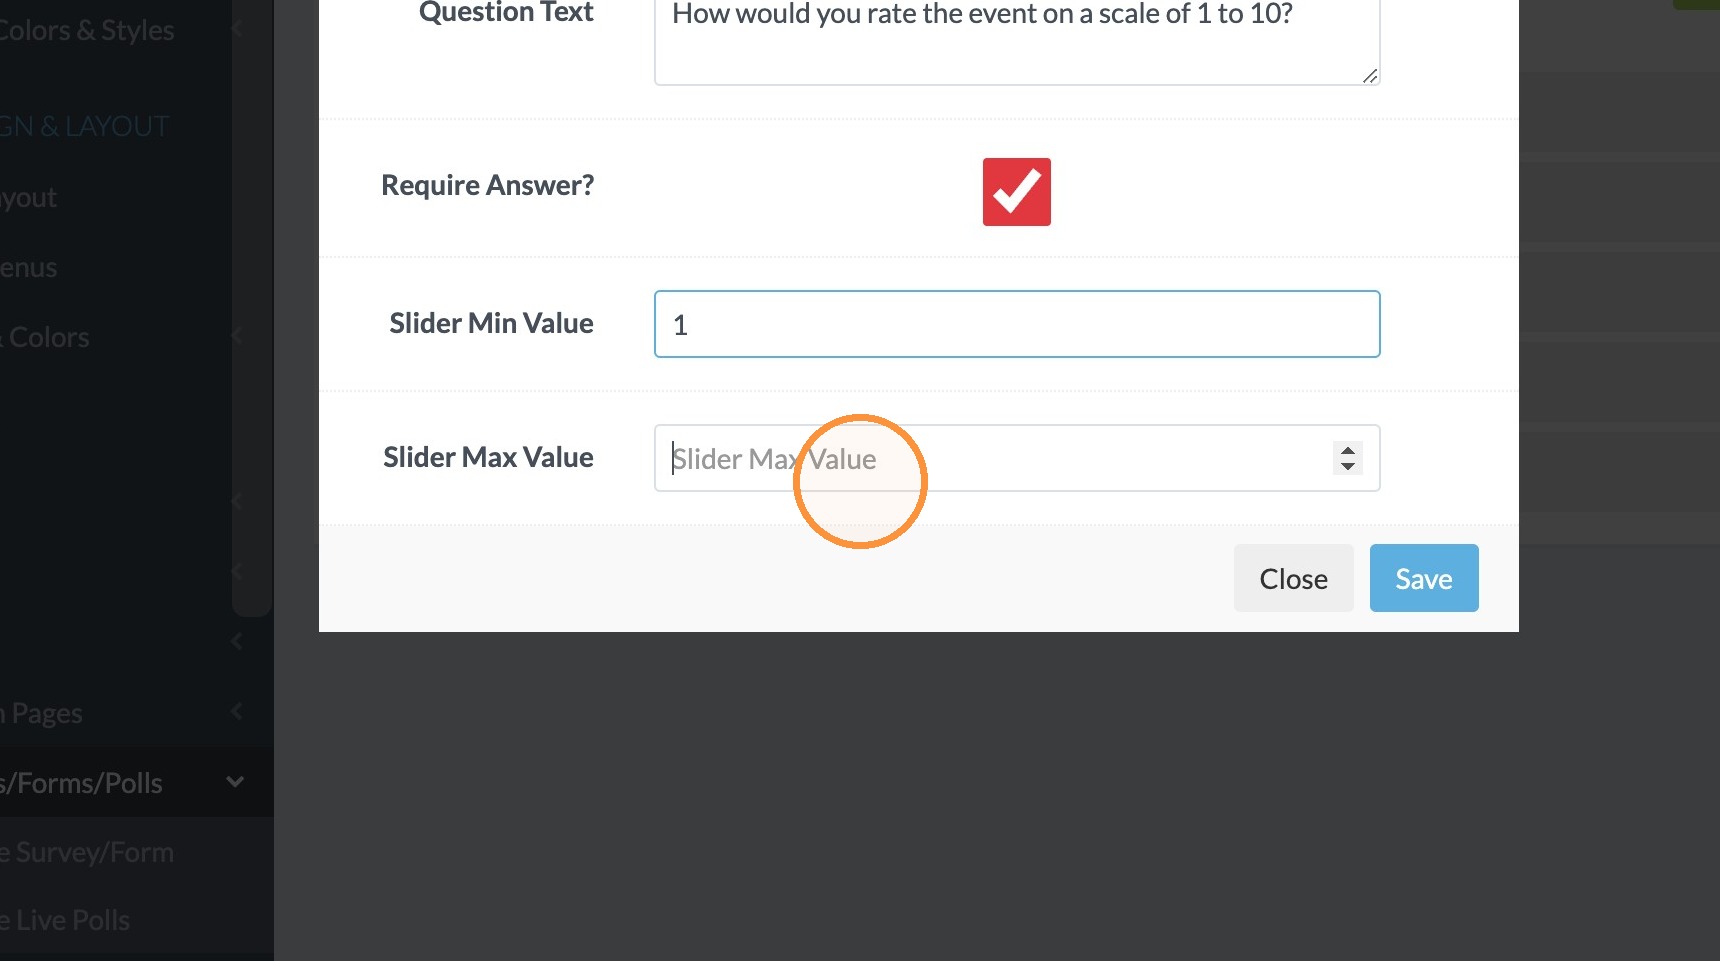
39. Click the "Slider Min Value" field and enter the lowest option. In this case 1.
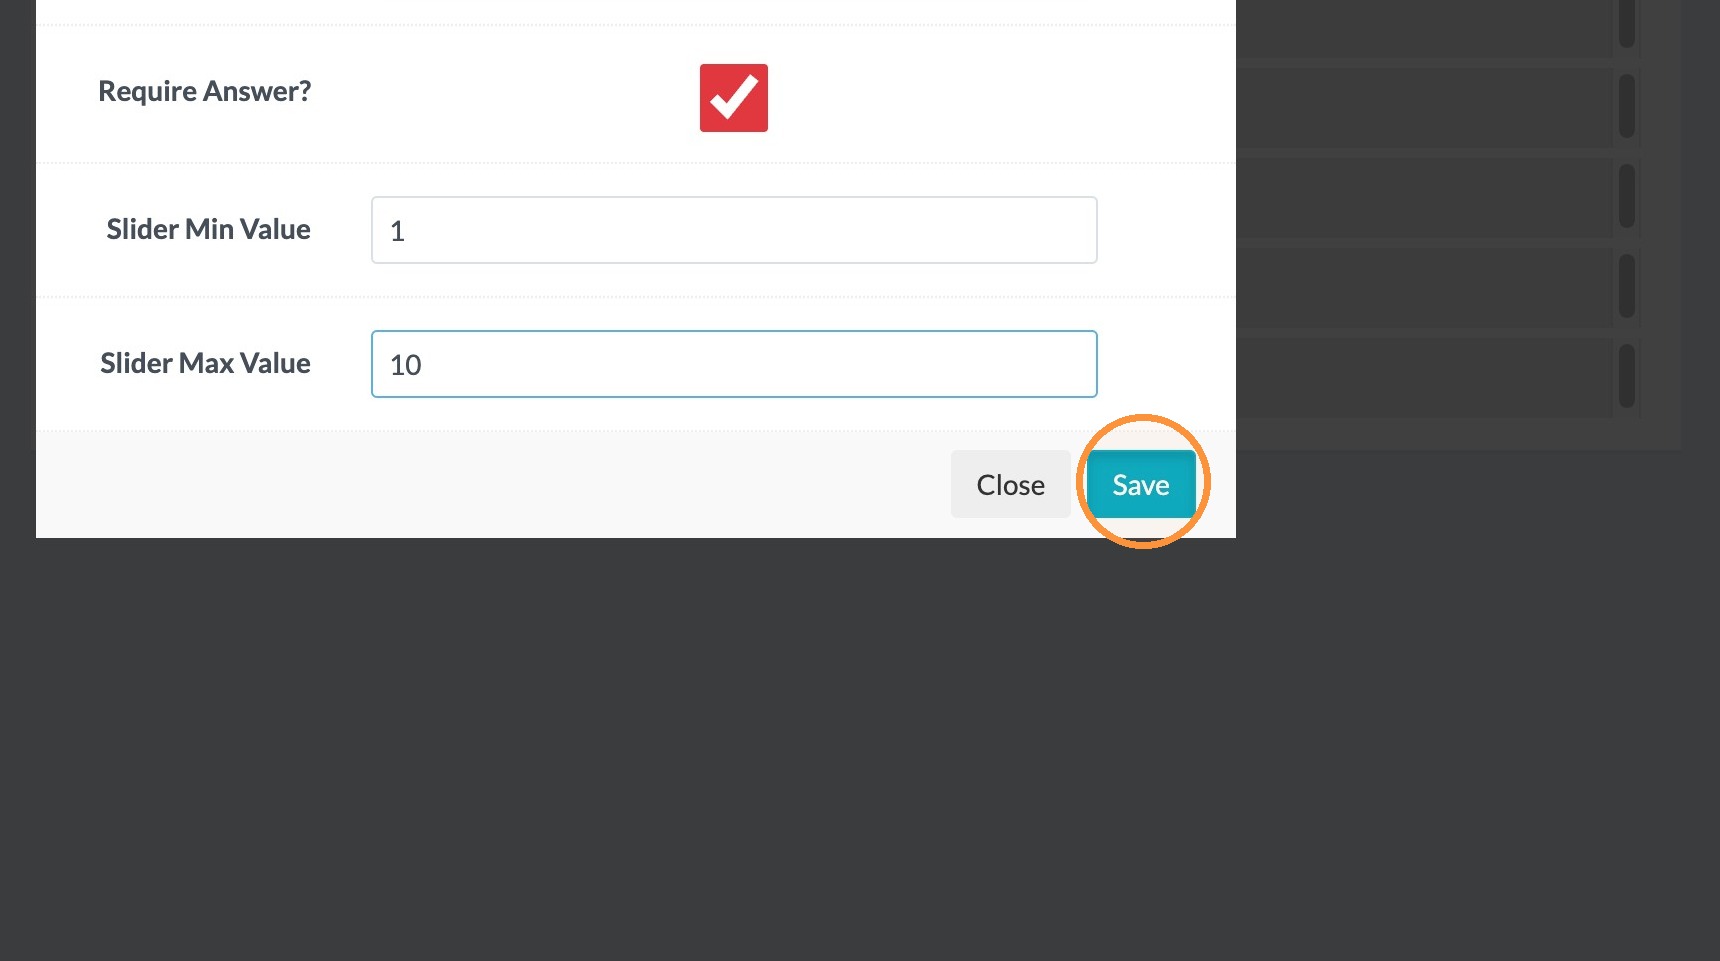
40. Click the "Slider Max Value" field and enter the max value. In this case 10.
41. Click "Save"
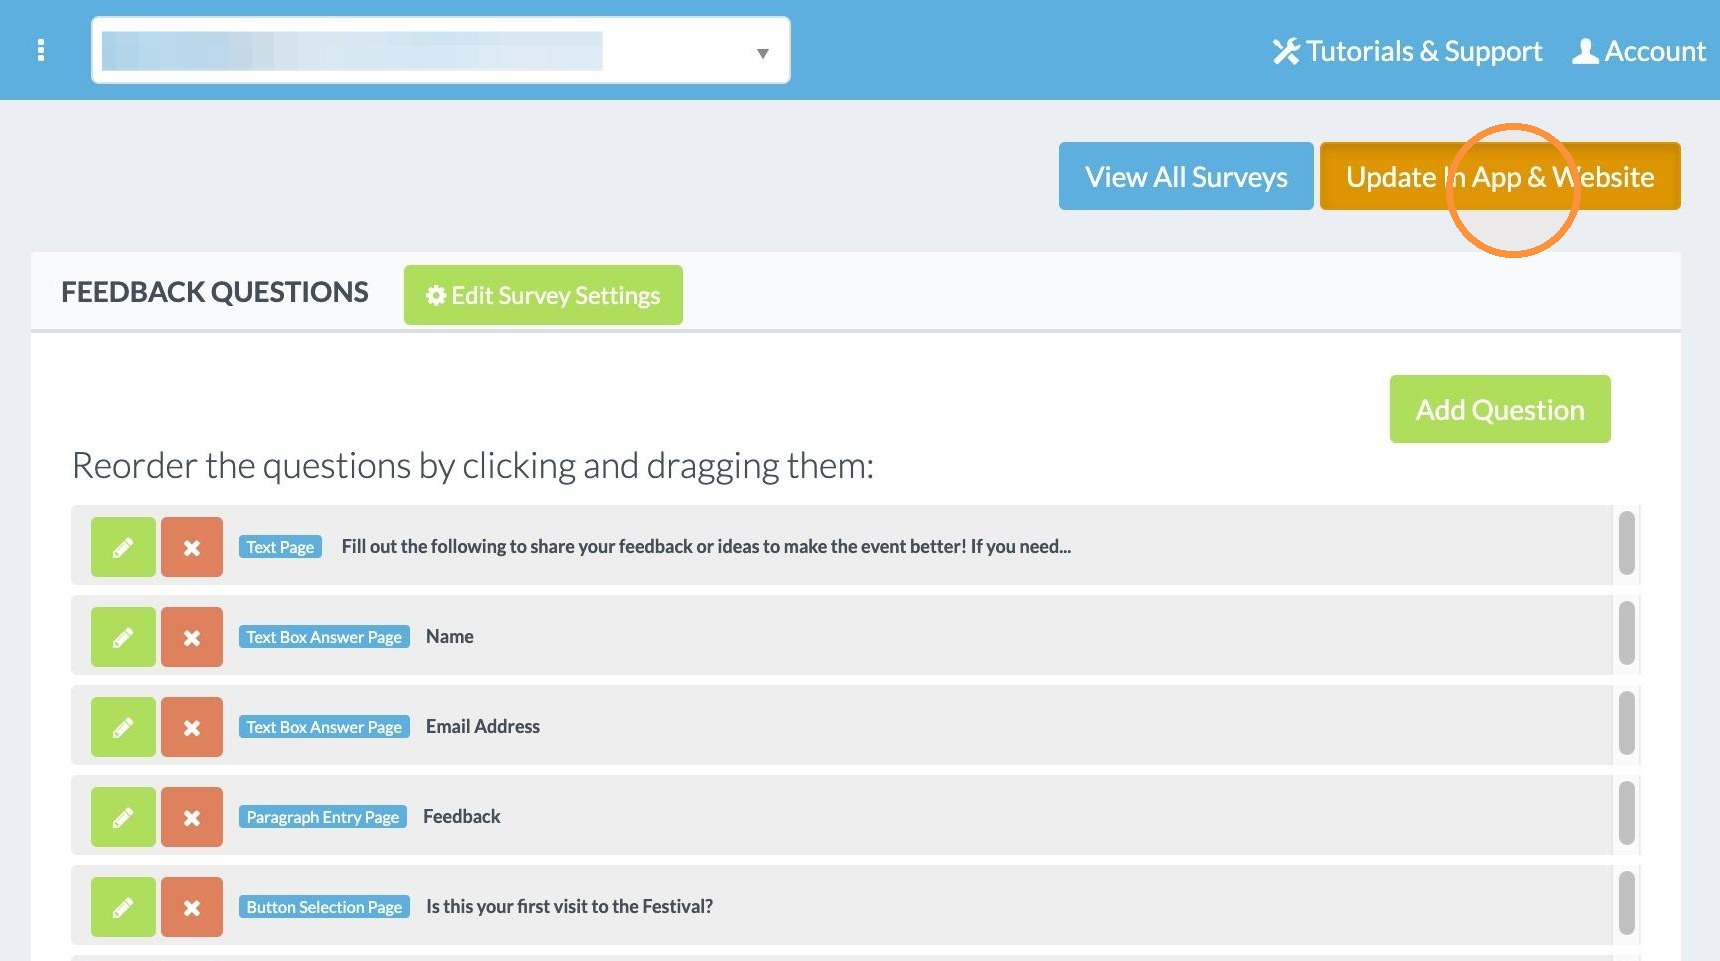
42. Click "Update In App & Website"
Edit Survey Settings
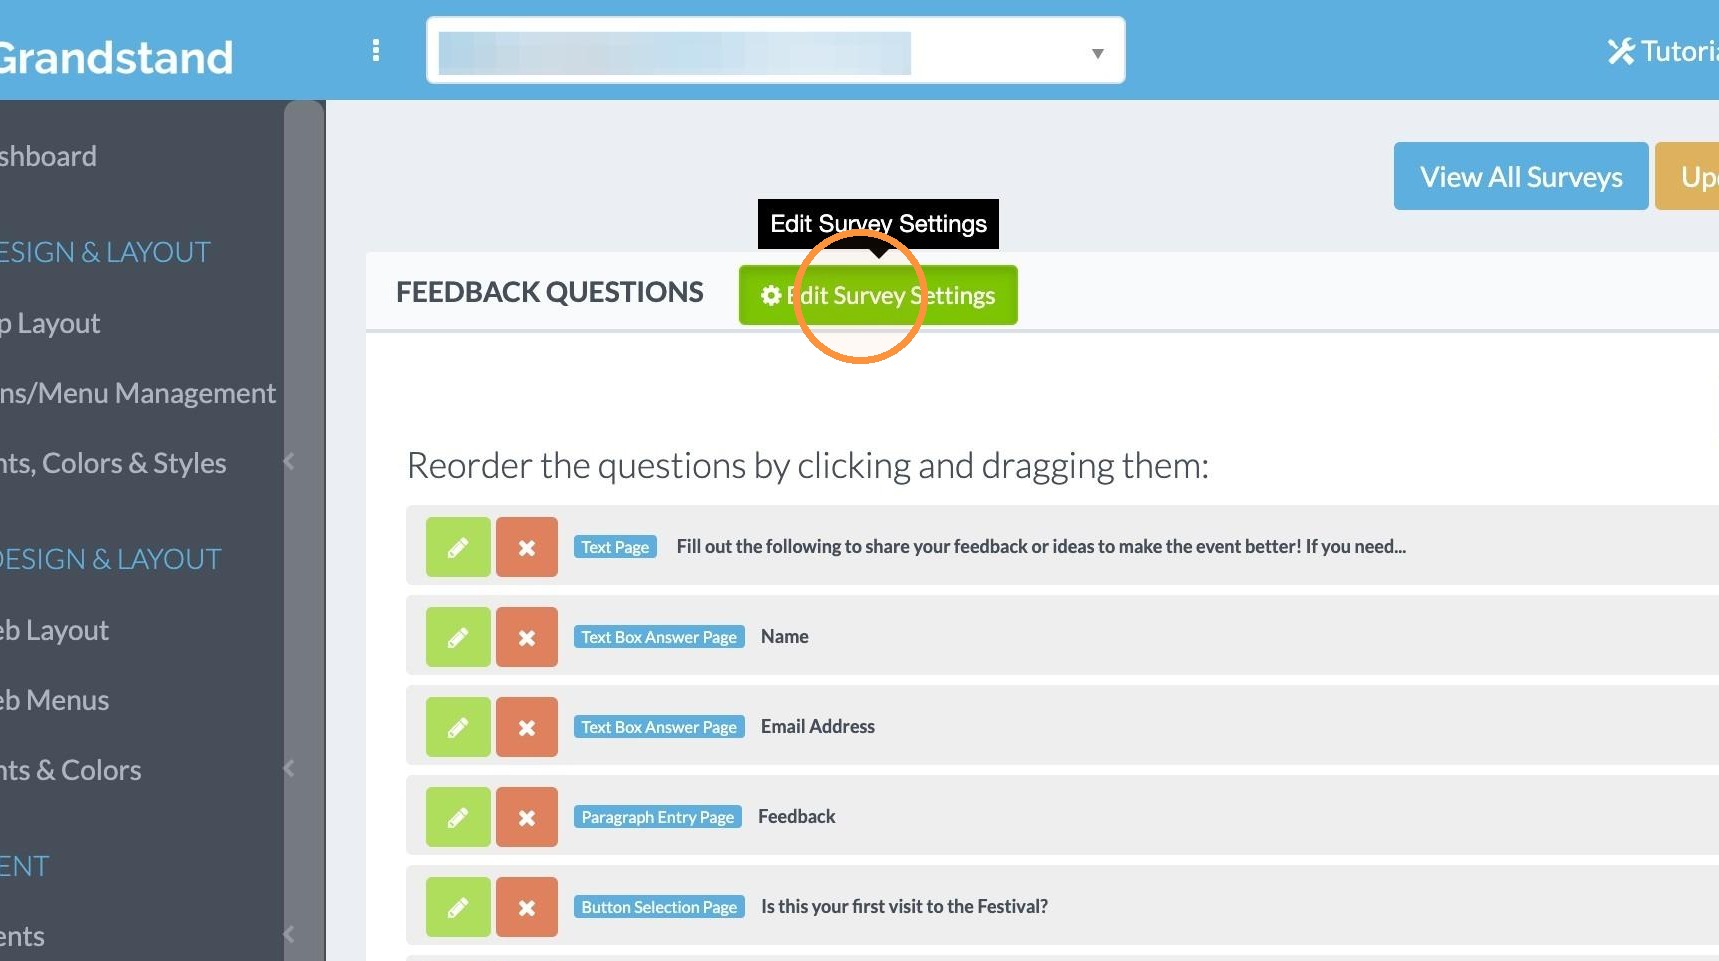
43. You can edit the settings for the survey after it is already set up. To do so, click "Edit Survey Settings" at the top next to the name of the survey.
Surveys