A custom map overlay is a great way to give your event app a polished, branded look while still helping visitors navigate with ease. The good news? You don’t need to be a cartographer to make one. With a screenshot from Google Maps and a few steps in Photoshop or Illustrator, you can create a clean, professional-looking overlay in no time. It’s a small effort that goes a long way in helping your visitors feel oriented and welcomed. Here’s how:
1. Grab a Screenshot
Head to maps.google.com and zoom in on the full area of your event grounds. Take a clear screenshot of the entire footprint you want to include.
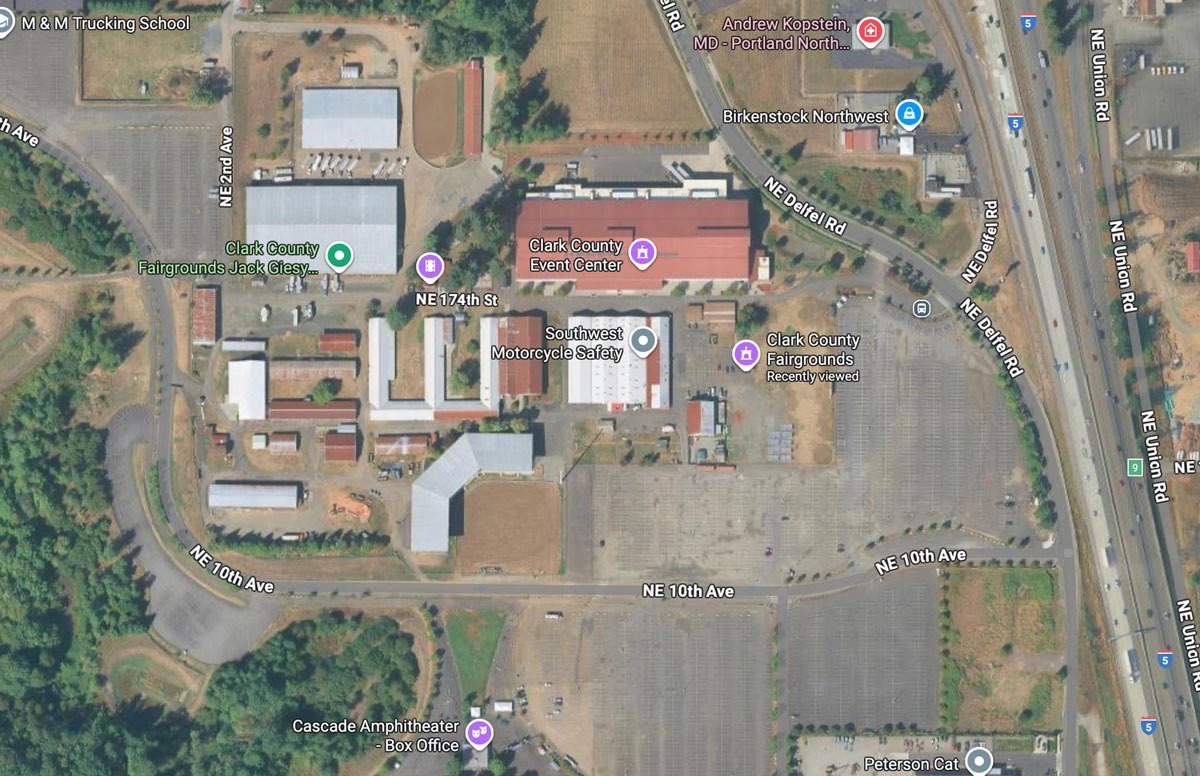
2. Open in Your Design Program
Open the screenshot in Photoshop, Illustrator, or your preferred graphics program.
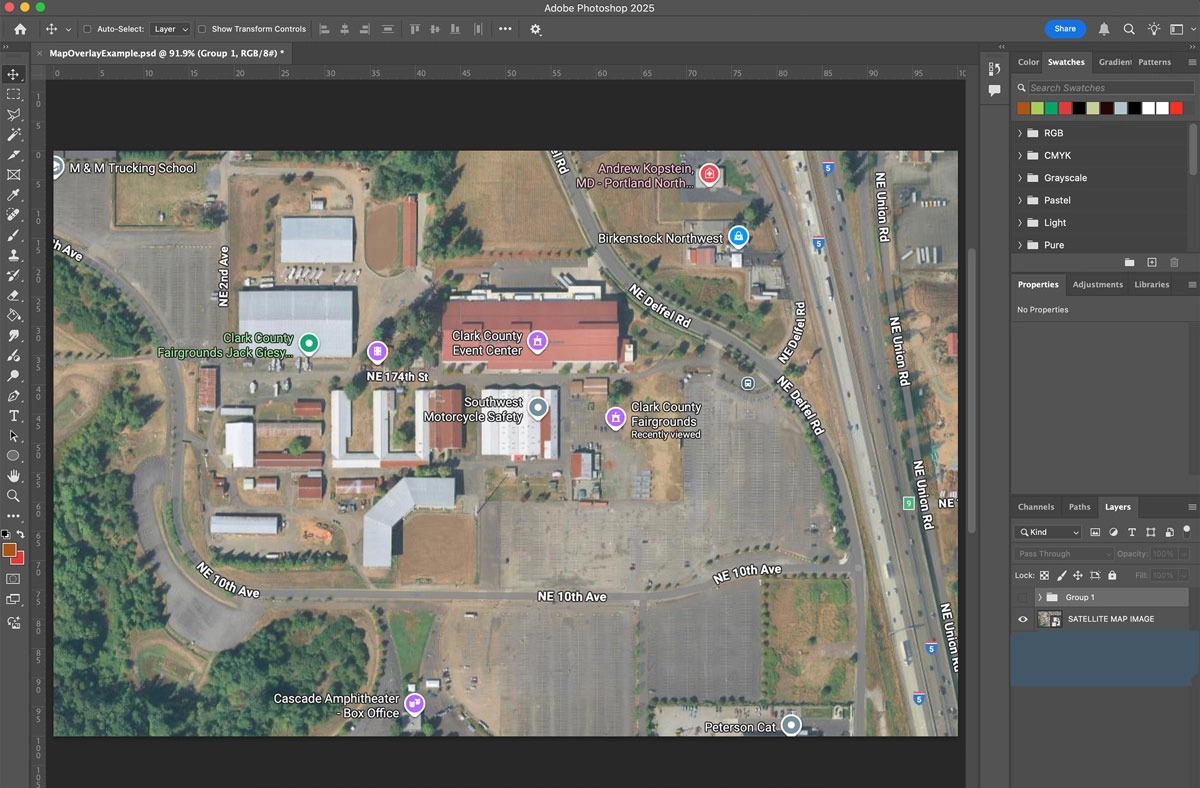
3. Create a New Layer
On a new layer, start drawing over the screenshot. This way, you’ll use the map as a guide without permanently altering it.
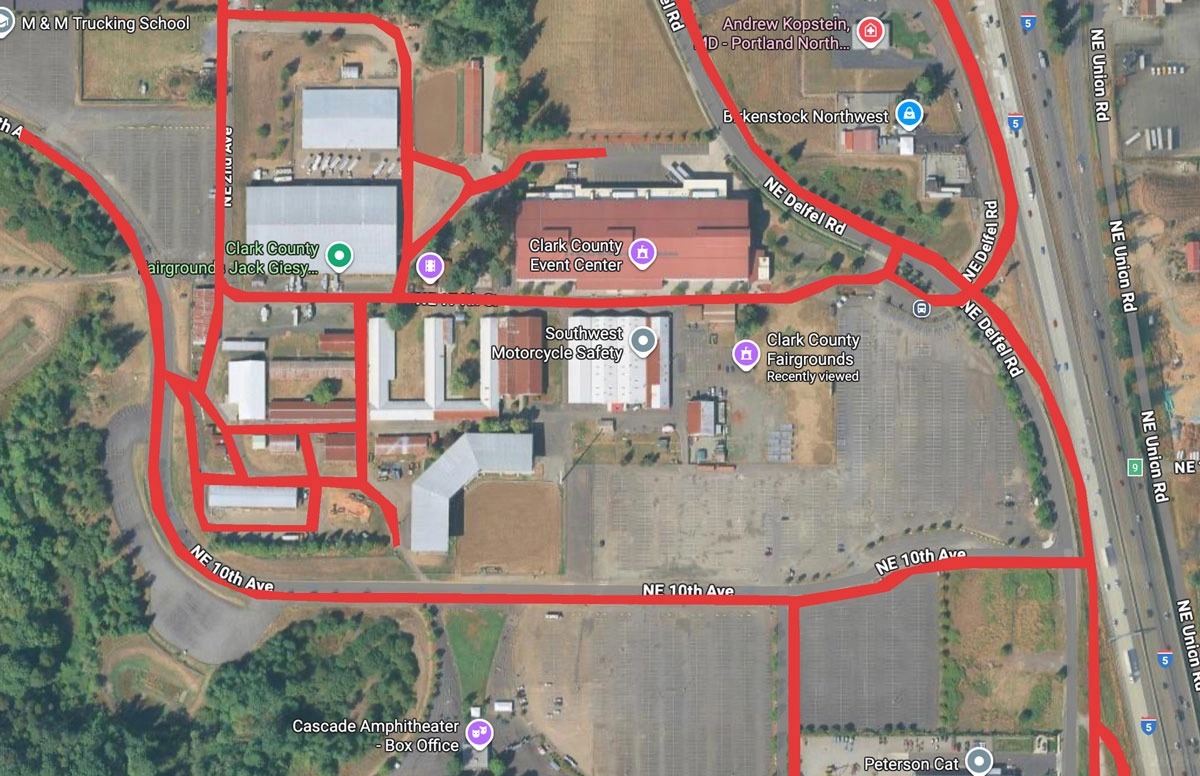
4. Draw the Streets
Trace out the key streets around your grounds so attendees can orient themselves.
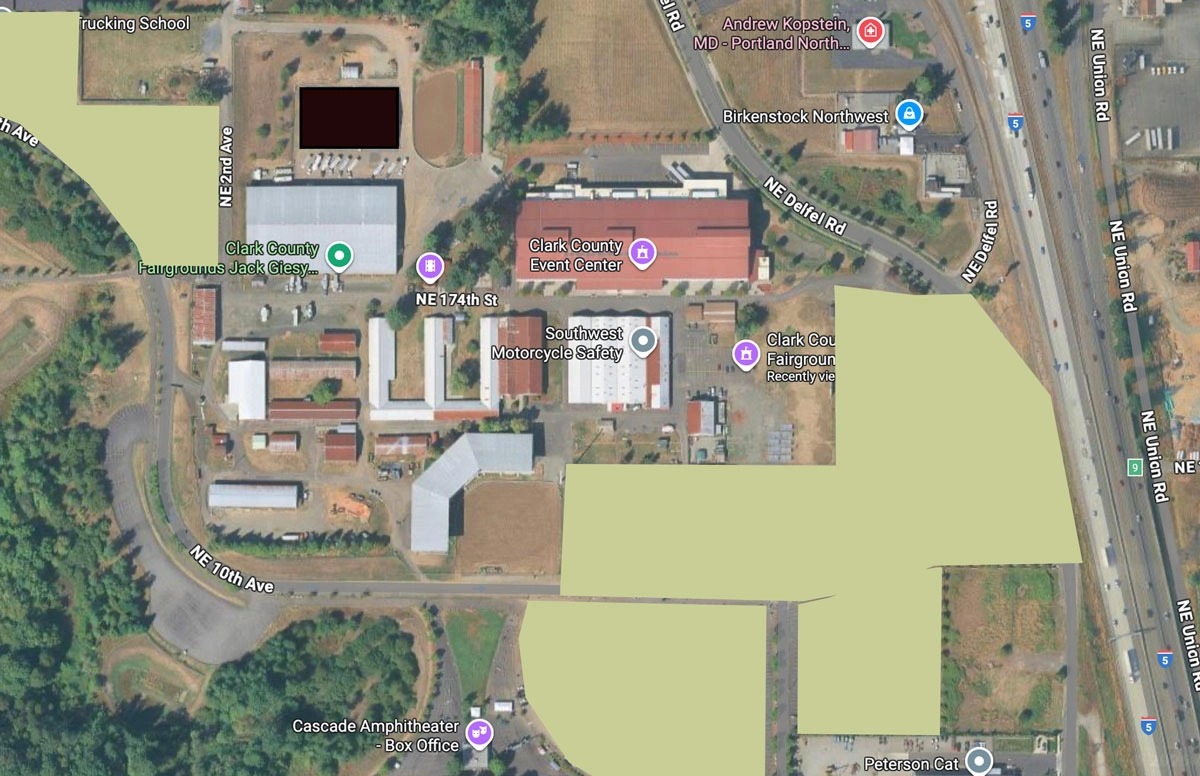
5. Draw the Parking Lots
Add outlines of your parking areas so visitors know where to start their day.
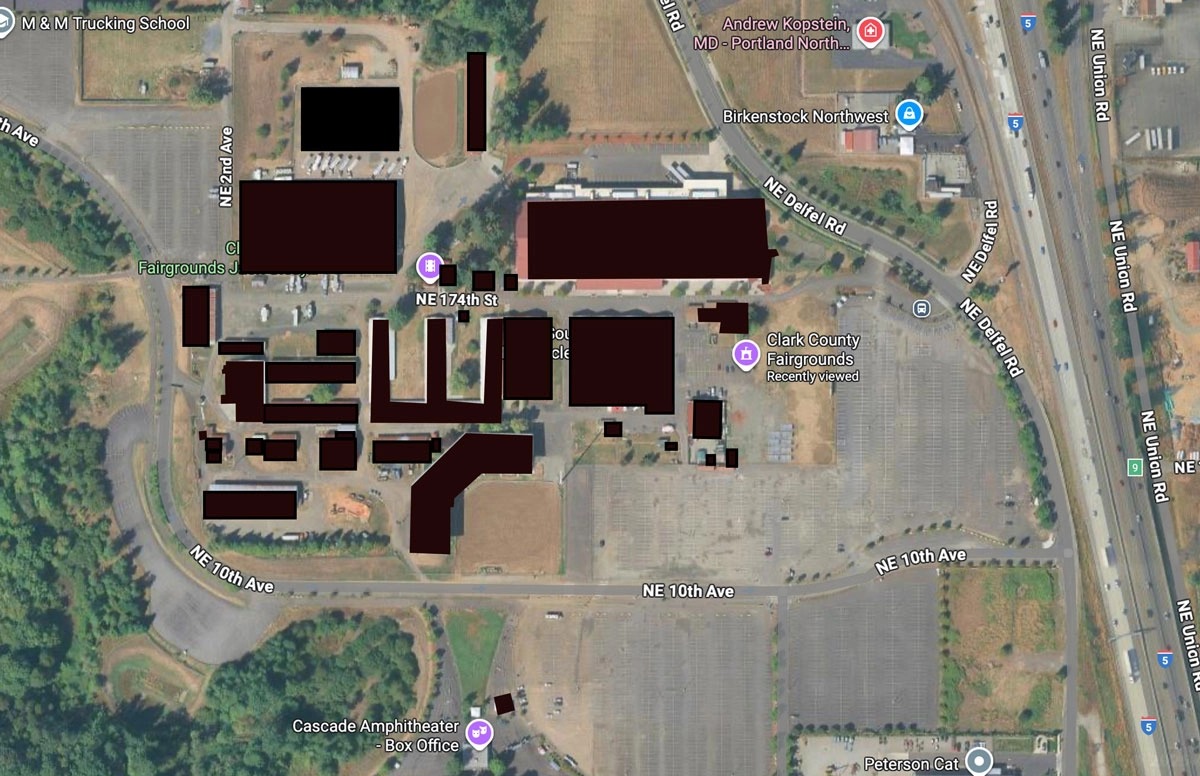
6. Add Buildings & Tents
Draw in permanent structures and any temporary areas (like tents, stages, or arenas).
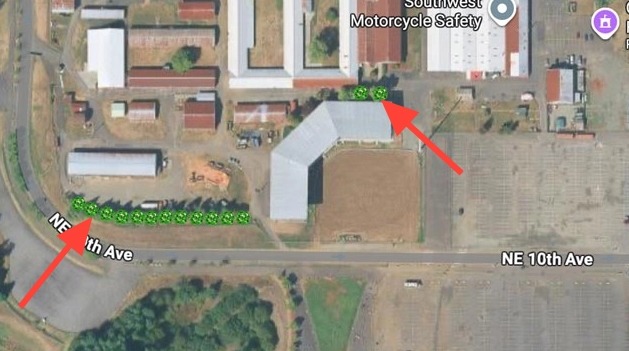
7. Add Character
Make the map your own by adding simple graphics like trees, ride icons, or festival-style accents. This adds personality without overwhelming the map.
8. Skip Labels for Now
Don’t worry about labeling everything (except maybe the main streets). The interactive pins in your Grandstand app will handle naming each location later.
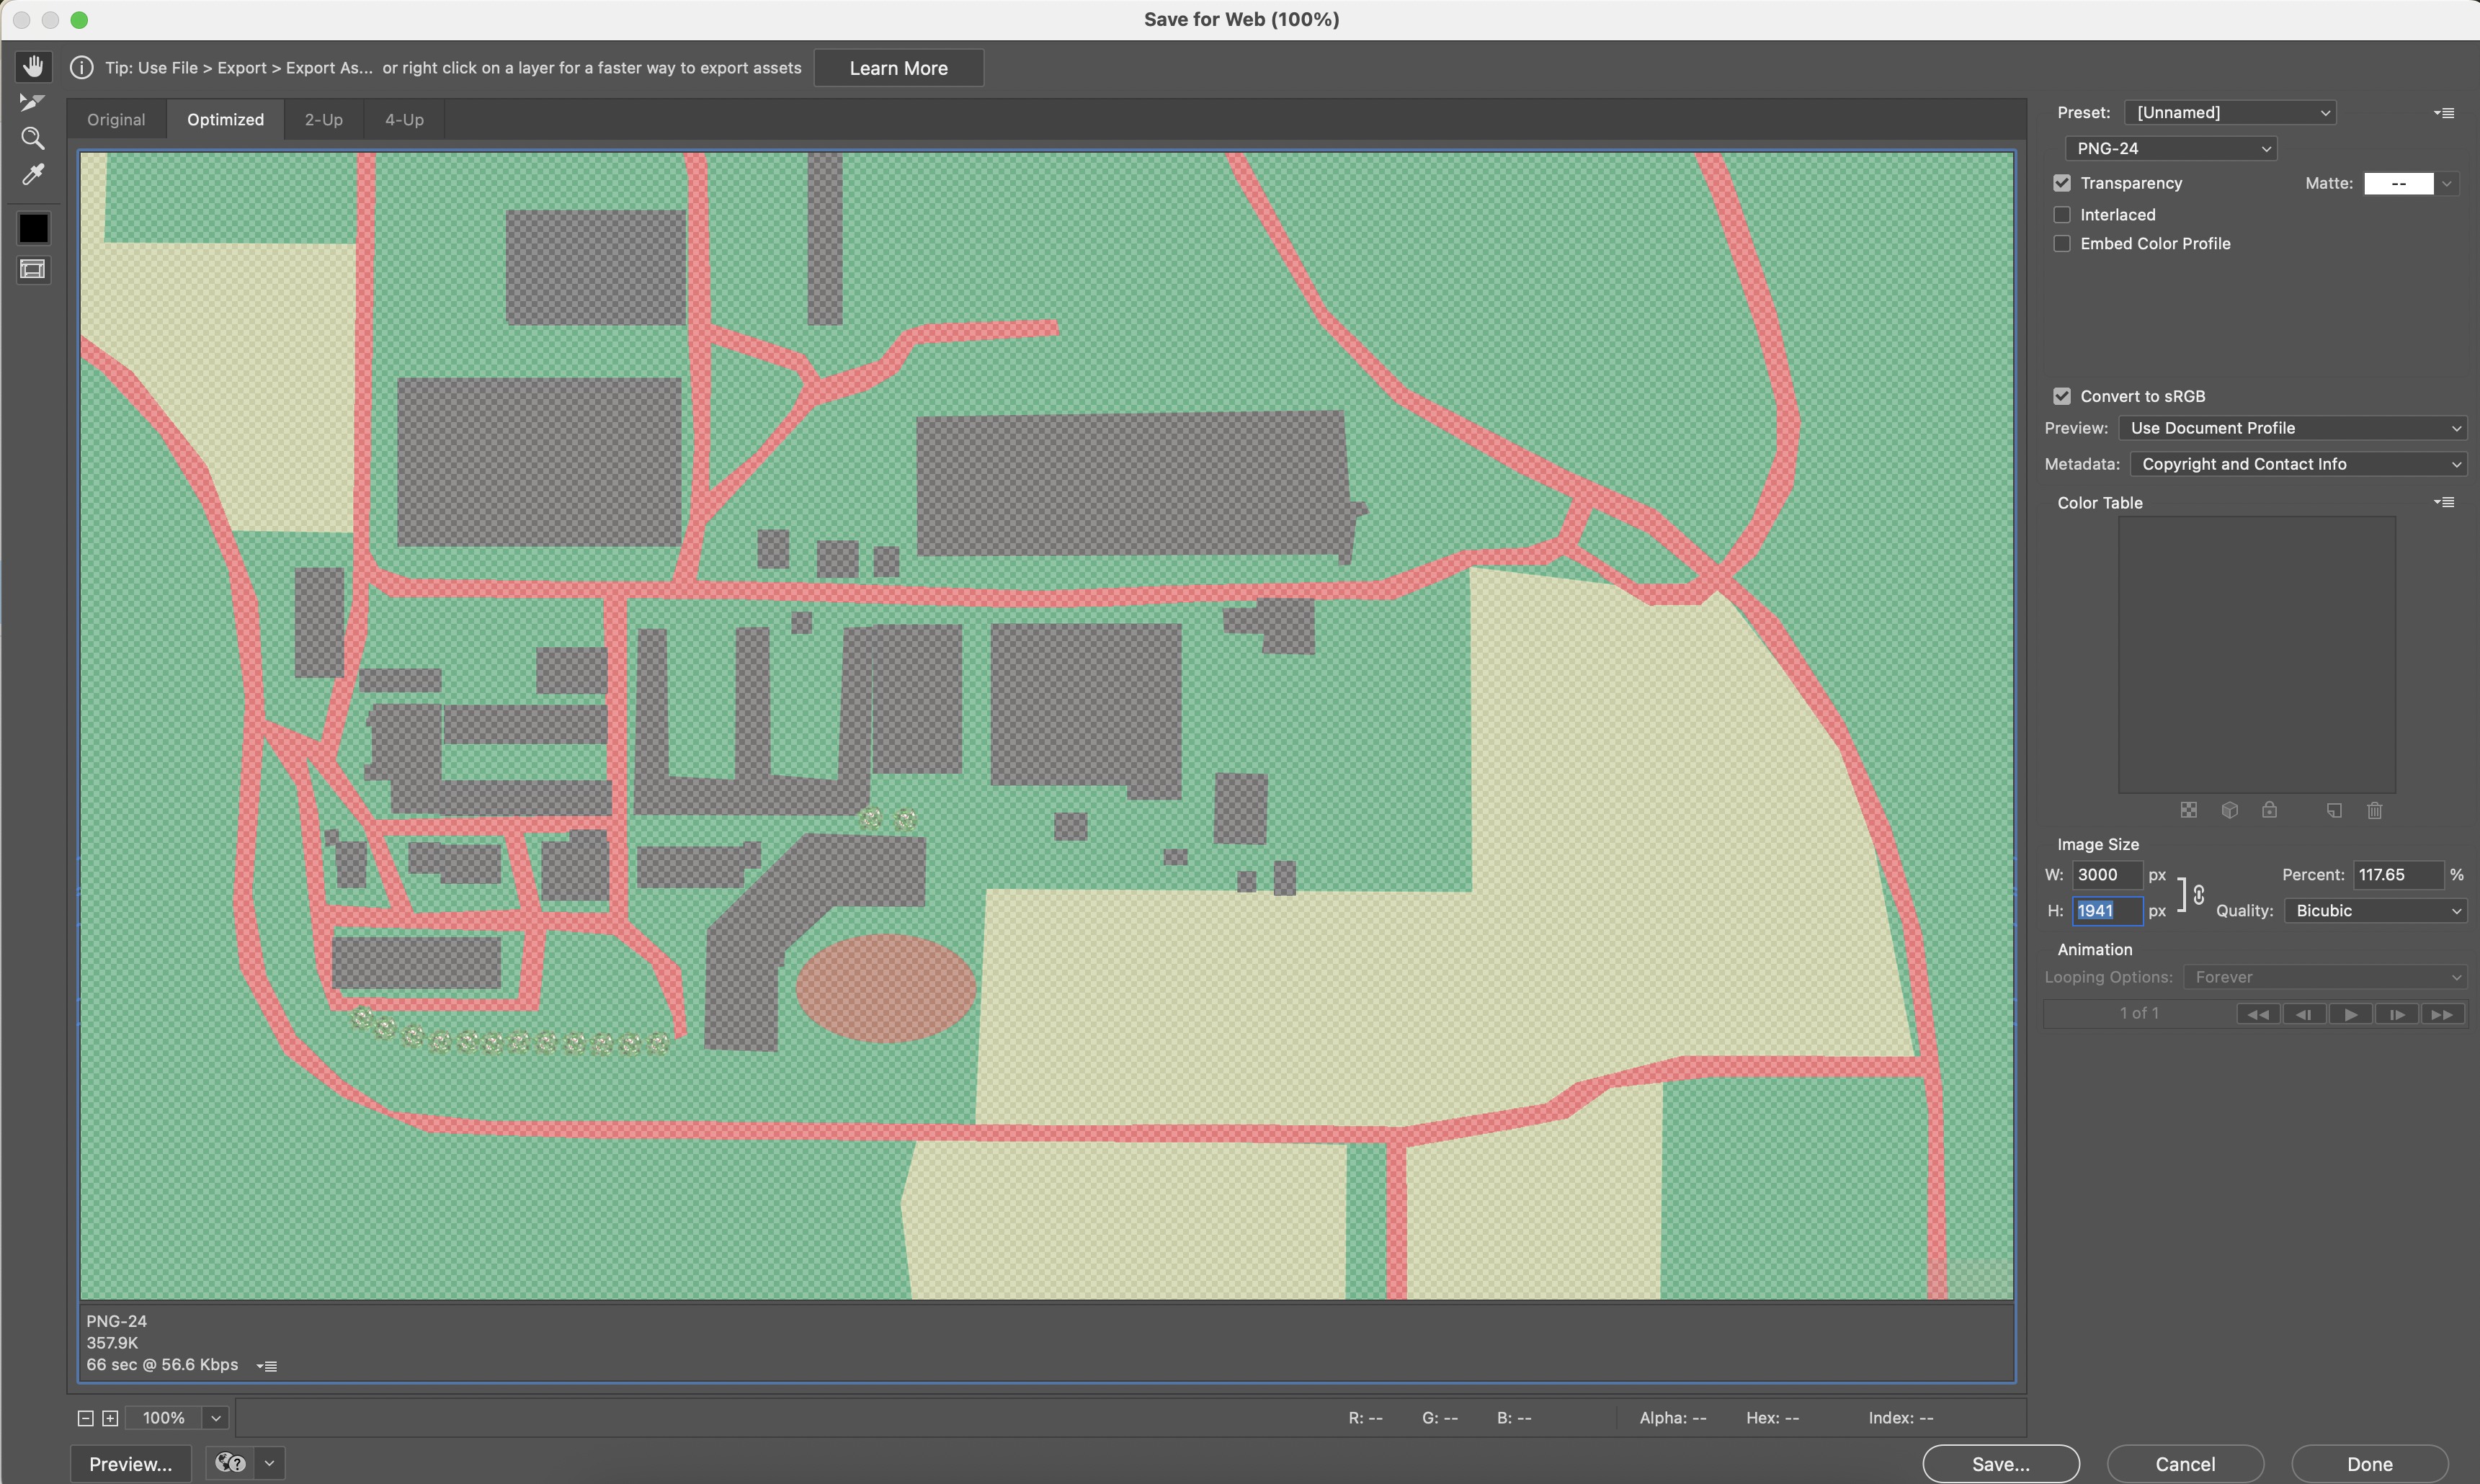
9. Export the Overlay
When you’re happy with your drawing, hide the base Google screenshot layer. Export your overlay as a PNG or JPG file—make sure it’s at least 3000px on the longest side for clarity. This example below has a bit of transparency to it so the native map will show a bit below it in the app so we exported it as a PNG-24 with transparency.
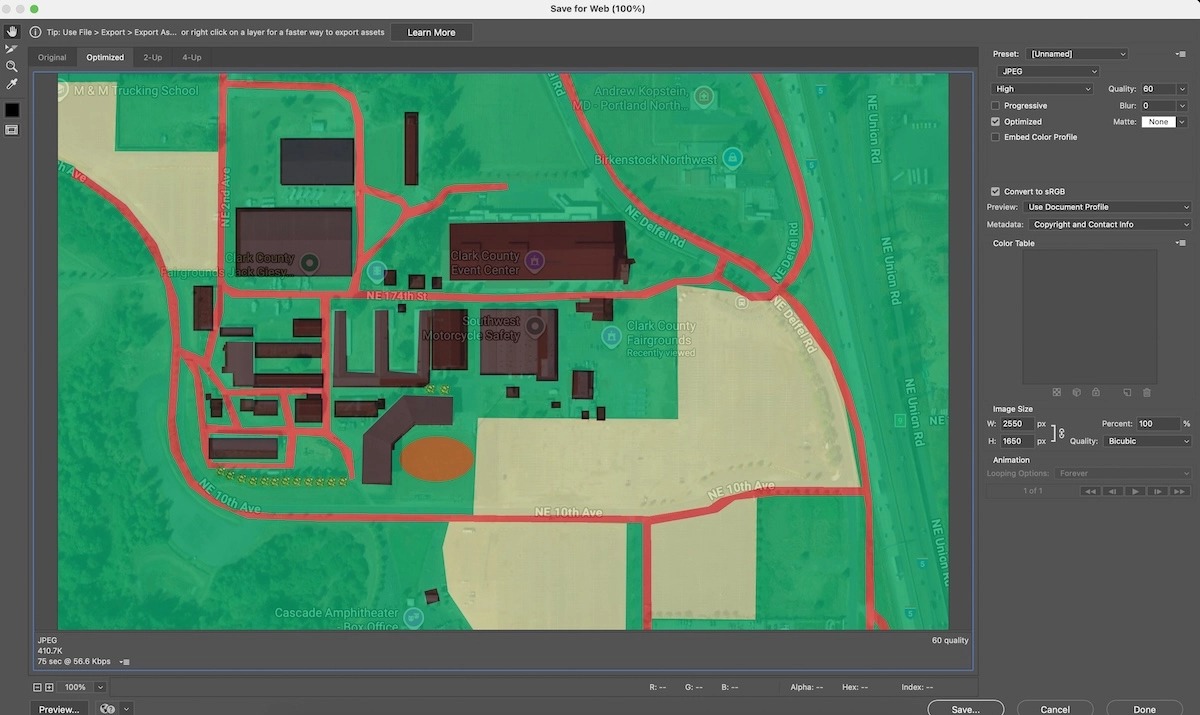
10. Save a Second Version
Now, re-enable the Google screenshot layer and save a second version of the file. This version is useful for reference. This can be smaller and a jpeg, it is just used as reference for Grandstand to be able to match it correctly with the latitude/longitude.
11. Send to Your Grandstand Rep
Share both versions—the clean overlay and the one with the Google screenshot visible—with your Grandstand rep. They’ll take it from there and place the new overlay into your app and admin system.