Learn how to create custom pins for your Grandstand interactive map. Choose from seven shapes, select colors that match your branding, and add letters or numbers to identify booths, buildings, or destinations. Use consistent styles to distinguish food, shopping, entertainment, and guest services. This tutorial walks you through setting up your pin graphics and reviewing them on your map so visitors can easily recognize locations and find their way around.
Tip: There are 4 ways to set up a map pin in Grandstand:\
- Choose an existing pin graphic type\
- Design your own map pin graphic and upload\
- Create a pin using shape/colors\
- Use AI tools in the Admin to create the pin graphic.
All 4 types are explained in the steps below.
Use Existing Pin Graphic
1. Go to "Map Pin Types" under Maps.
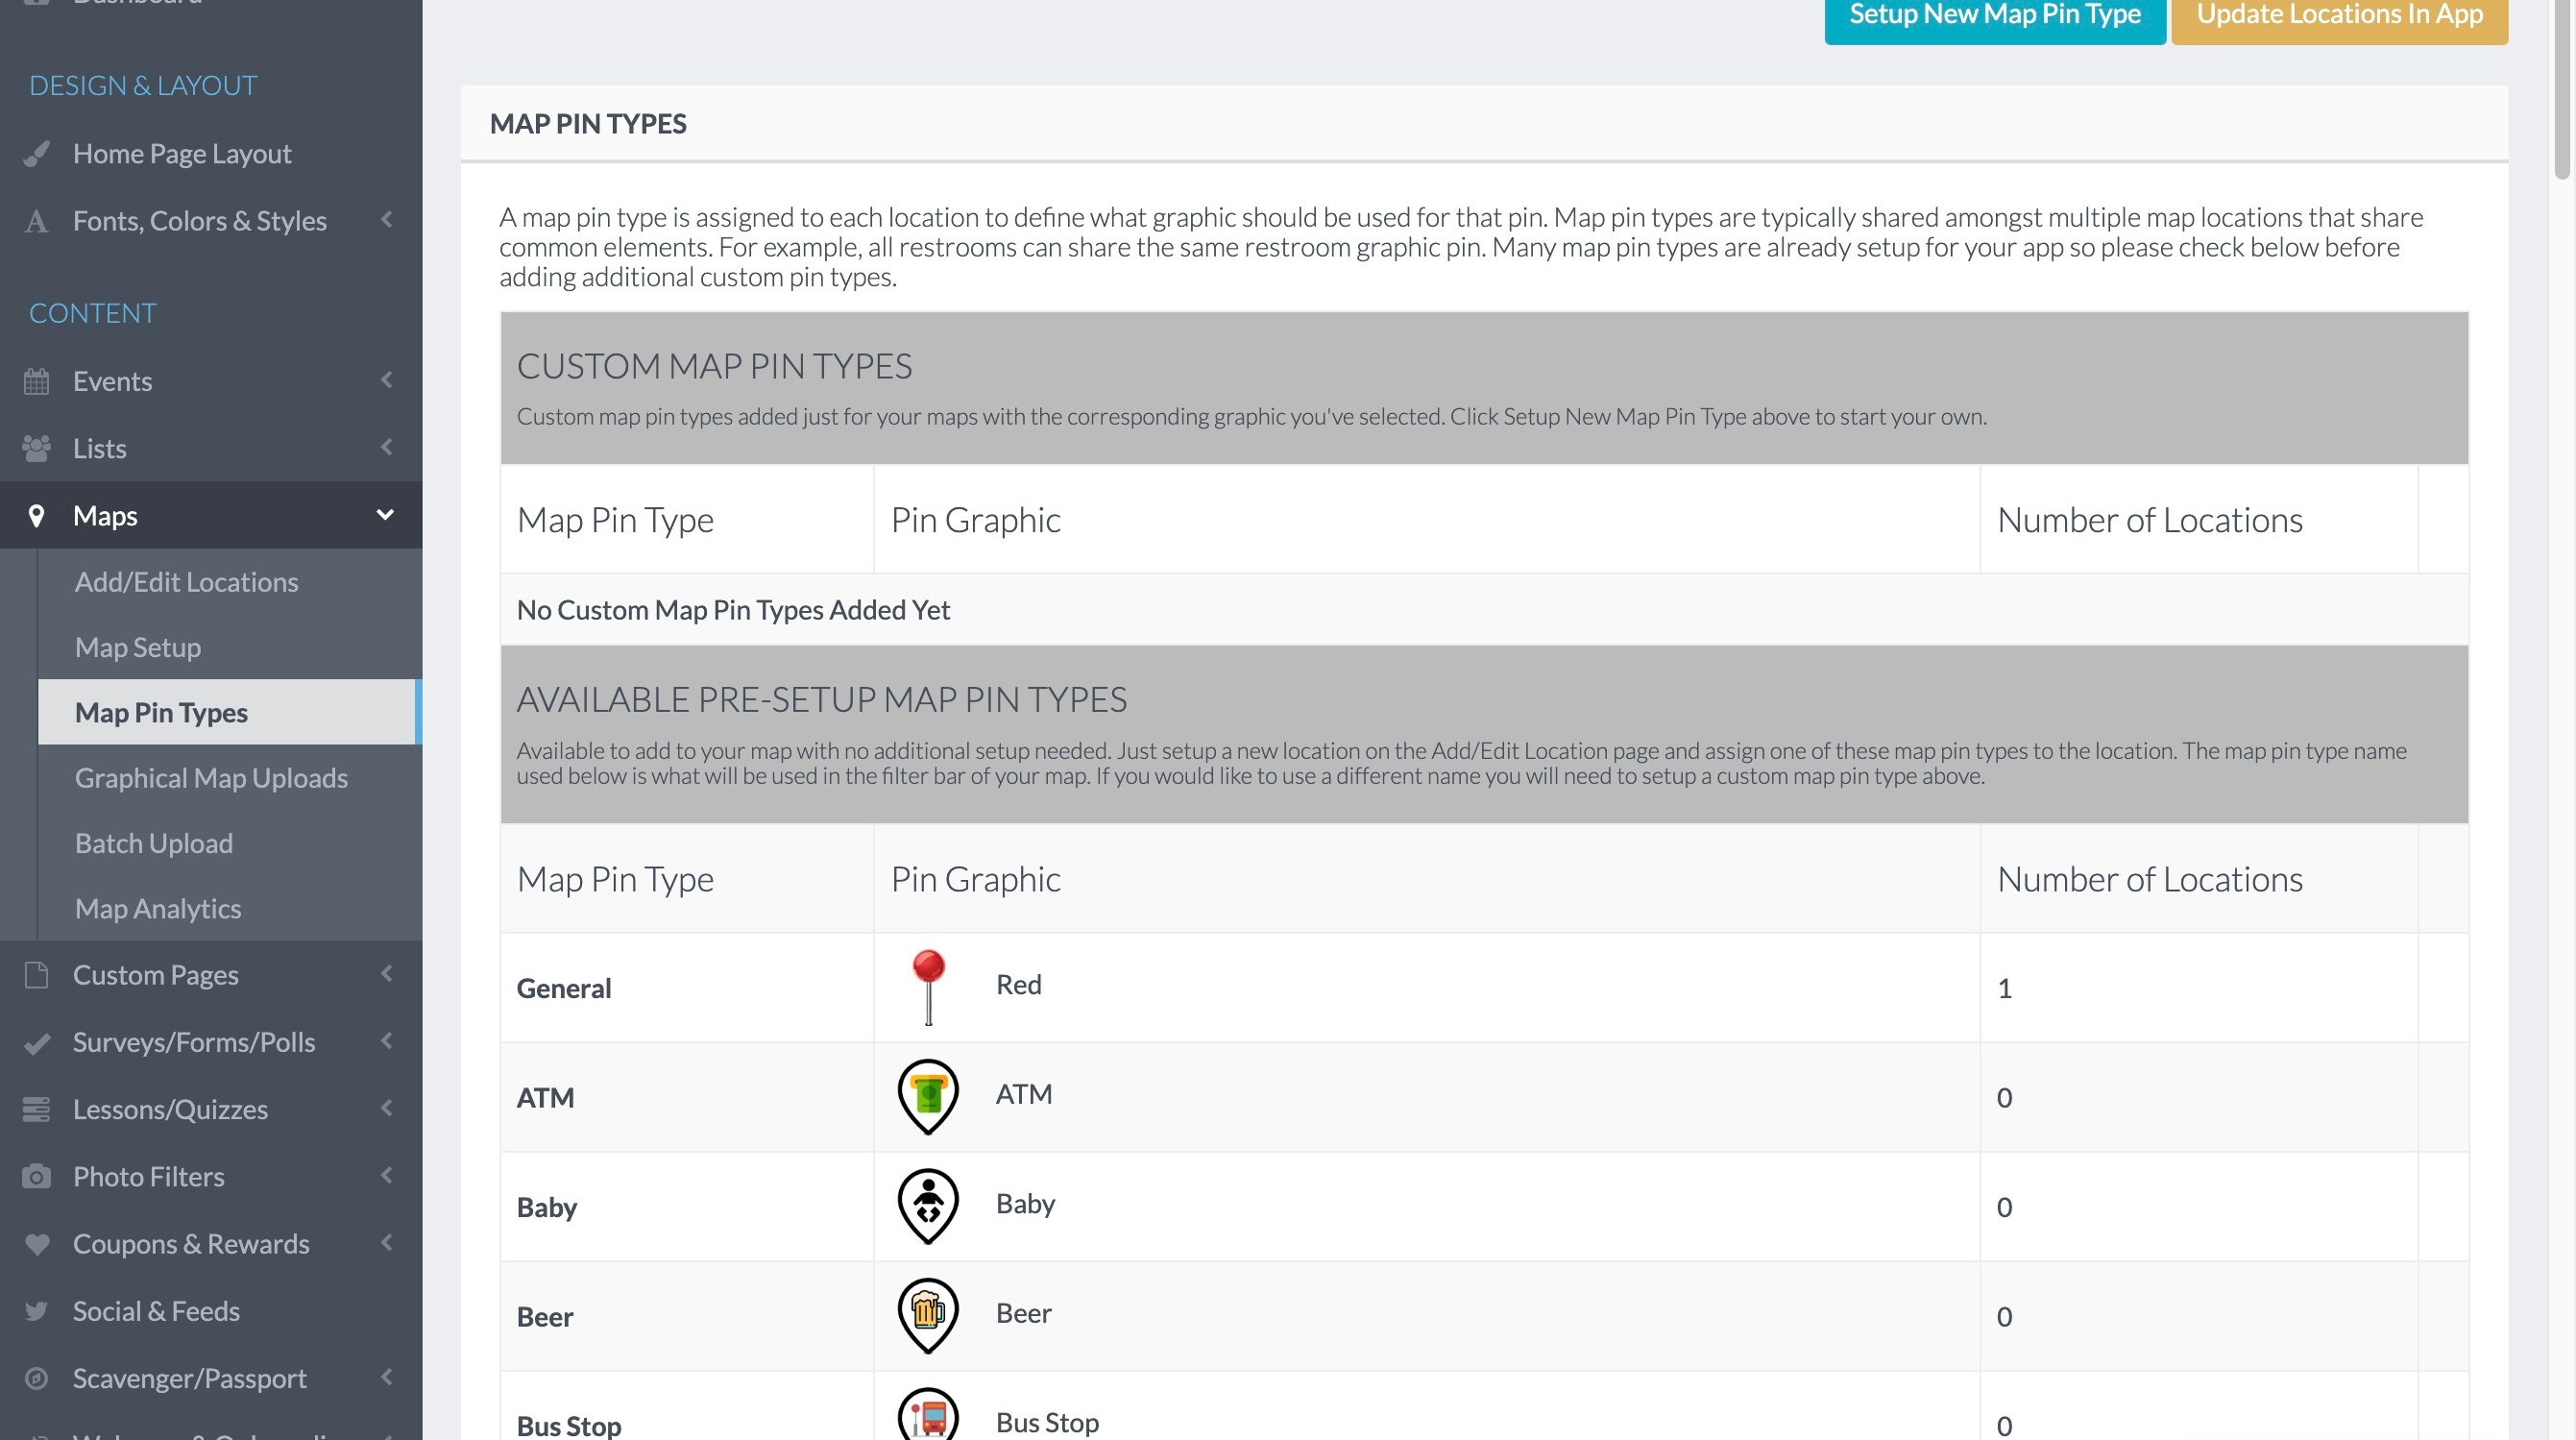
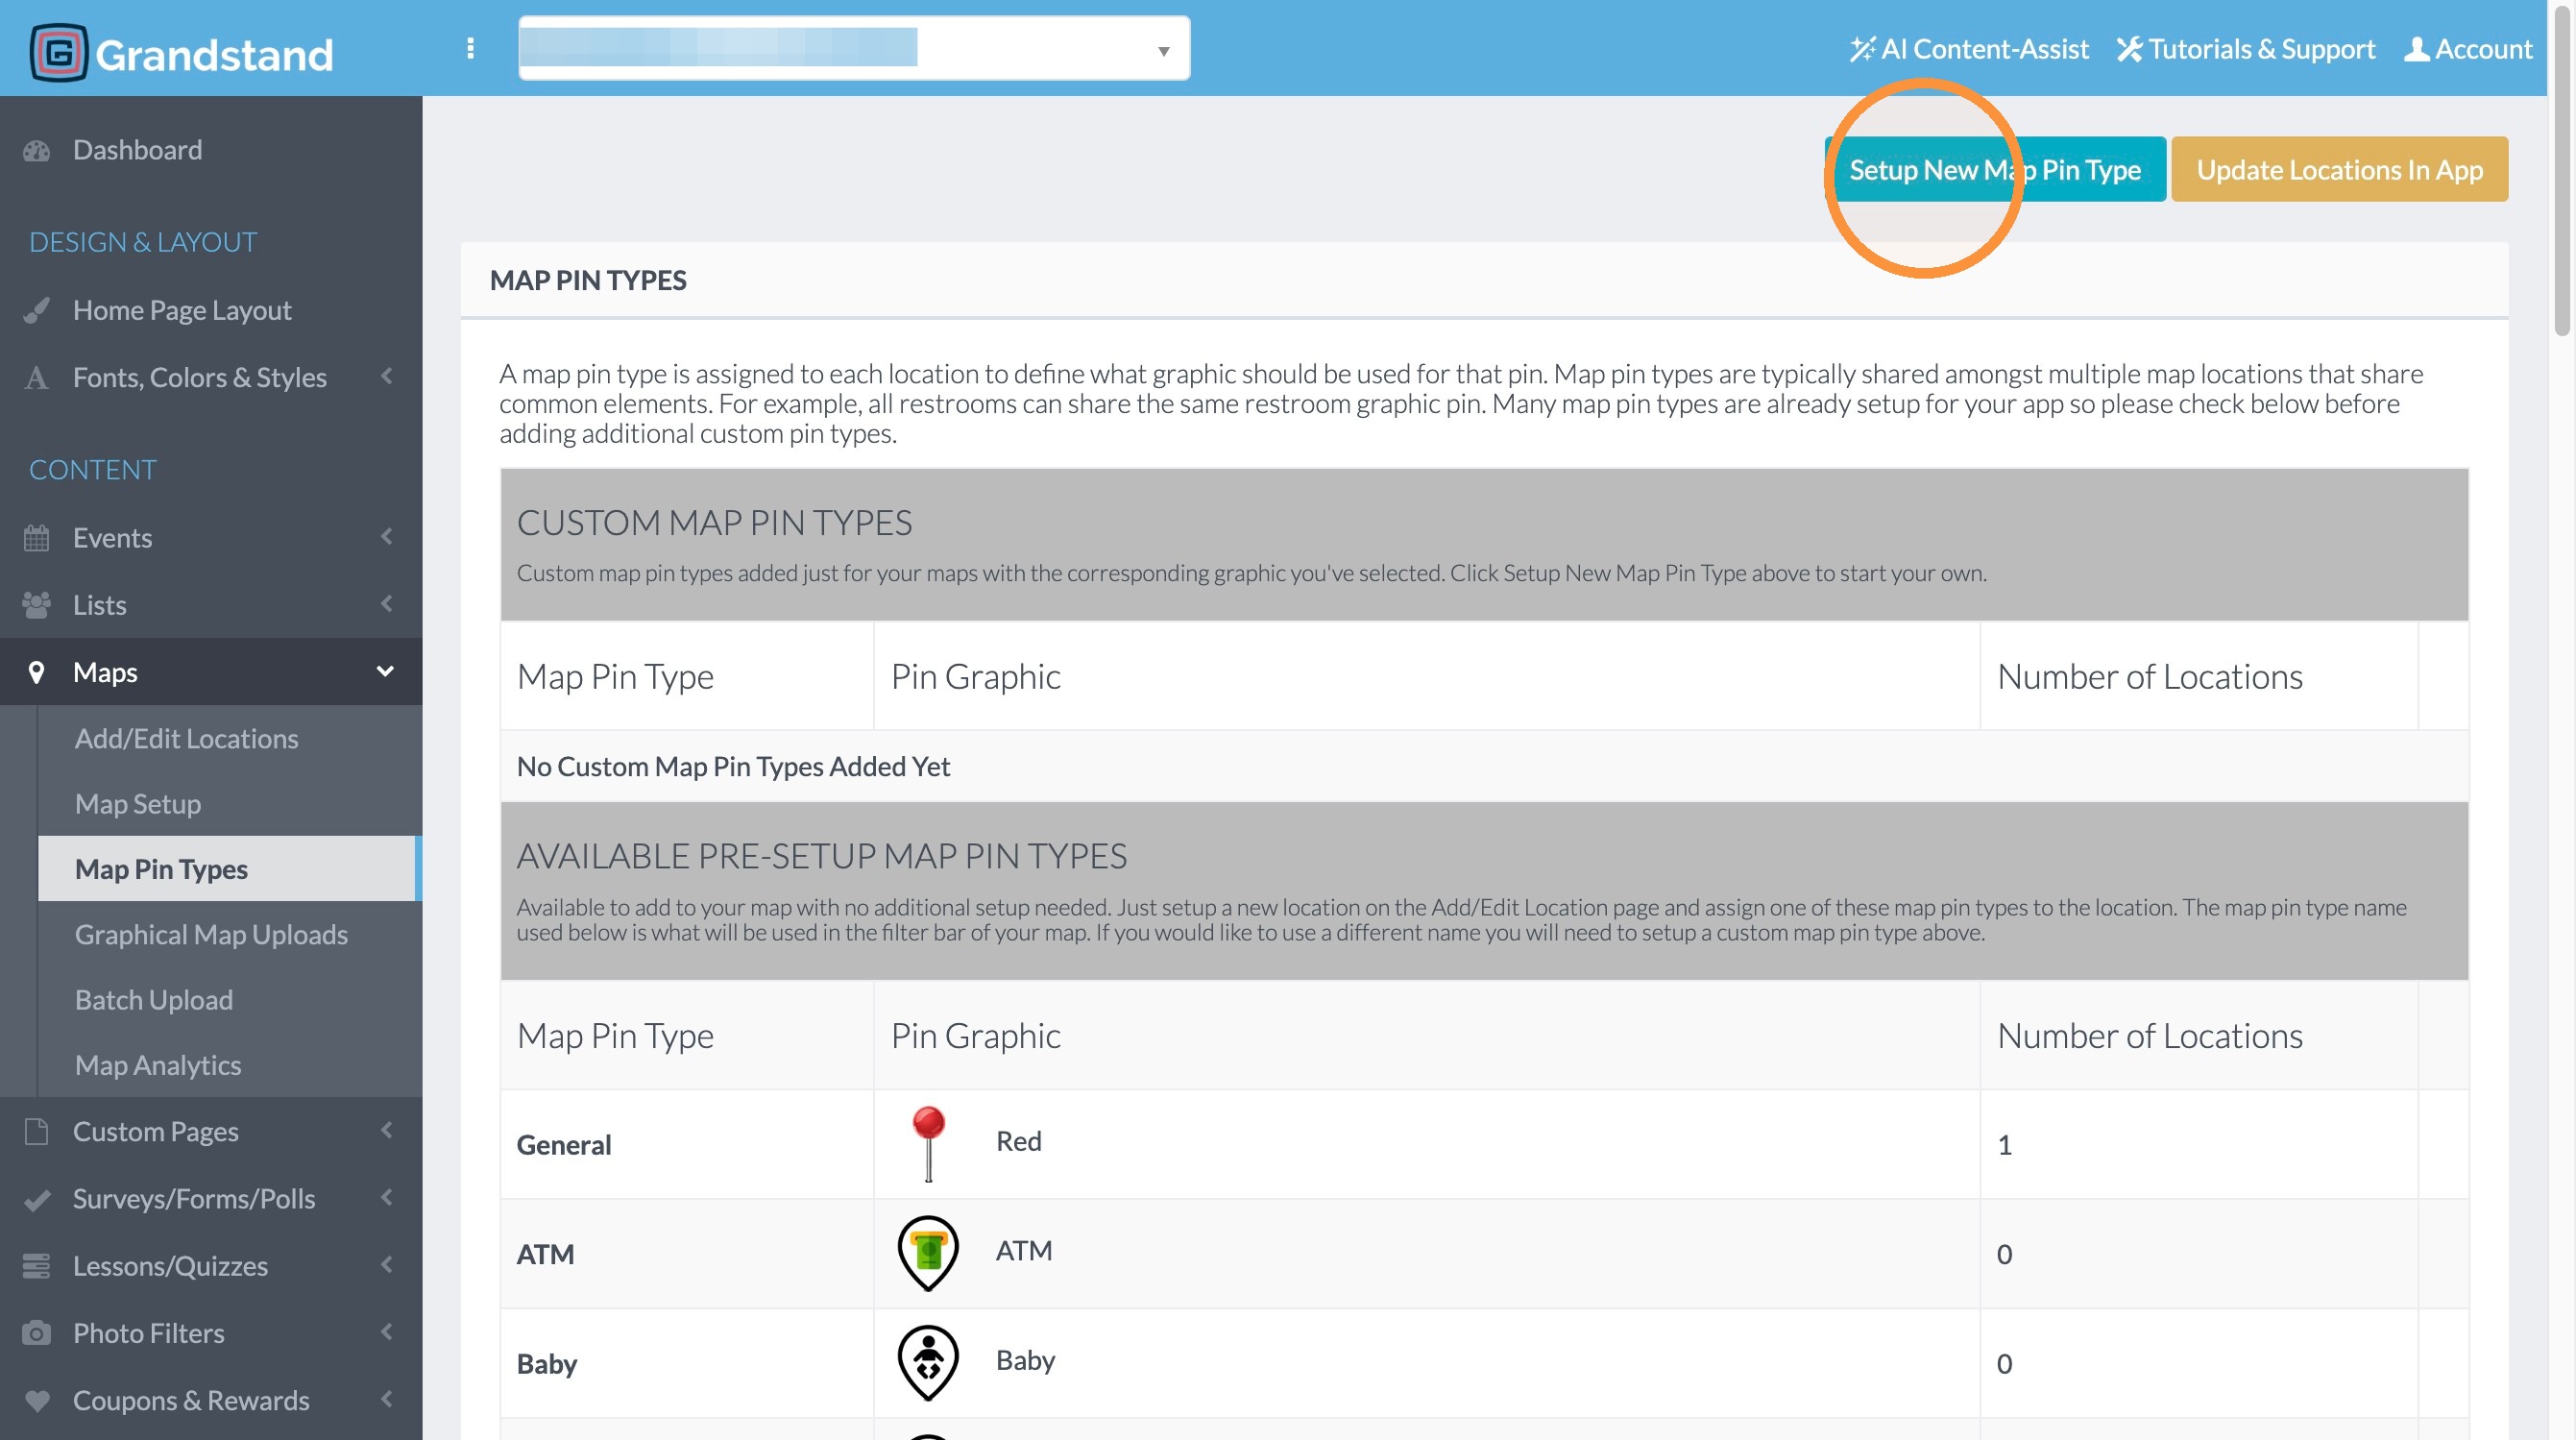
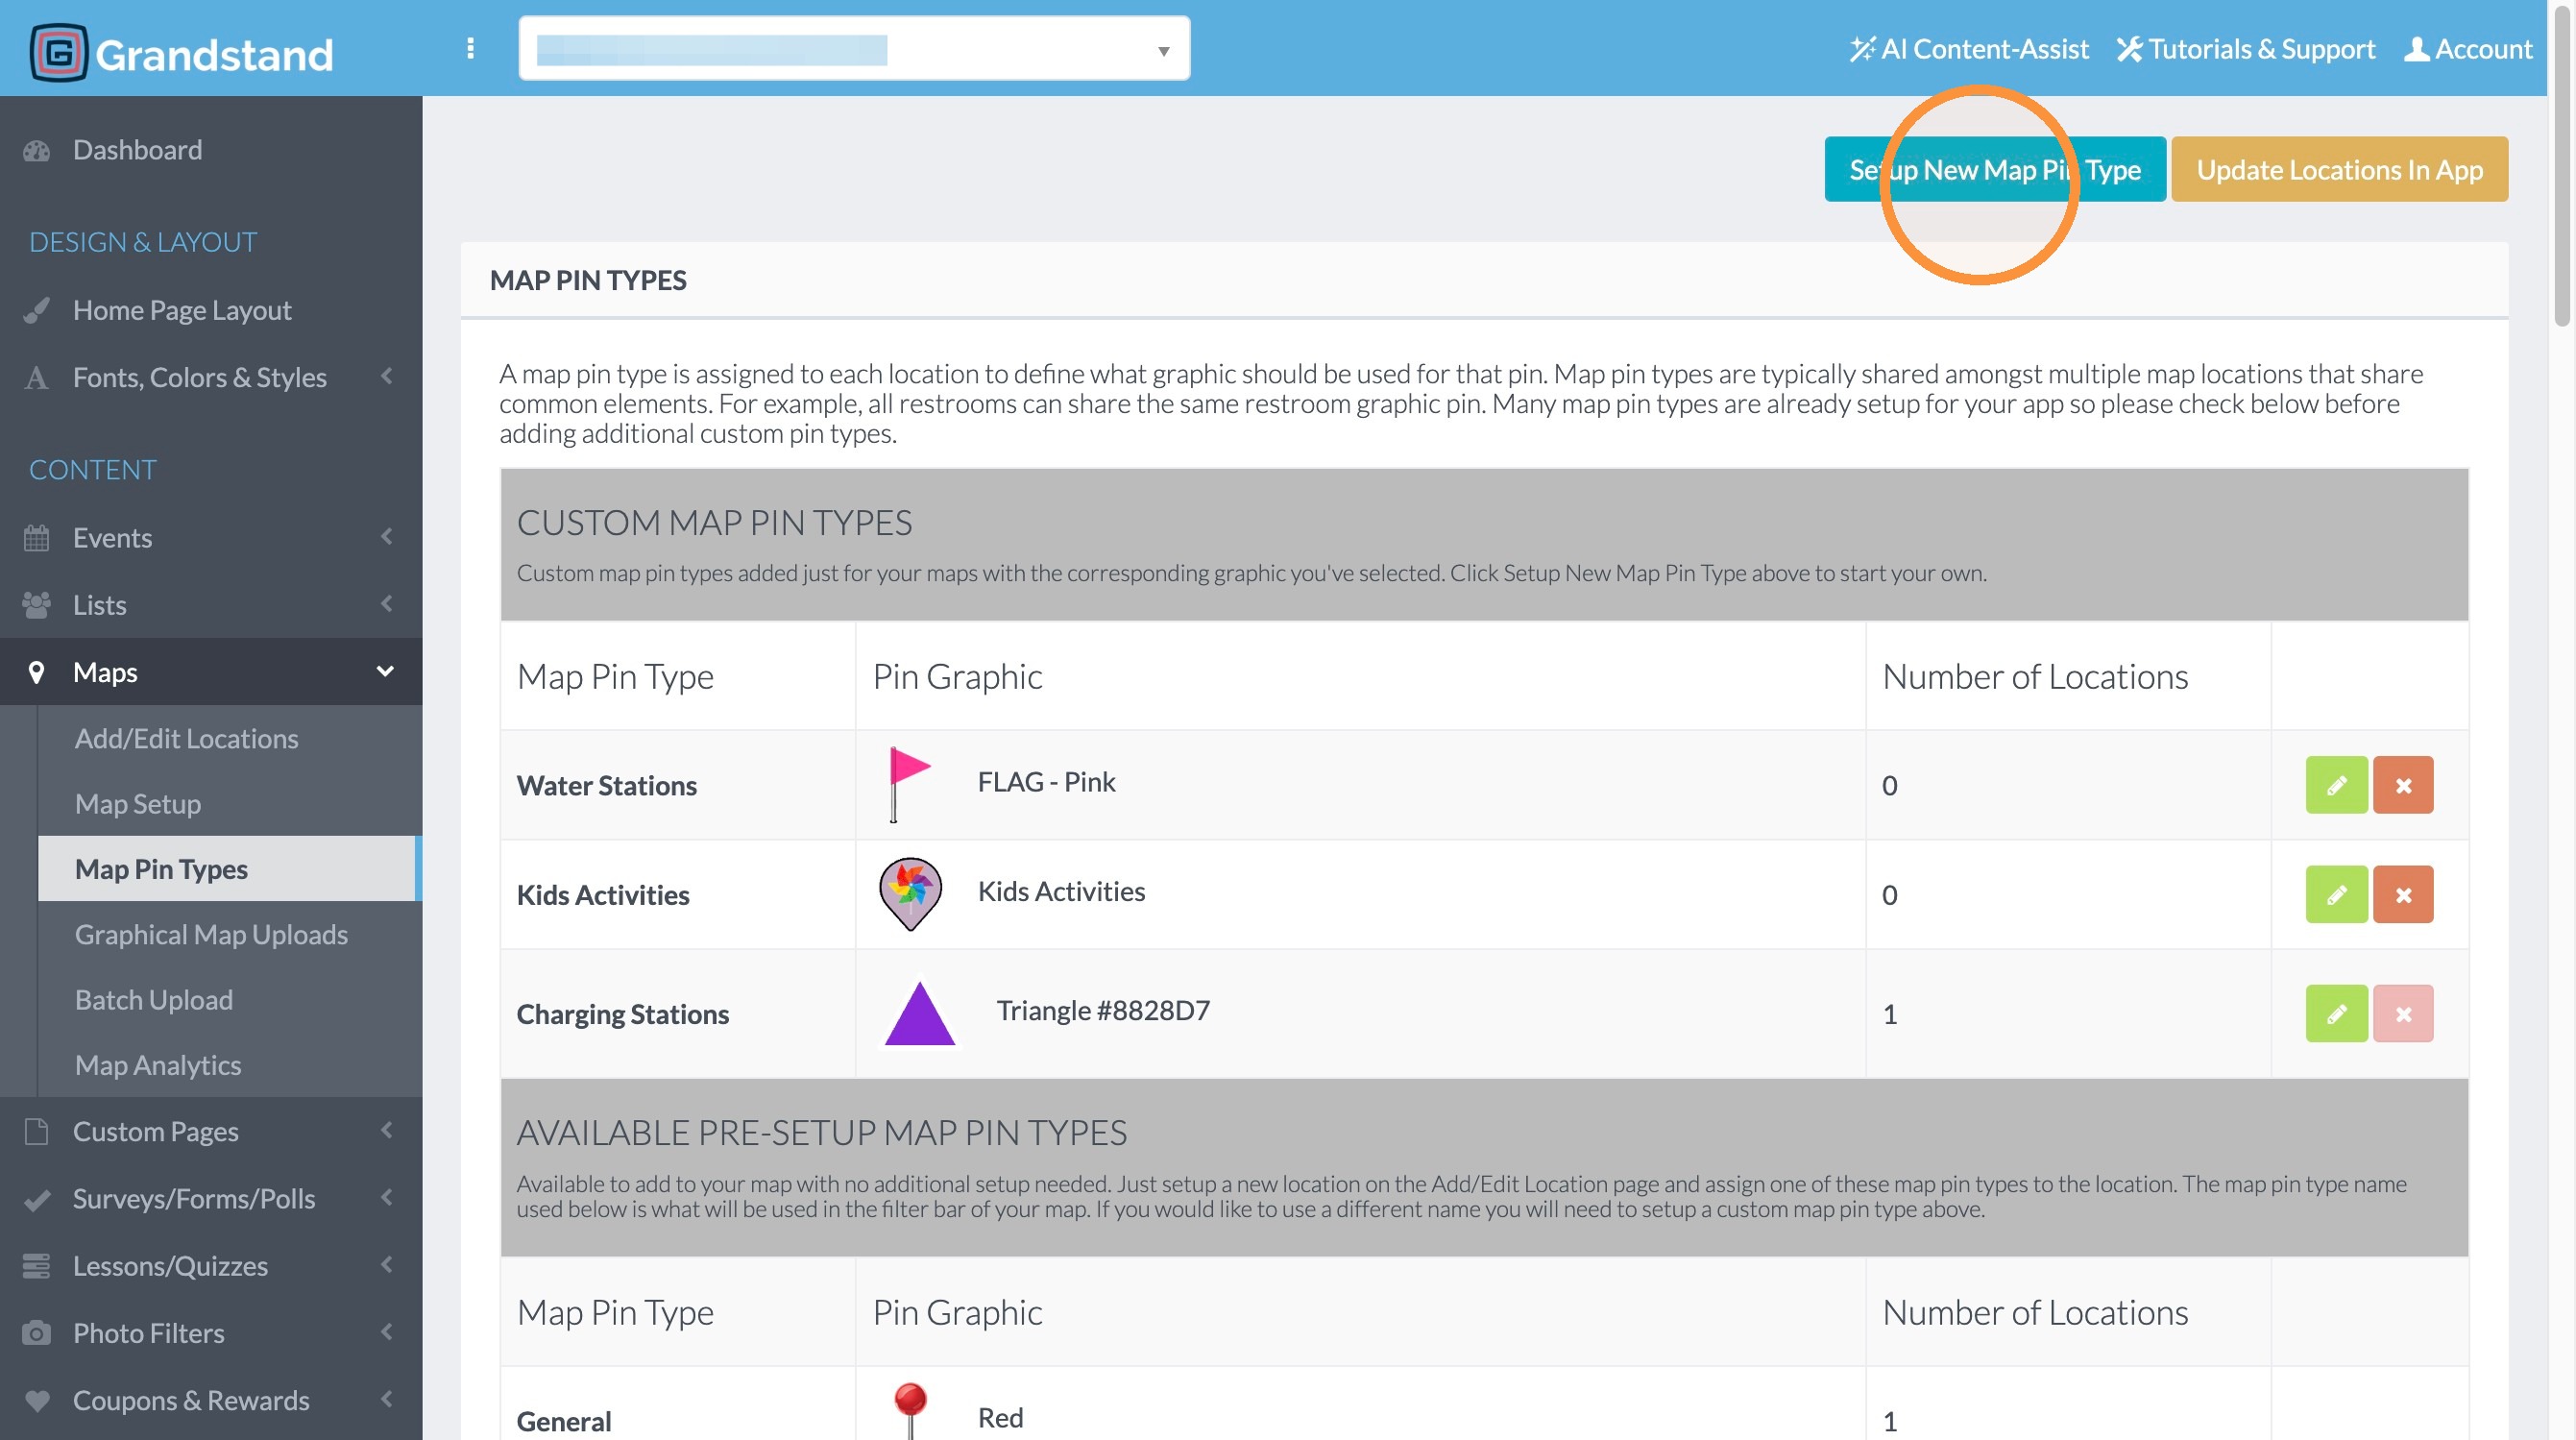
2. Click "Setup New Map Pin Type"
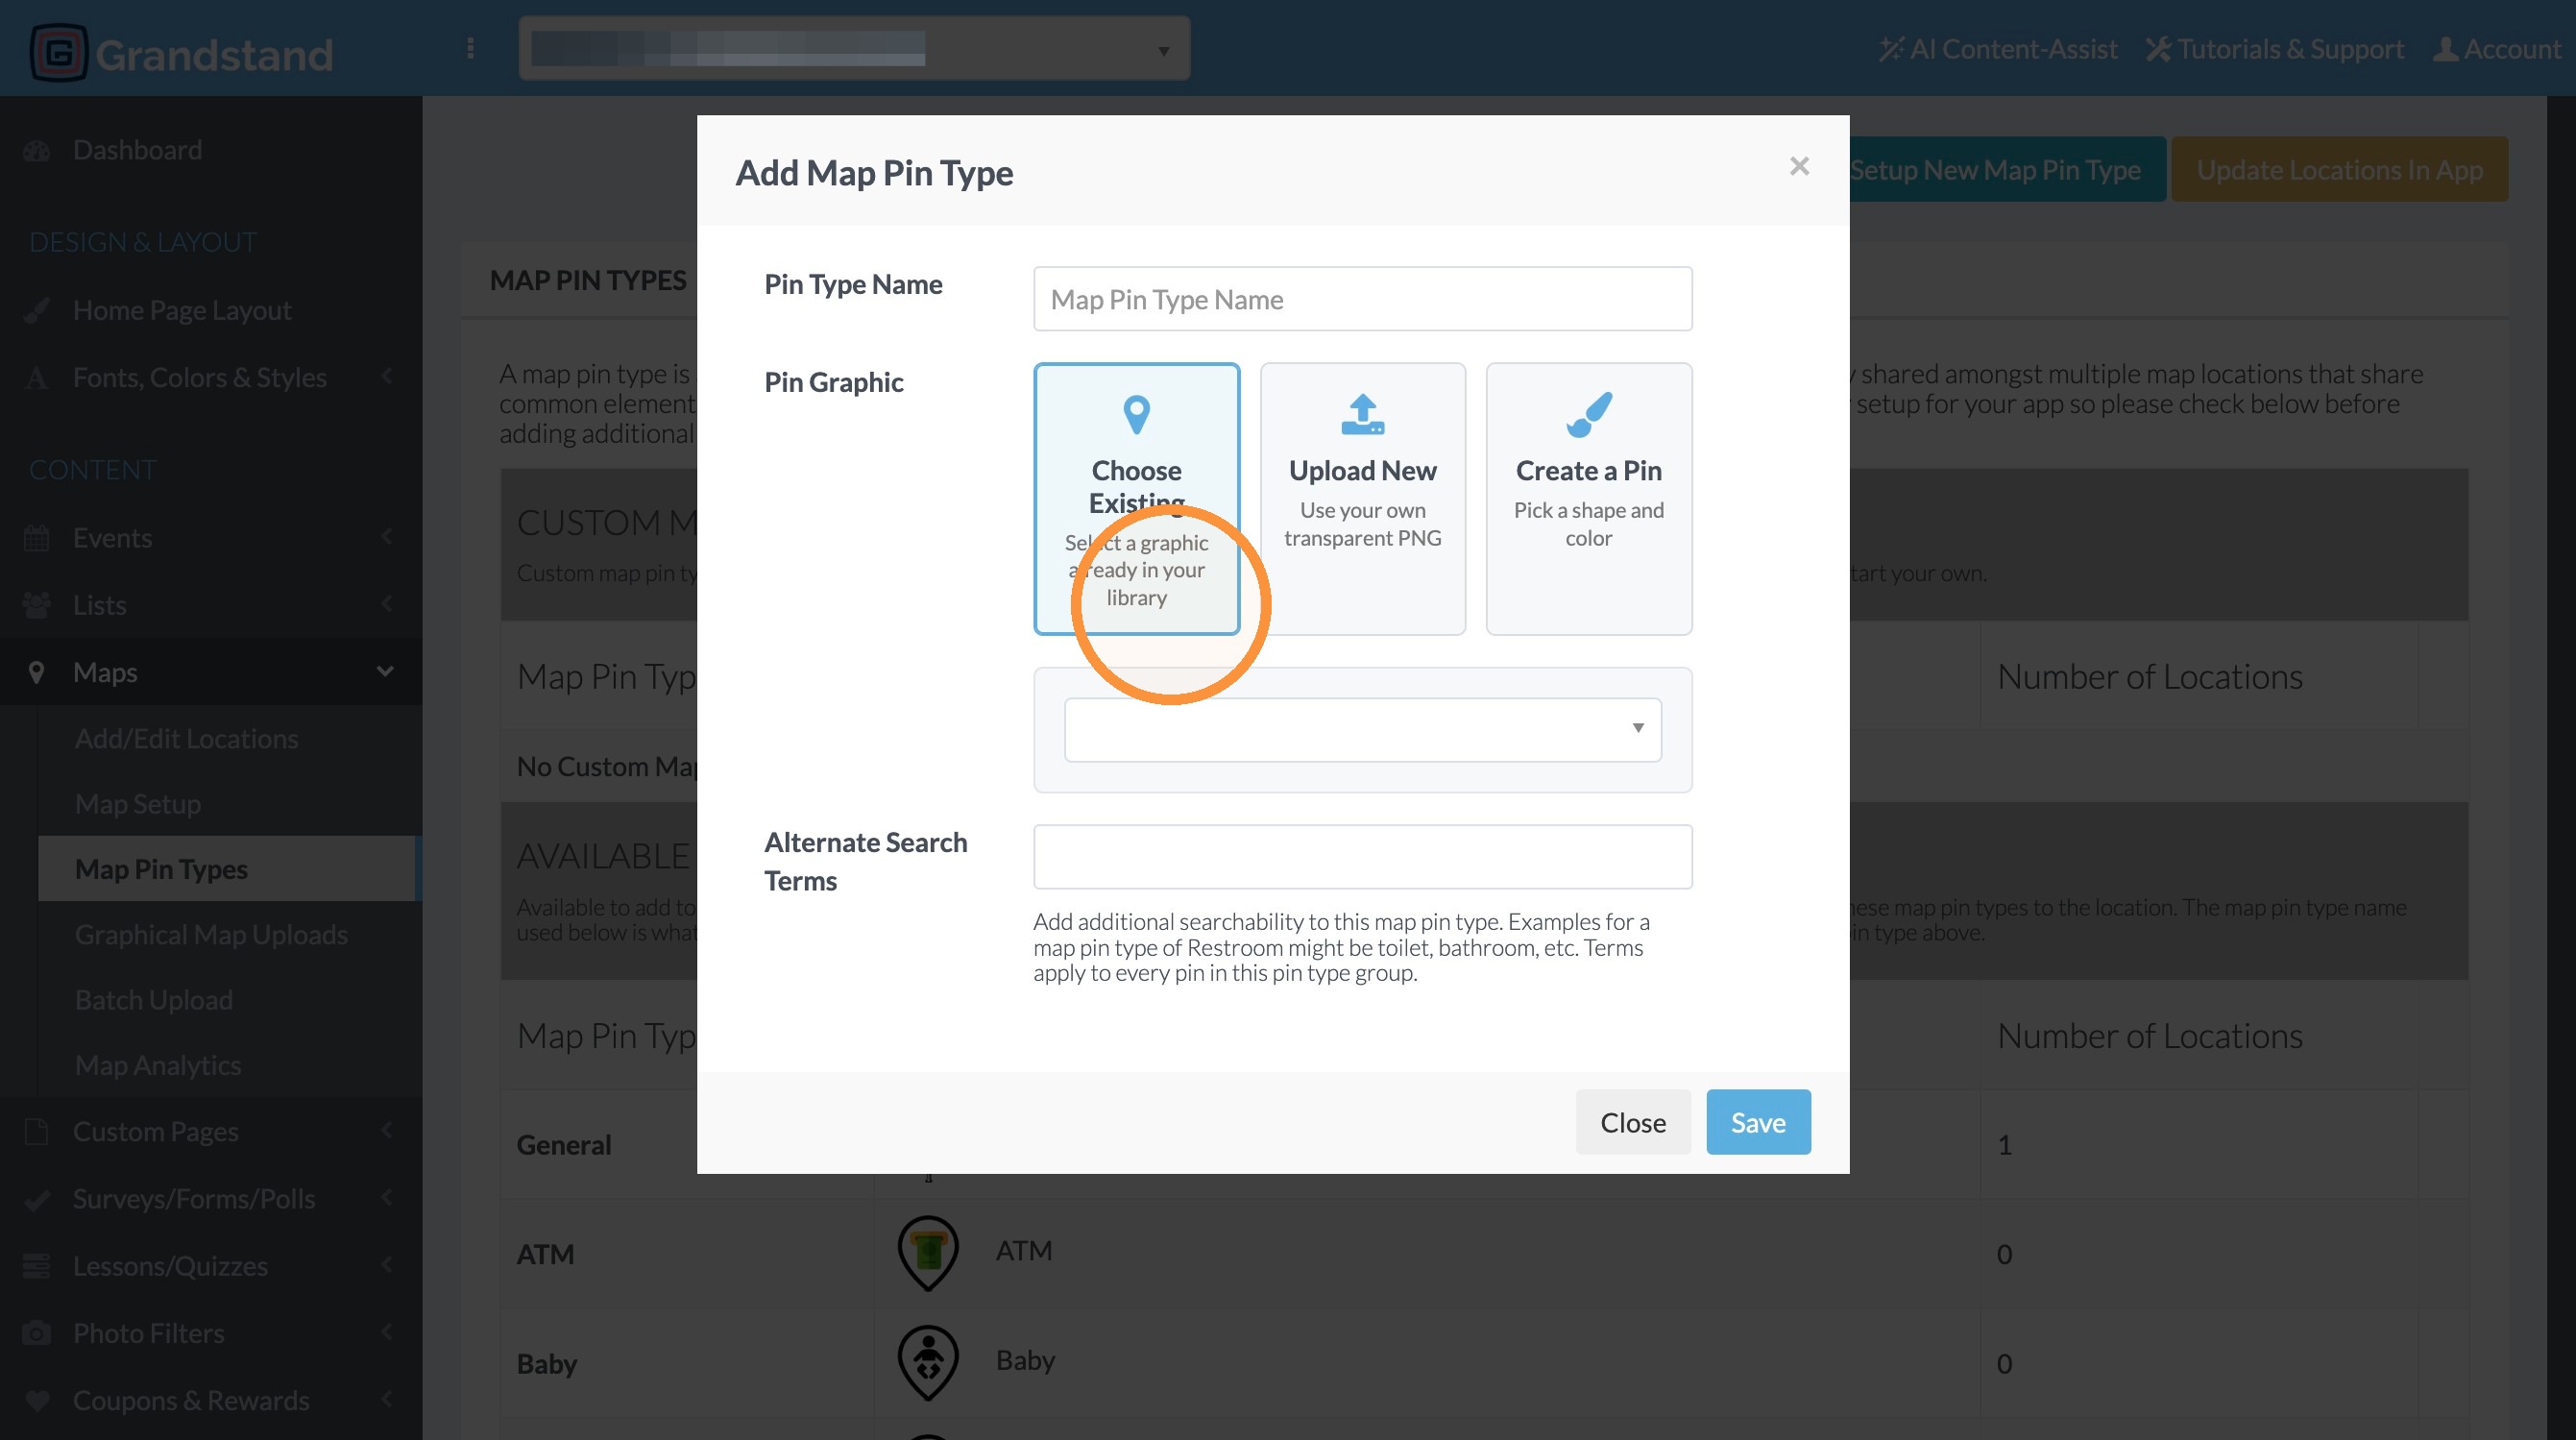
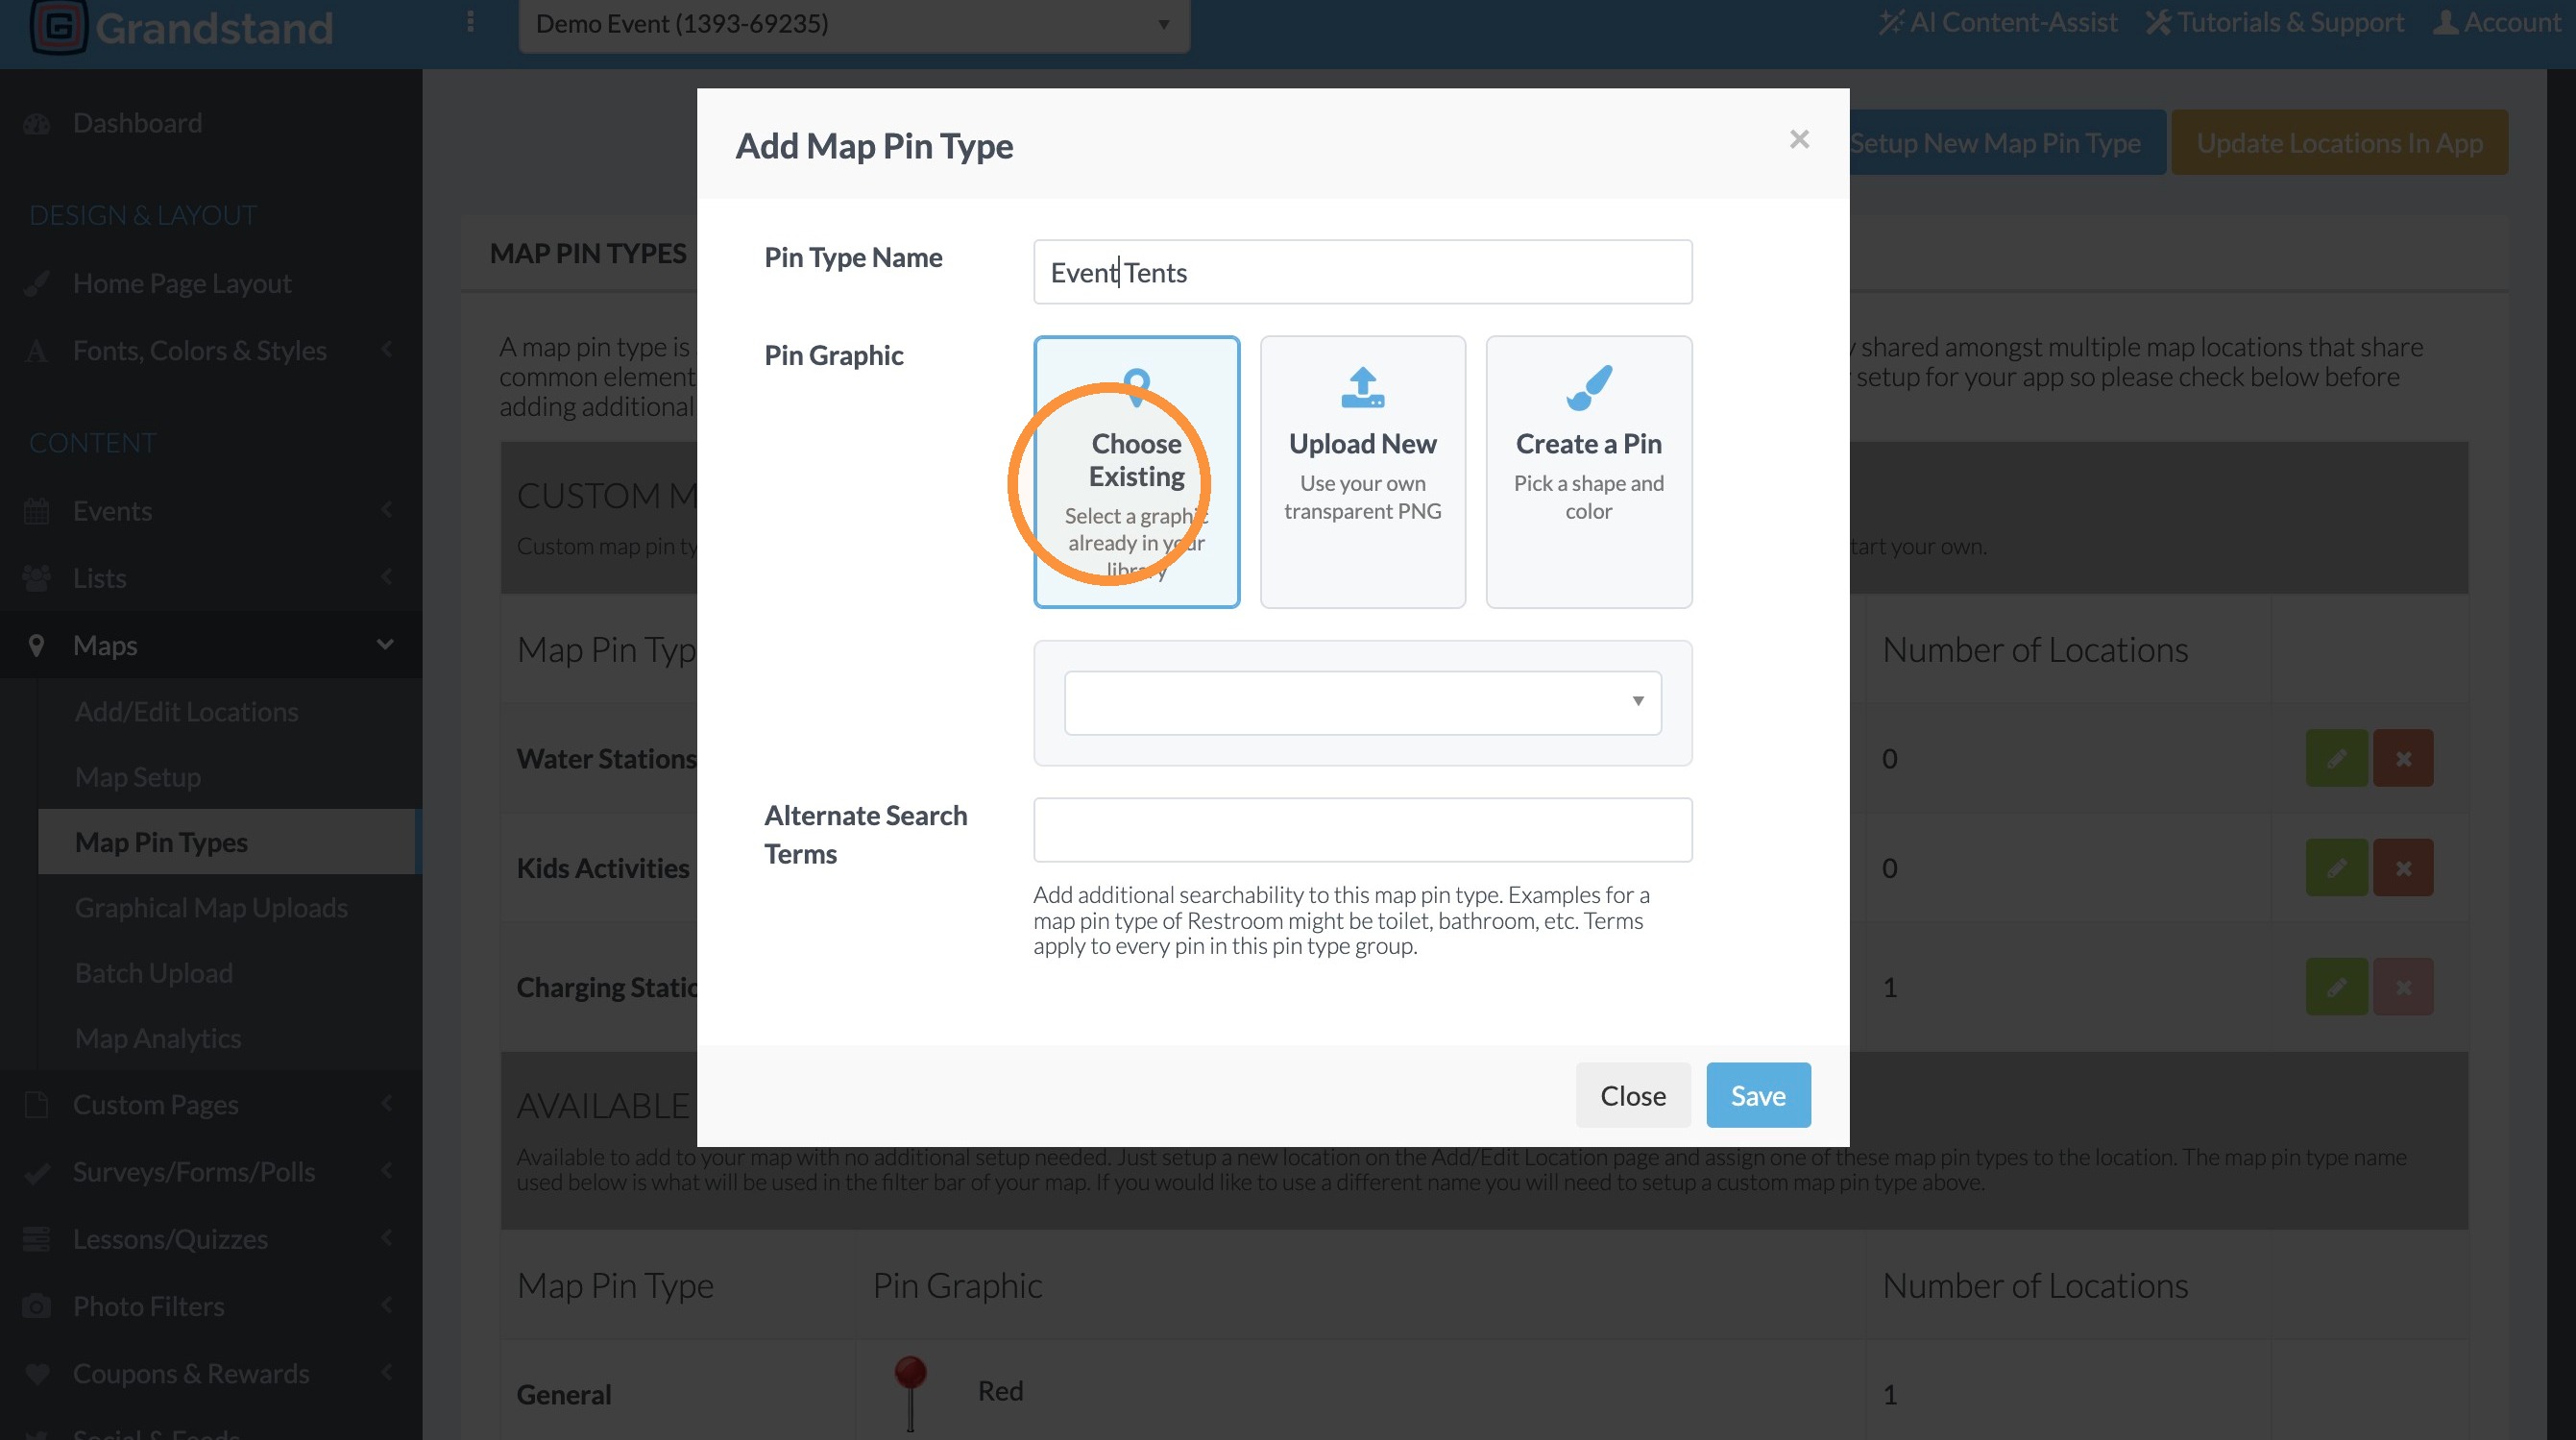
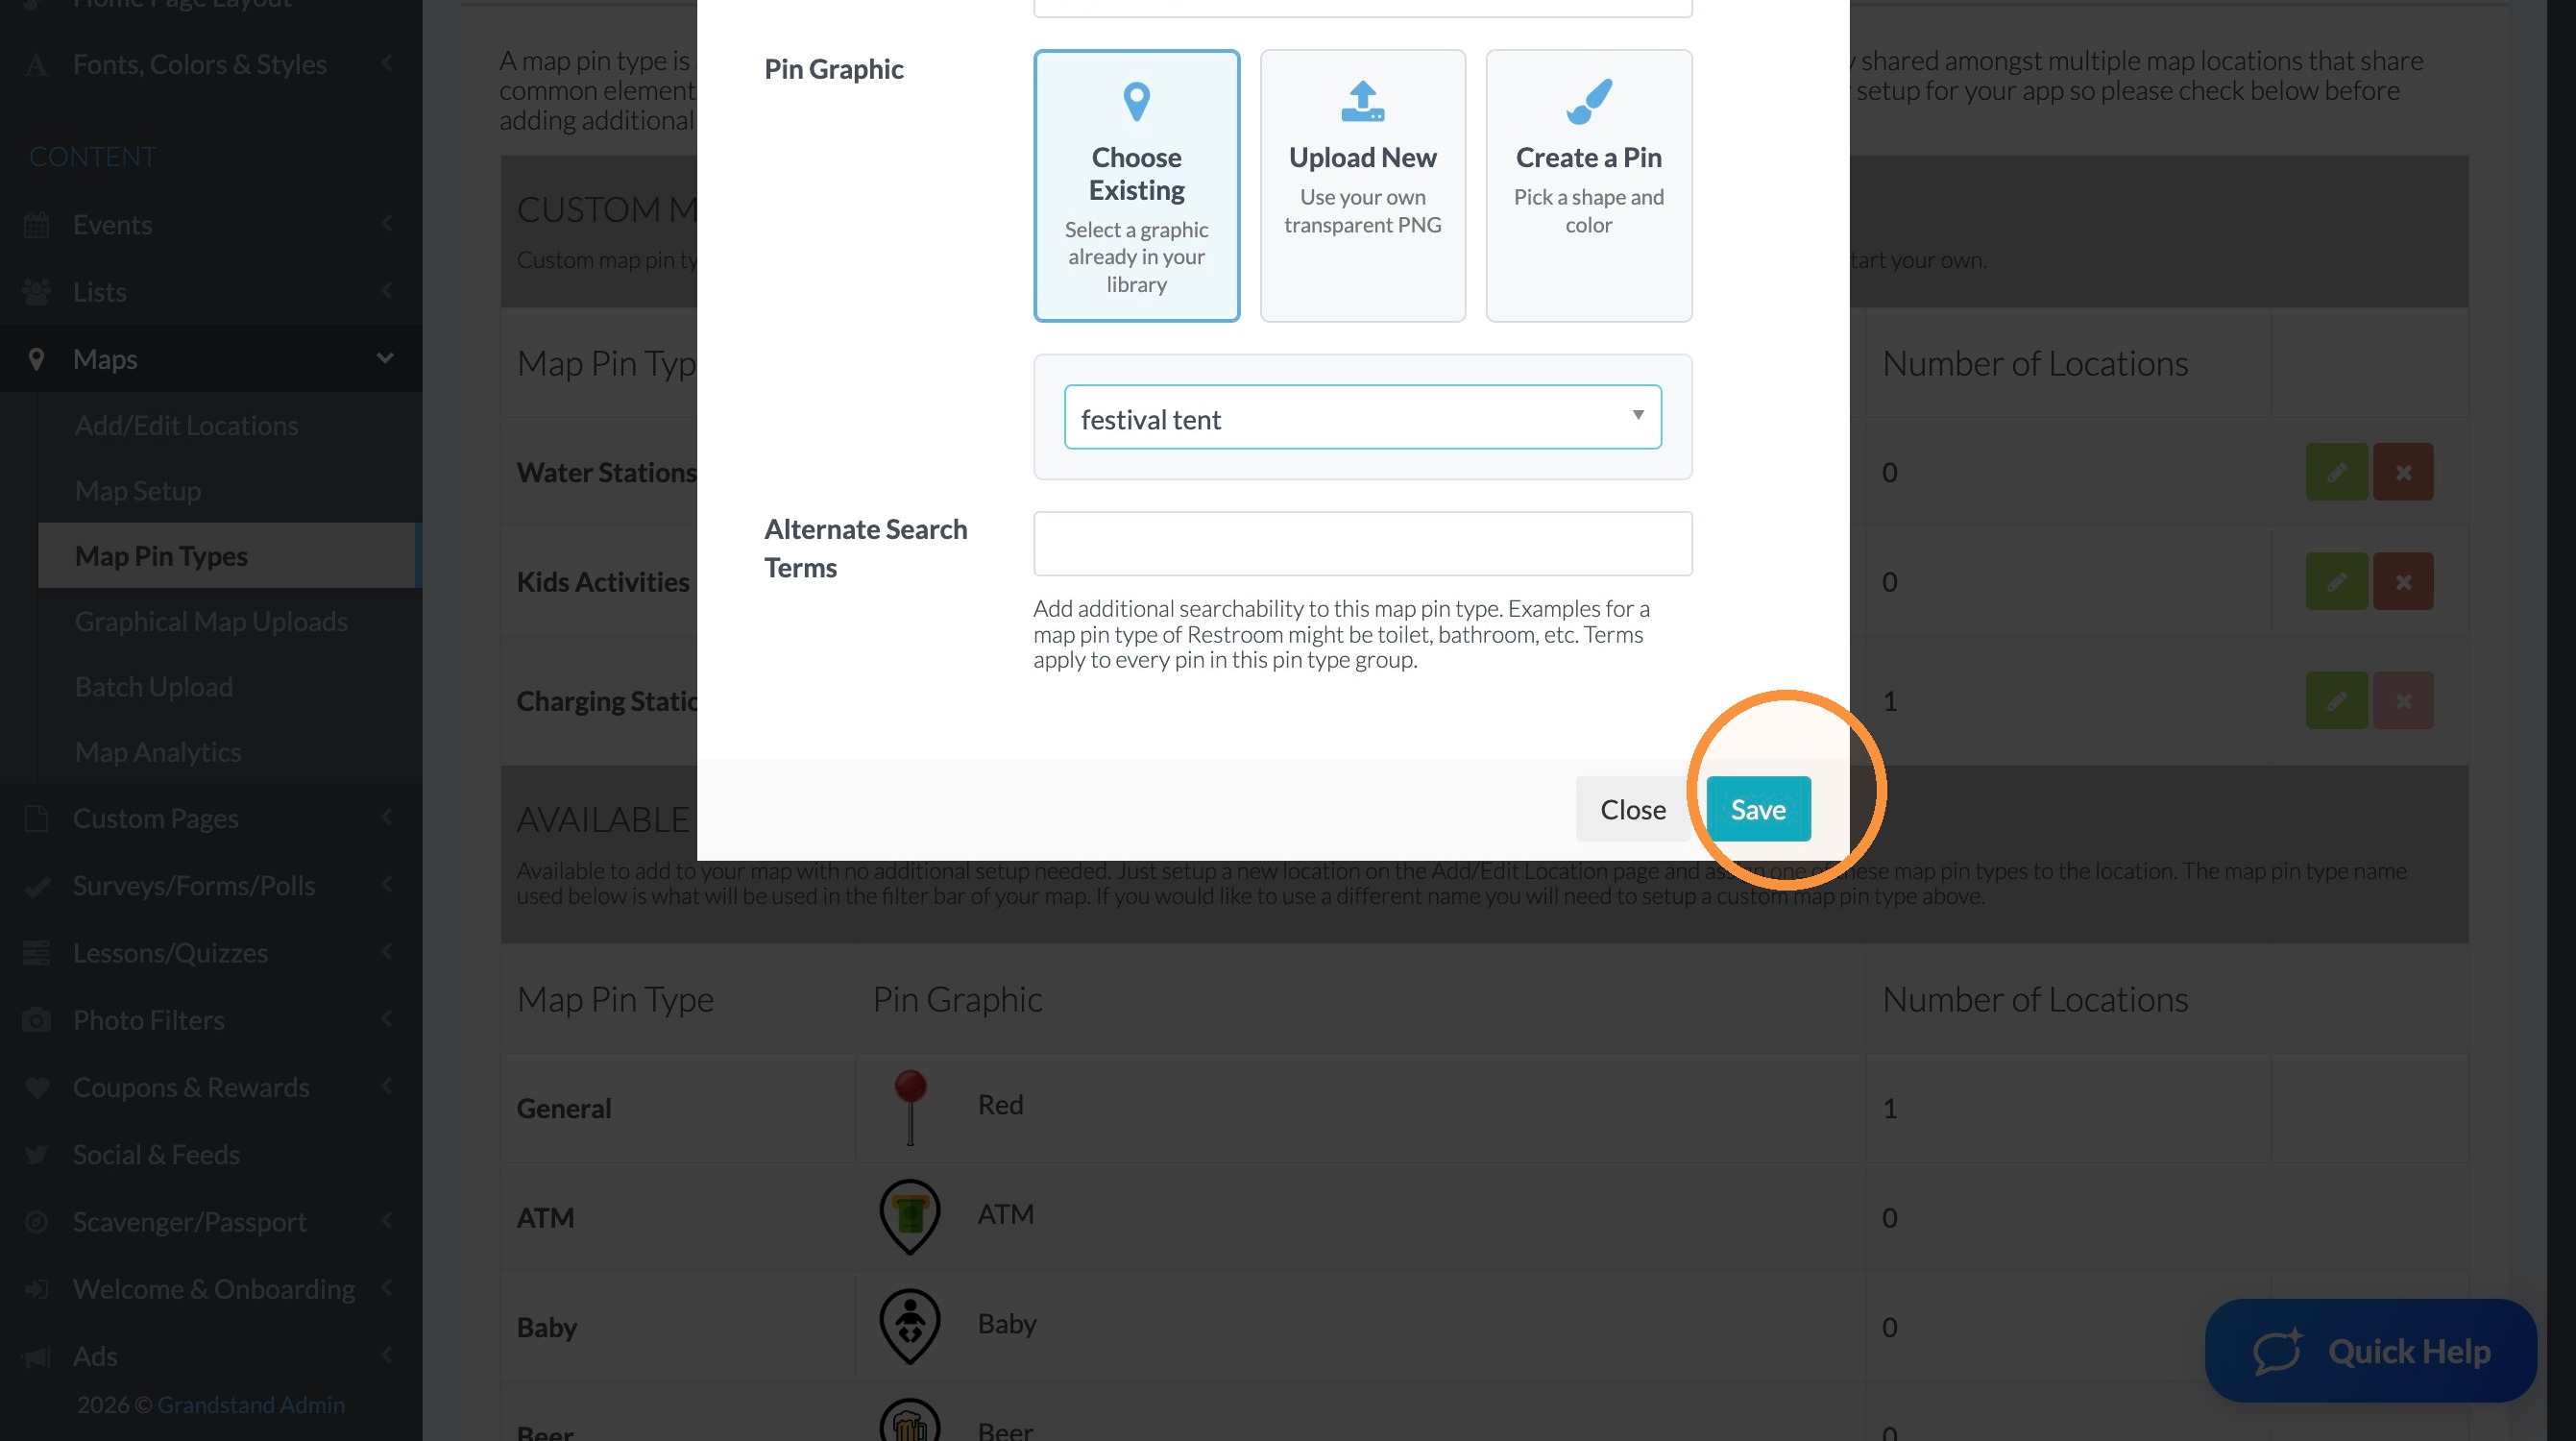
3. Click "Choose Existing"
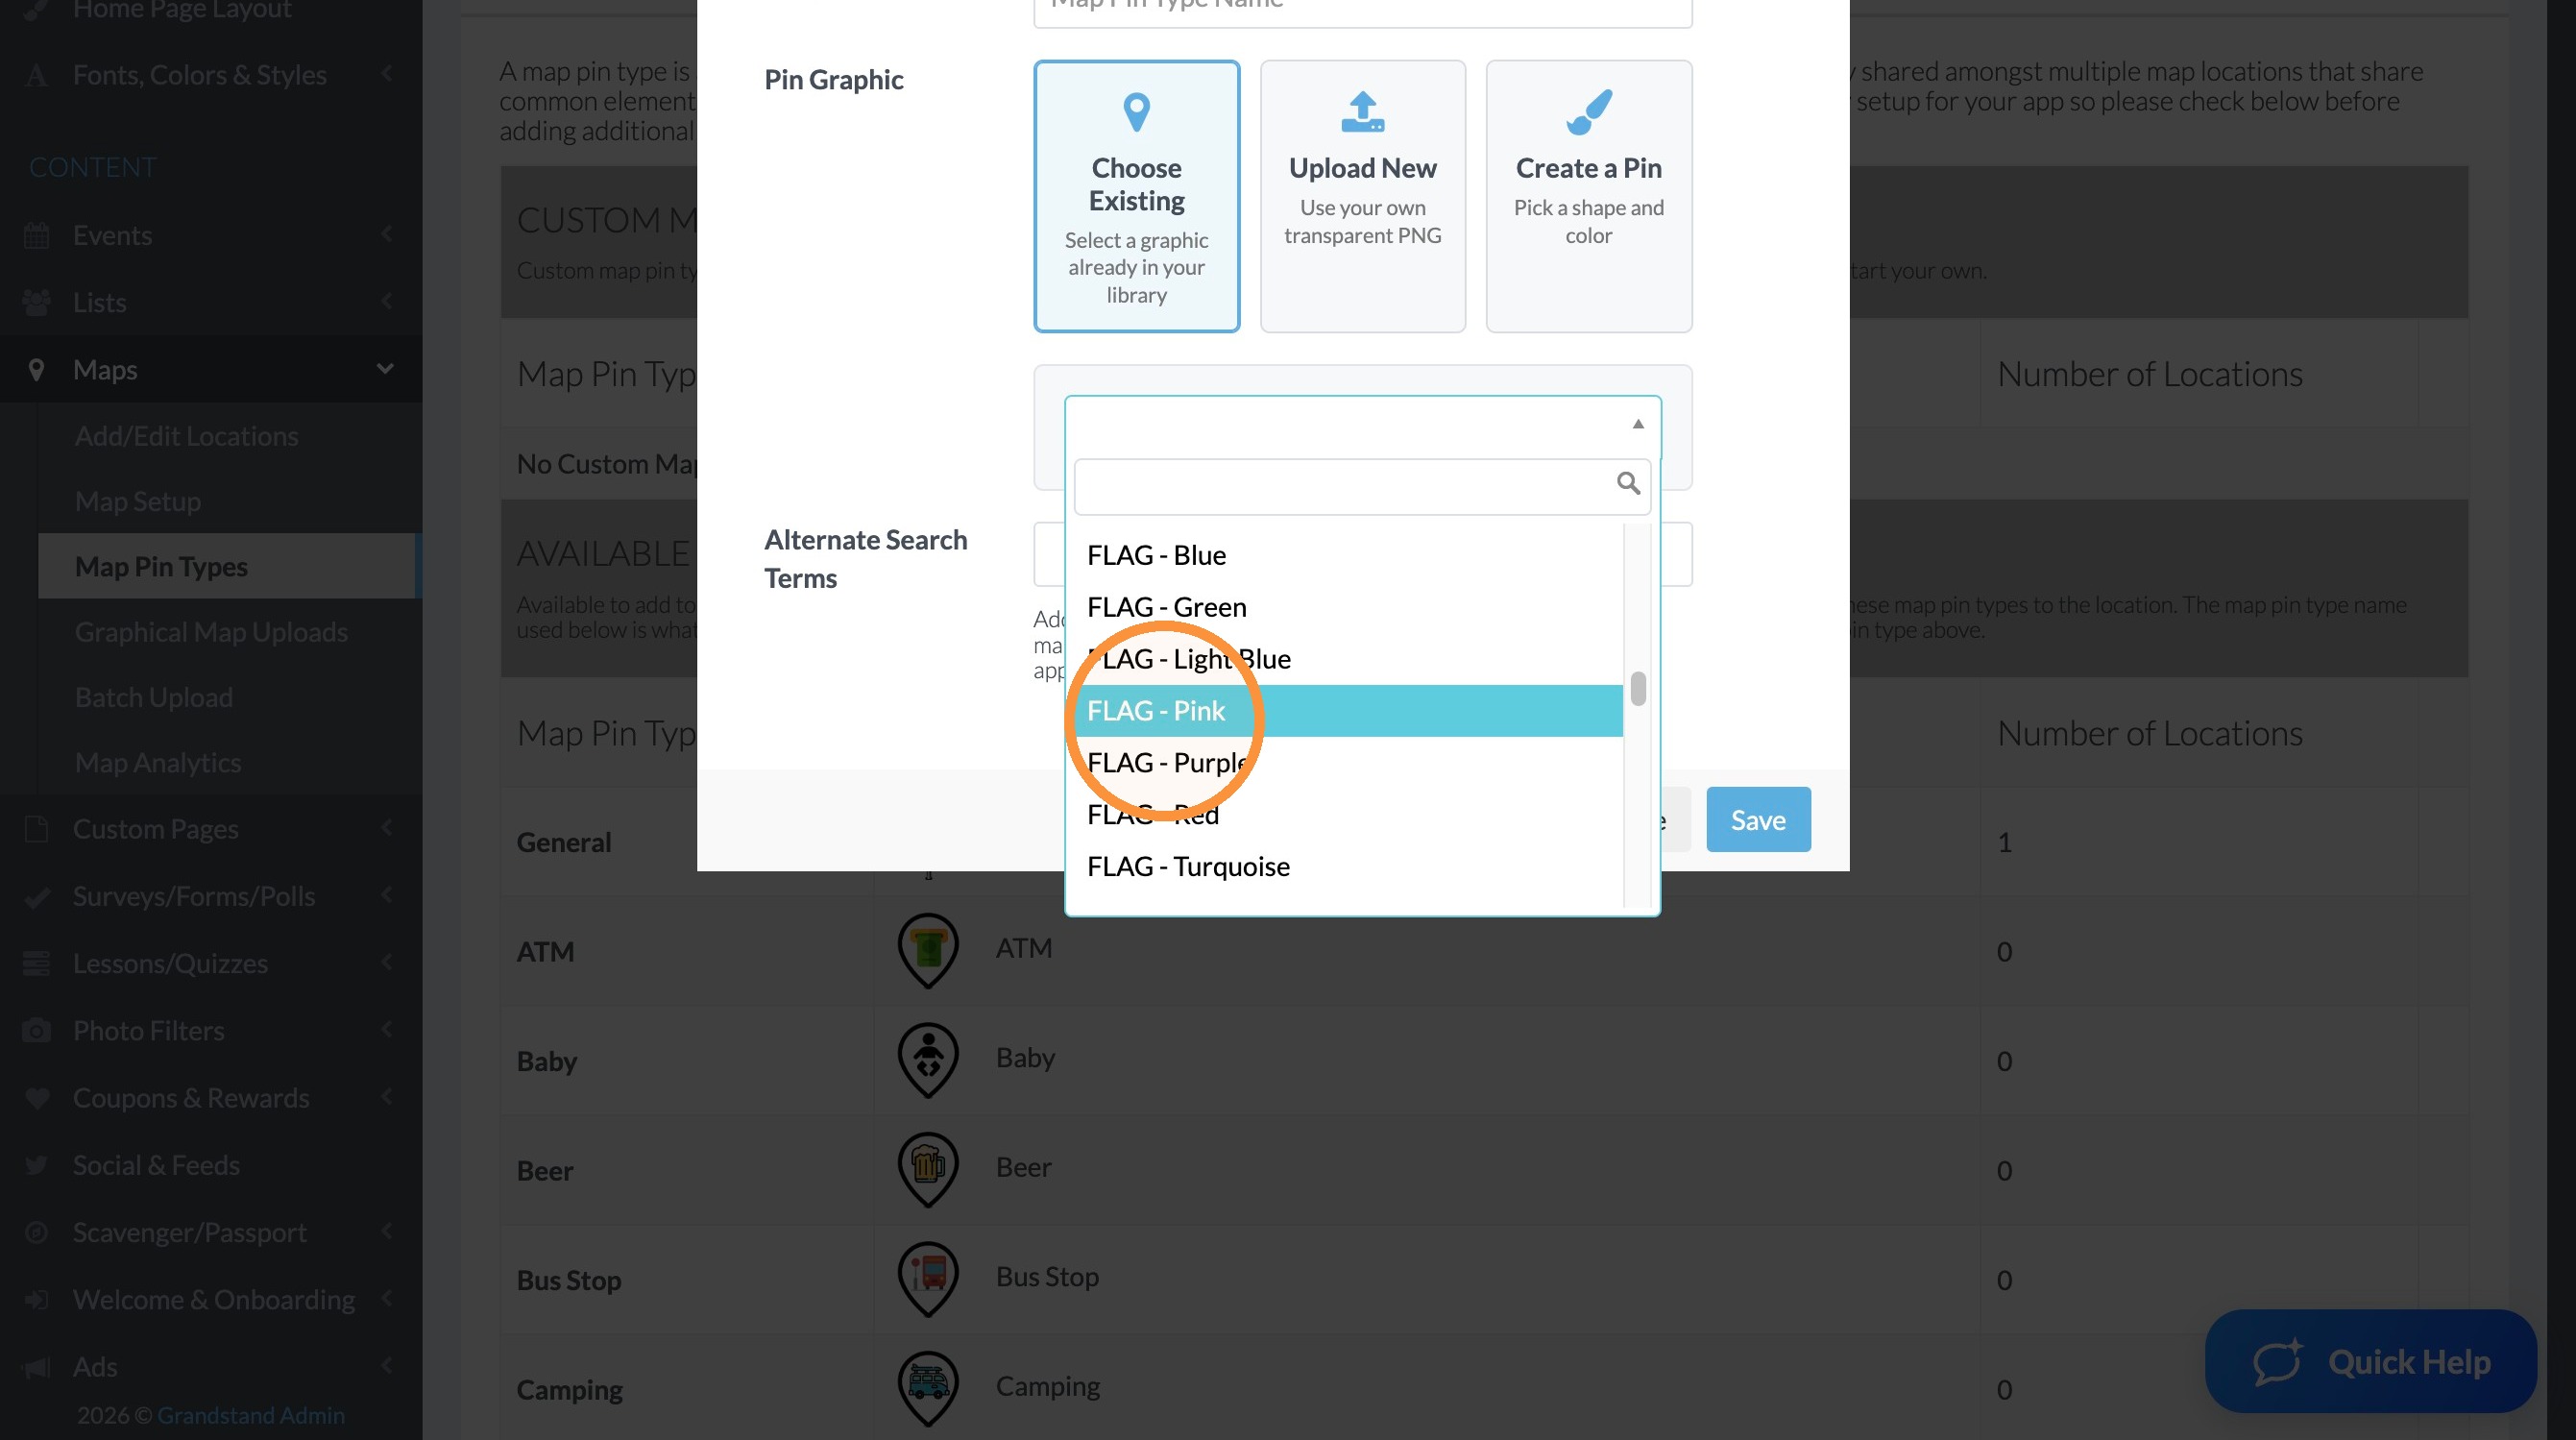
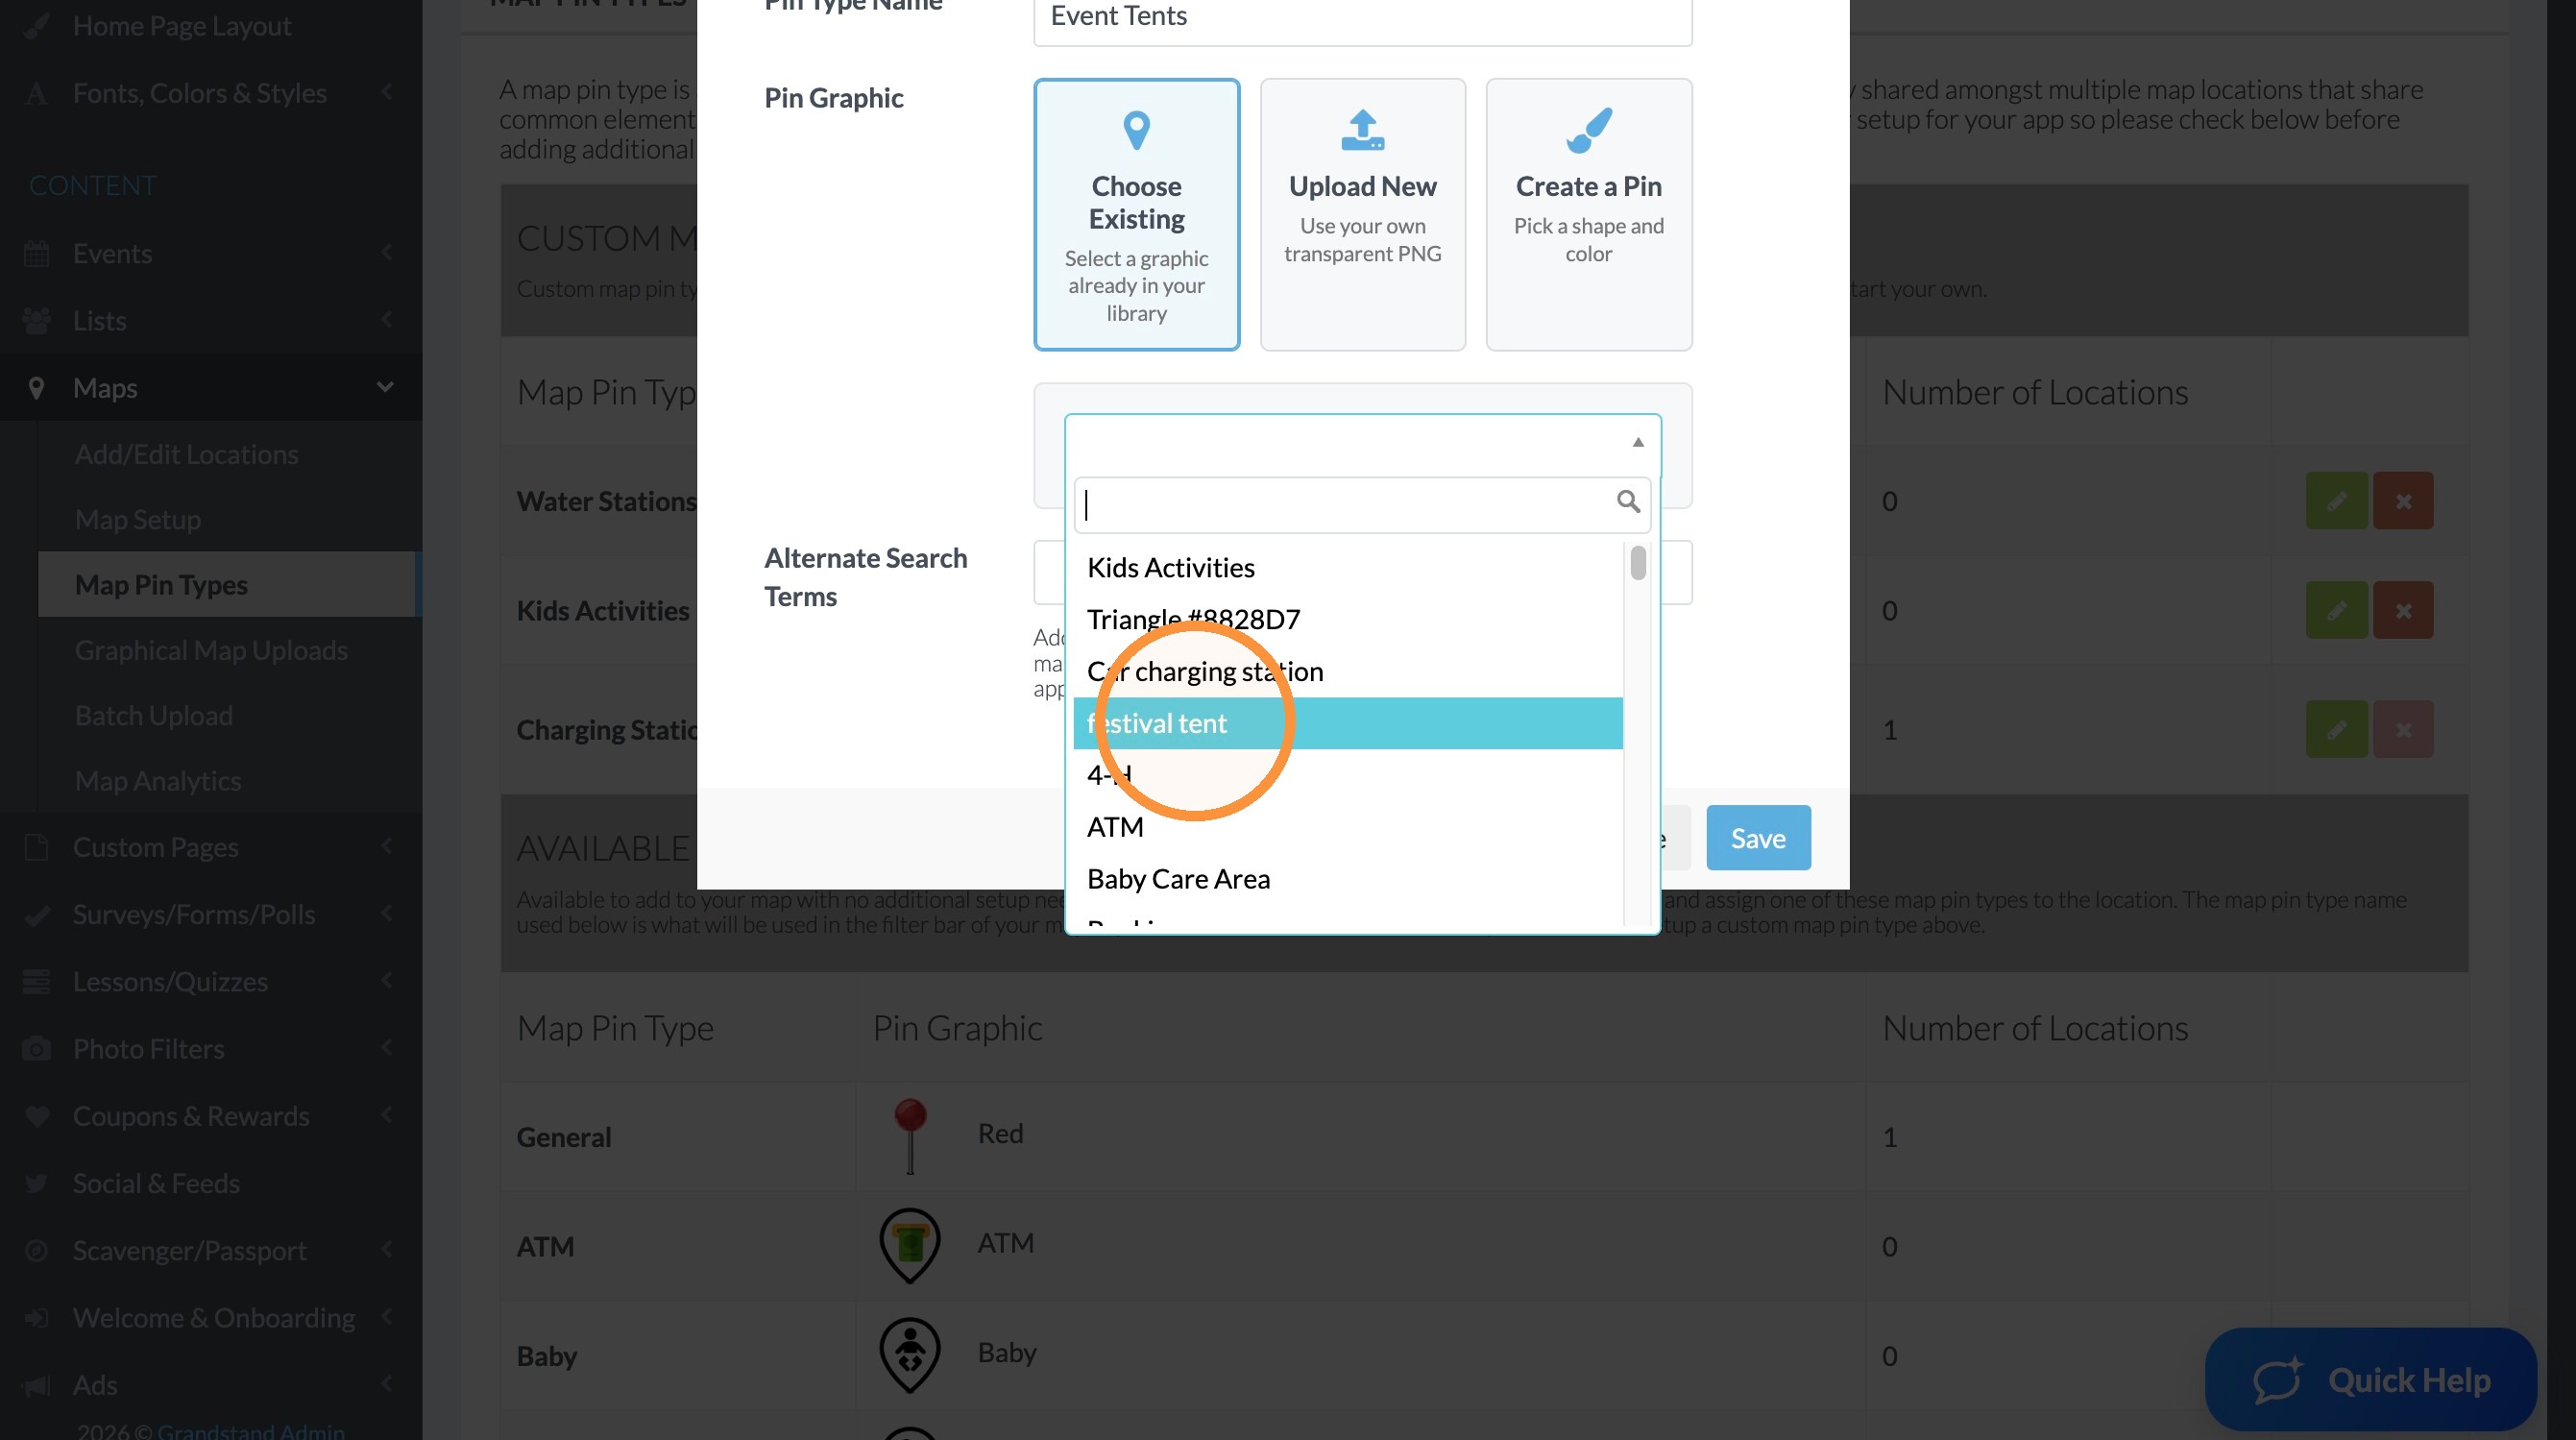
4. In the dropdown menu, select the graphic you would like to use for your map pin. Before clicking "Setup New Map Pin Type" you can scroll through the options on the page.
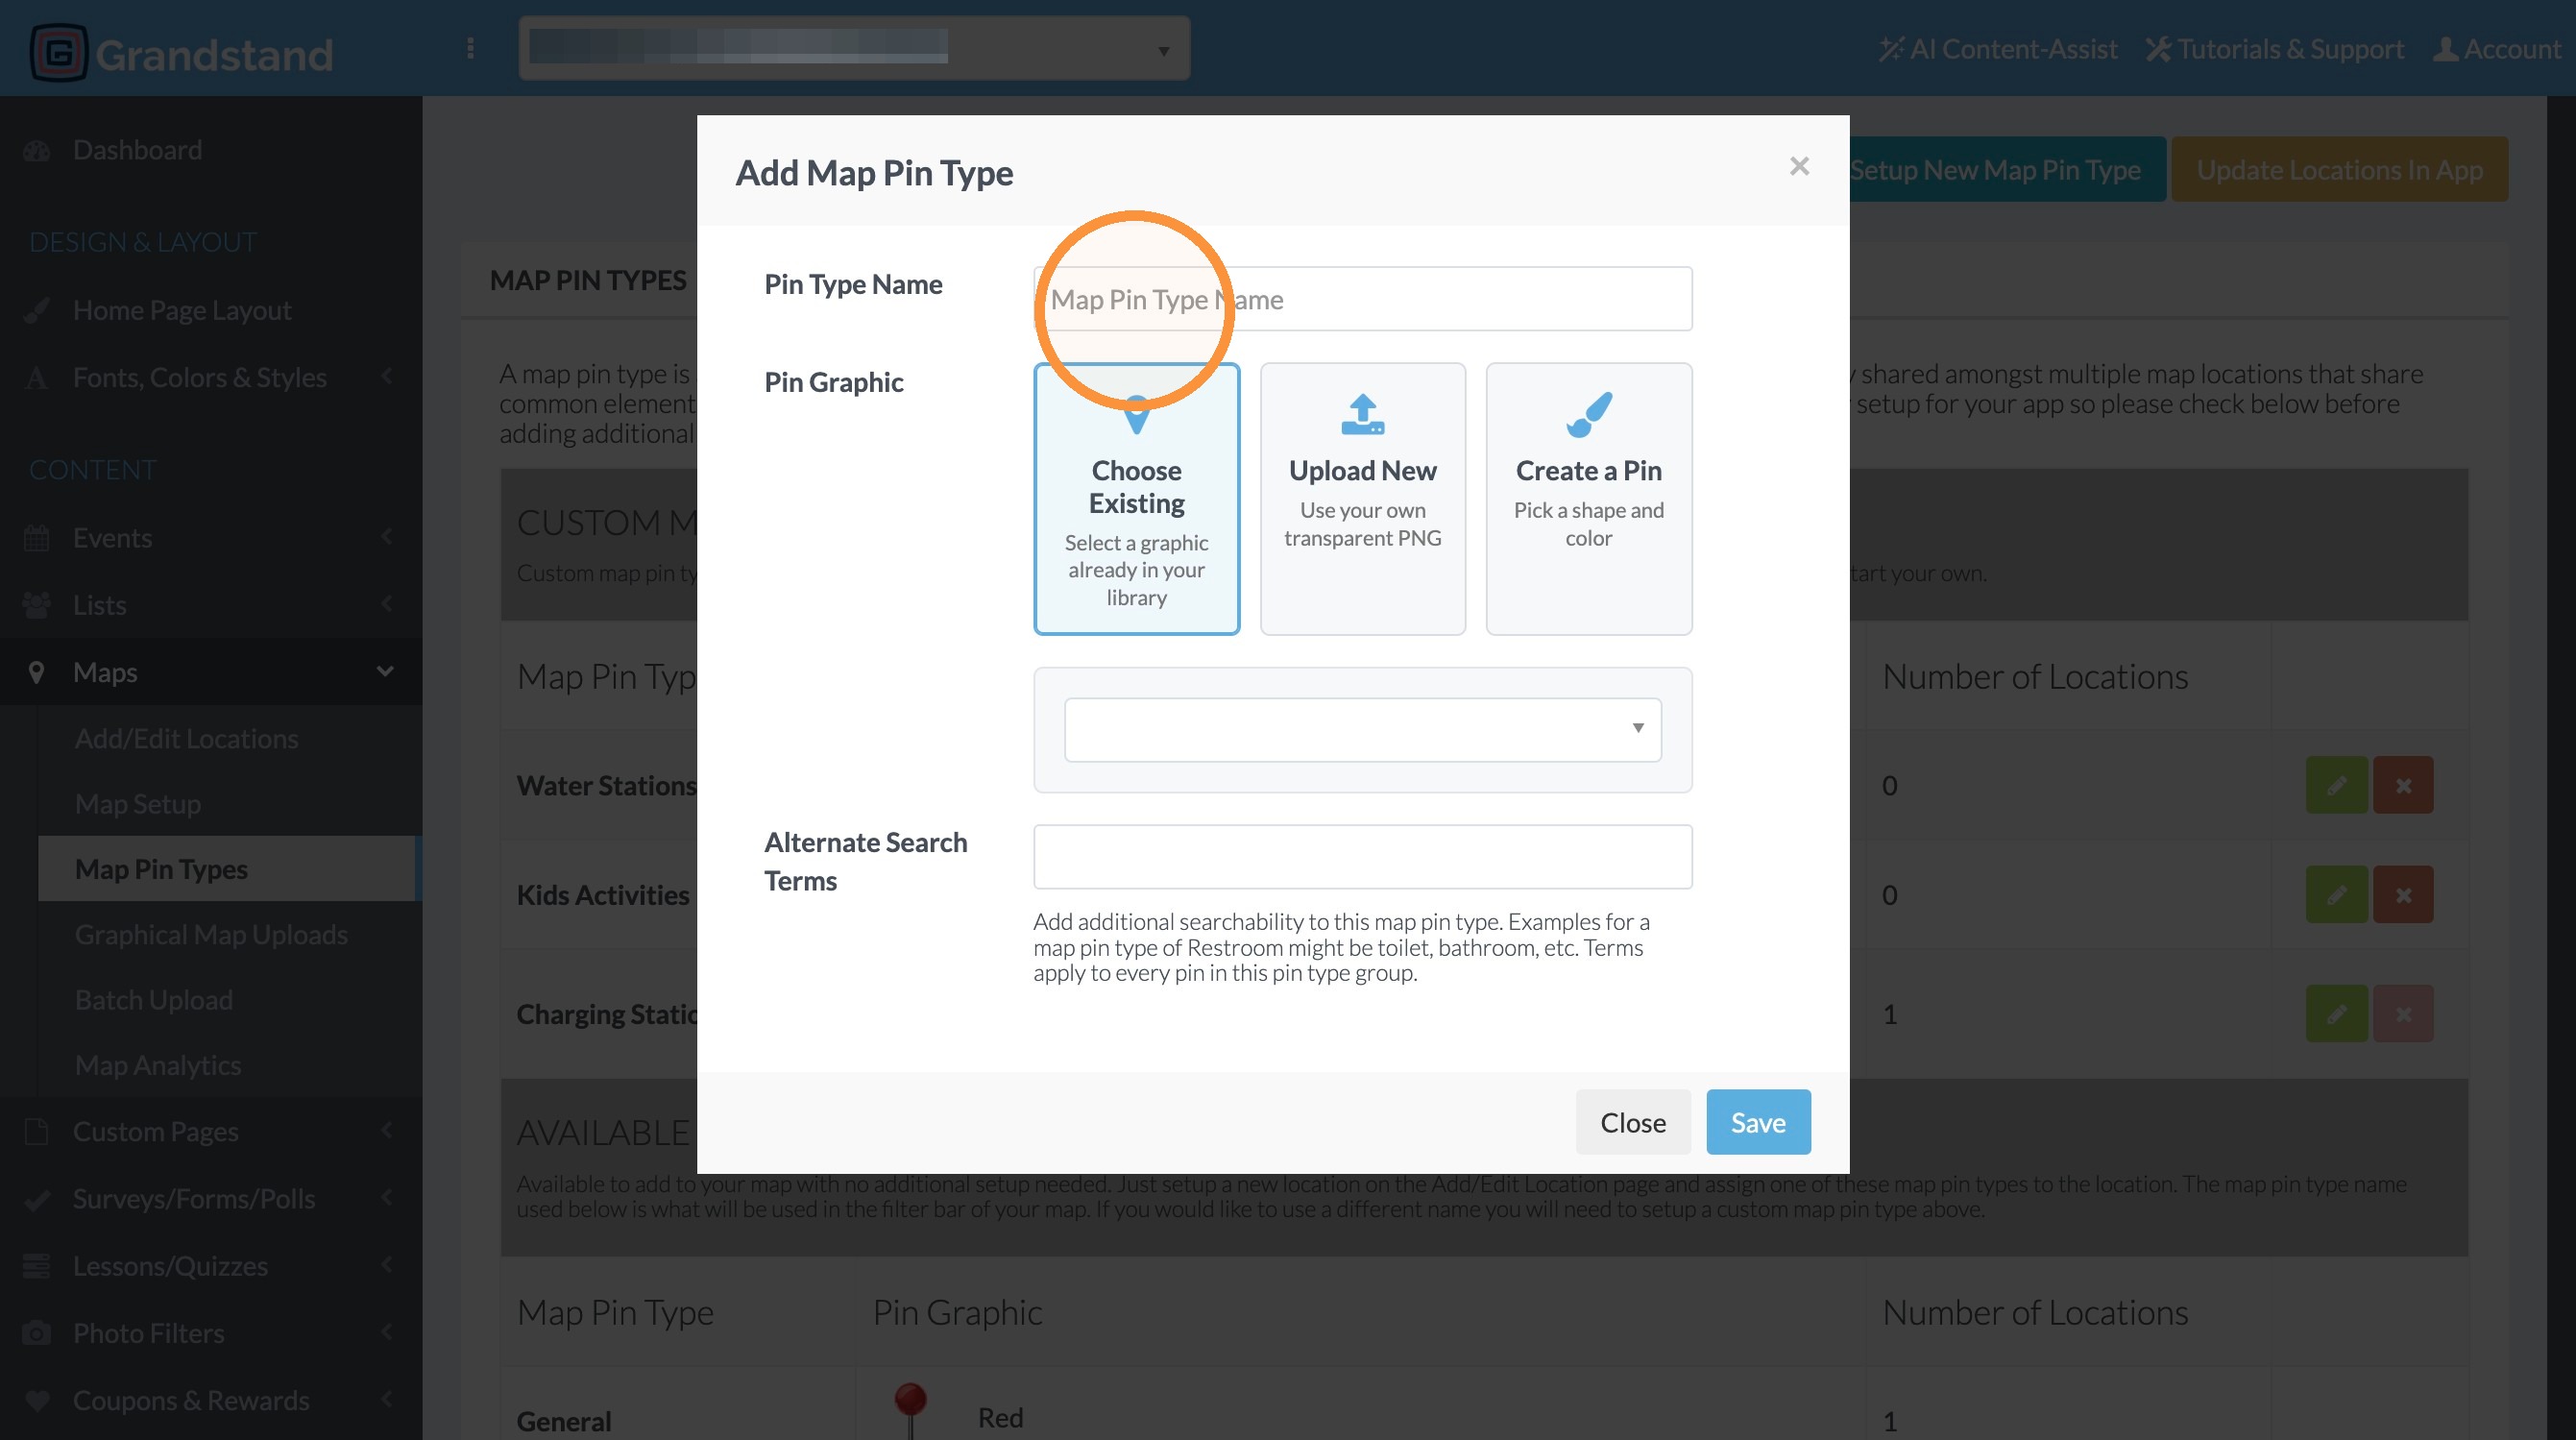
5. Enter the map pin type name.
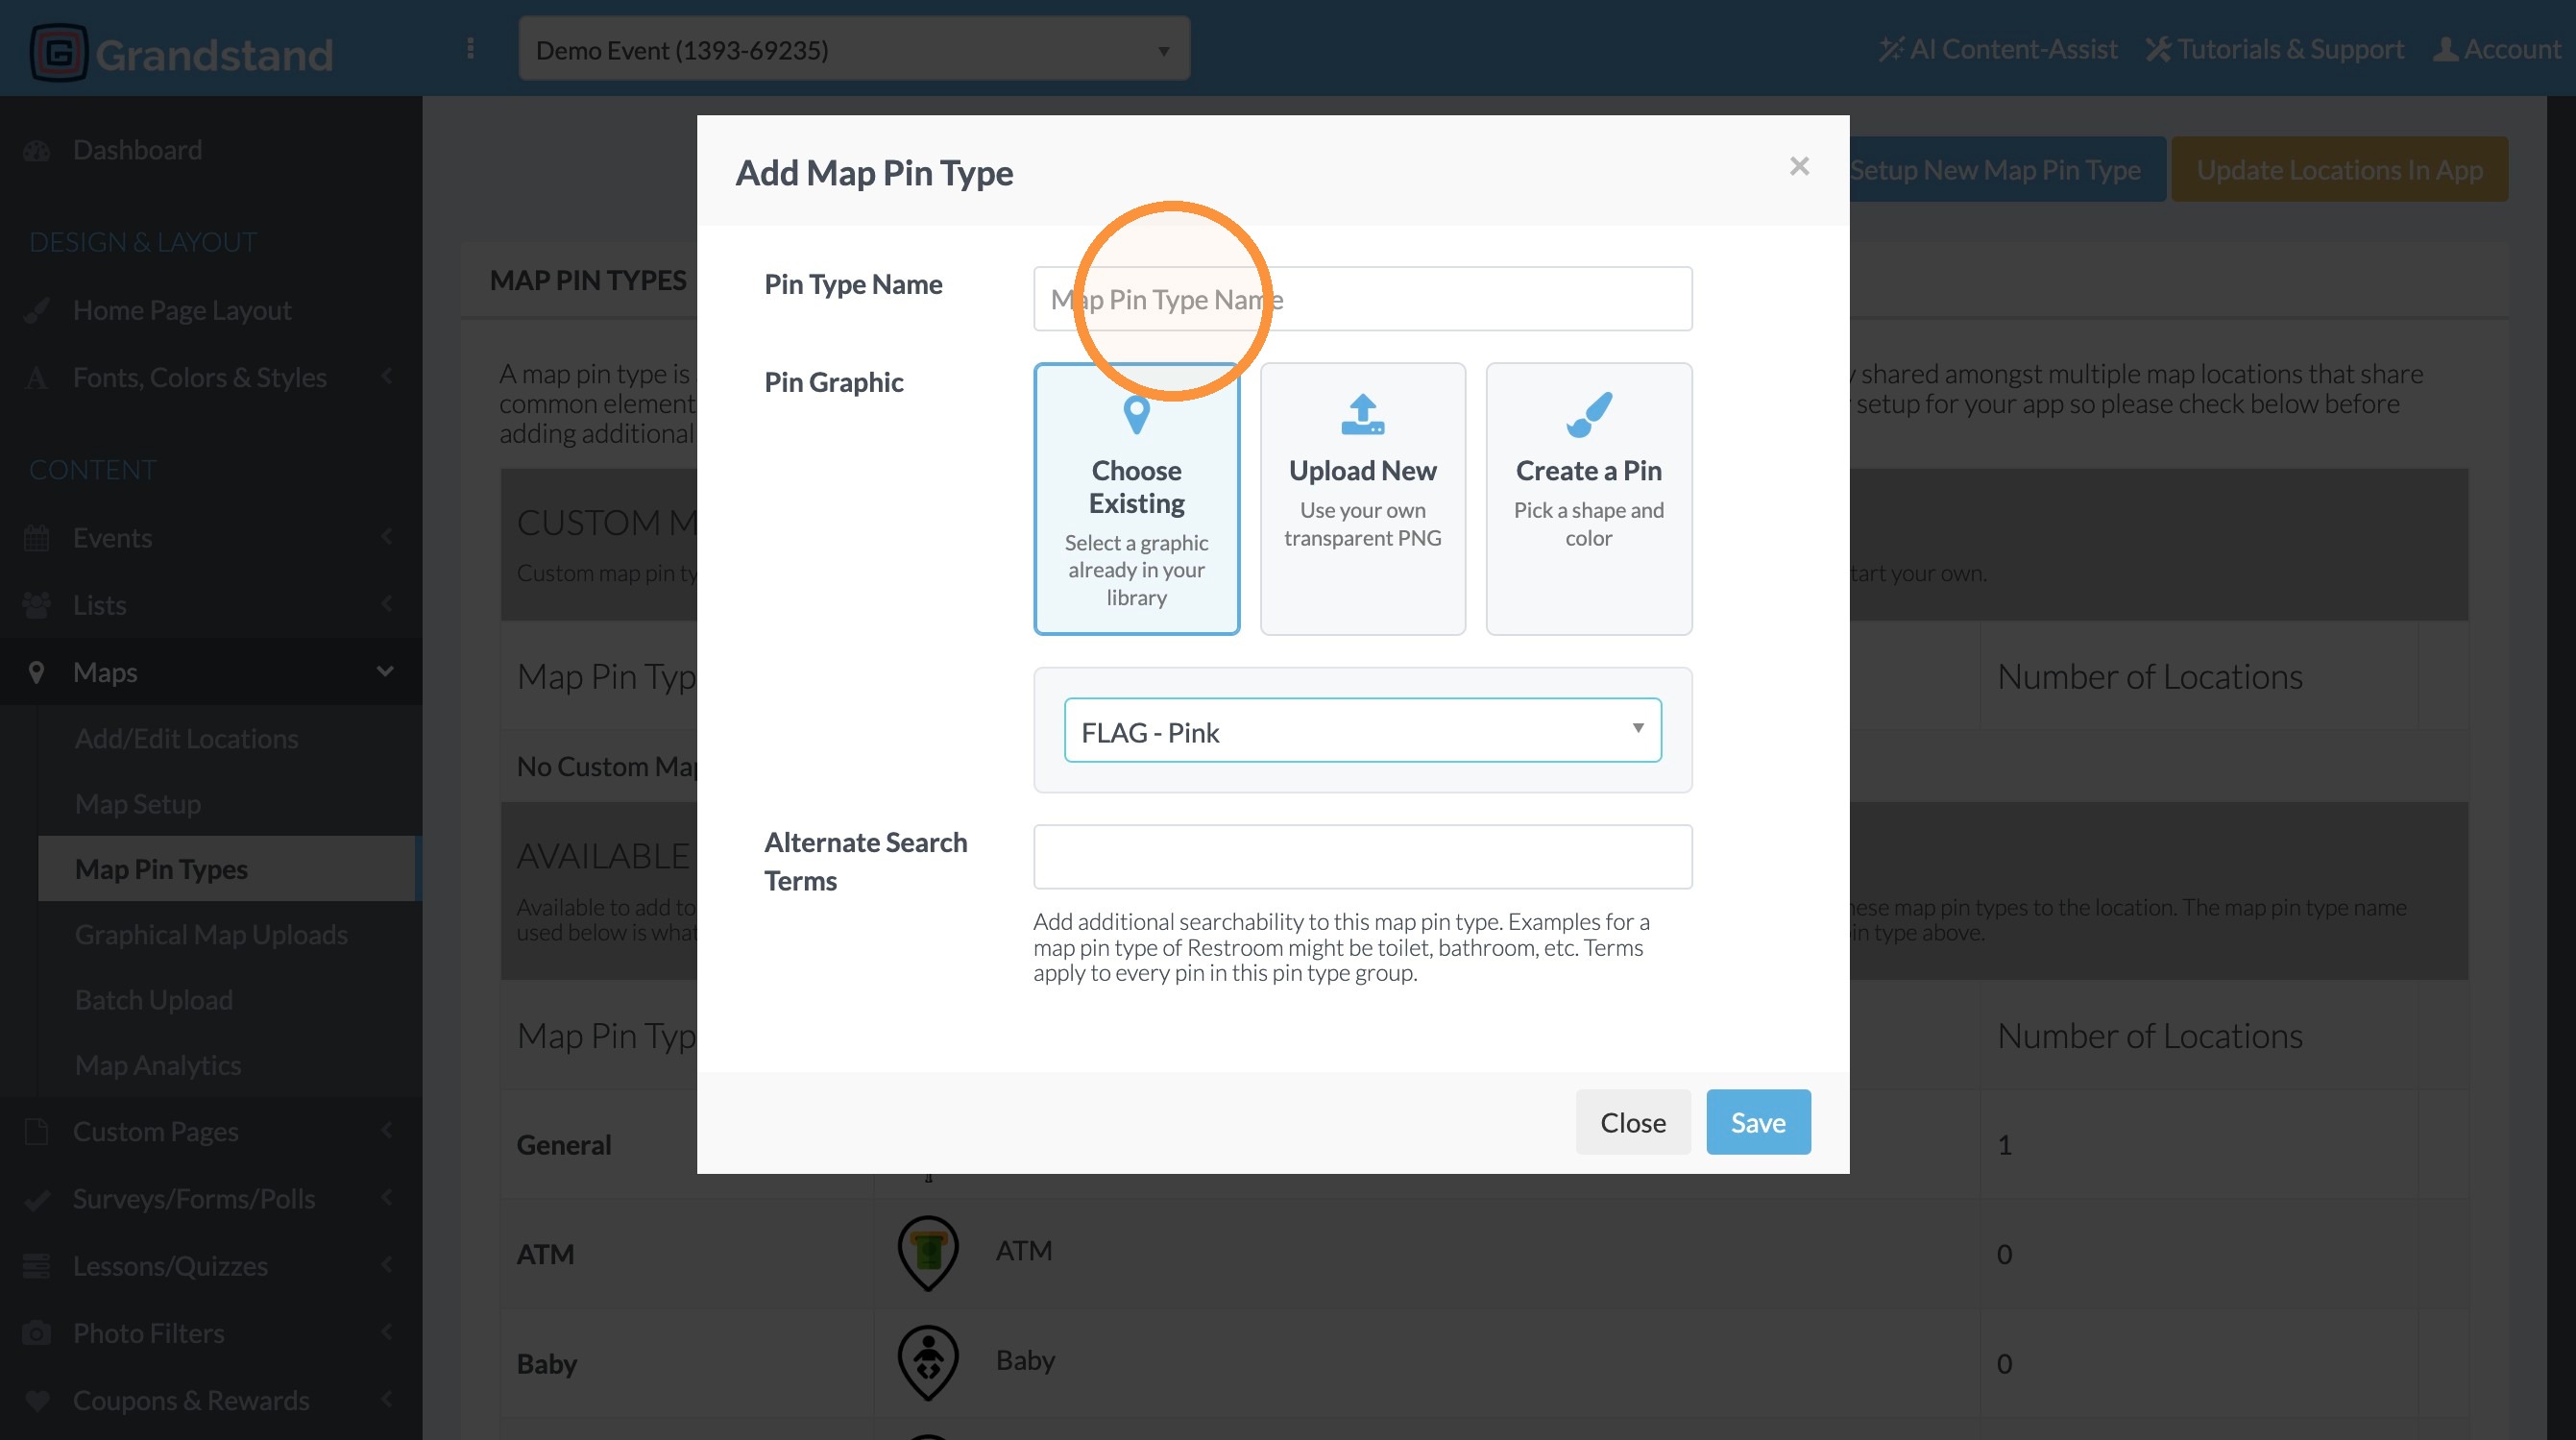
6. Click "Save"
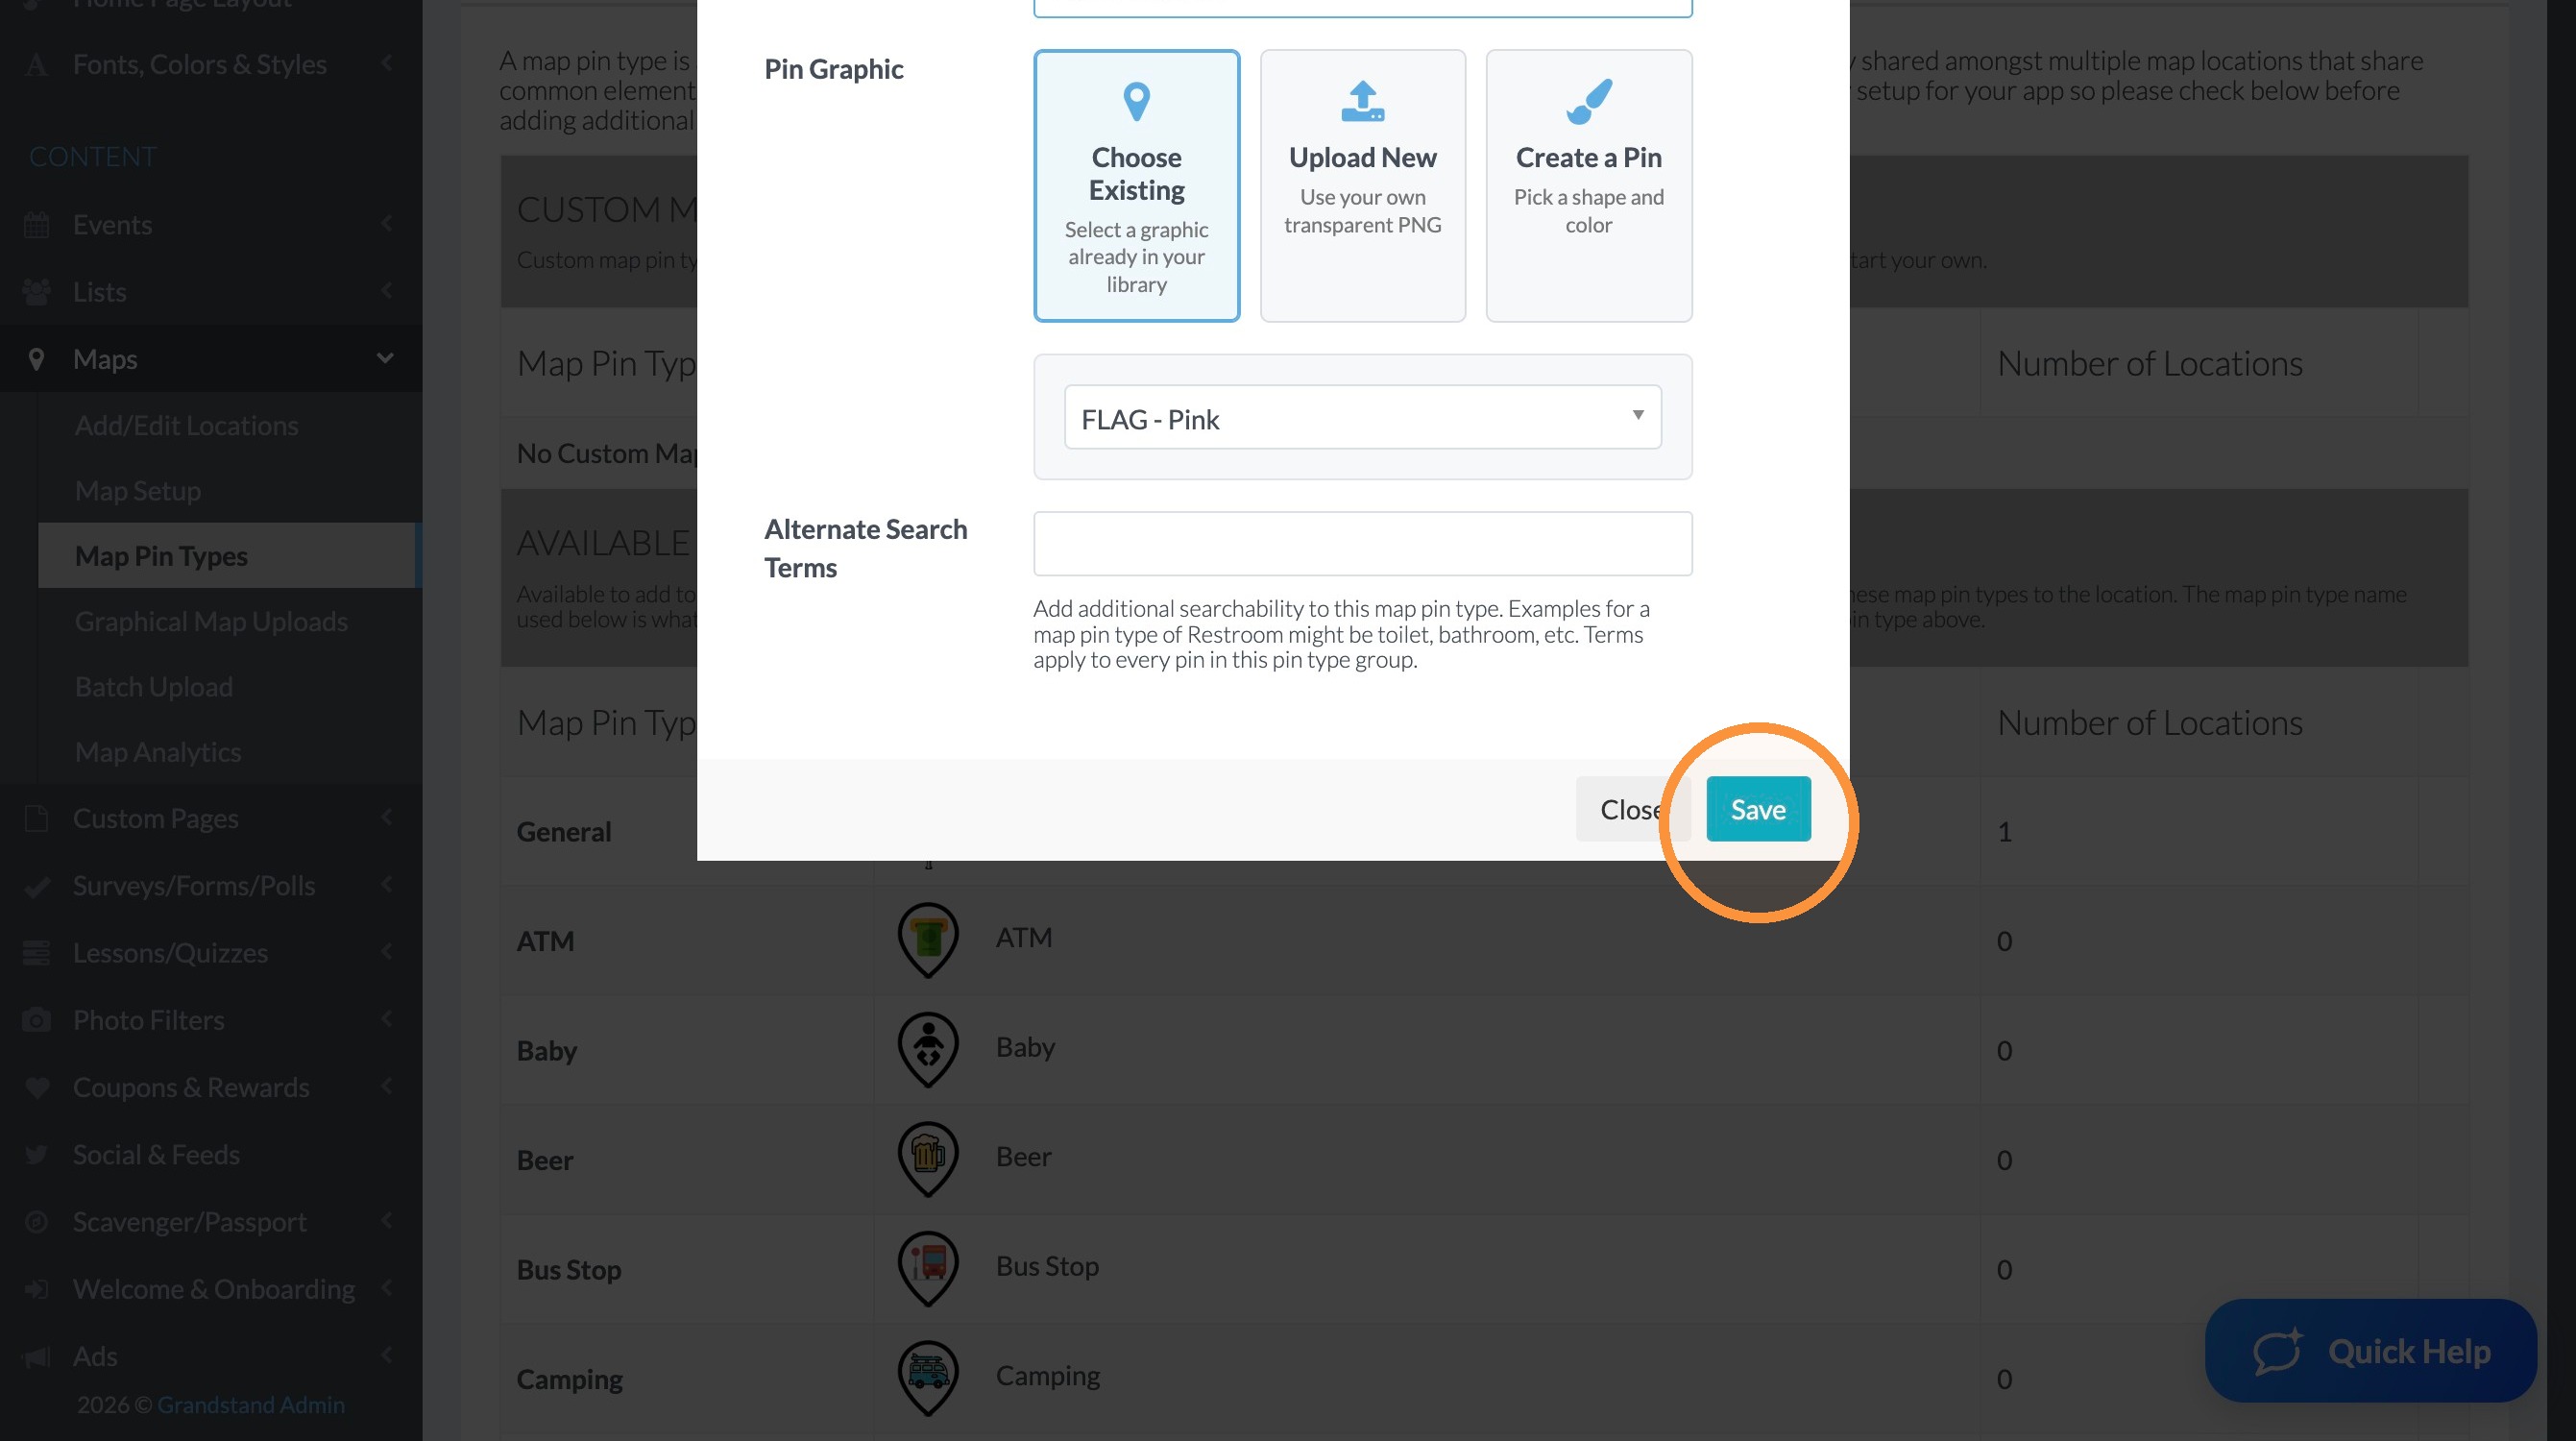
Upload Your Own Map Pin Design
7. Click "Setup New Map Pin Type"
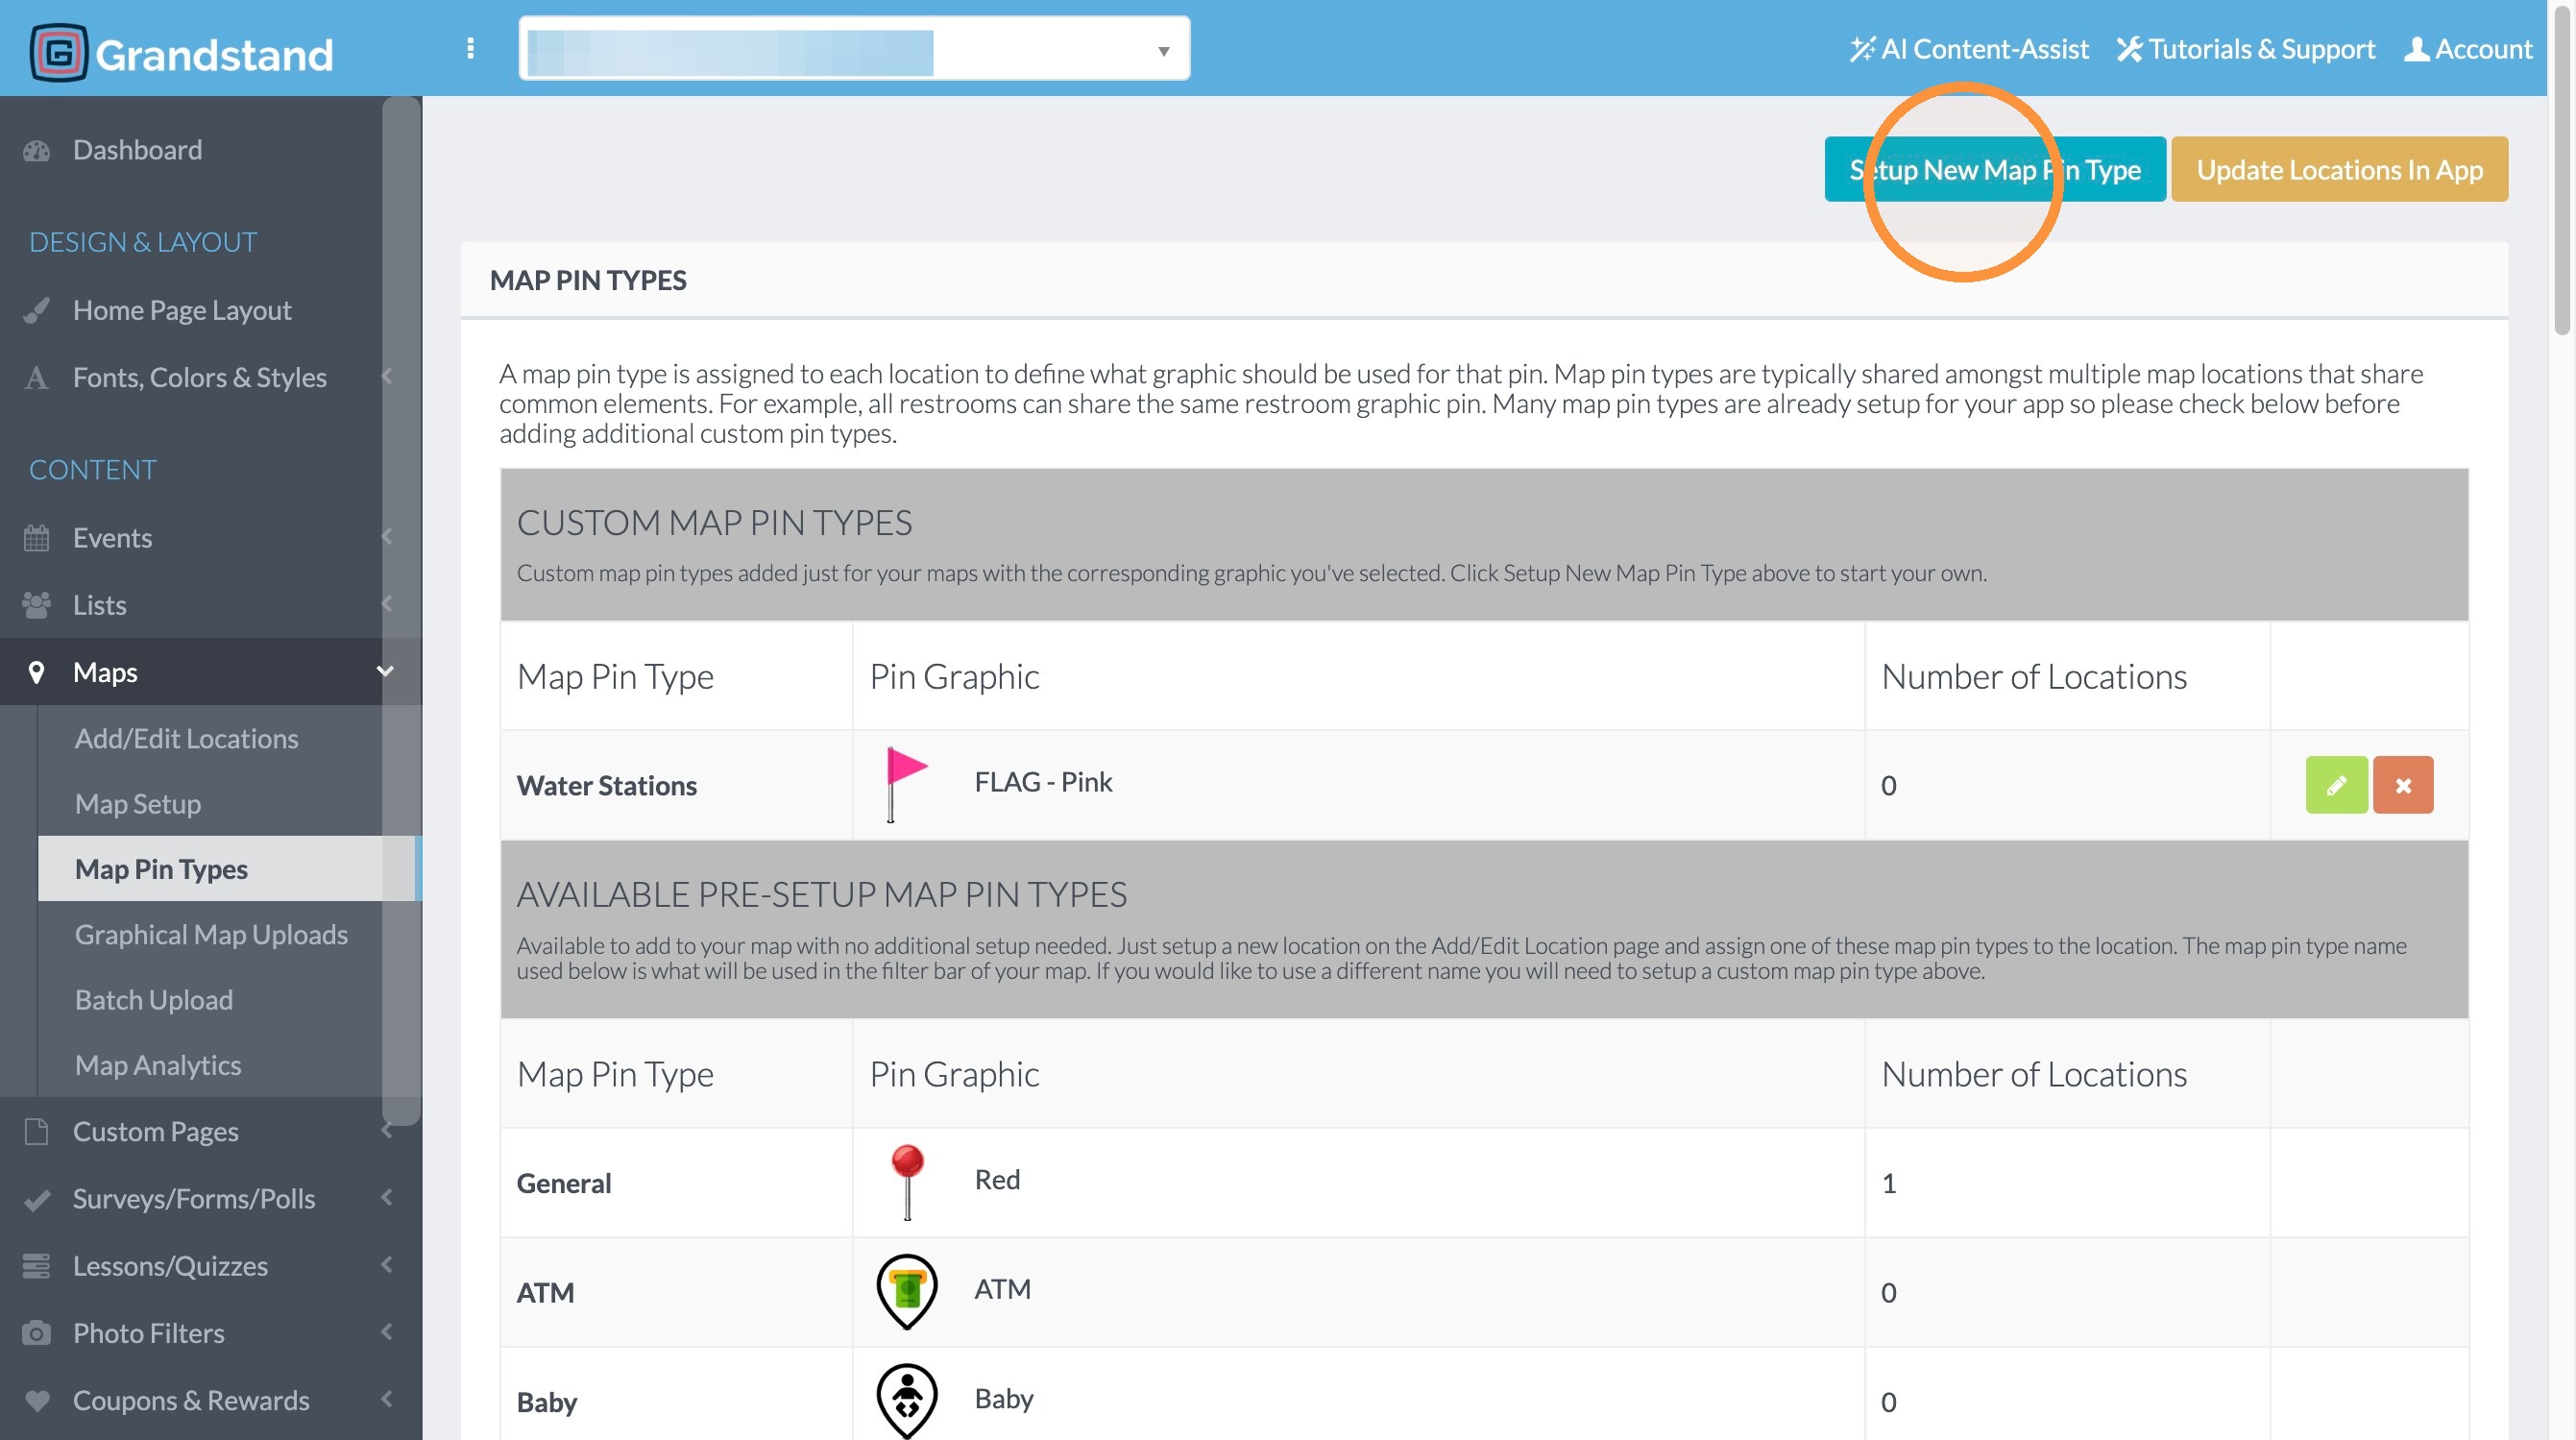
8. Click "Upload New"
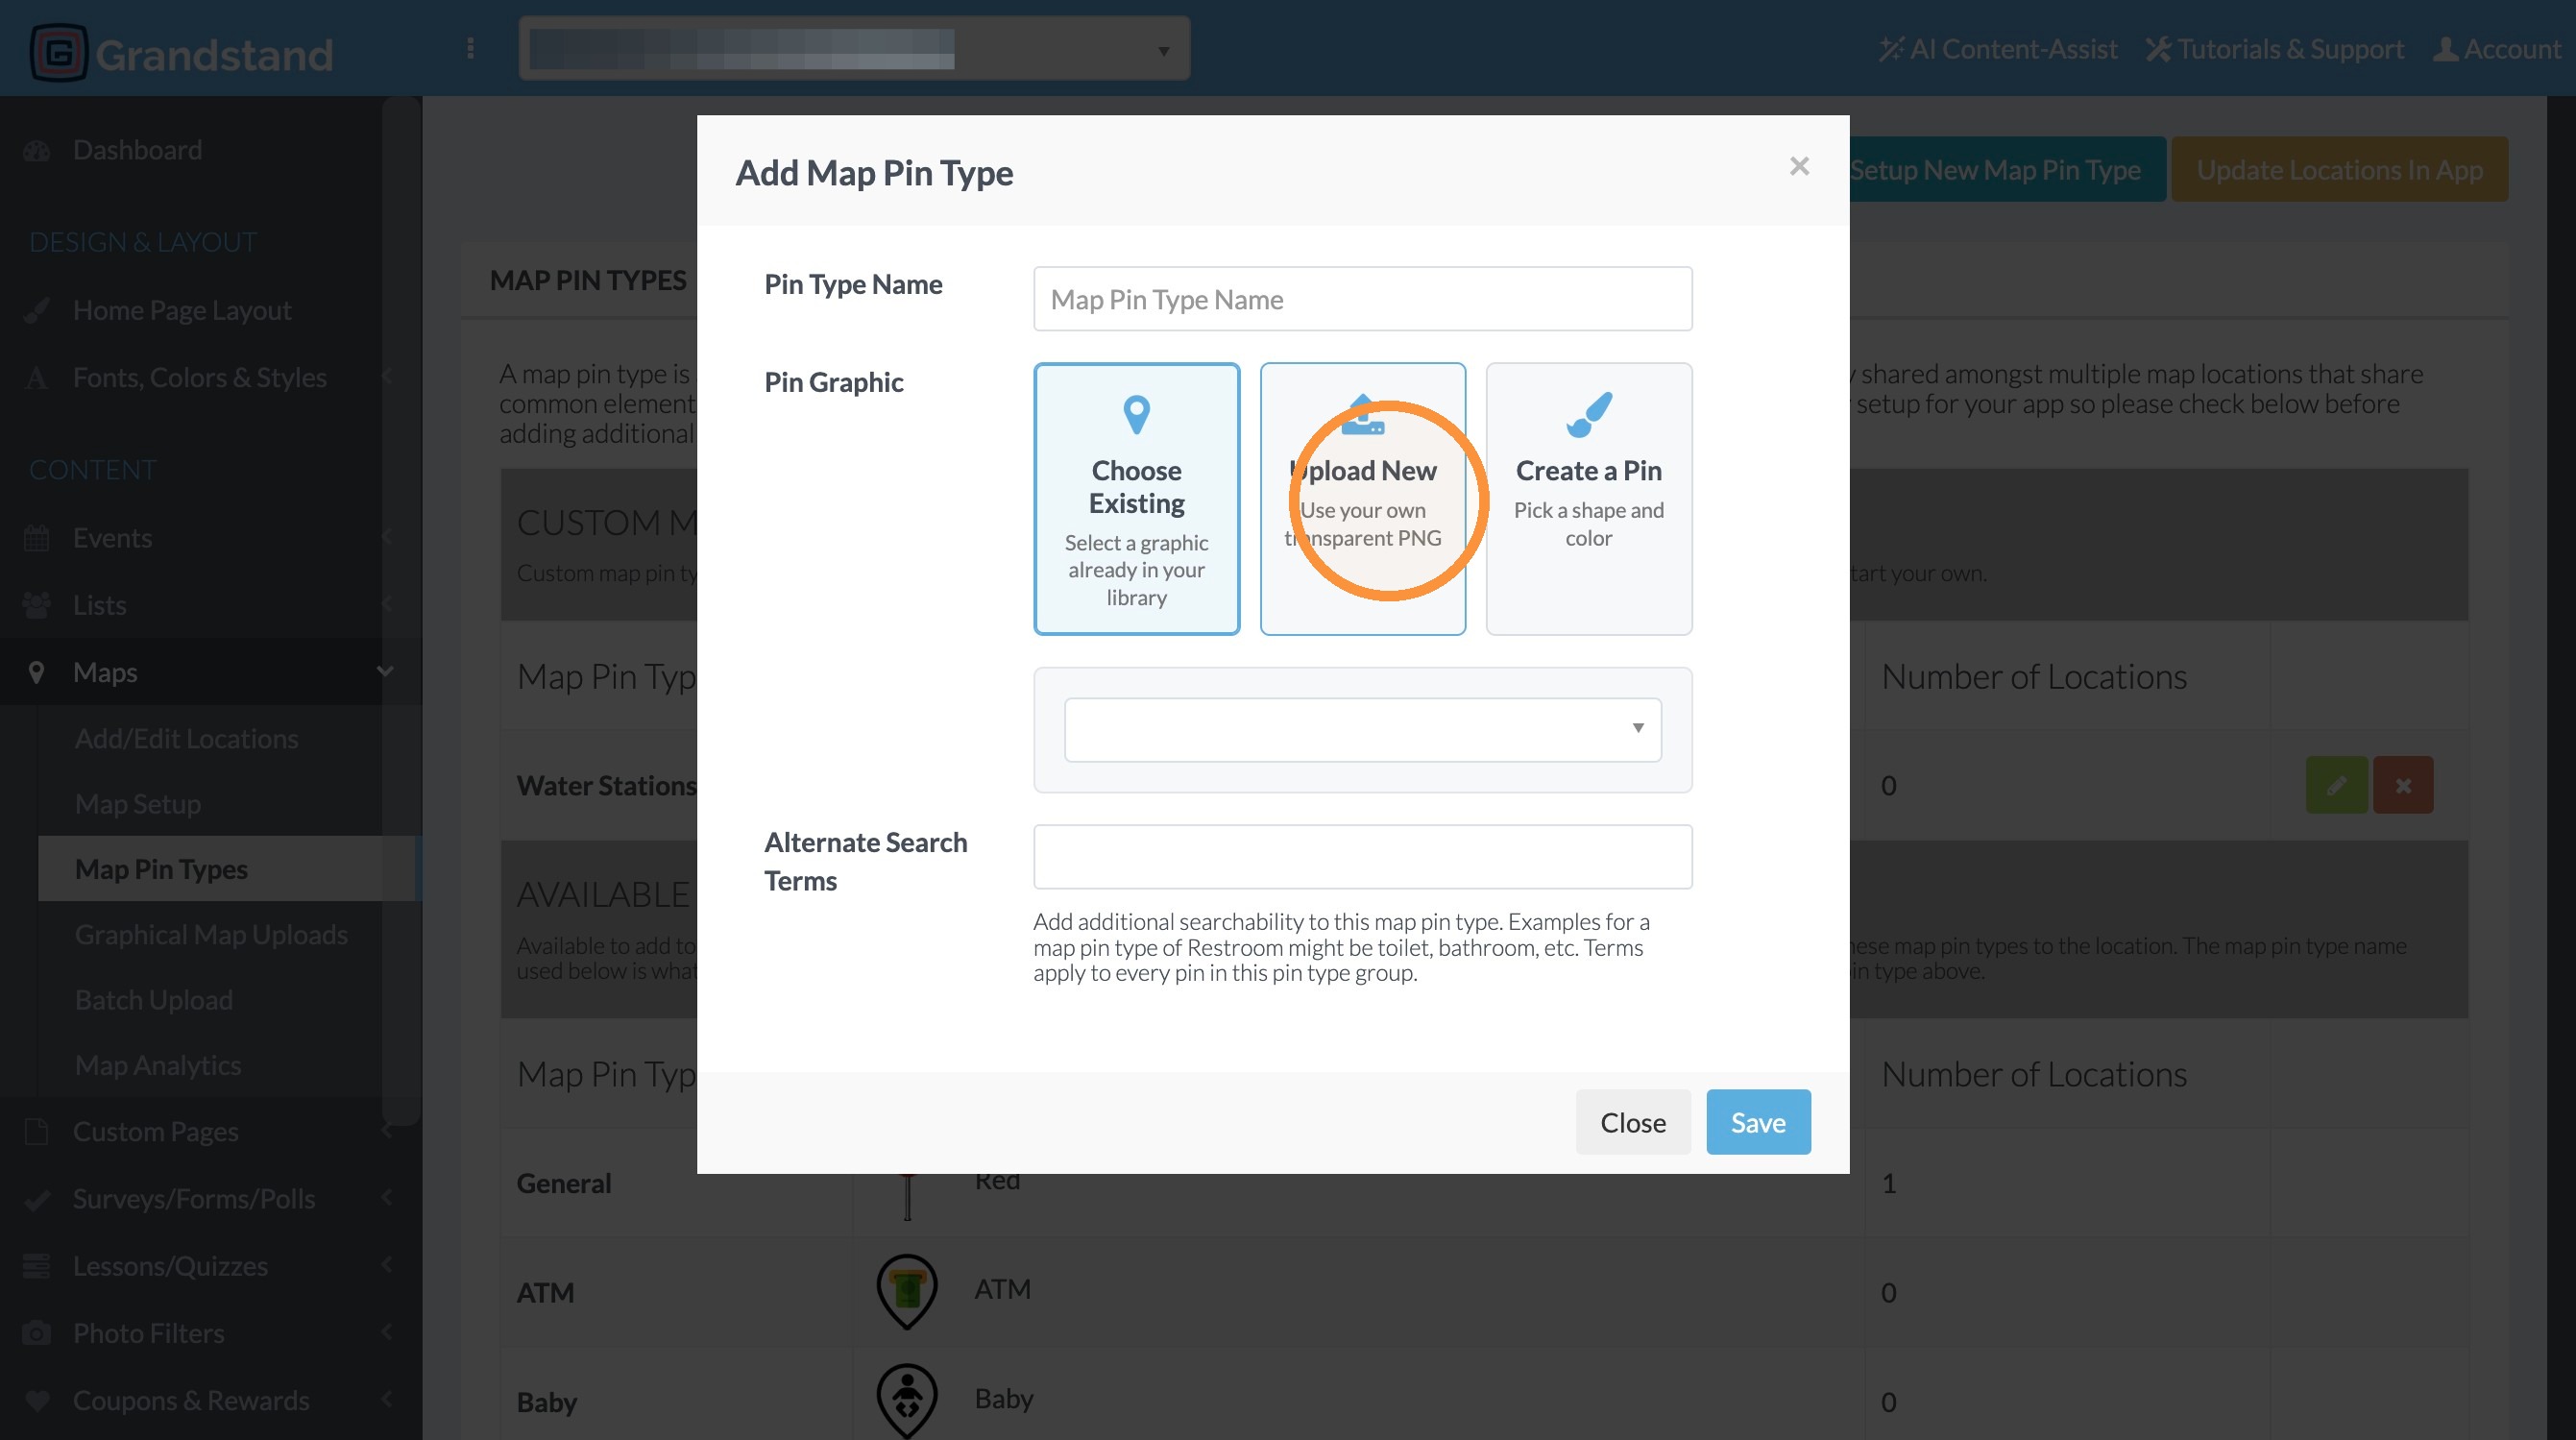
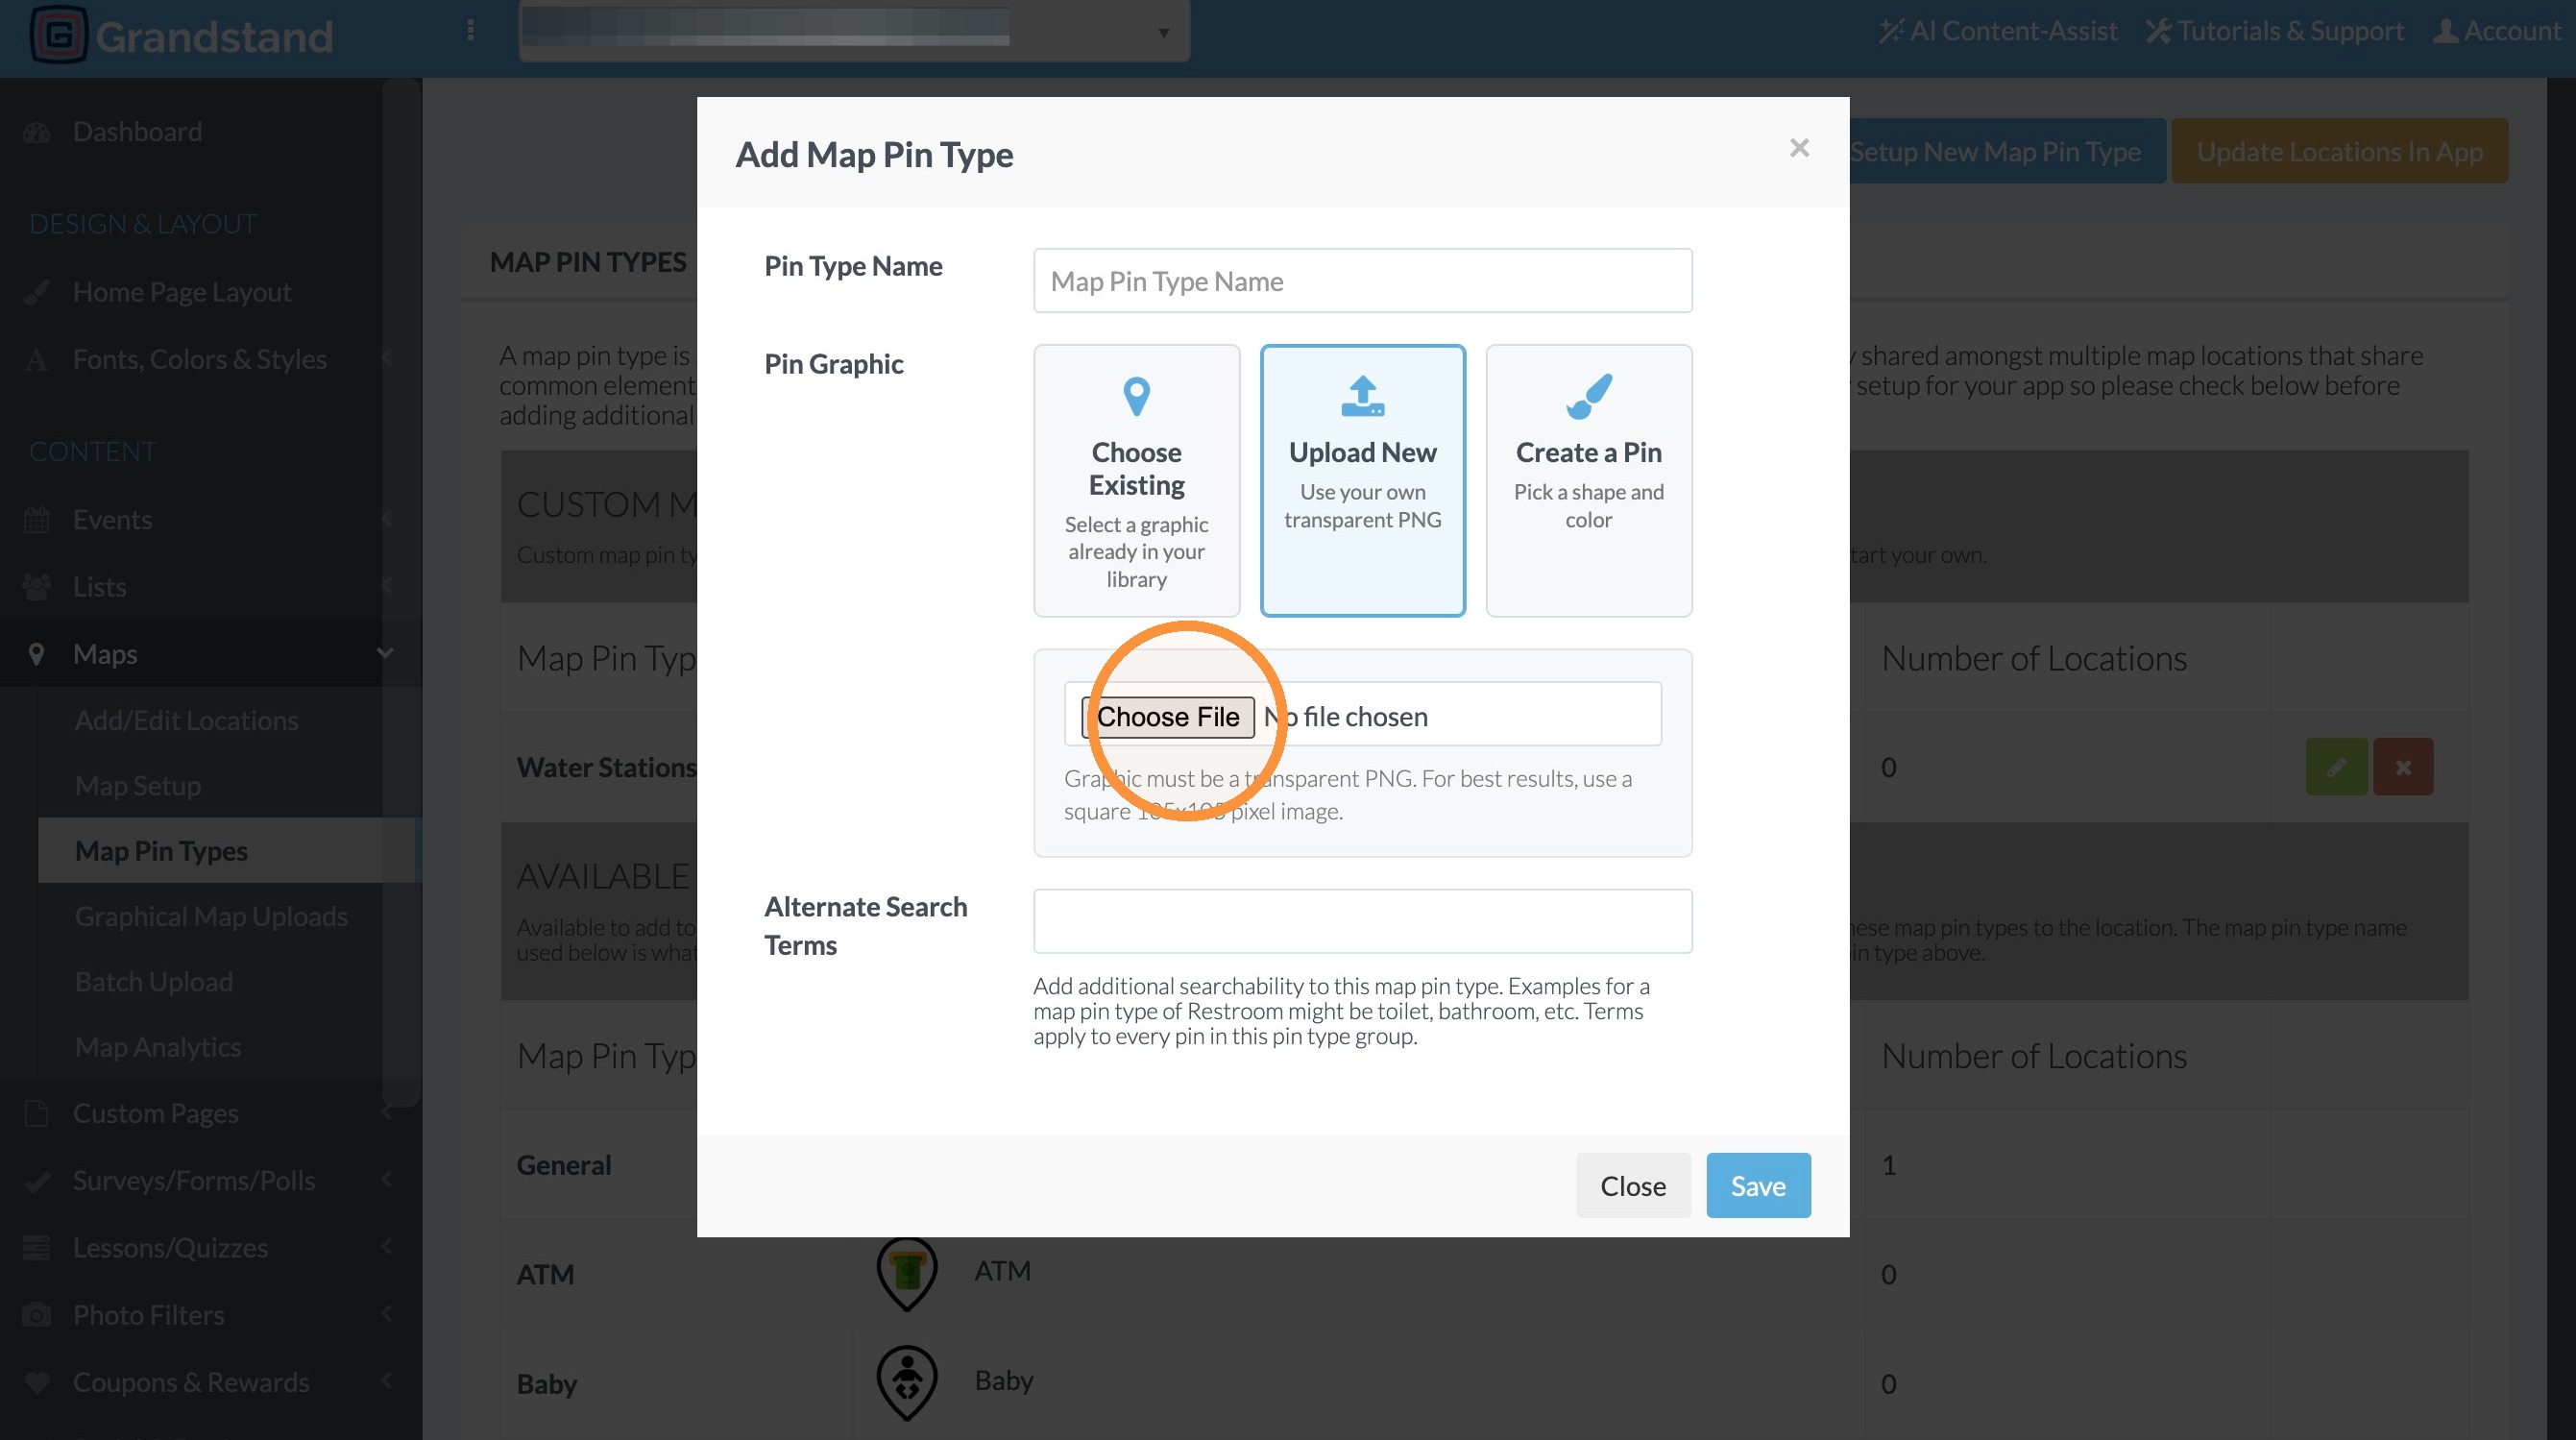
9. Open the file picker and select the file from your computer. You can upload a pin graphic and make sure it is designed to be 105x105px and saved as a png with a transparent background.
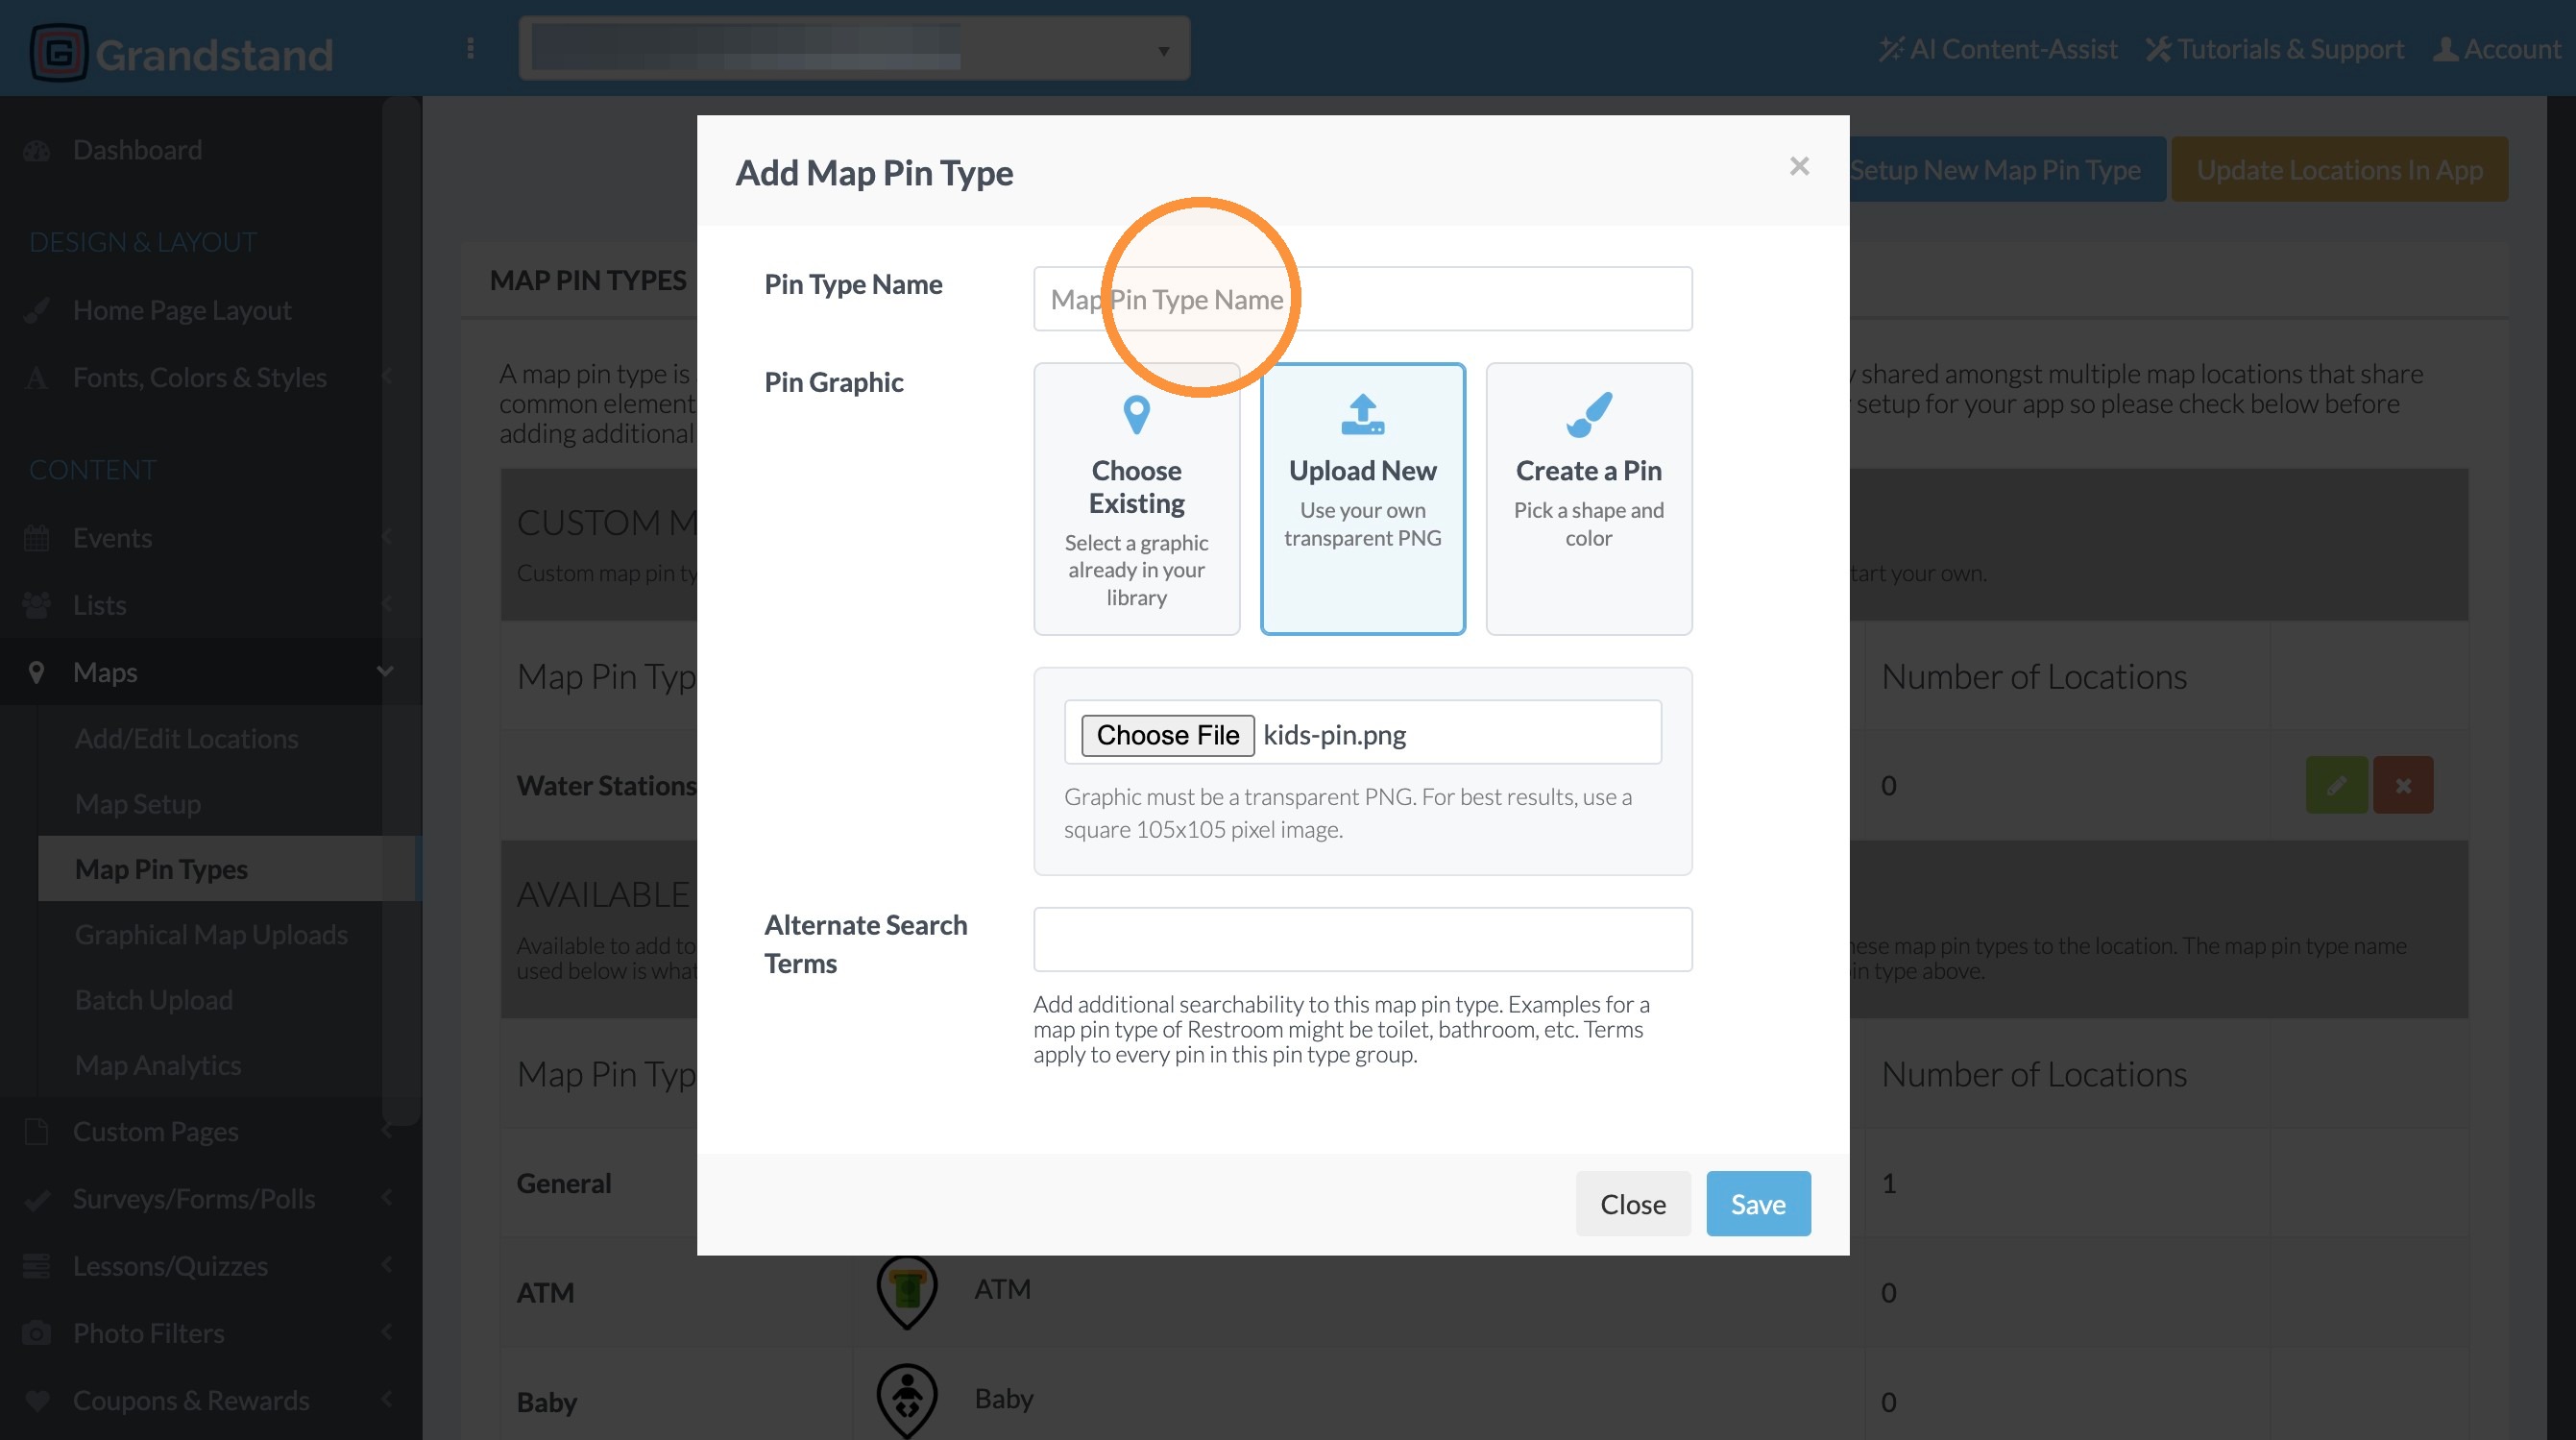
10. Enter the map pin type name.
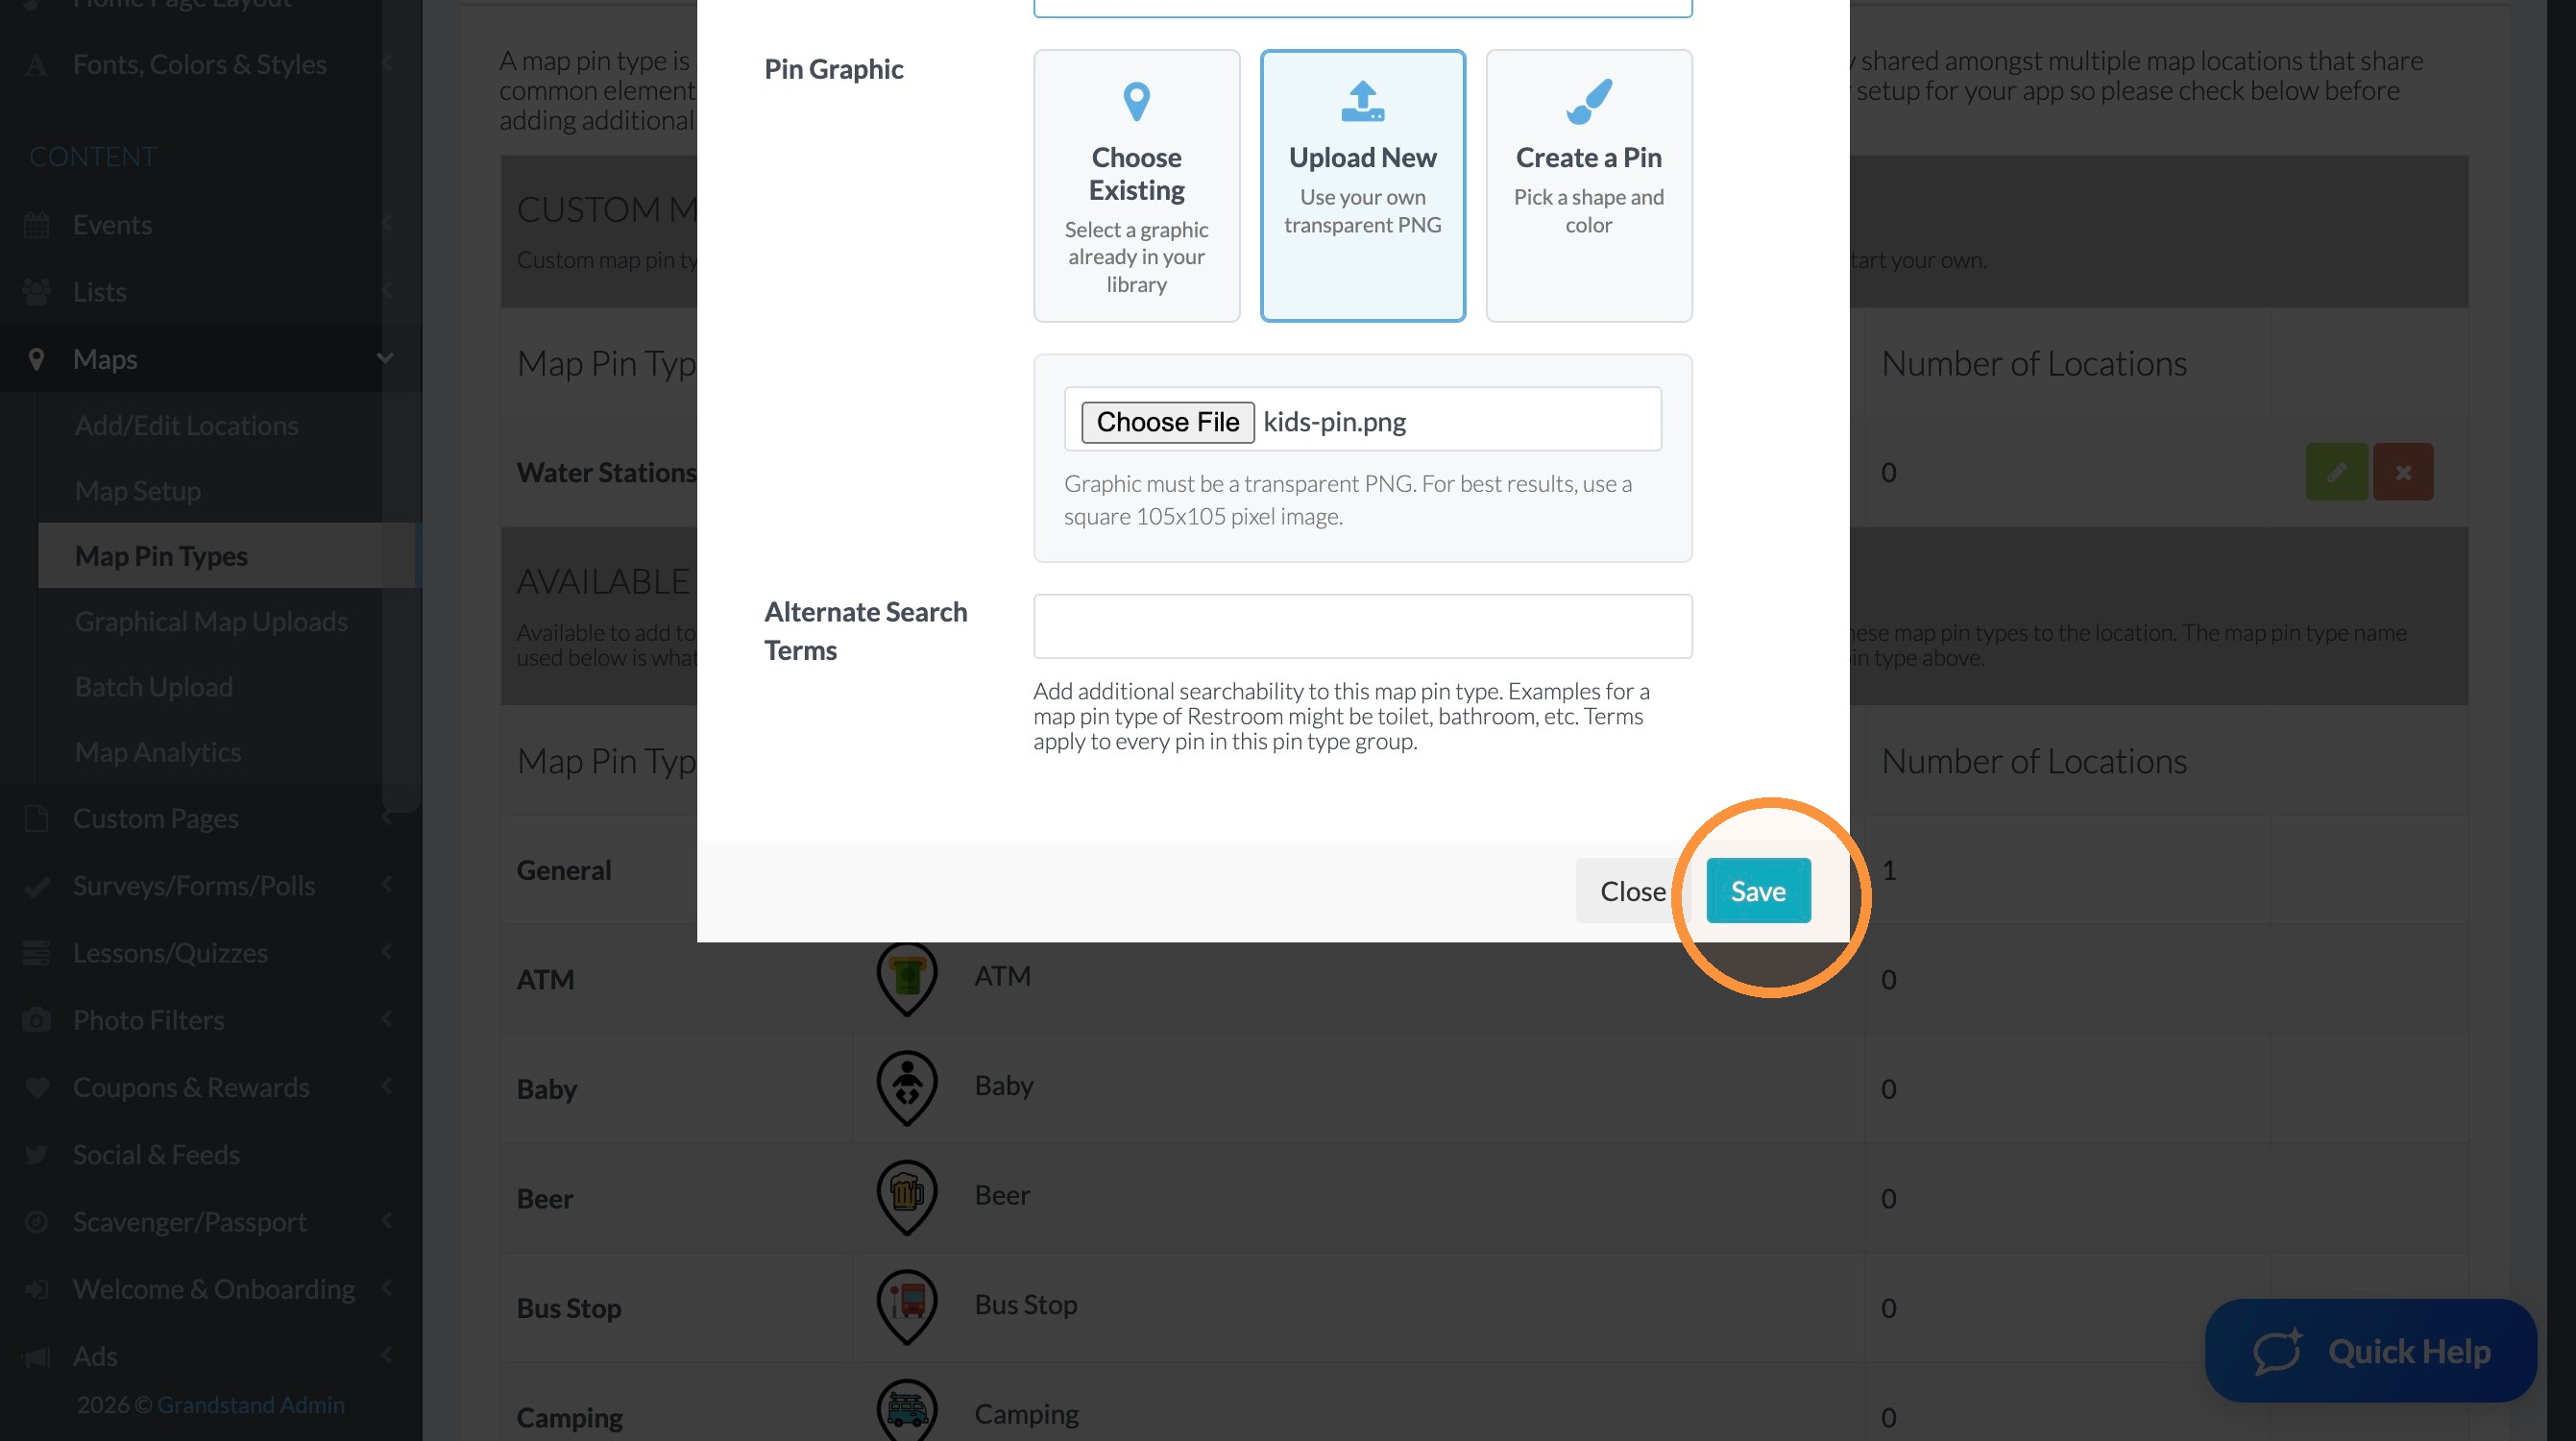
11. Click "Save"
Create a Pin with Shape & Color
Tip: Setting up pins with shapes & colors are useful in many ways. Key among them is setting up tour stops so you can number the stops by letter/number. First set up the map pin type as below. Then when Selecting that pin type a field for Custom Icon Text is added. It is there where you can enter up to two characters to appear on that particular pin (it will show on the map on top of the pin graphic). That could be a number, a letter, or a combination such as “A1.” The shape, color, and text styling stay consistent across the group, while each location can have its own label.
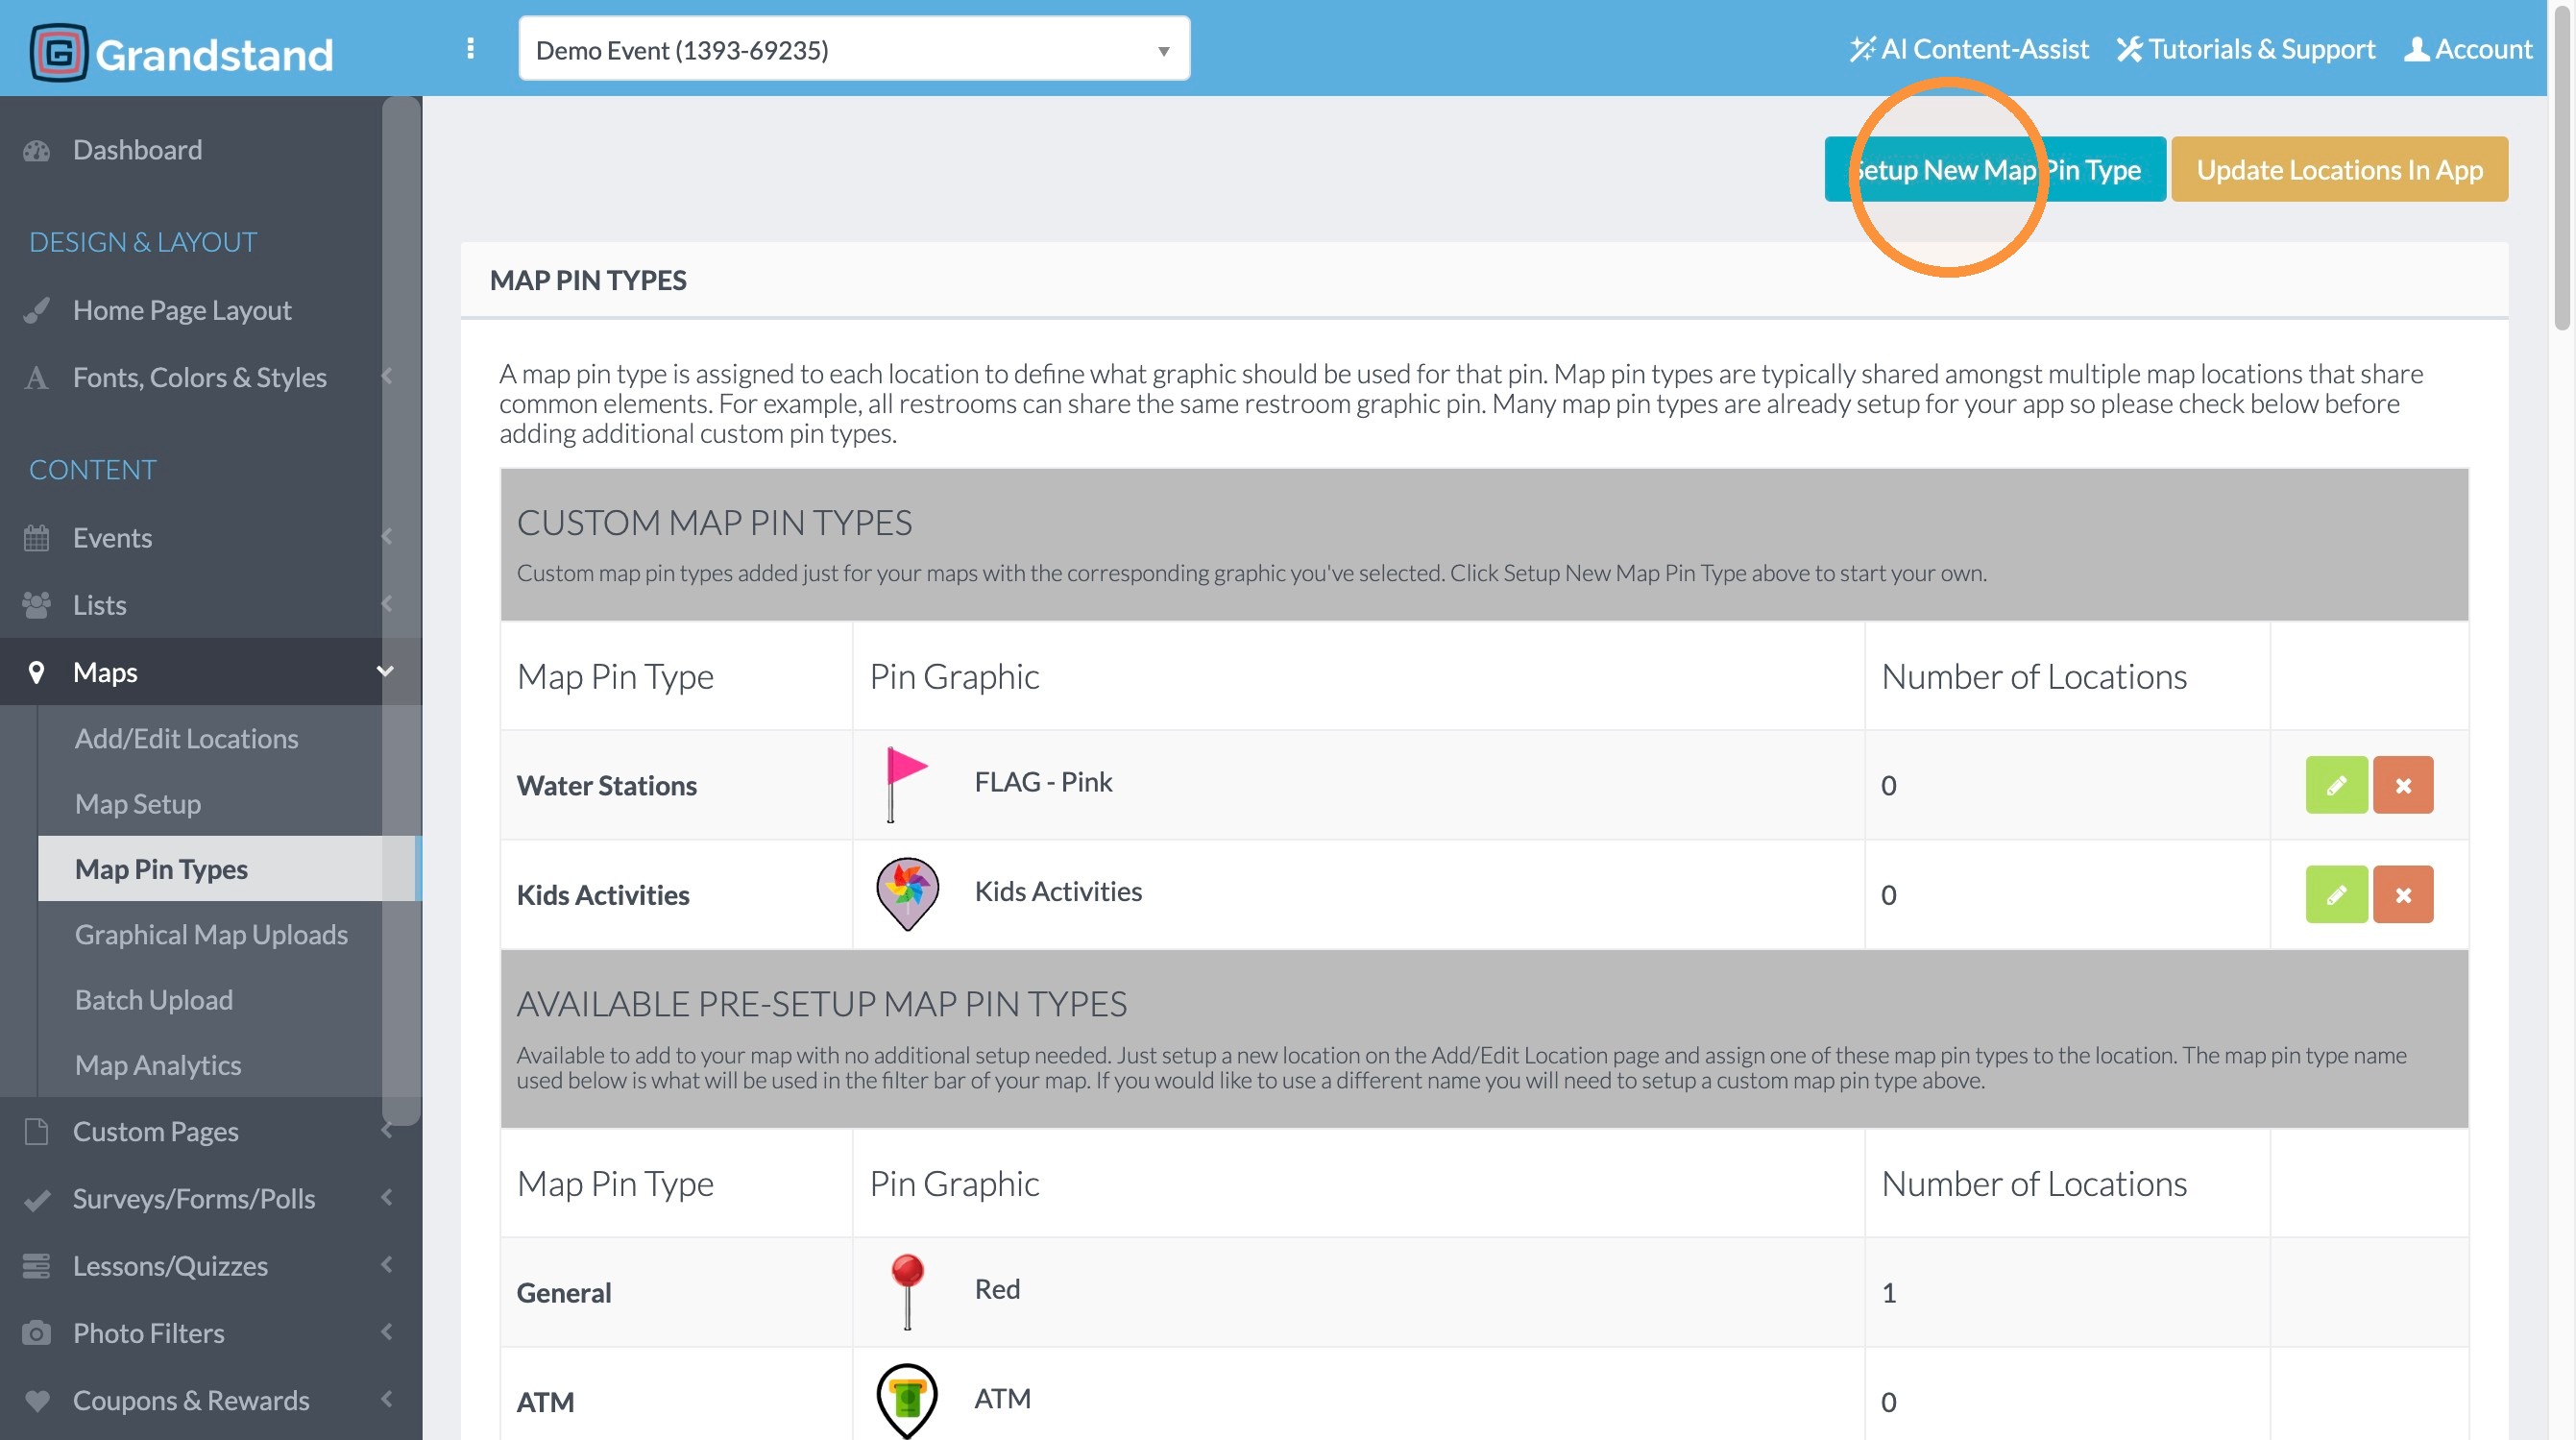
12. Click "Setup New Map Pin Type"
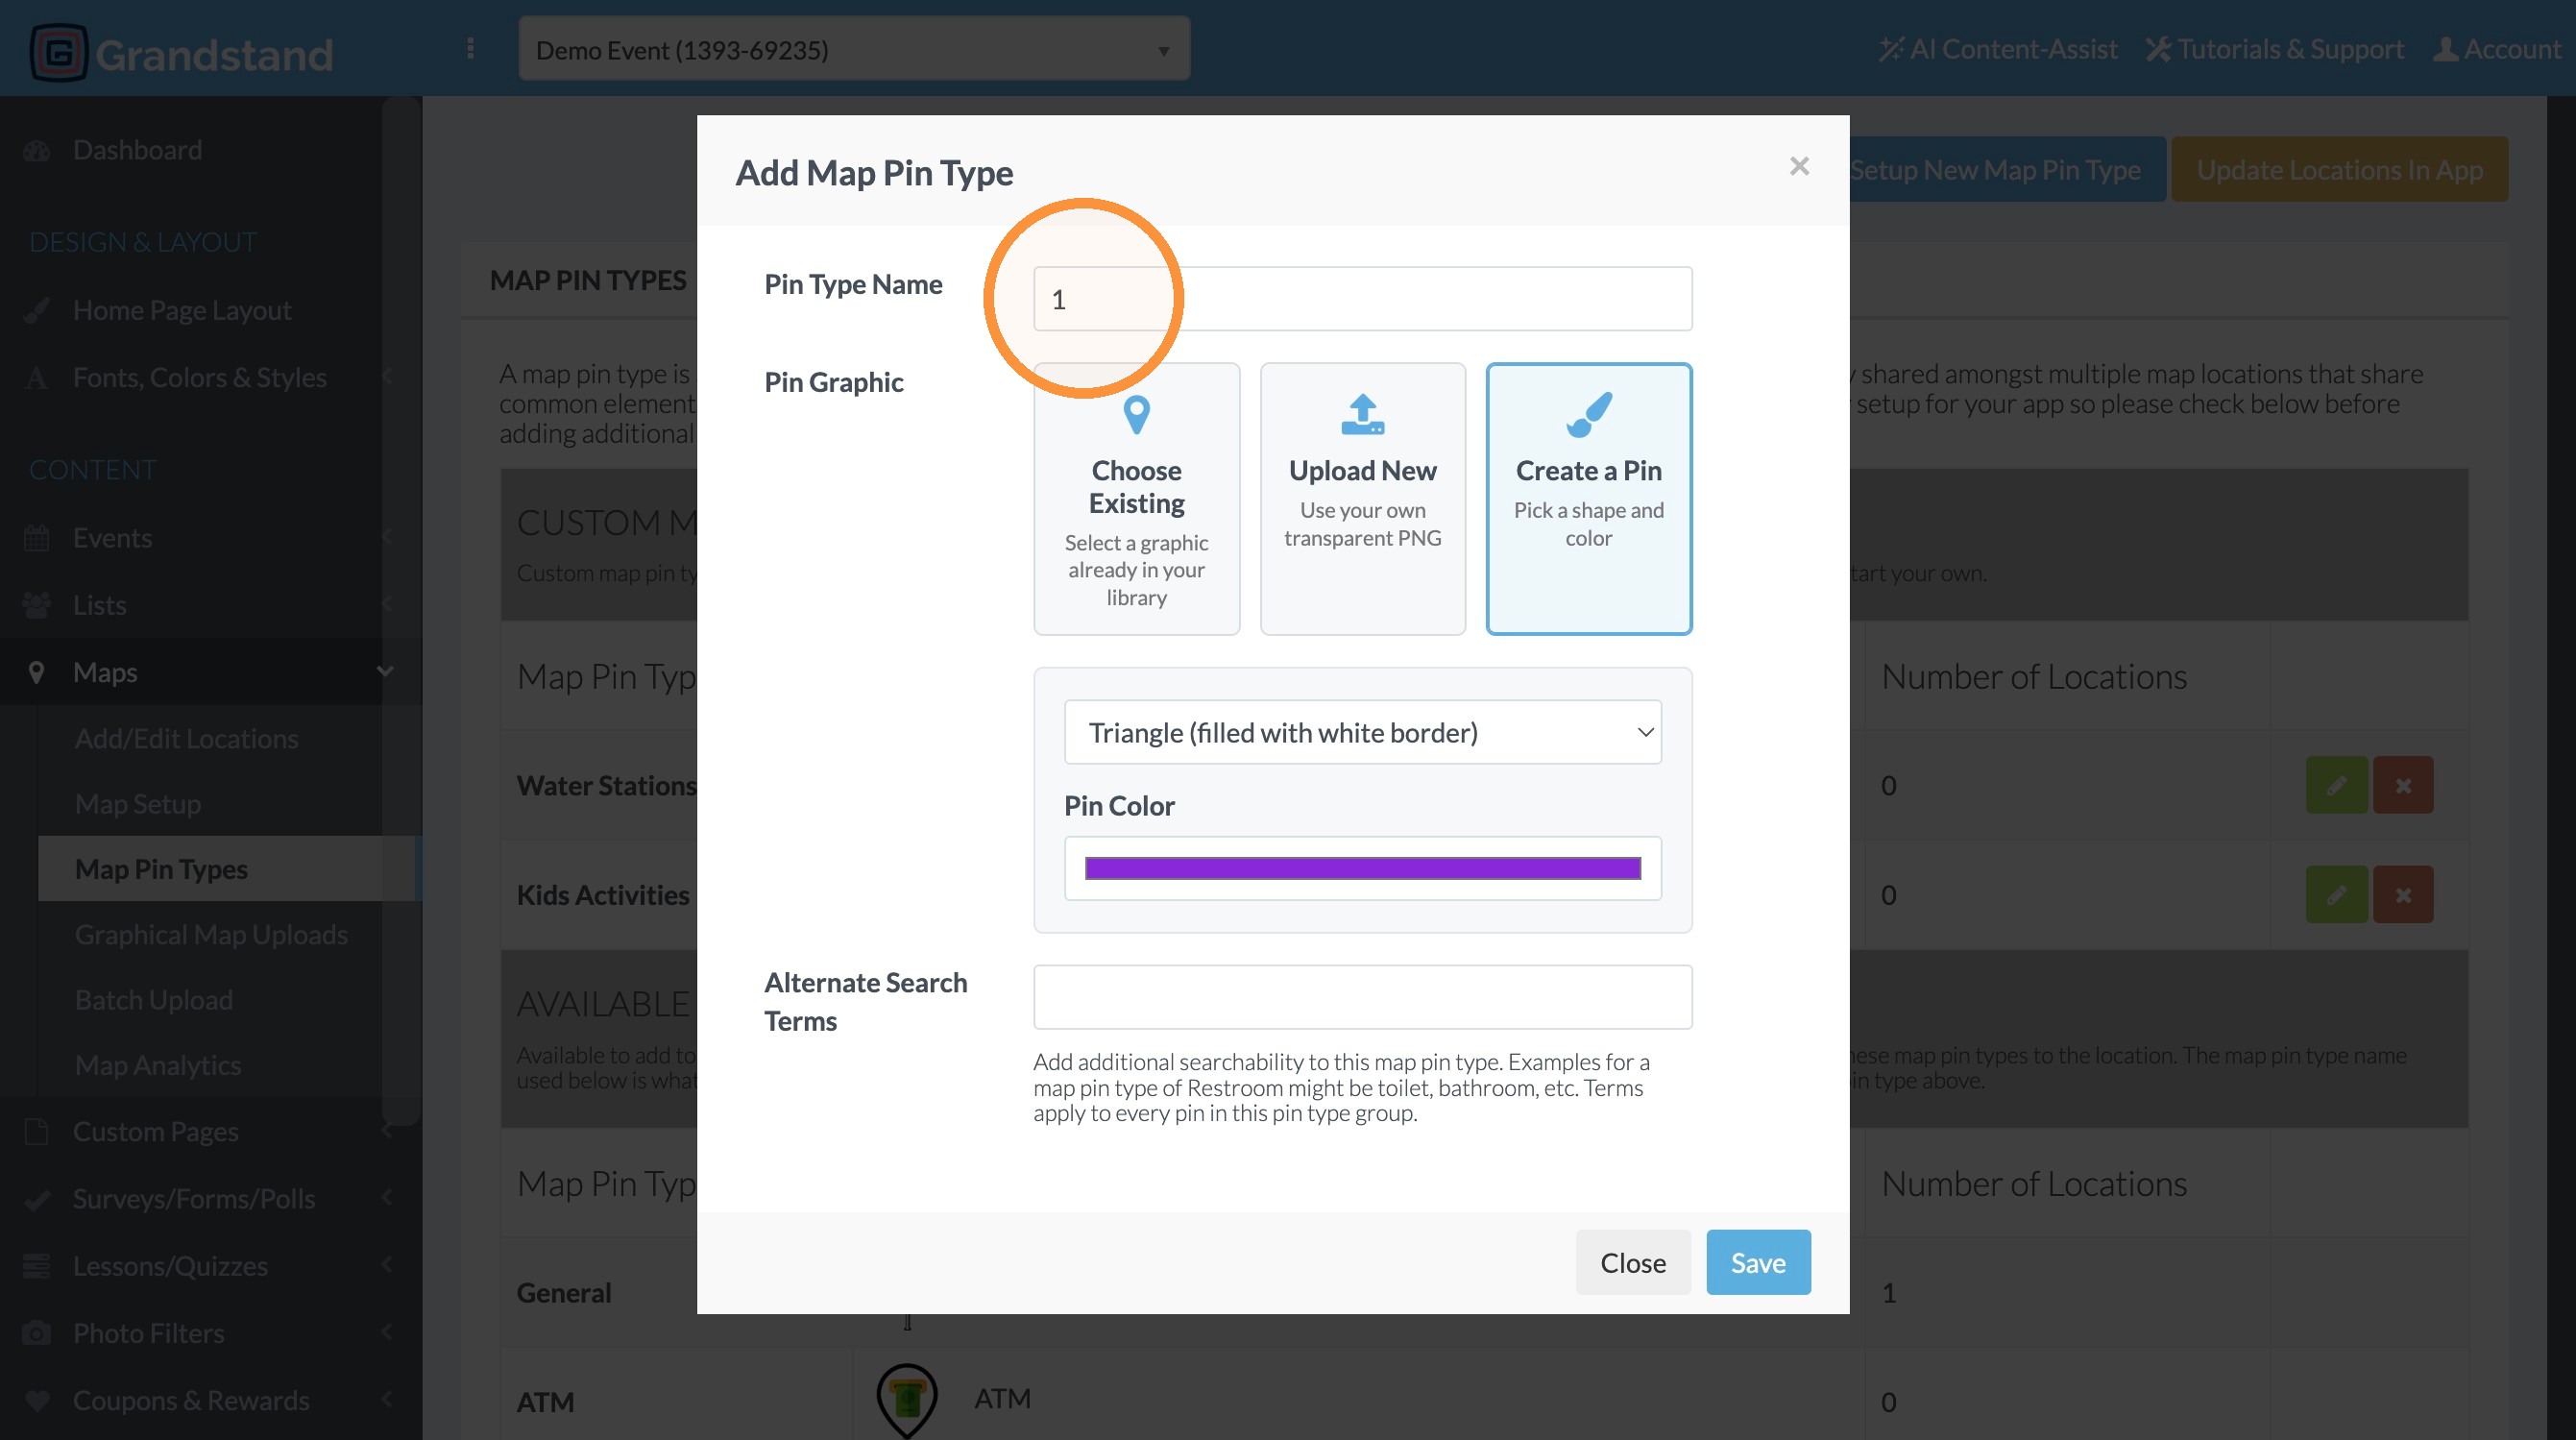
13. Click "Create a Pin"
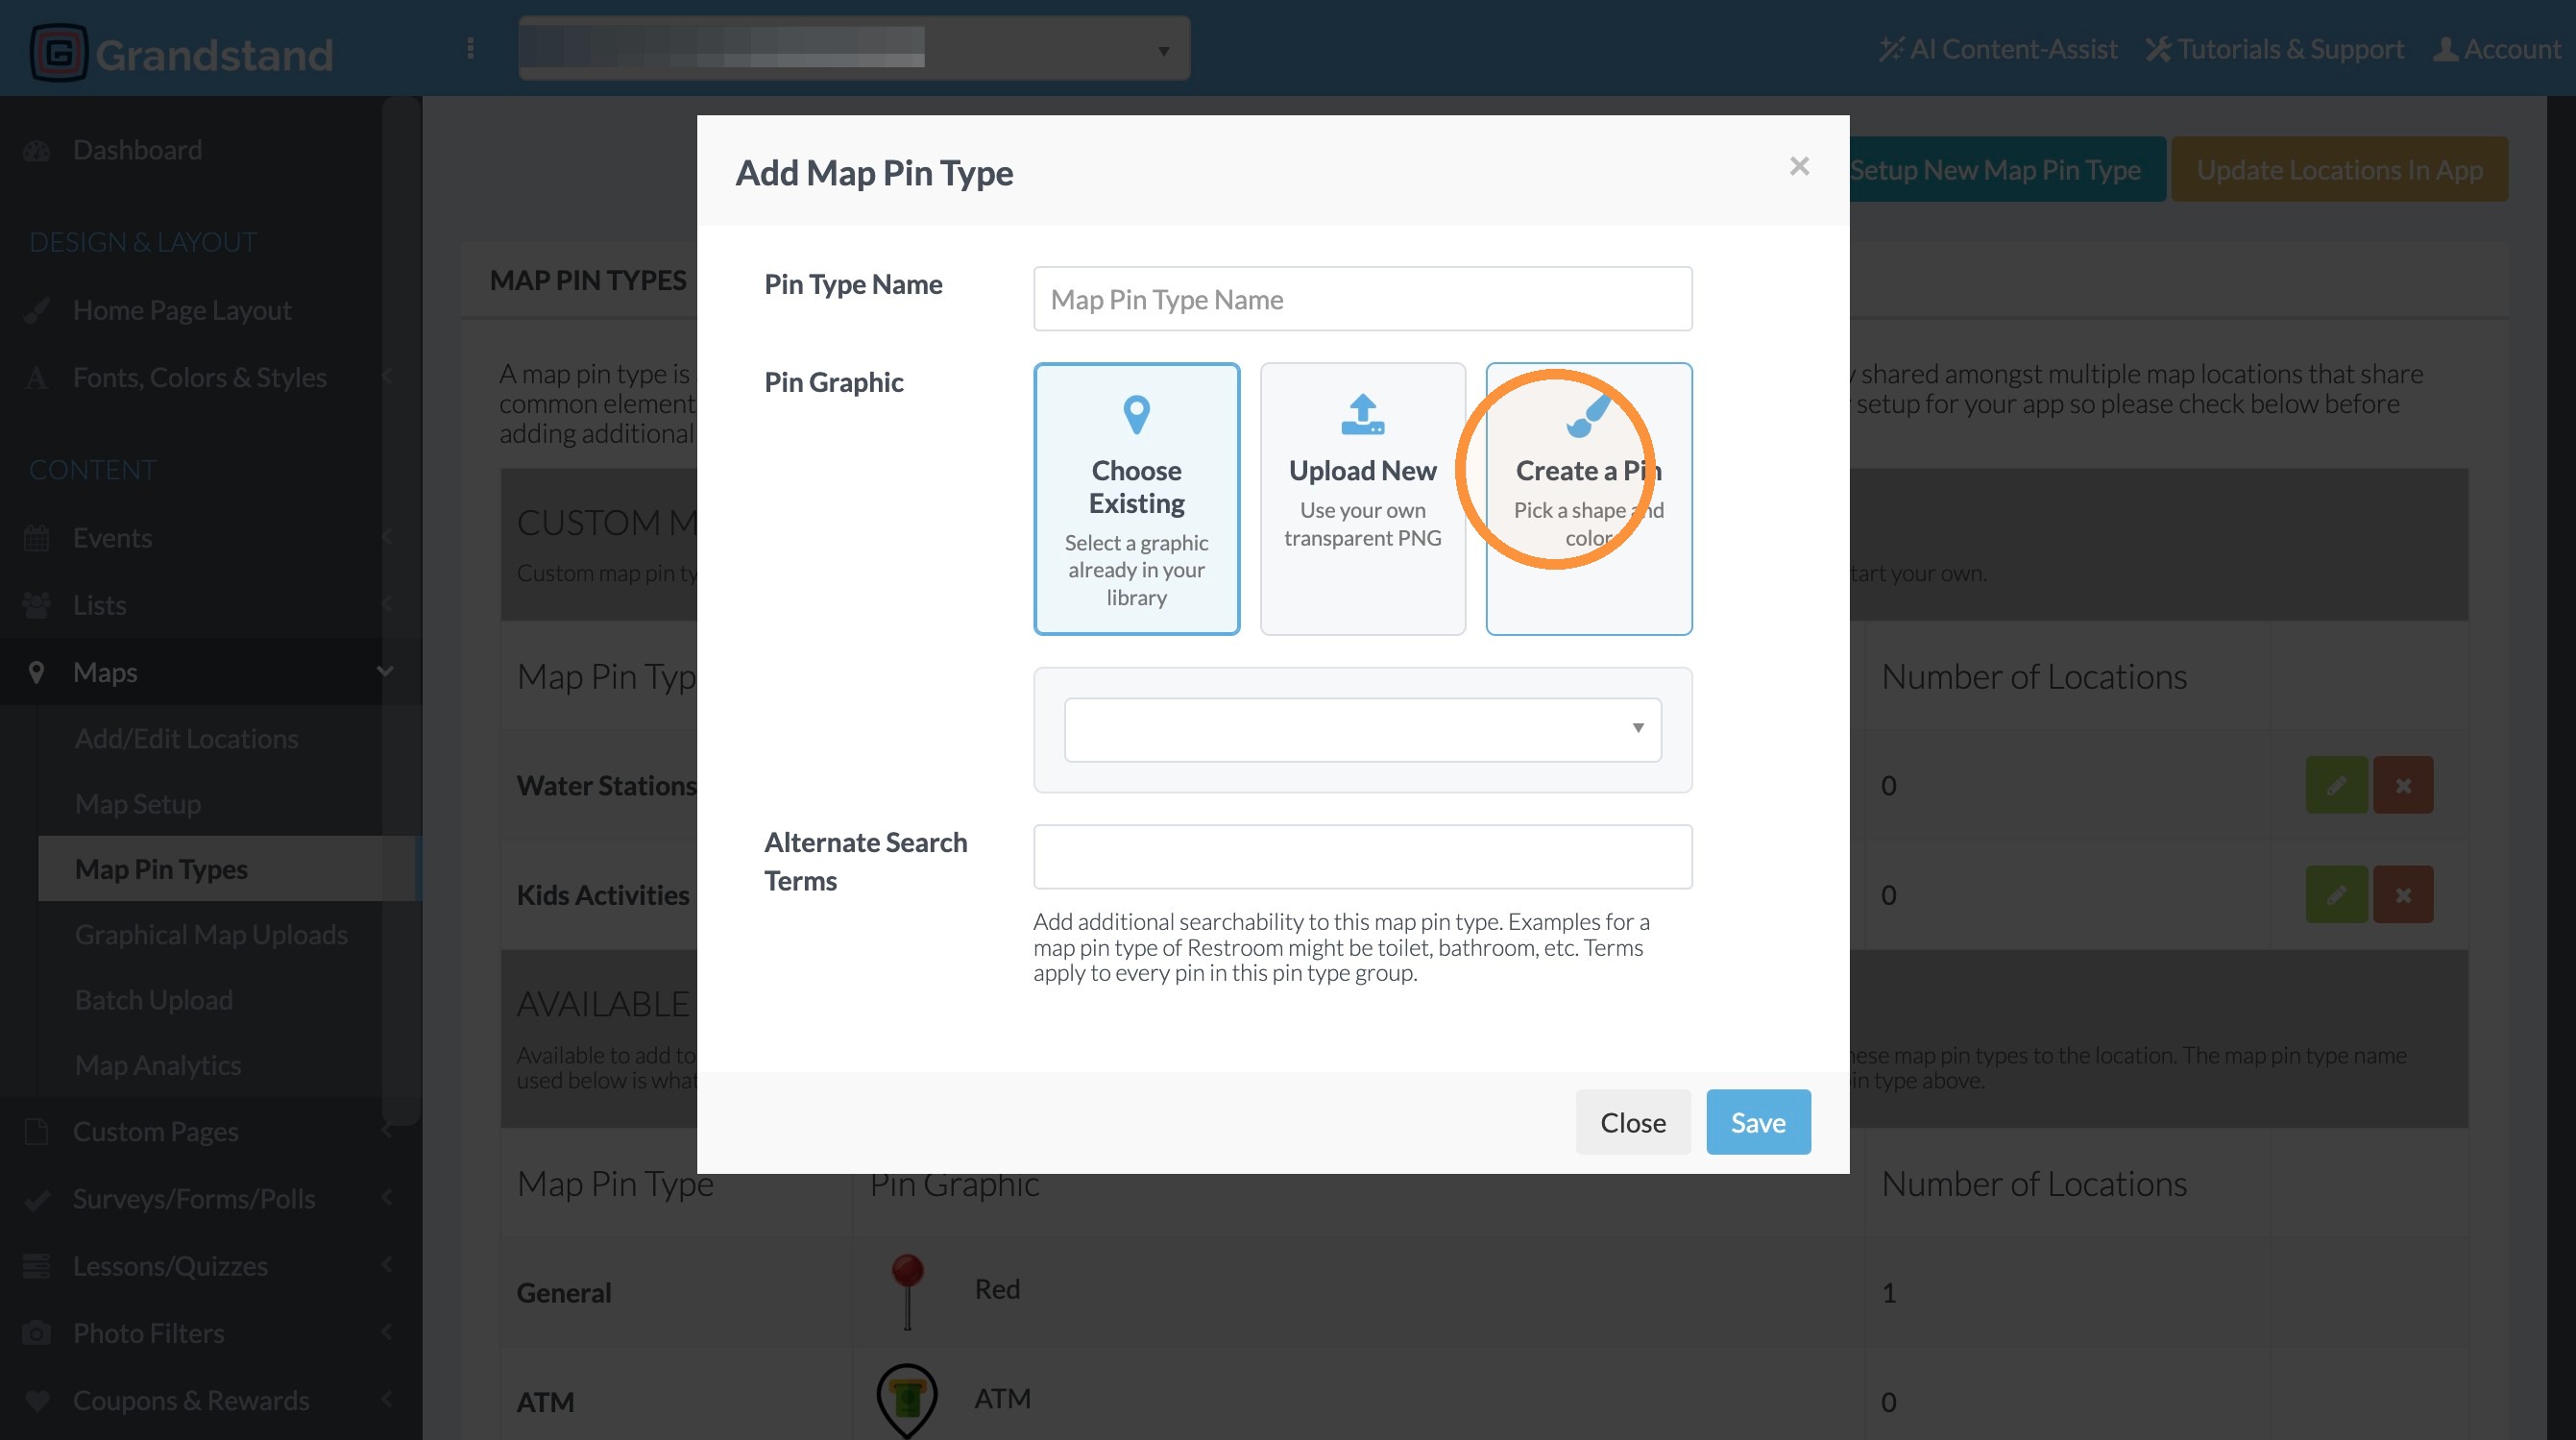
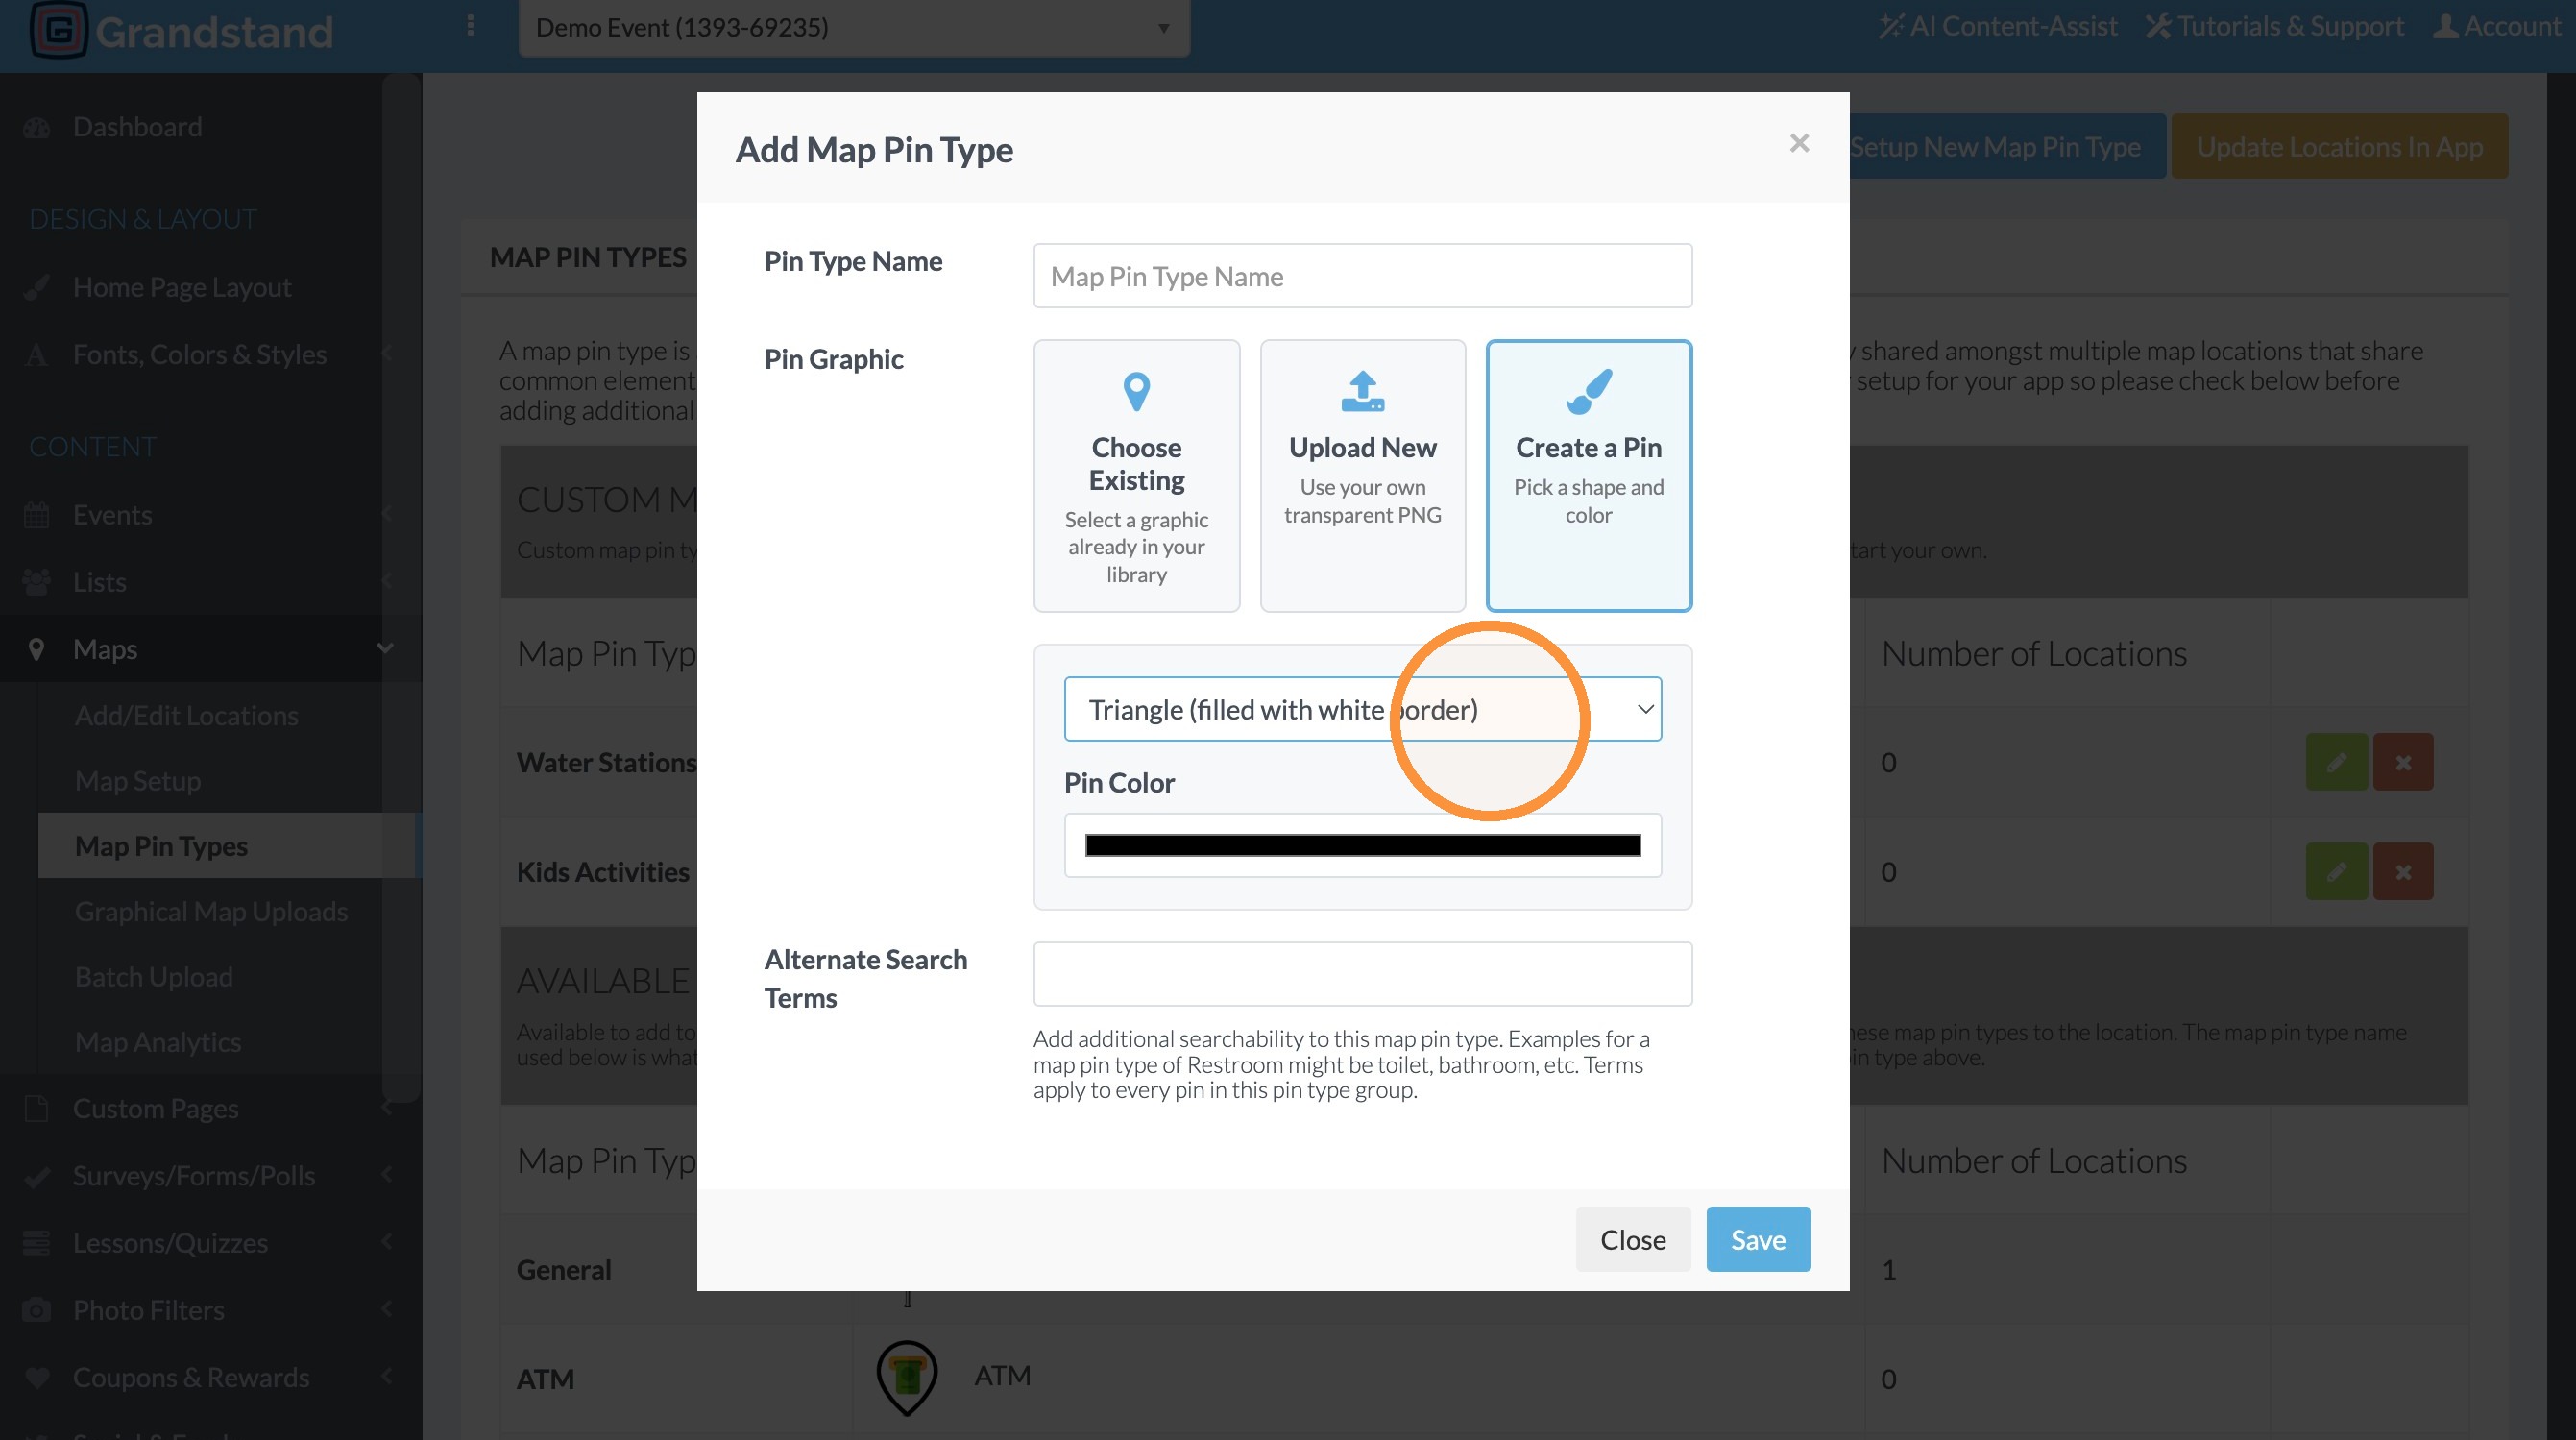
14. Select the shape option.
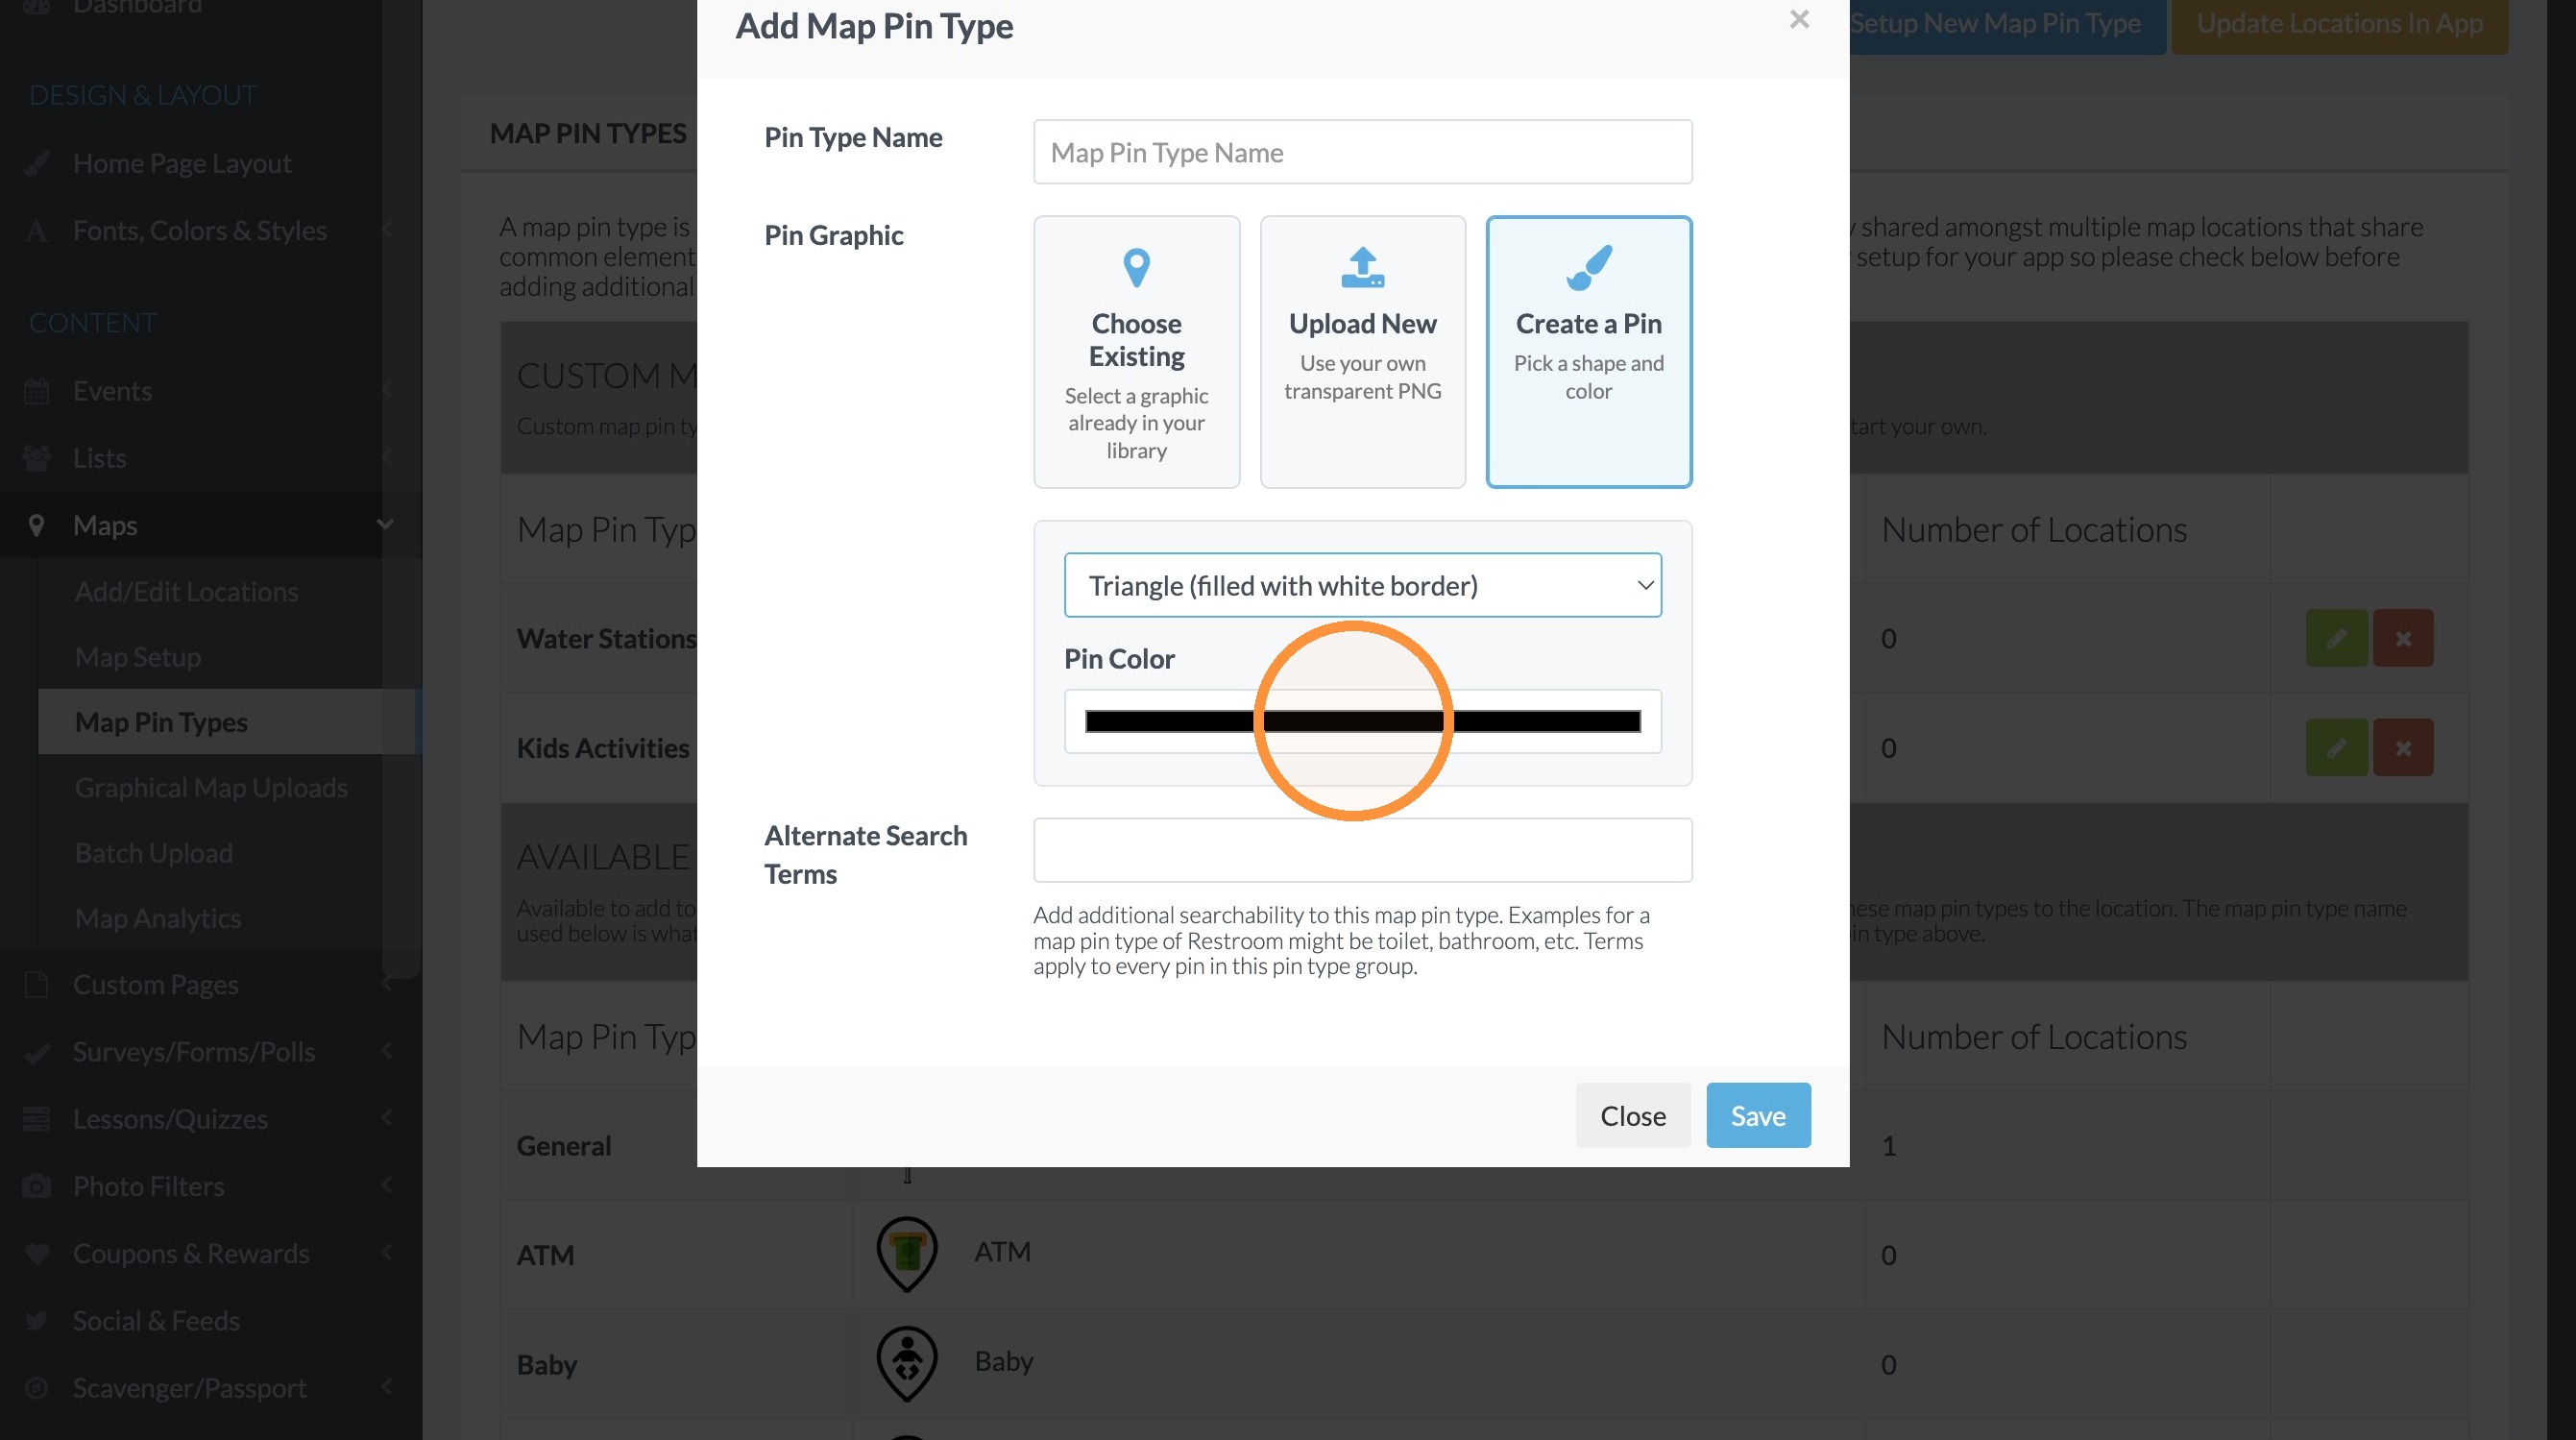
15. Open the pin color field and select the color for the pin graphic.
16. Enter the map pin type name.
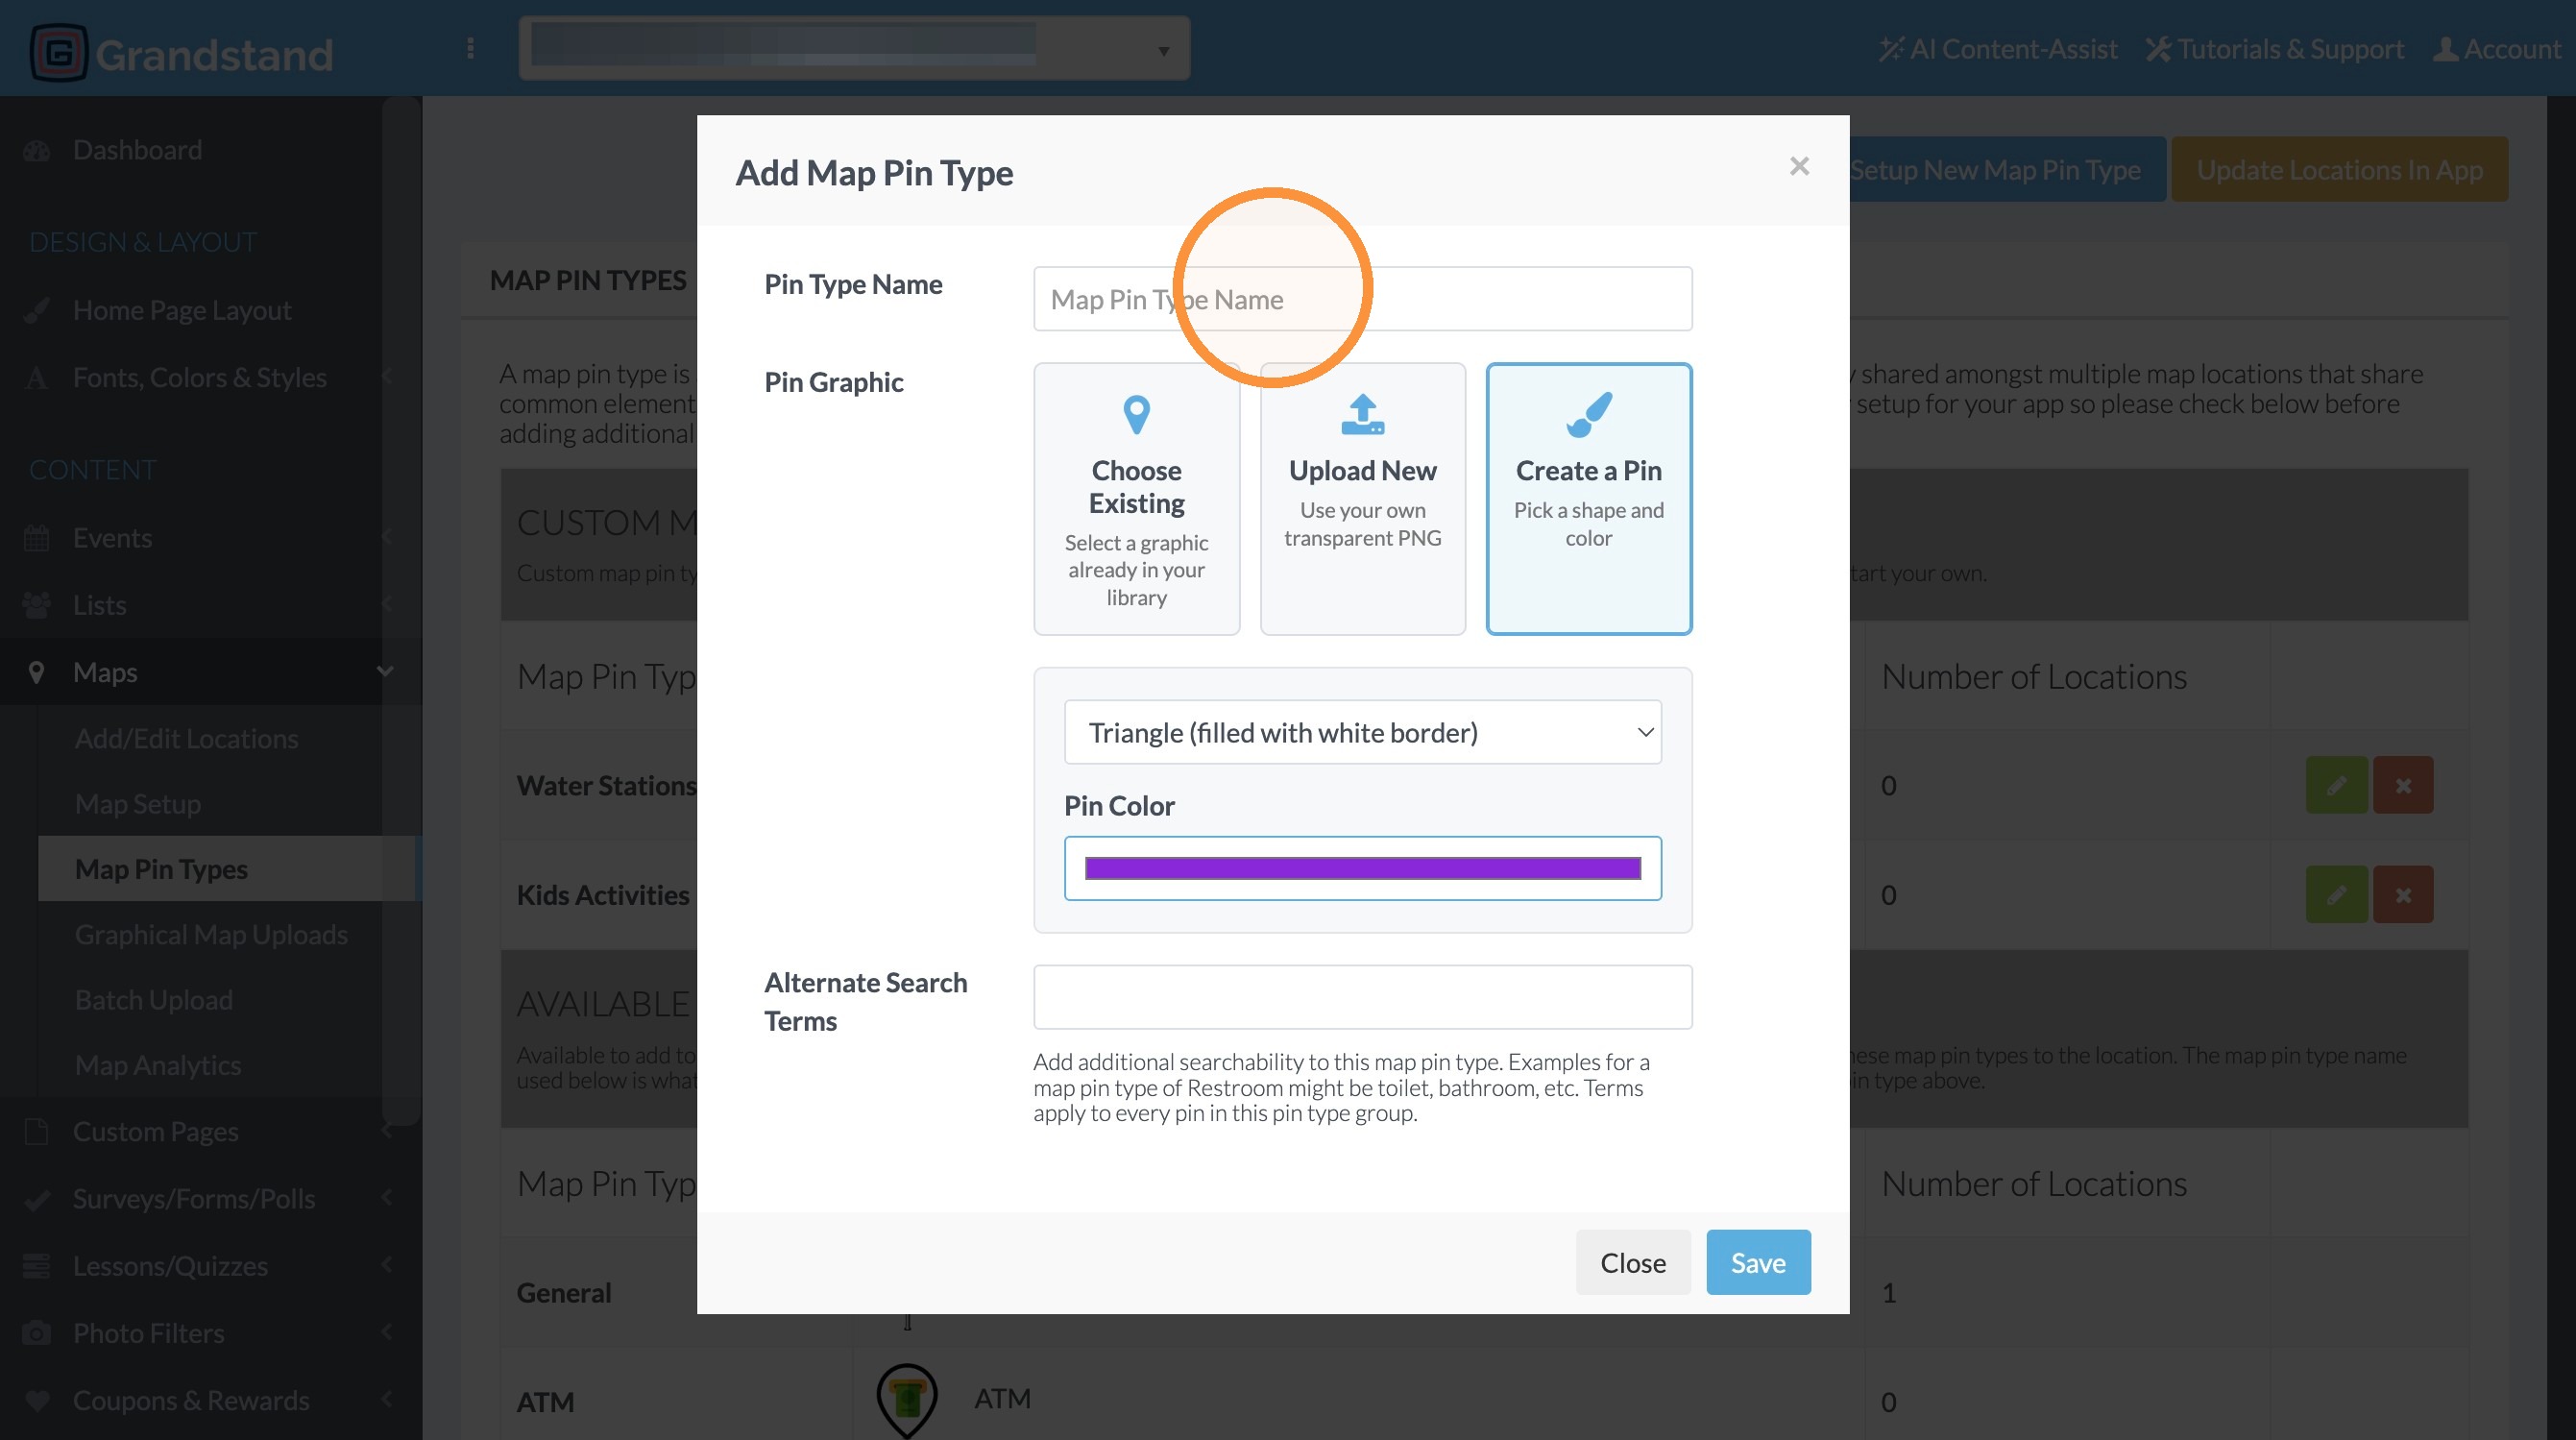
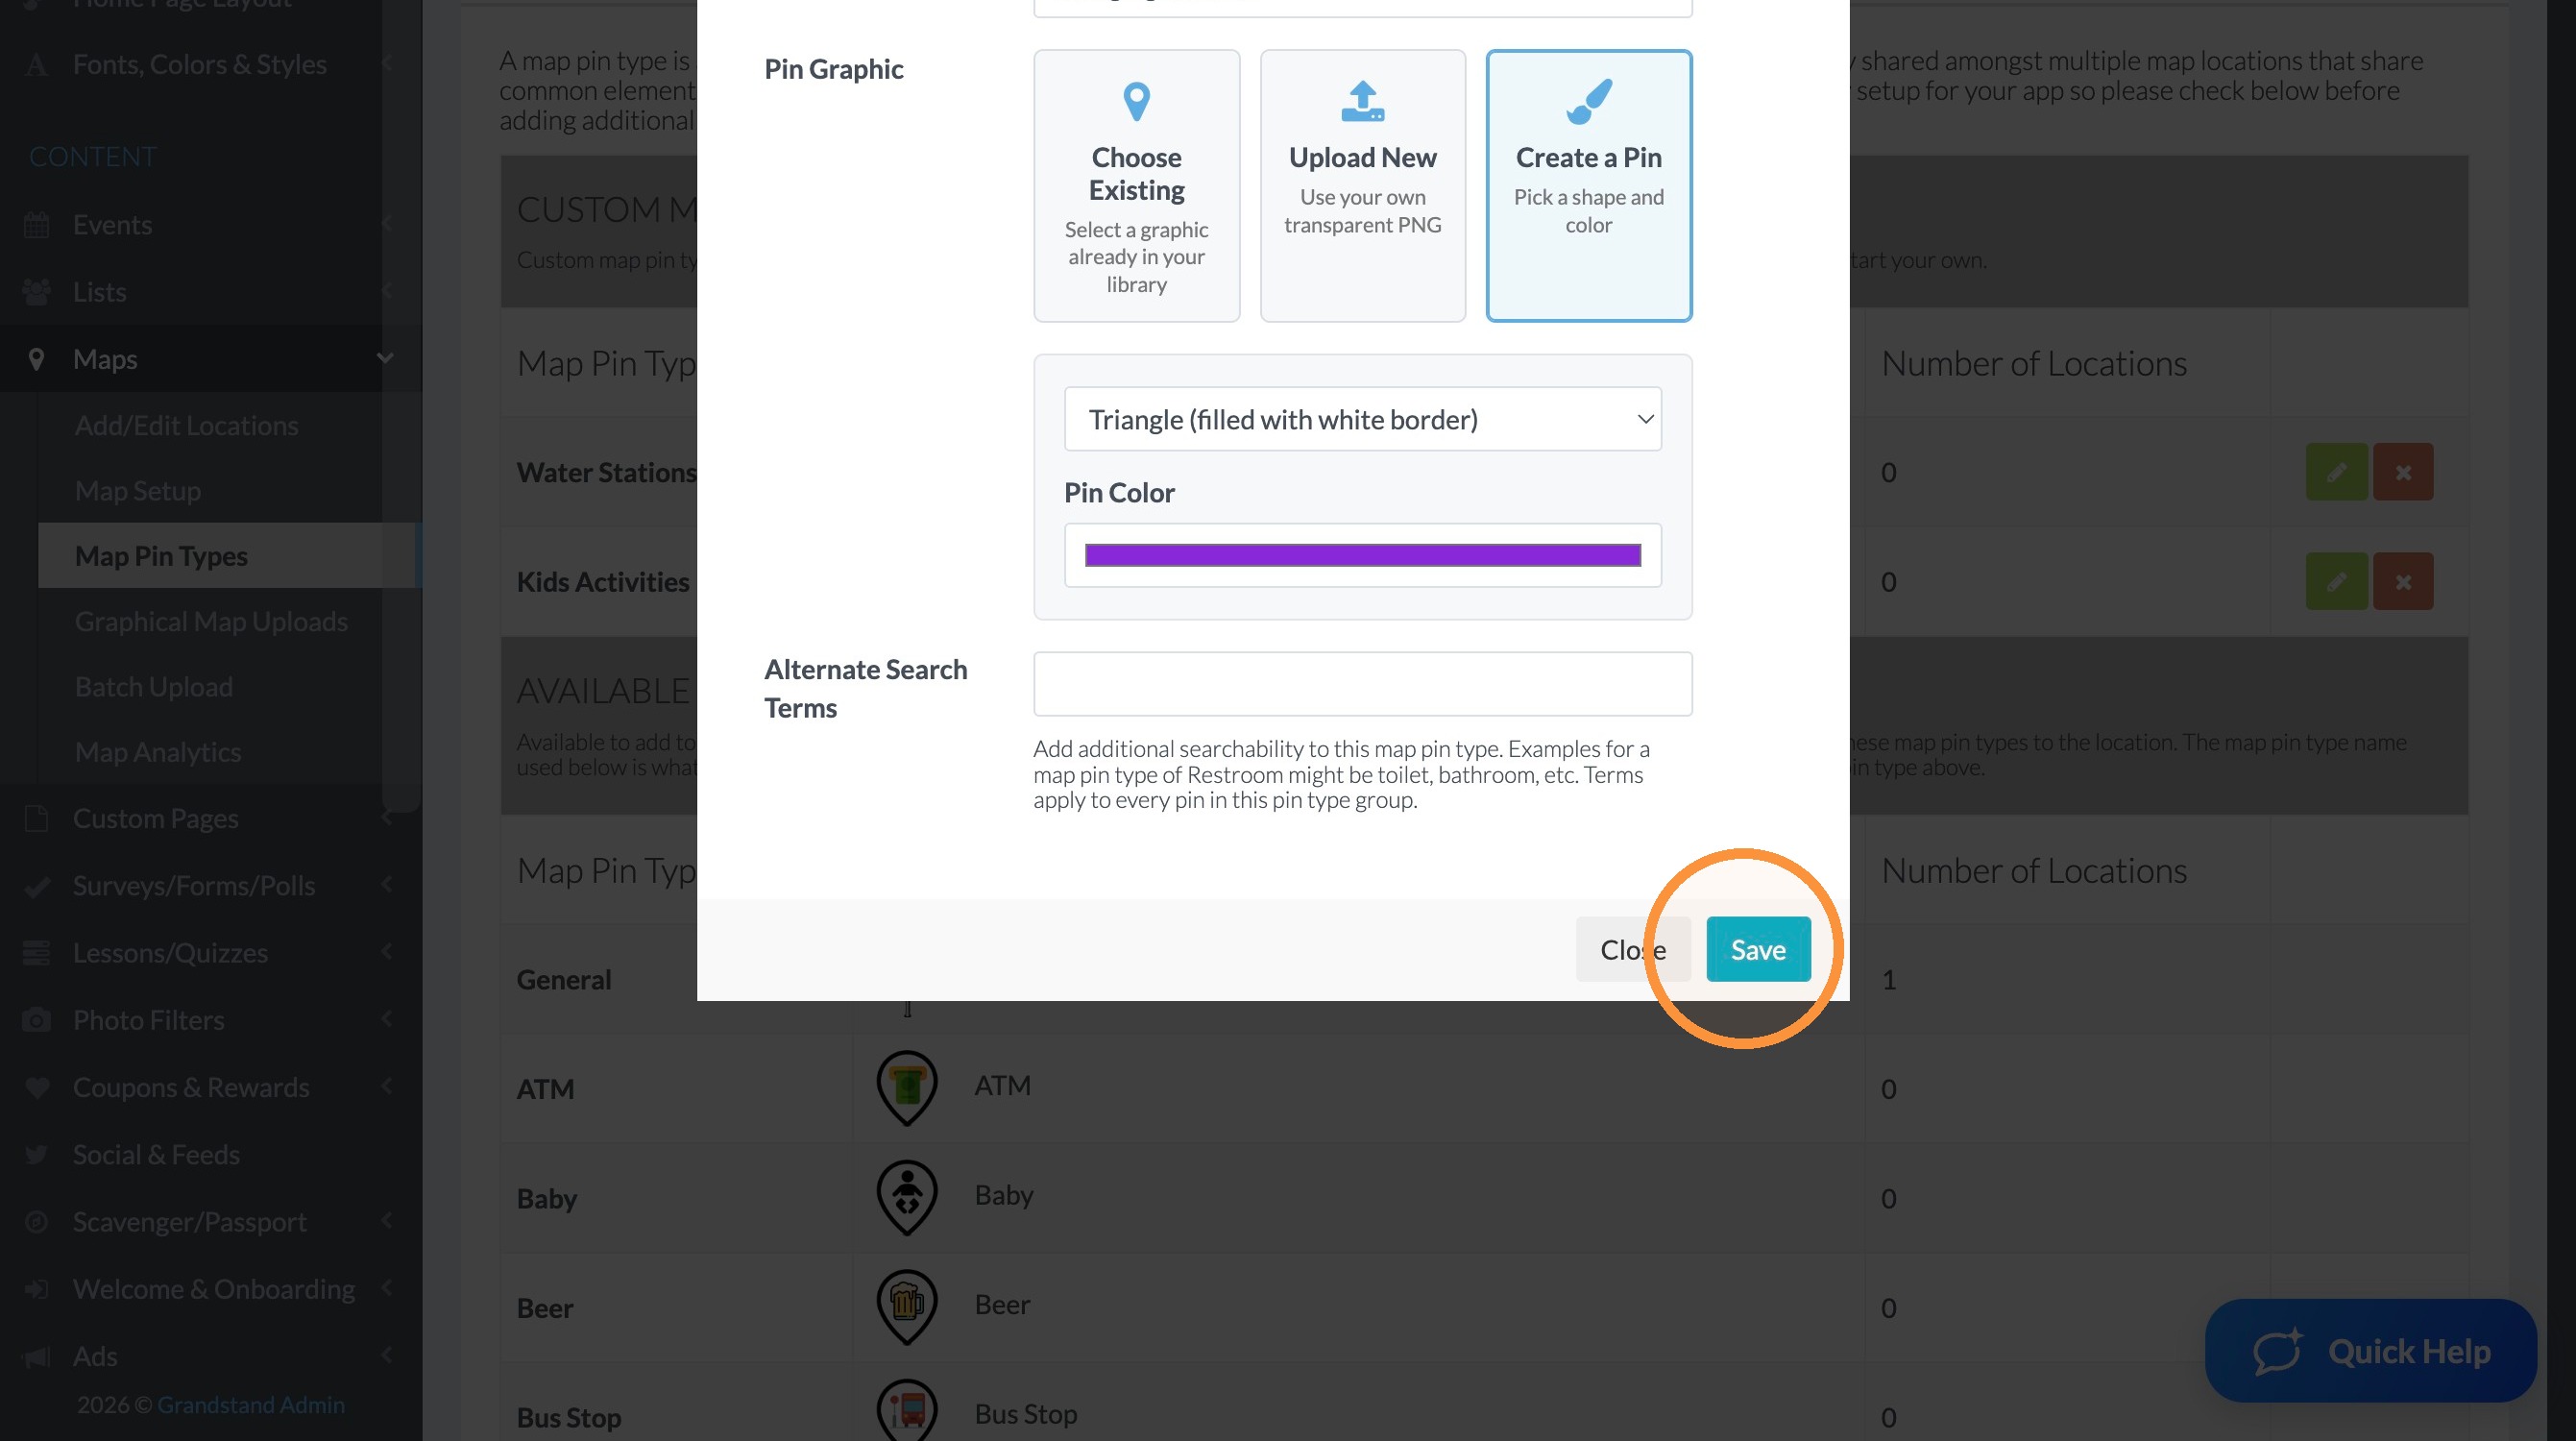
17. Click "Save"
Create Location & Select Shape/Color Pin
Tip: The next steps show you how to select the map pin shape and assign a number to the stop.
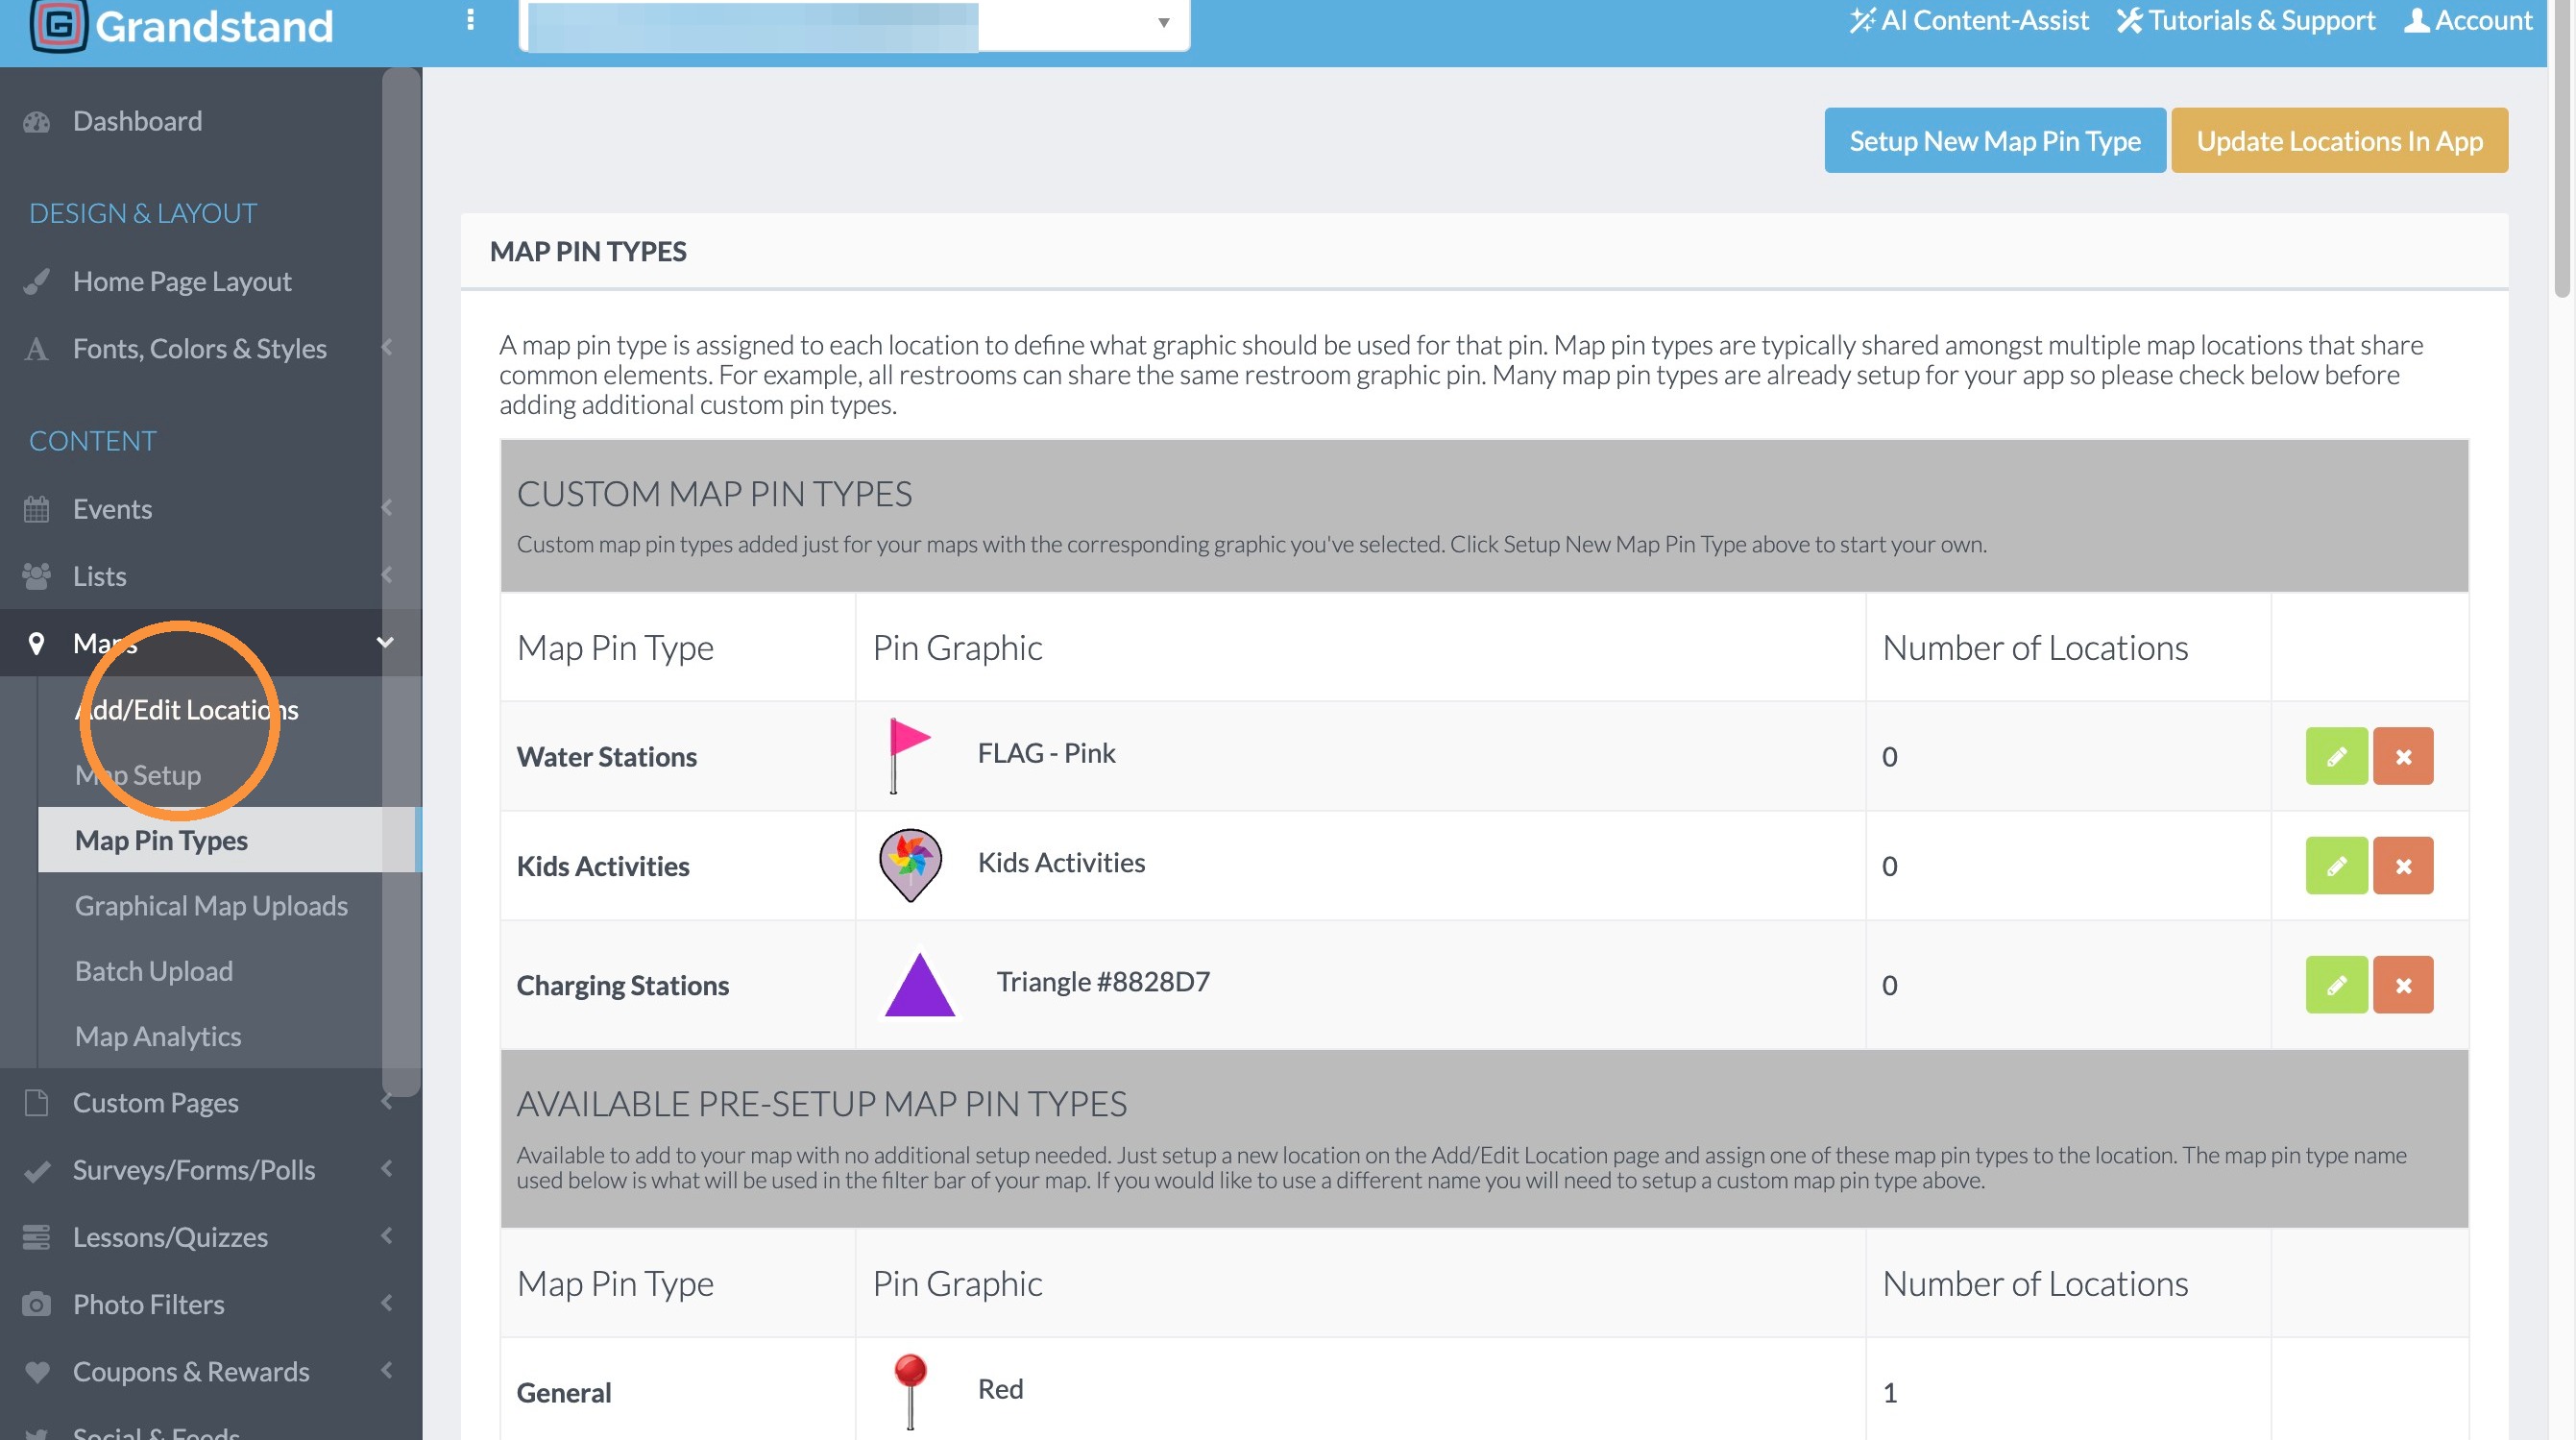
18. Click "Add/Edit Locations"
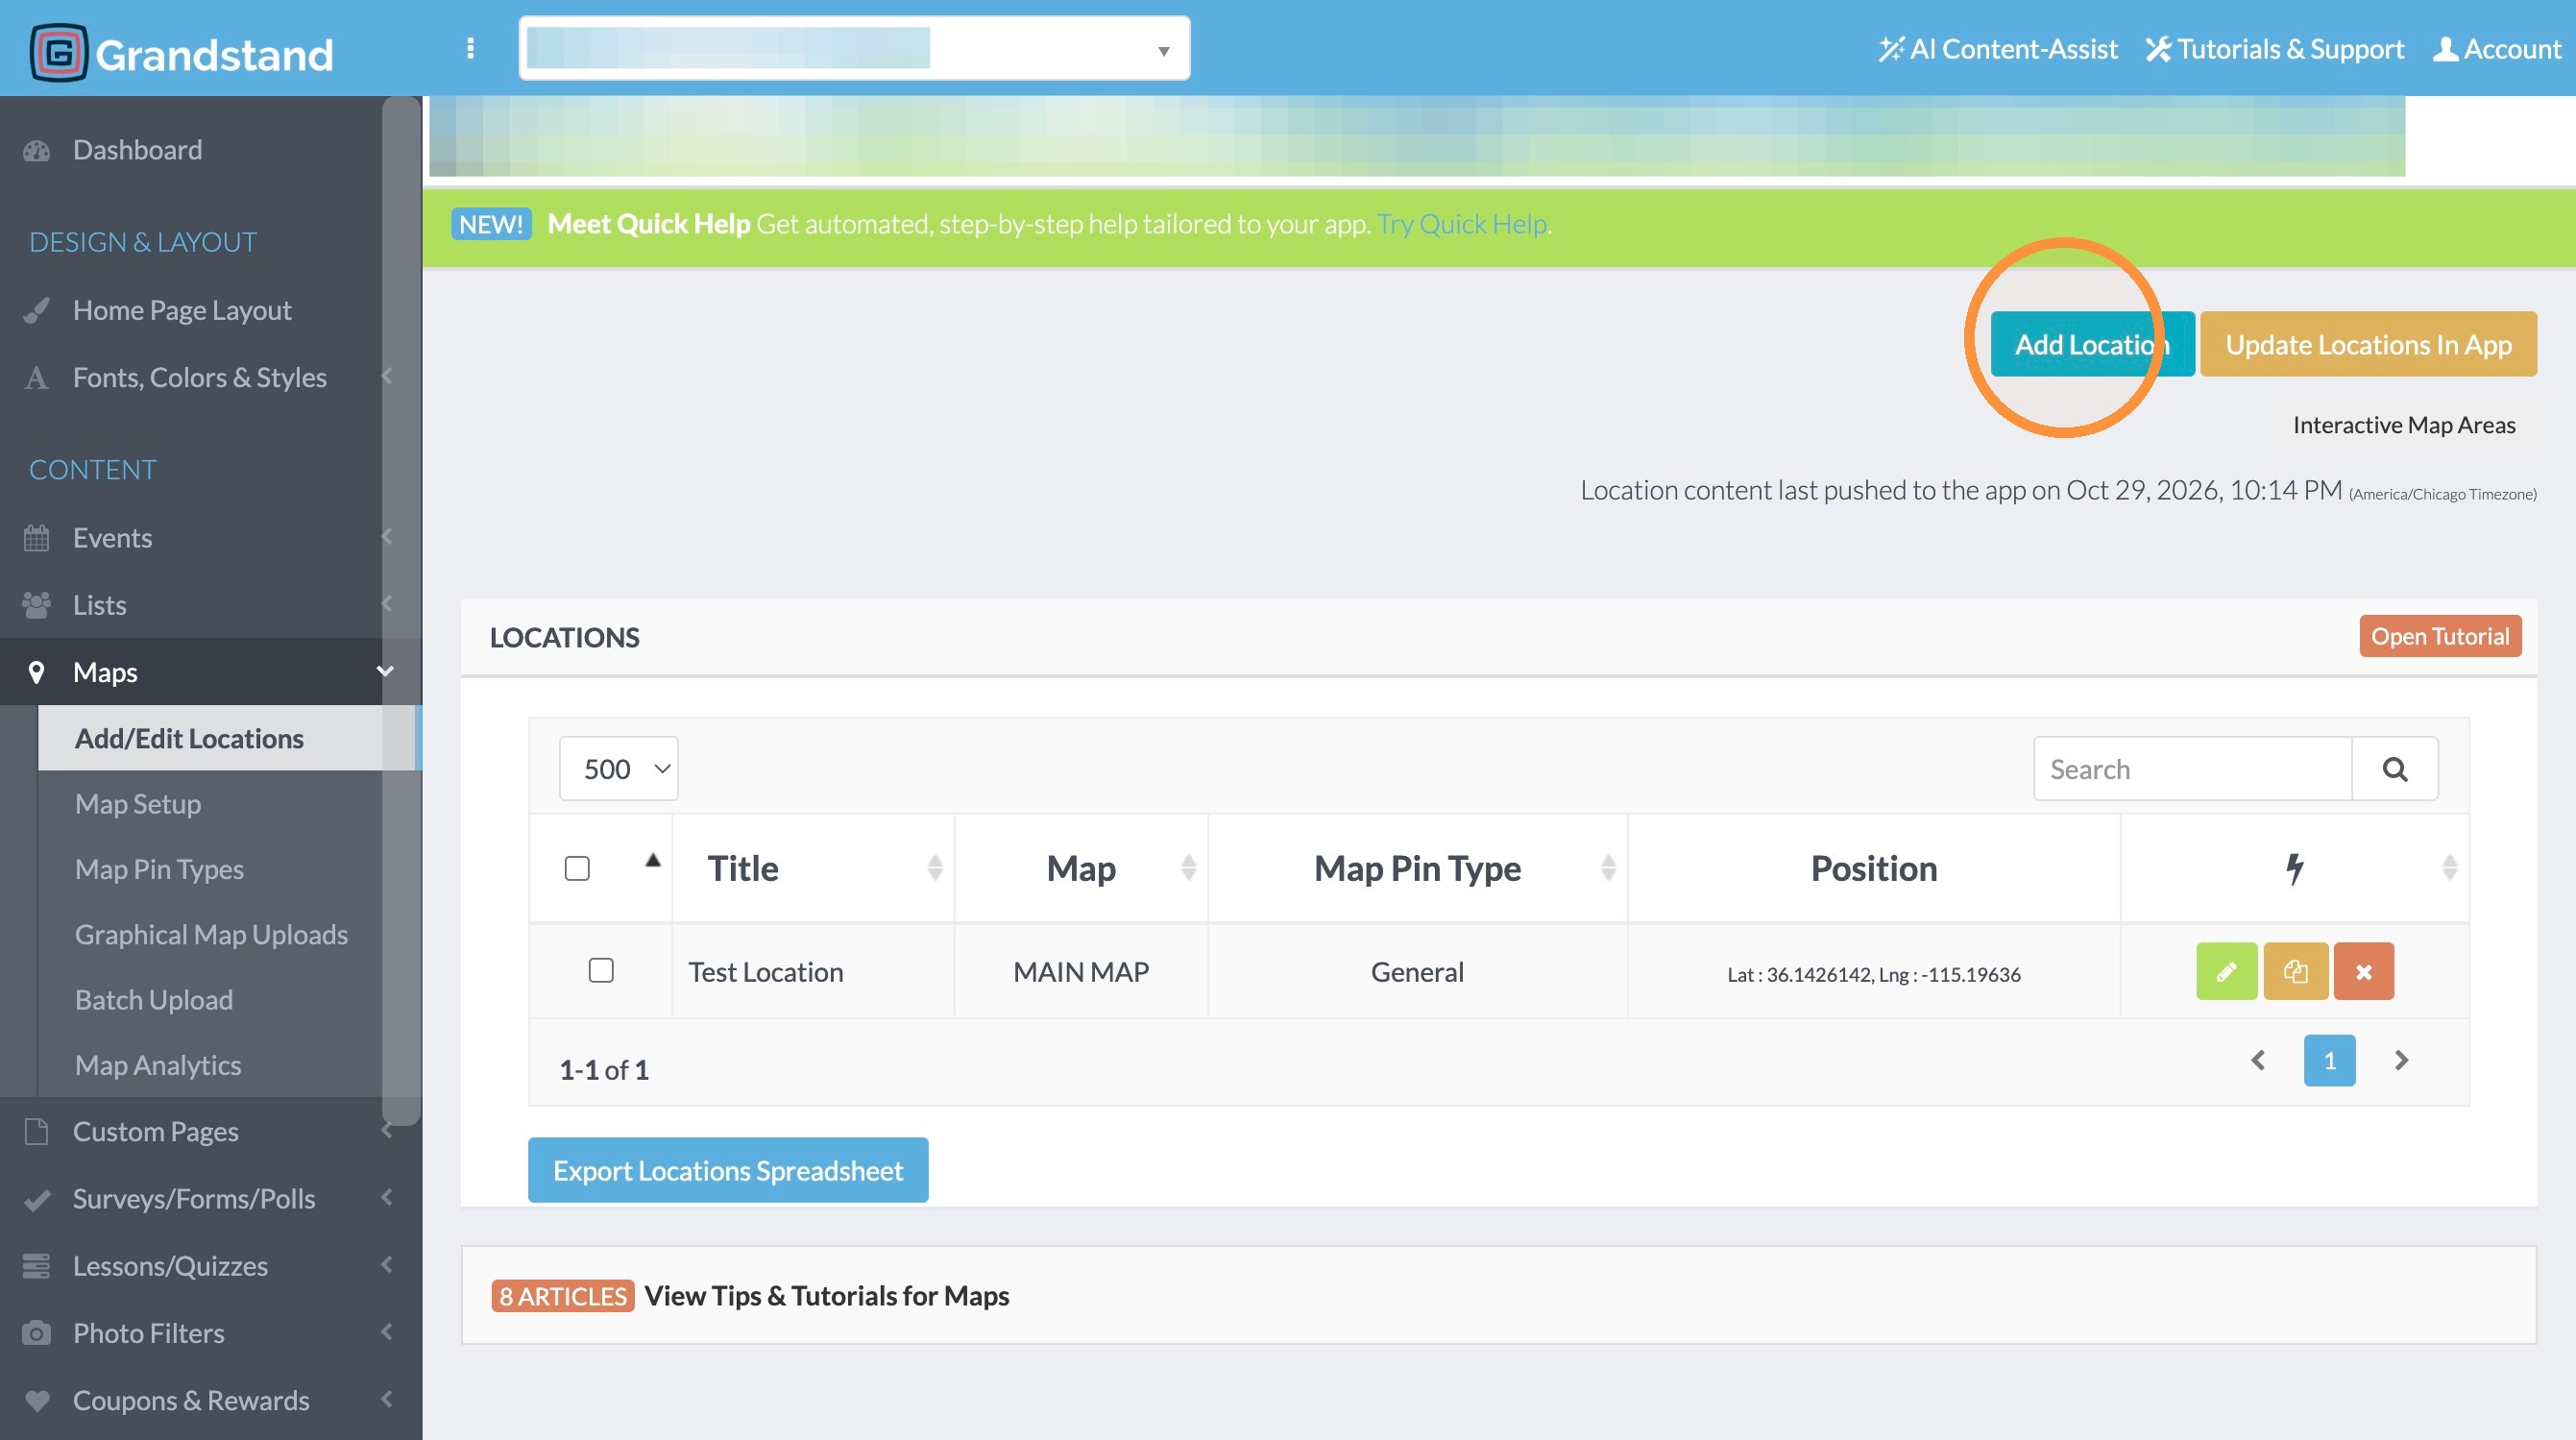
19. Click "Add Location"
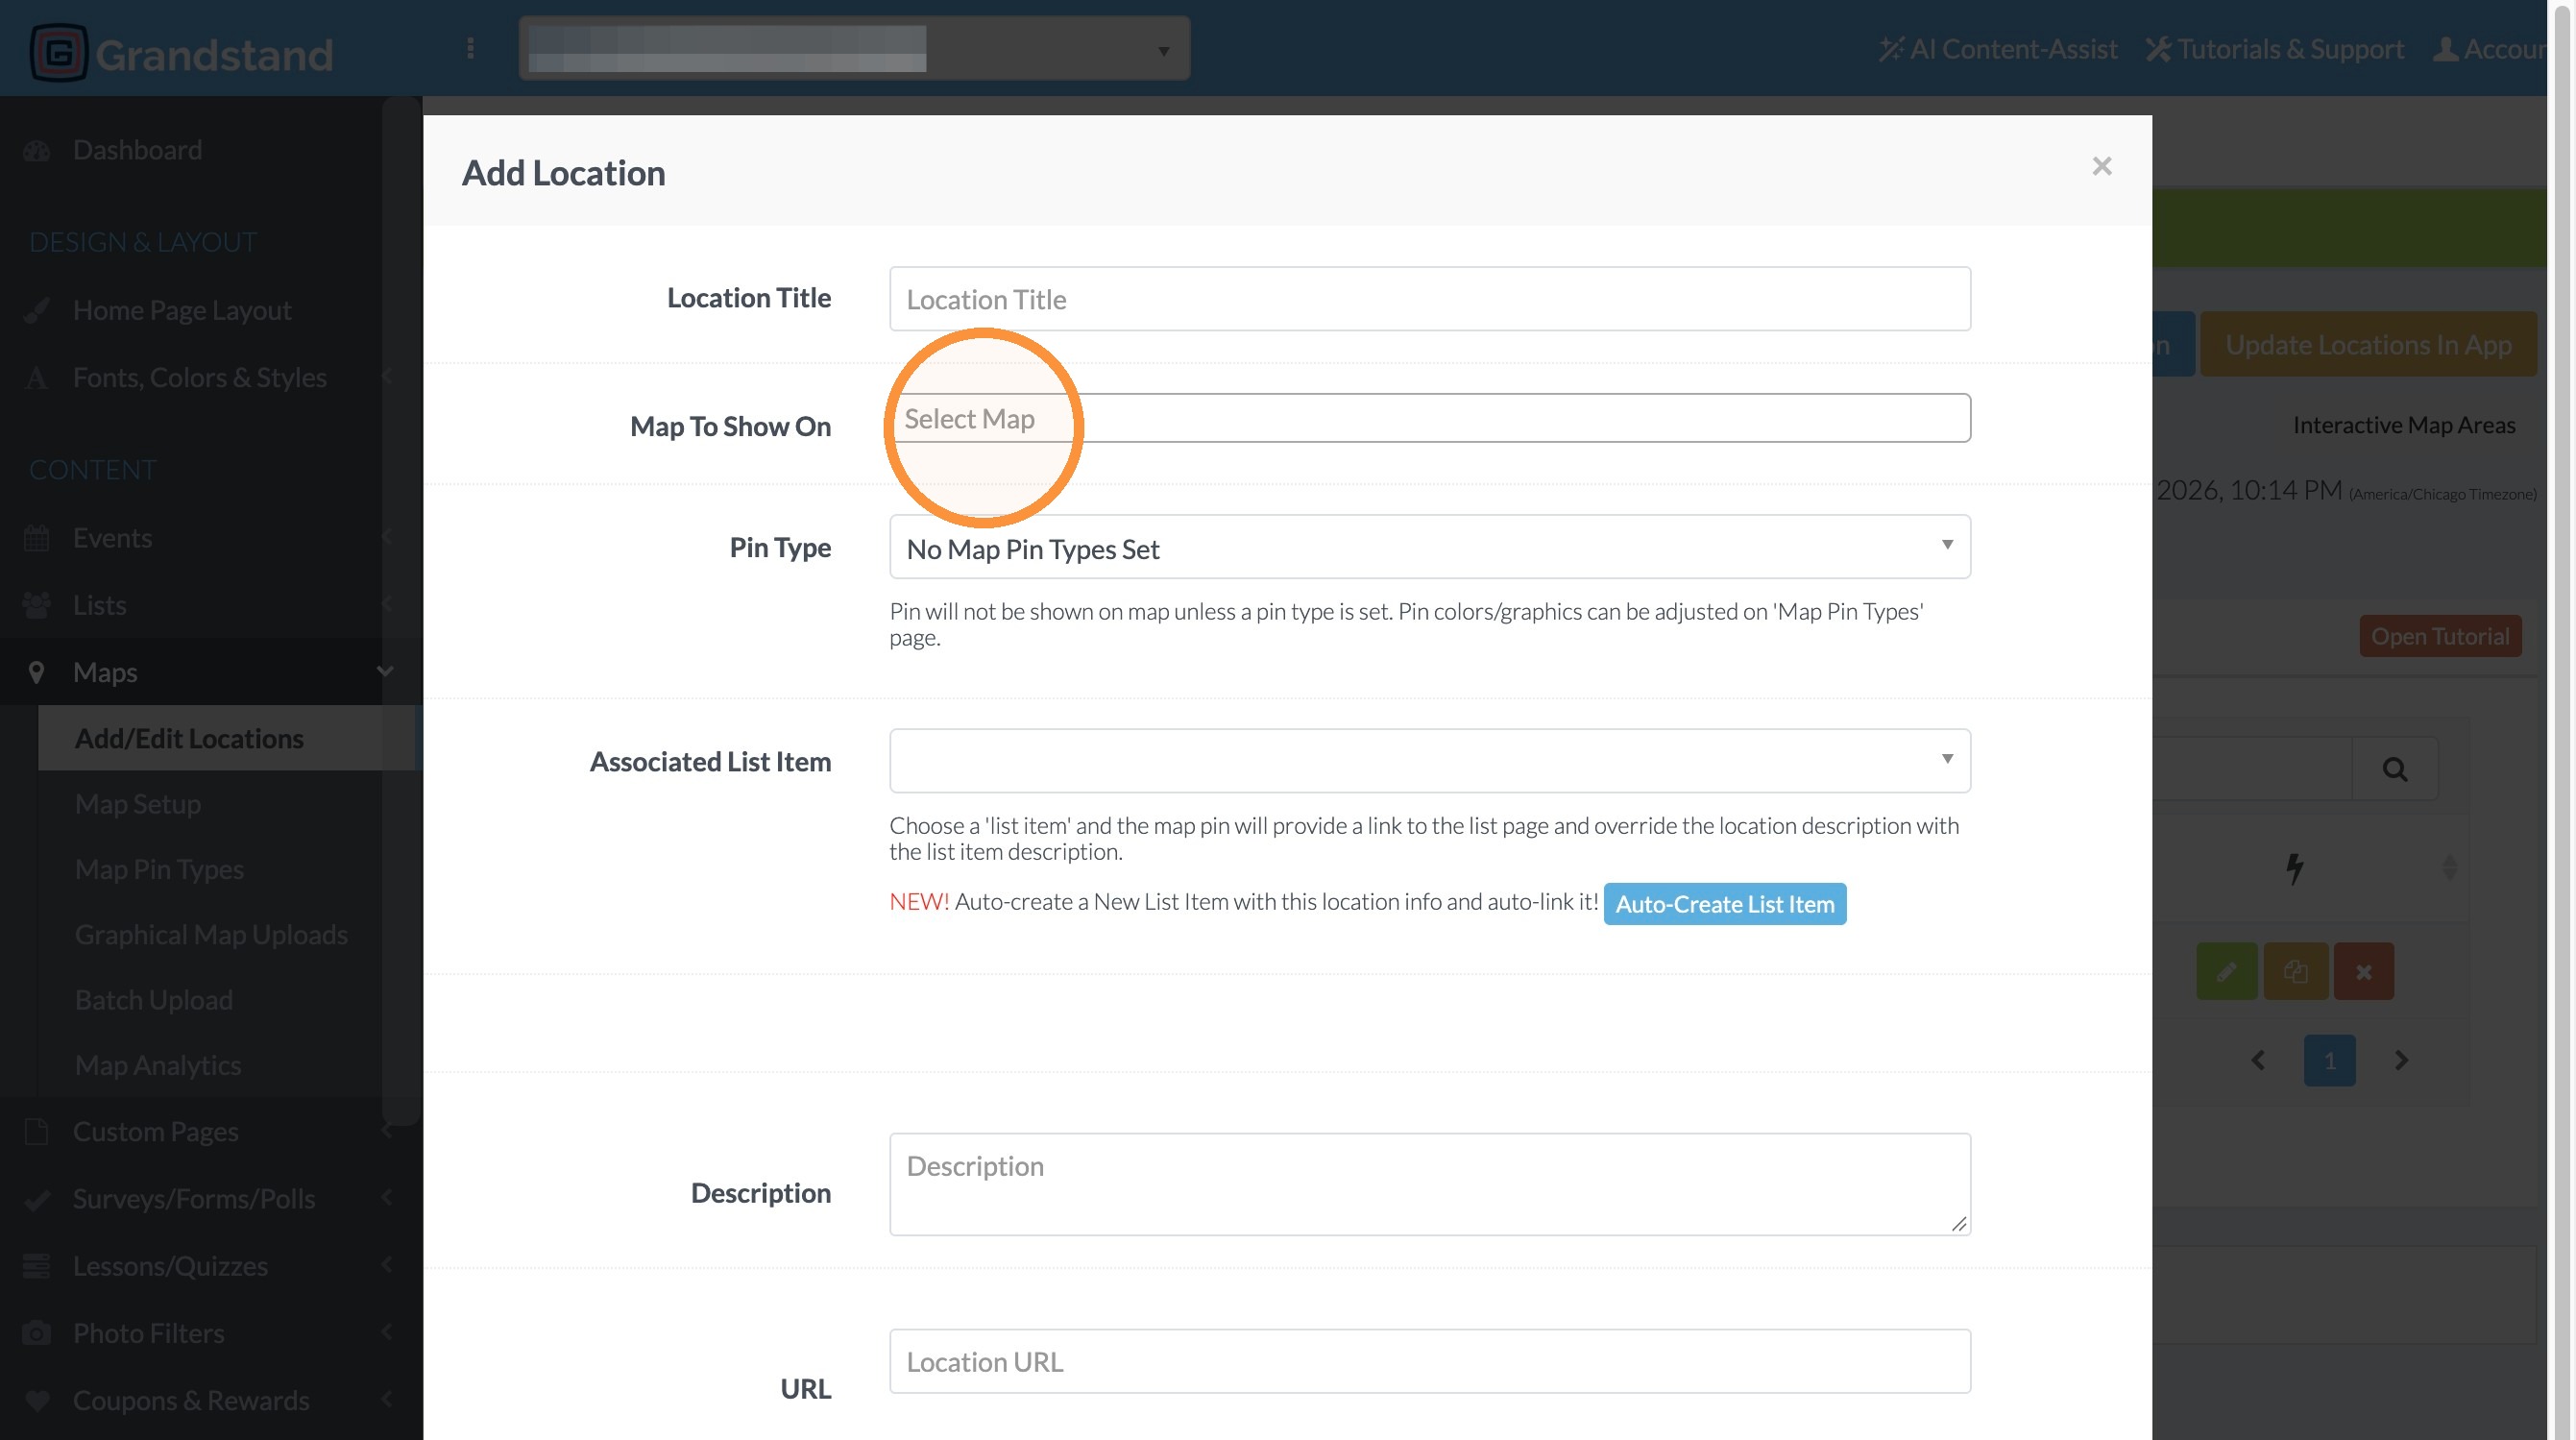
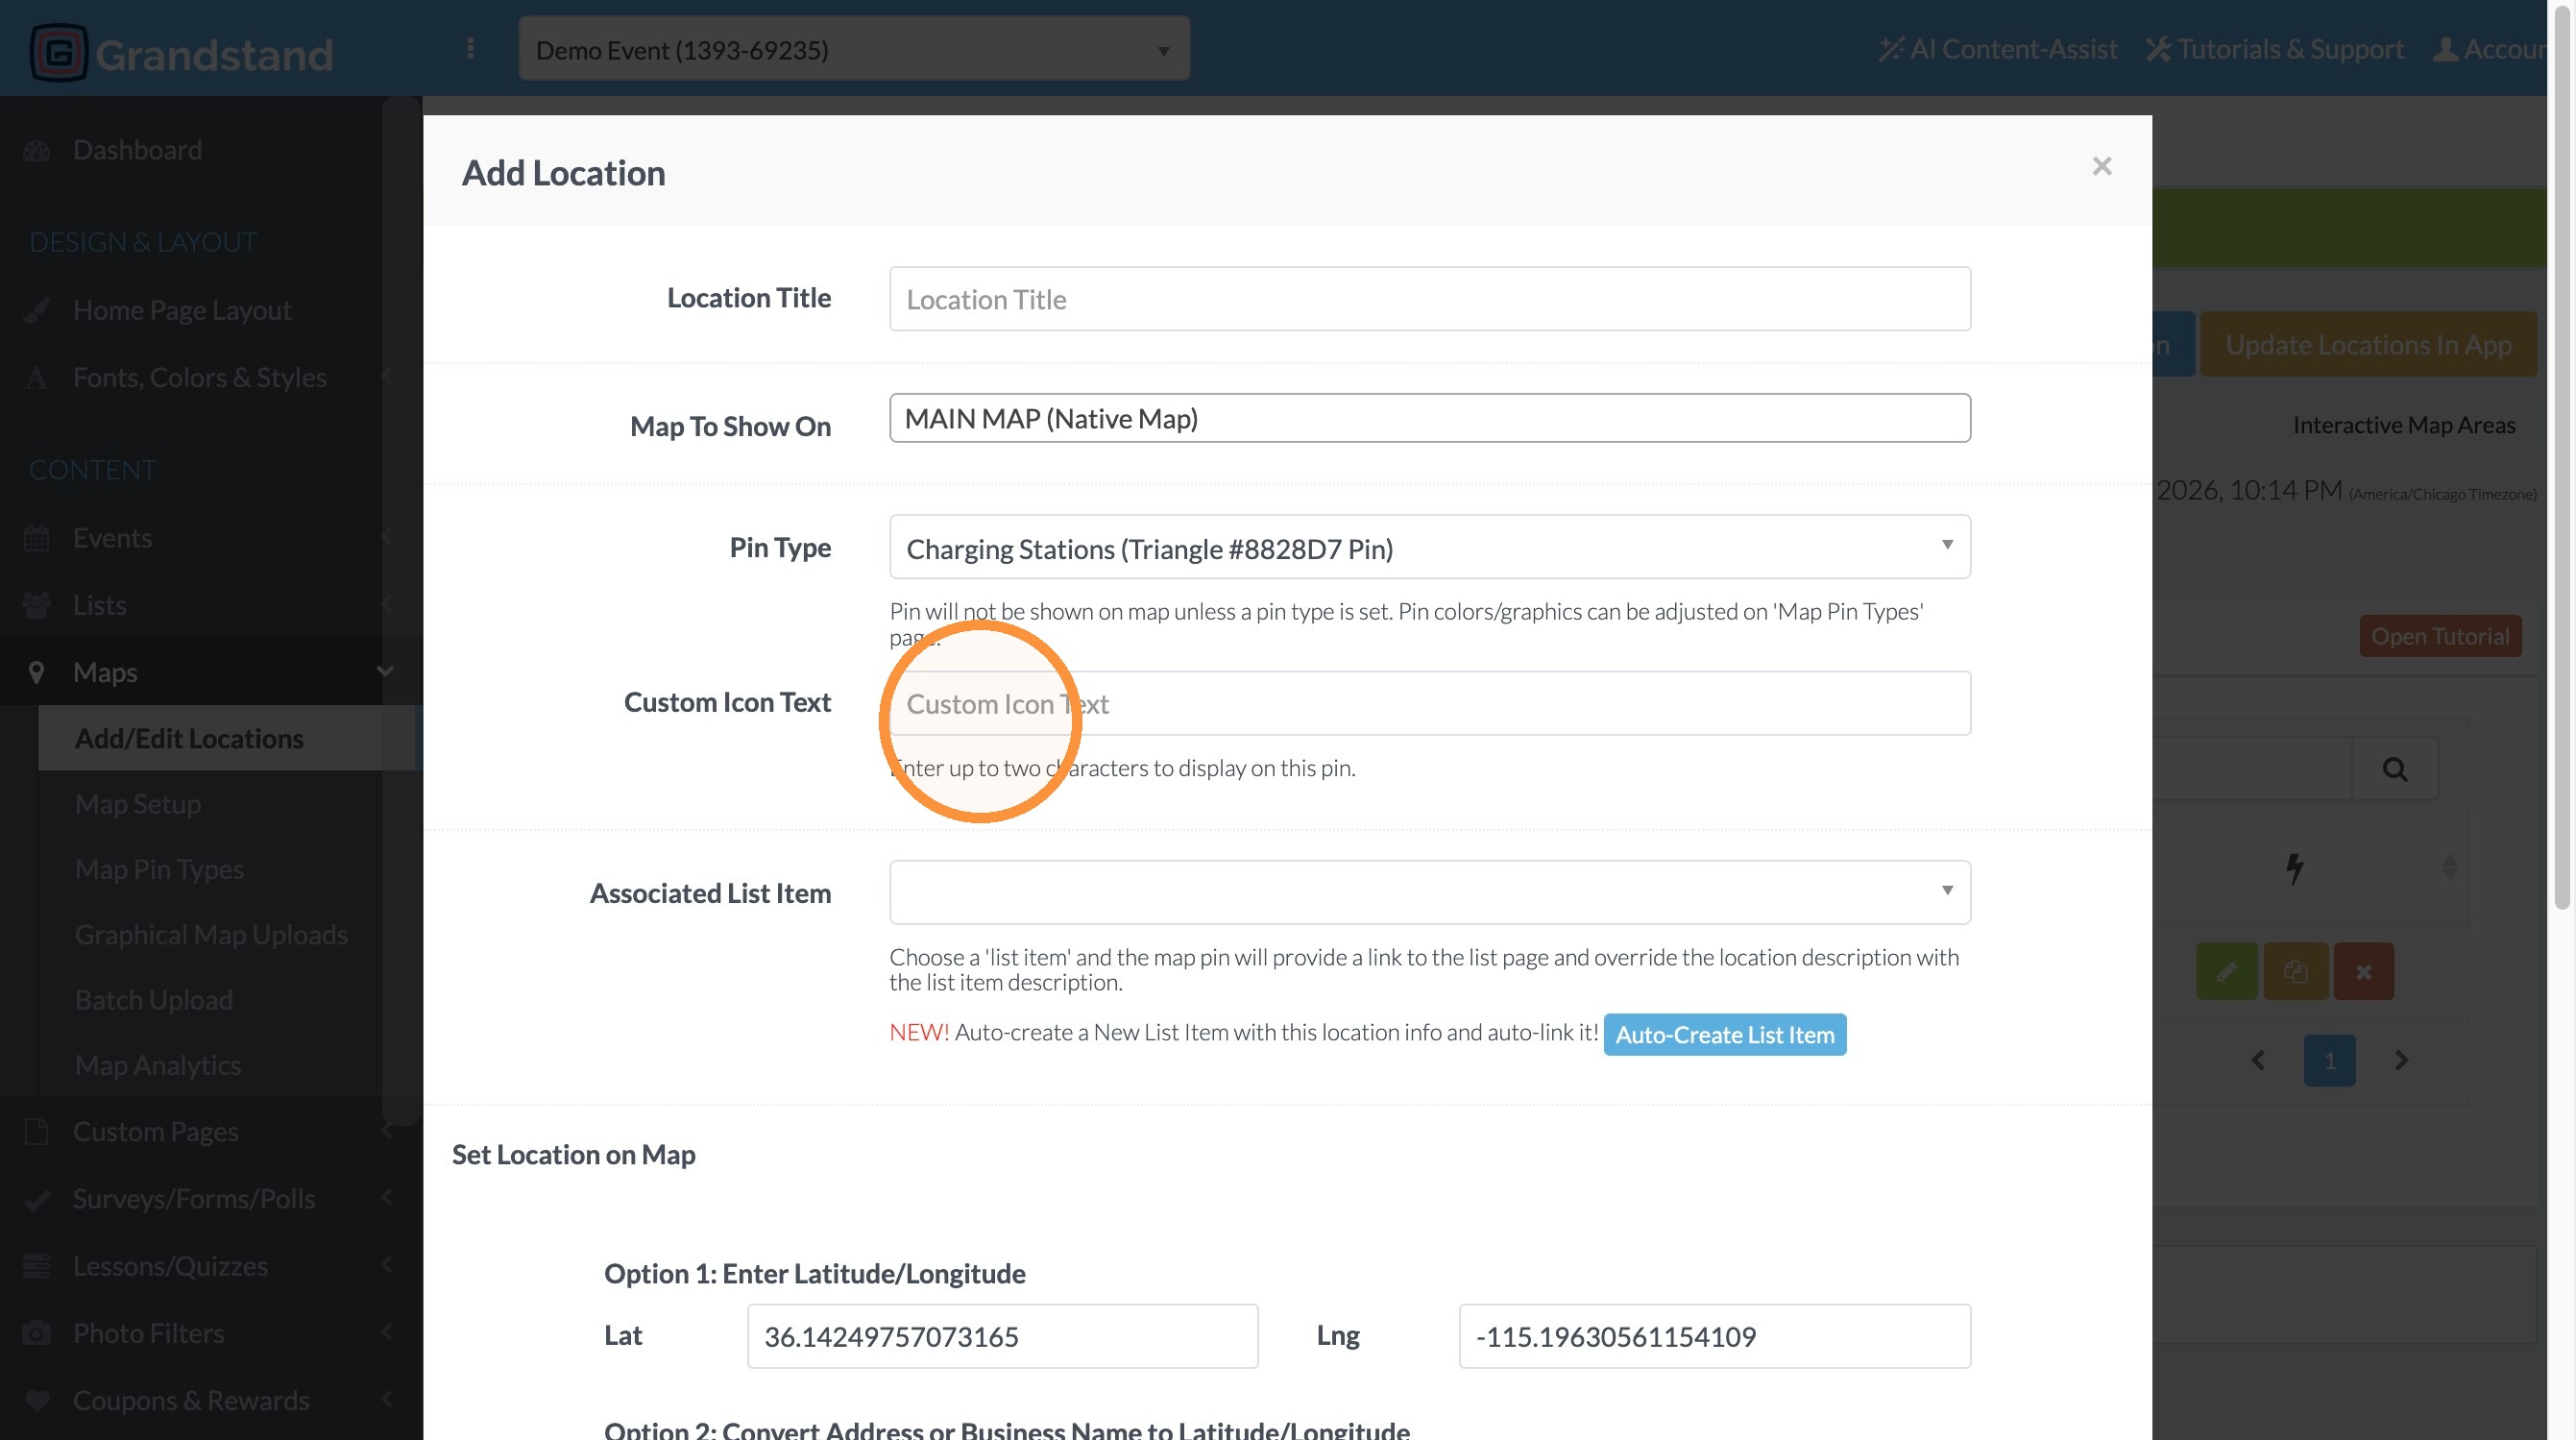
20. Click the drop down for the "Map To Show On." Select the map that the pin should be included on.
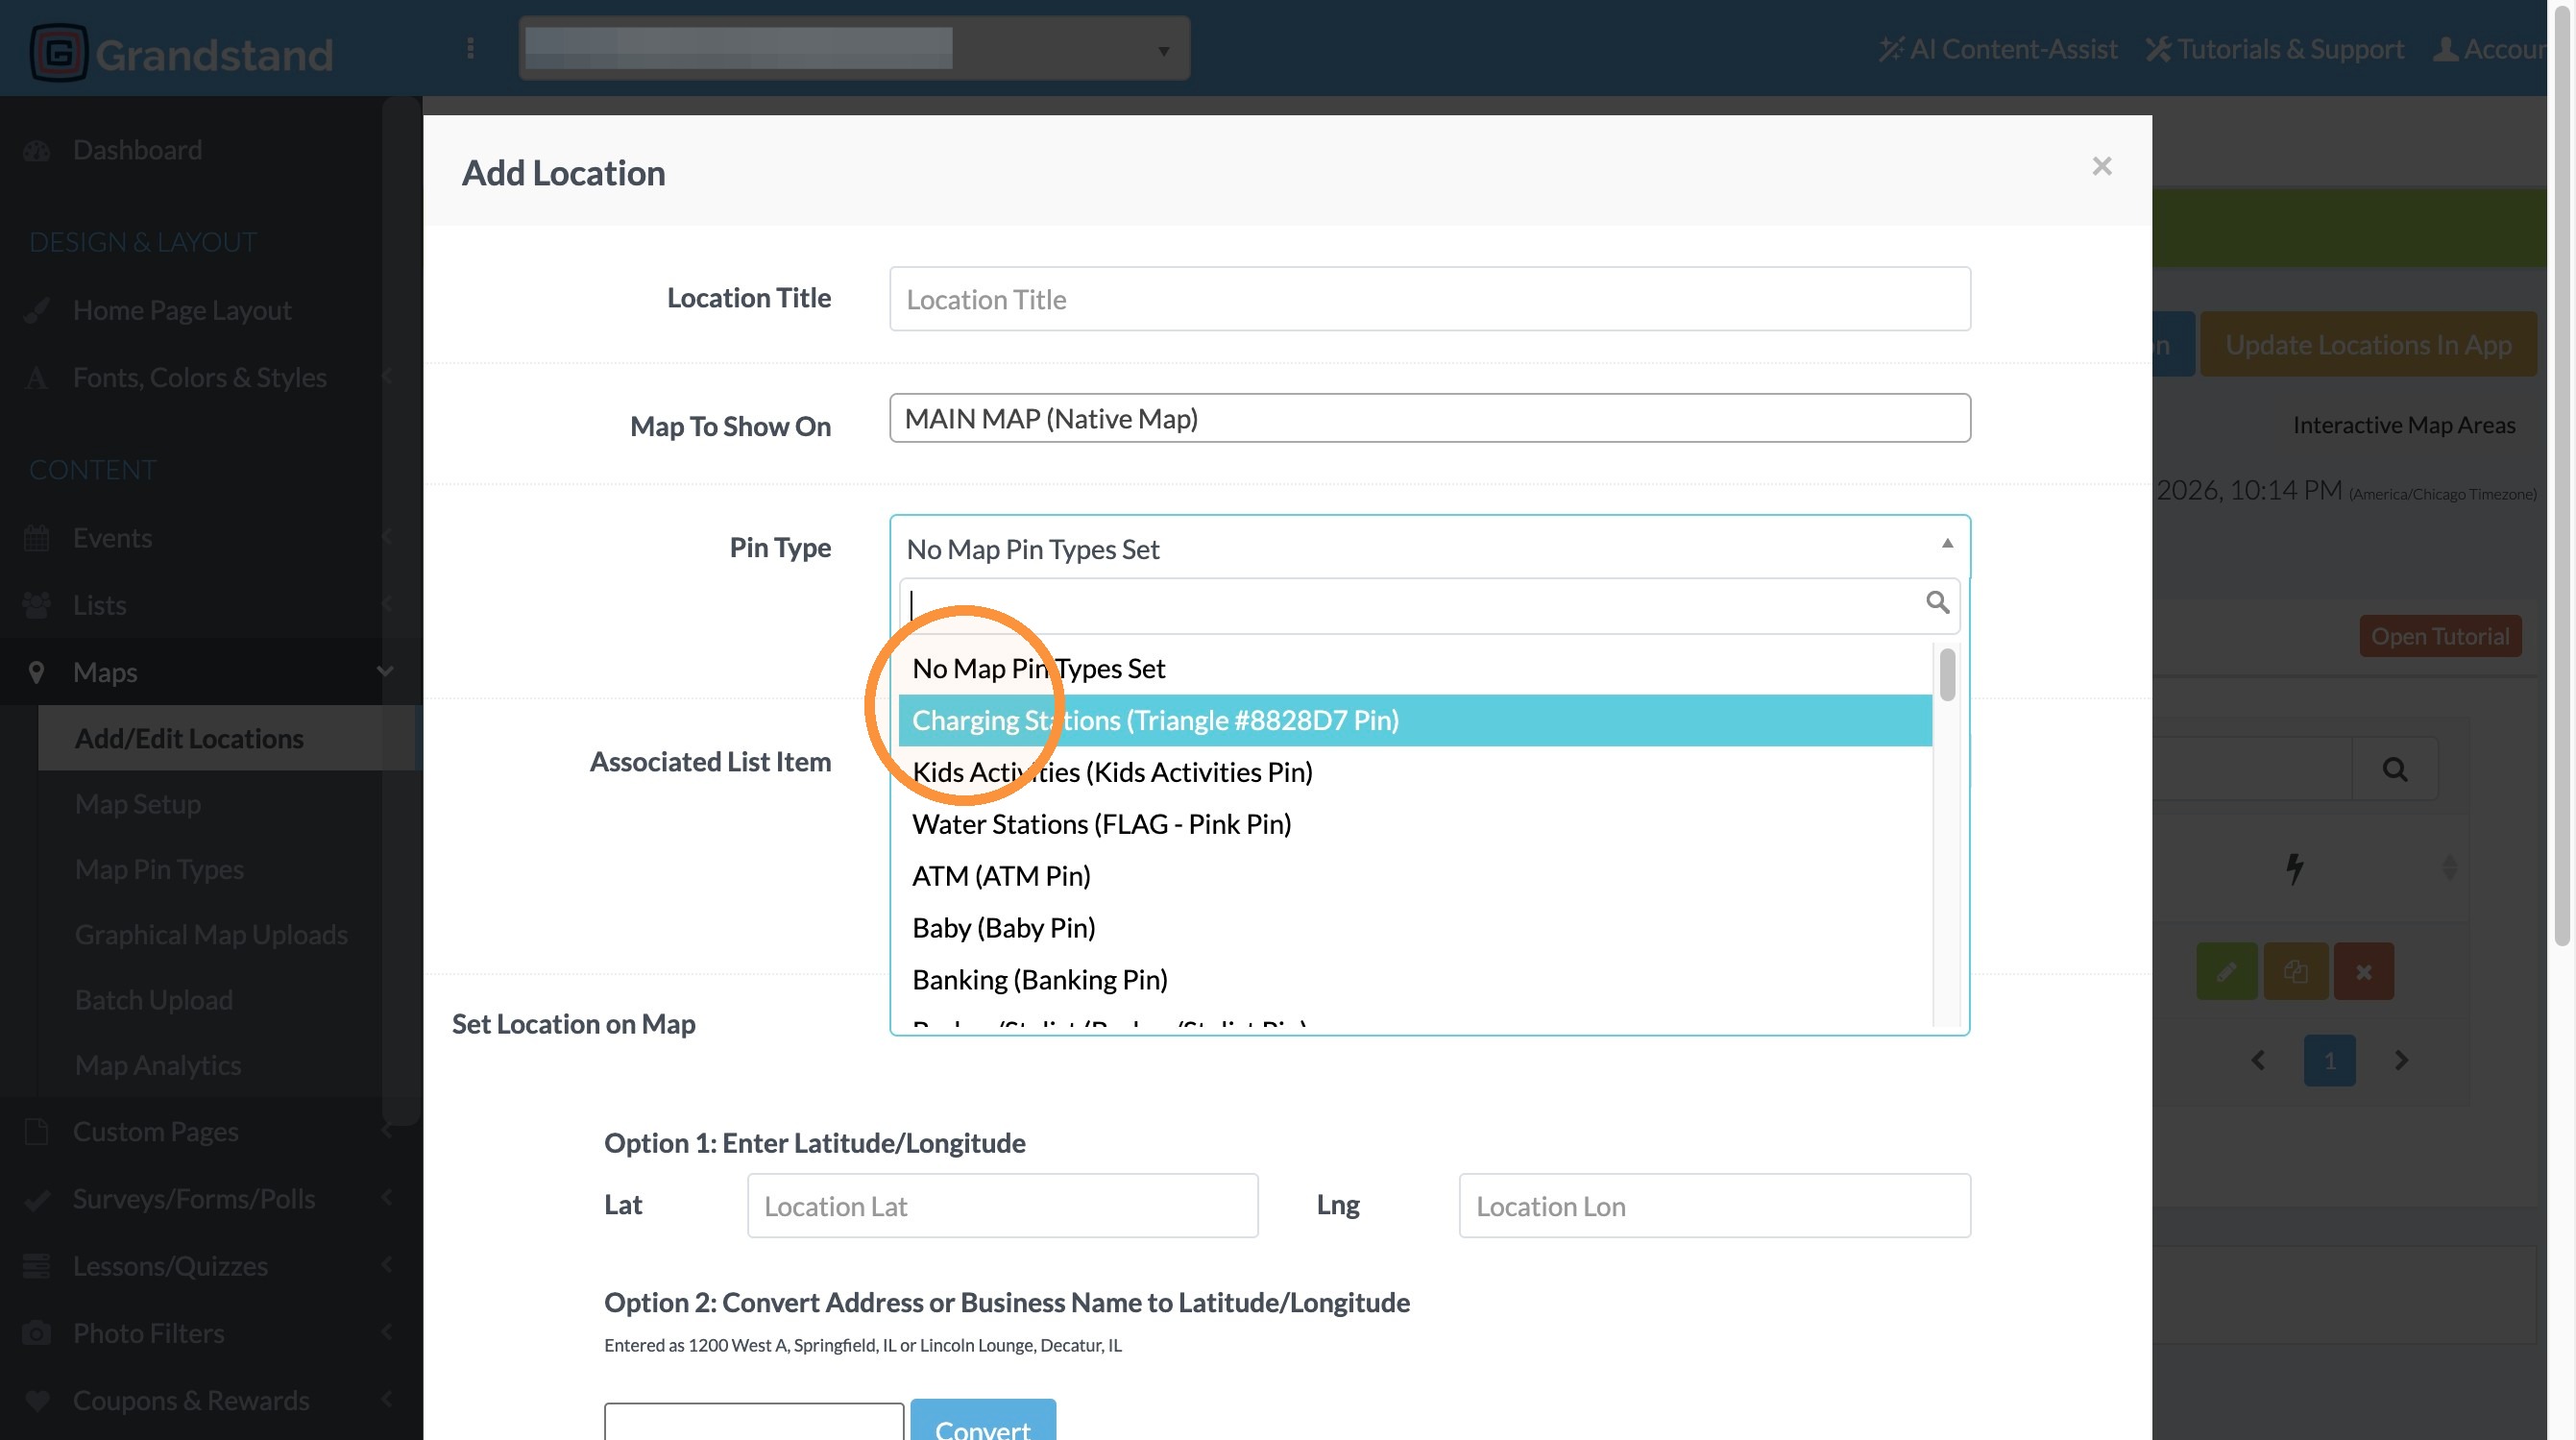
21. Click the Pin Type dropdown and select the pin type. This one is titled "Charging Stations (Triangle #8828D7 Pin)"
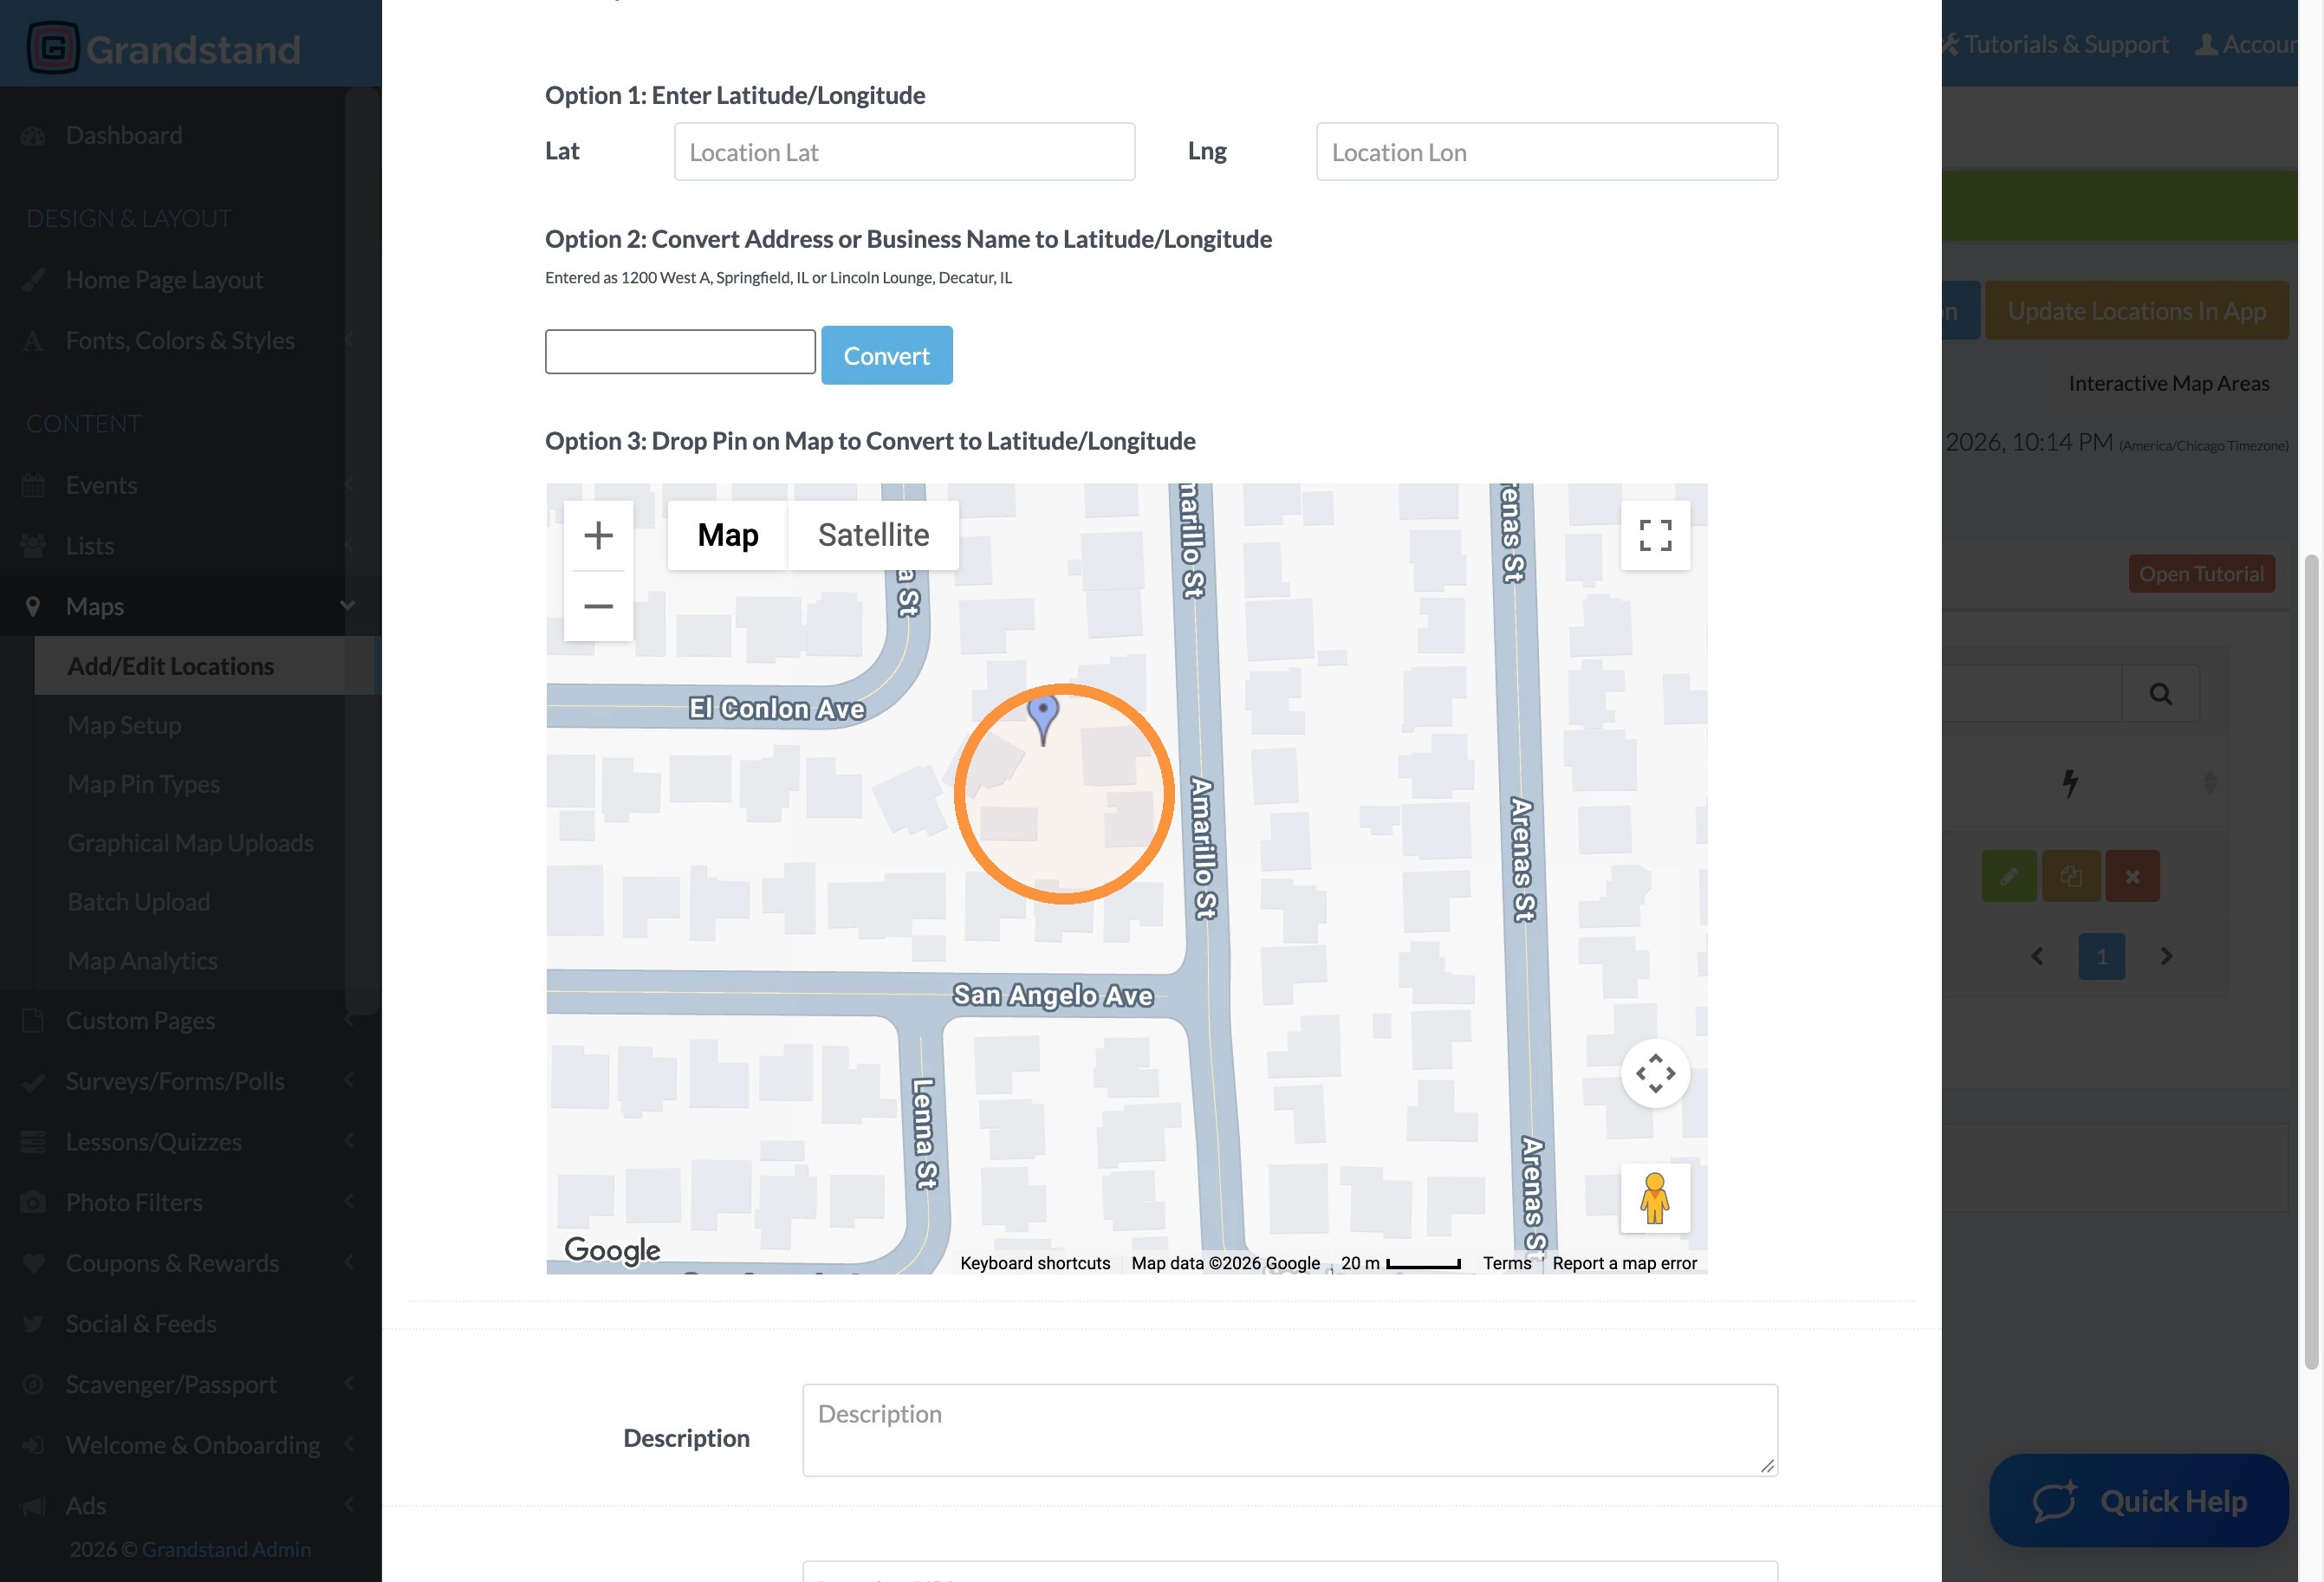
22. Set the location on the map.
23. Enter the location title.
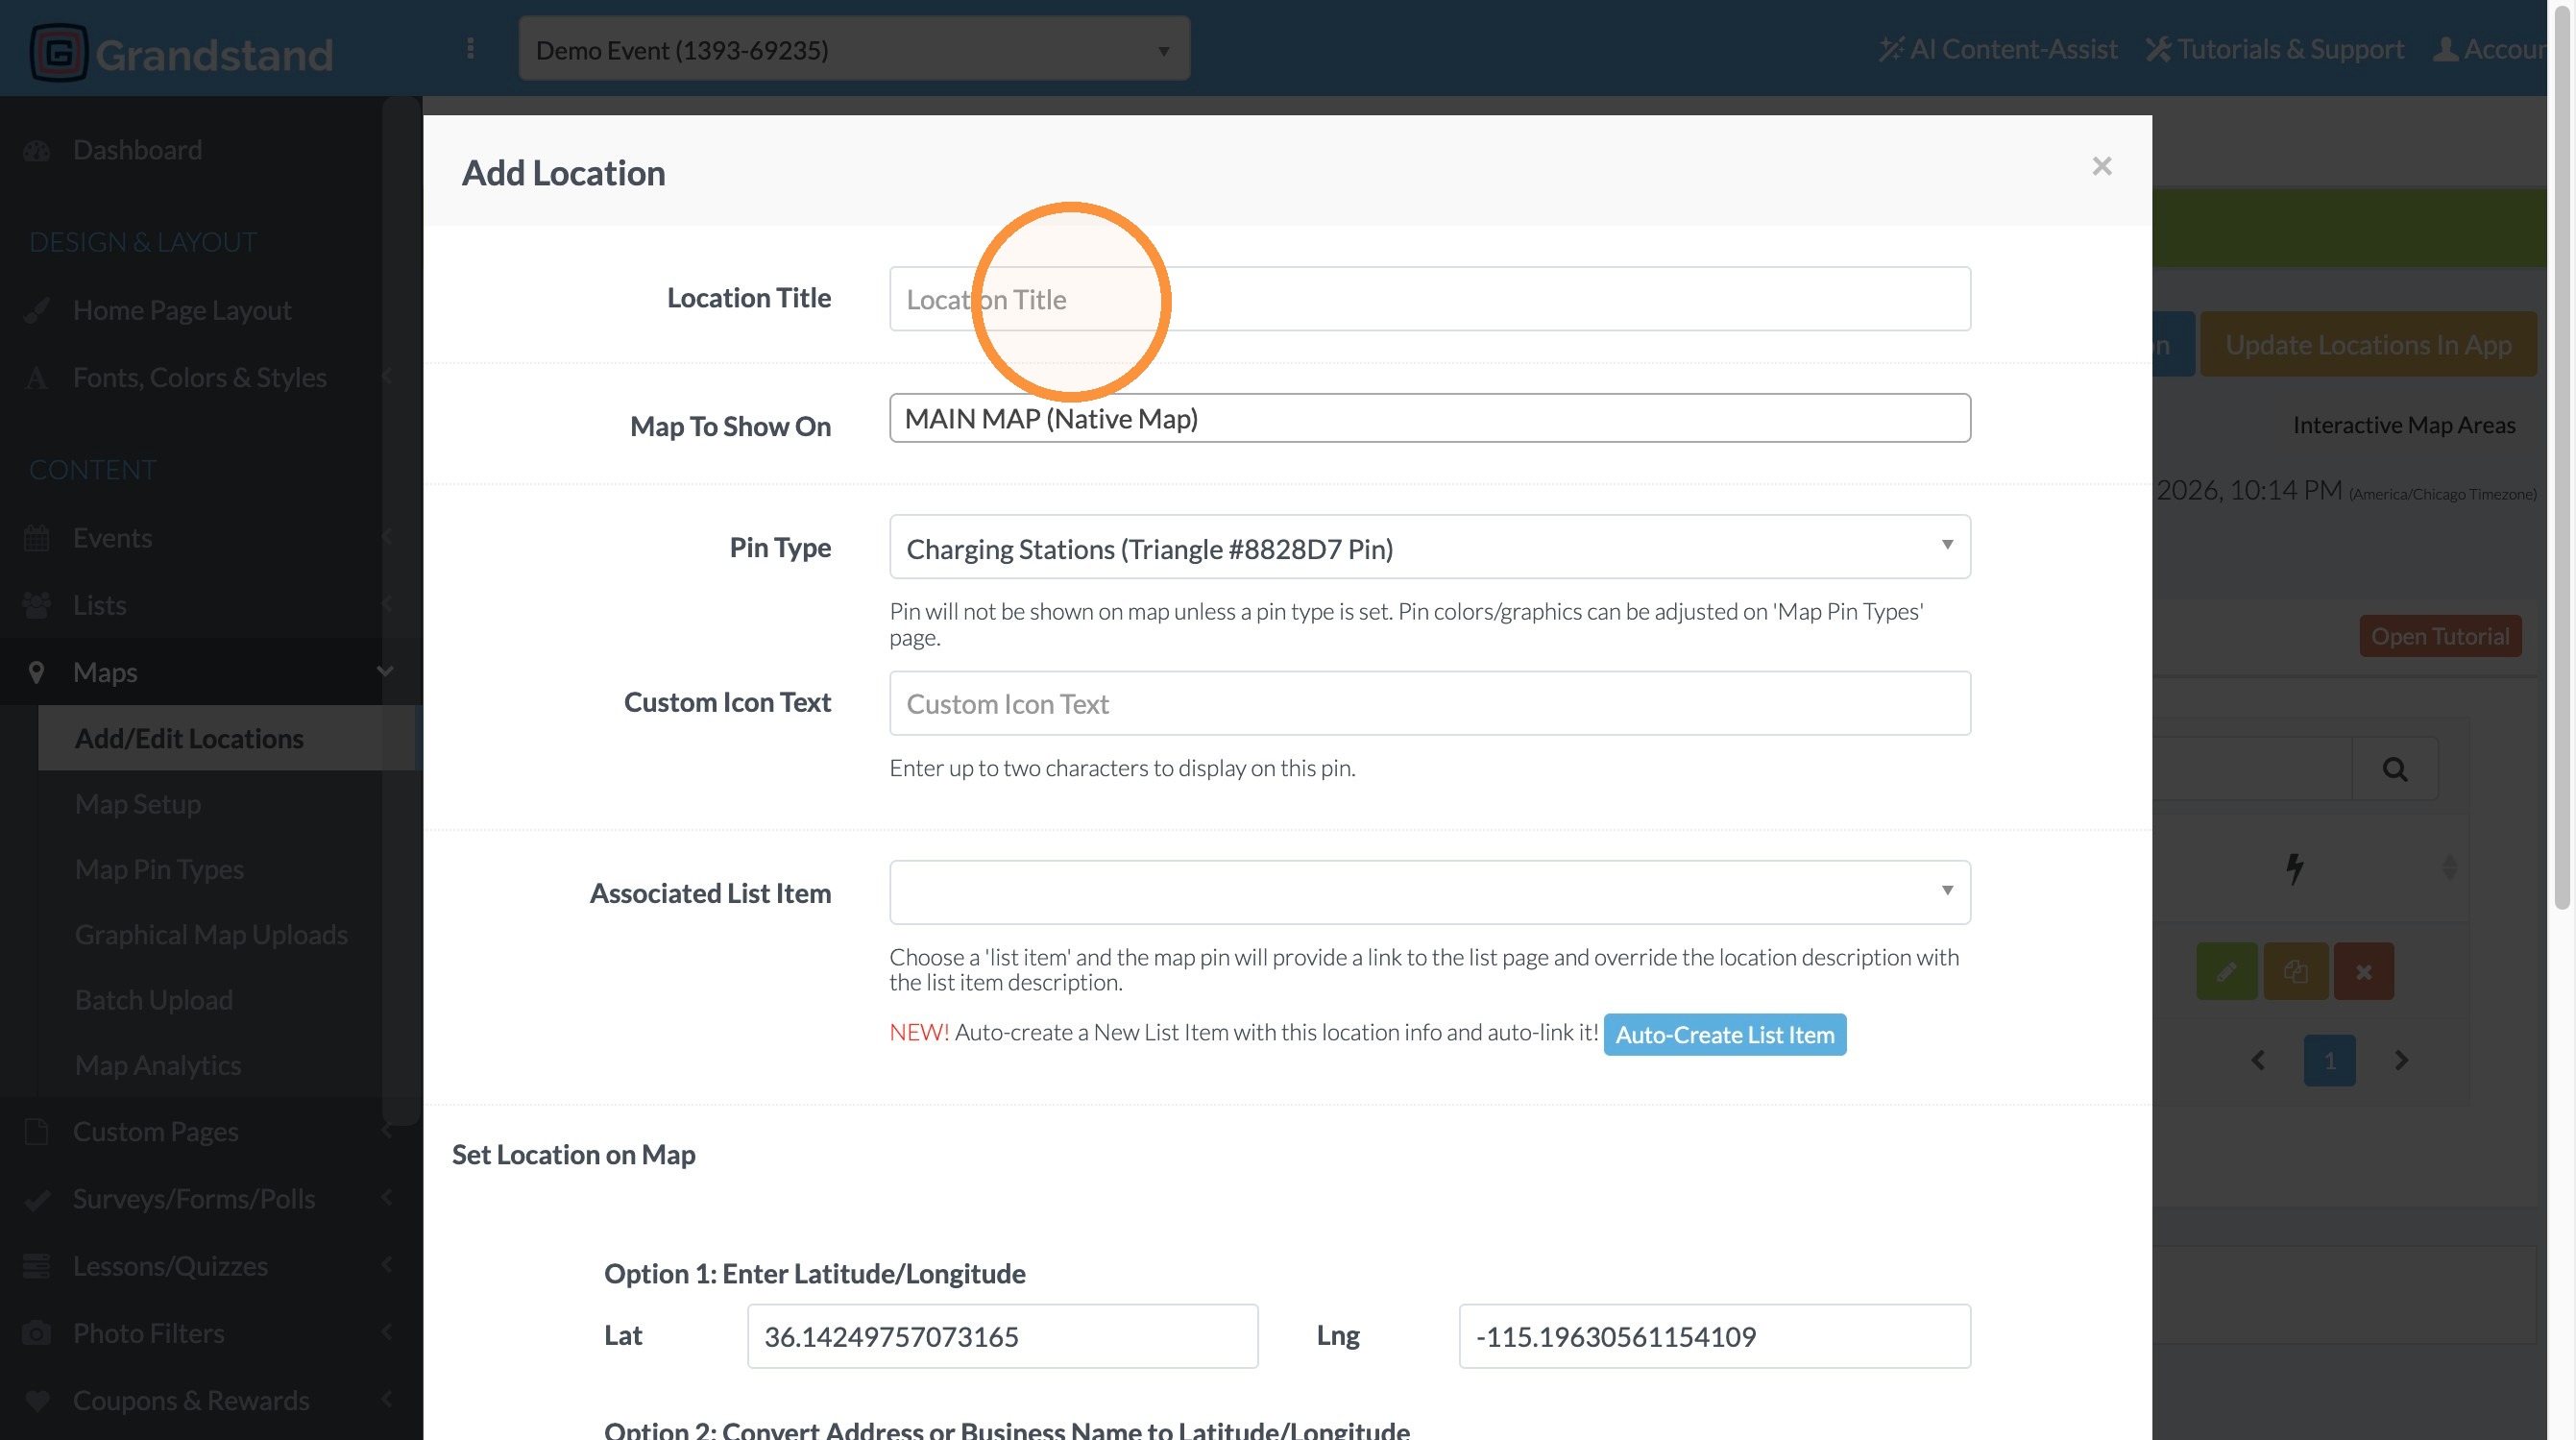
24. Enter the Custom Icon Text - this is where you would enter the number or letter of the stop to be shown on the pin on the map.
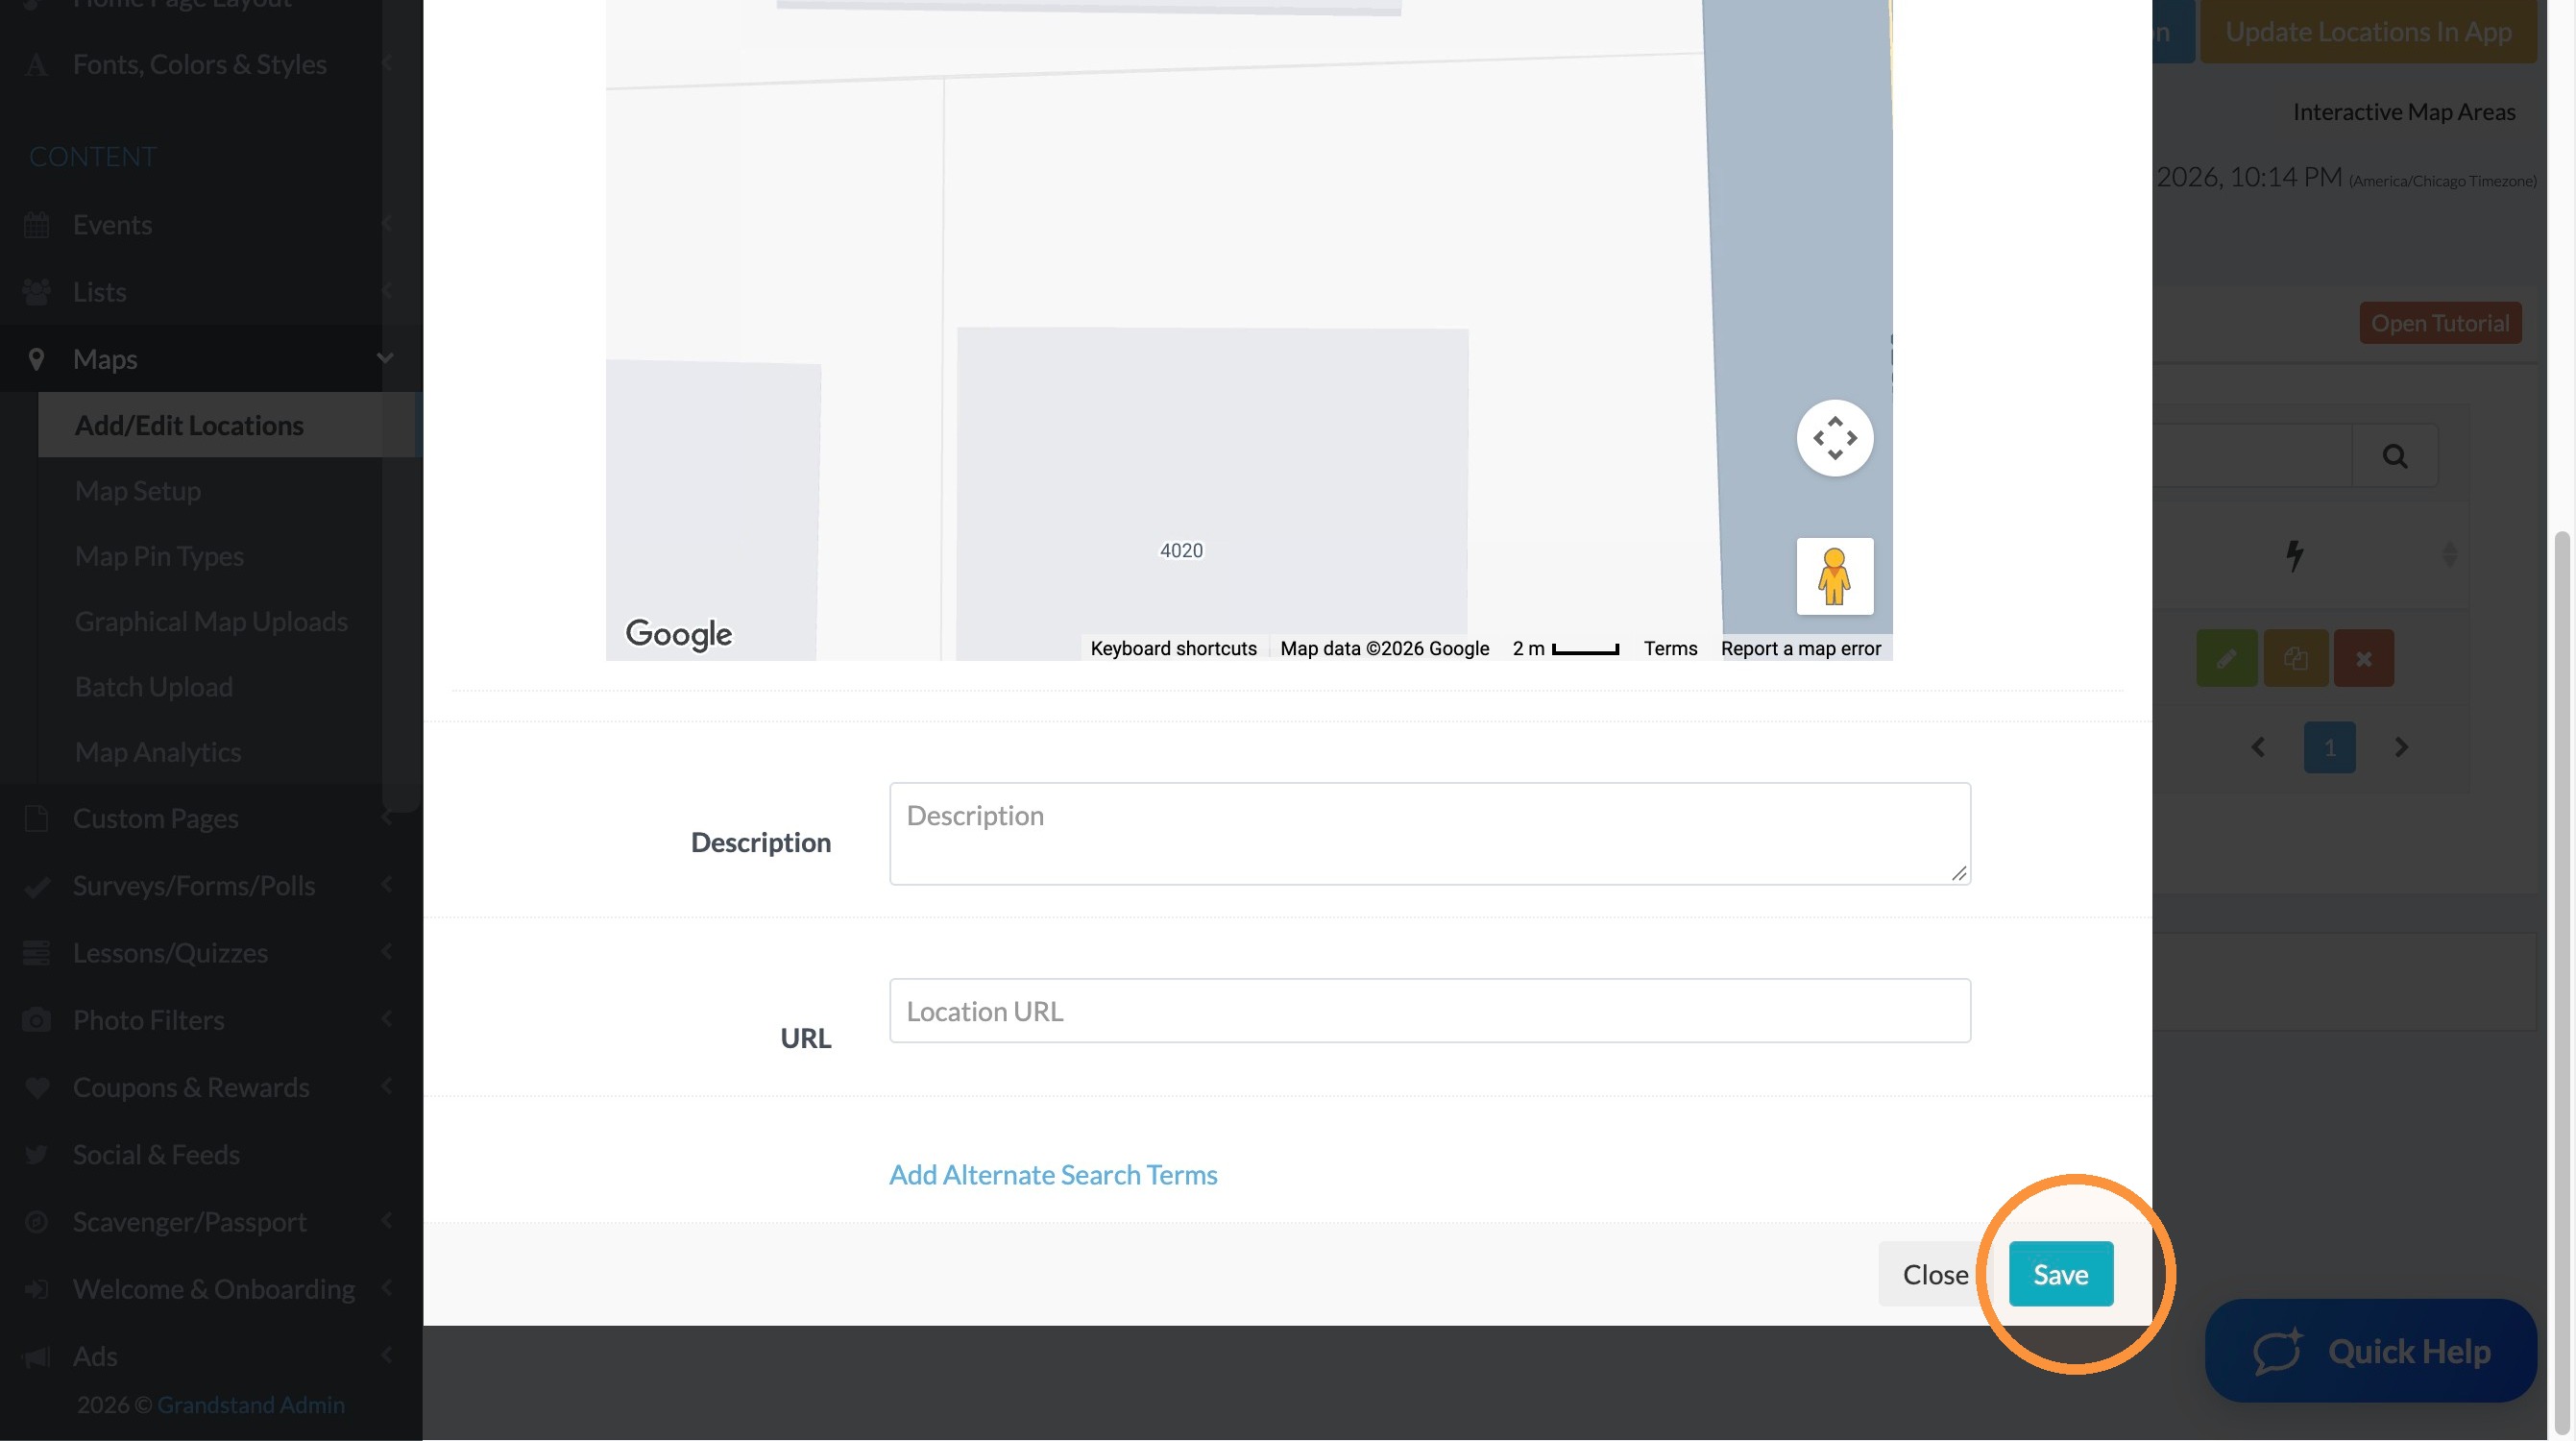
25. Click "Save"
Publish Changes
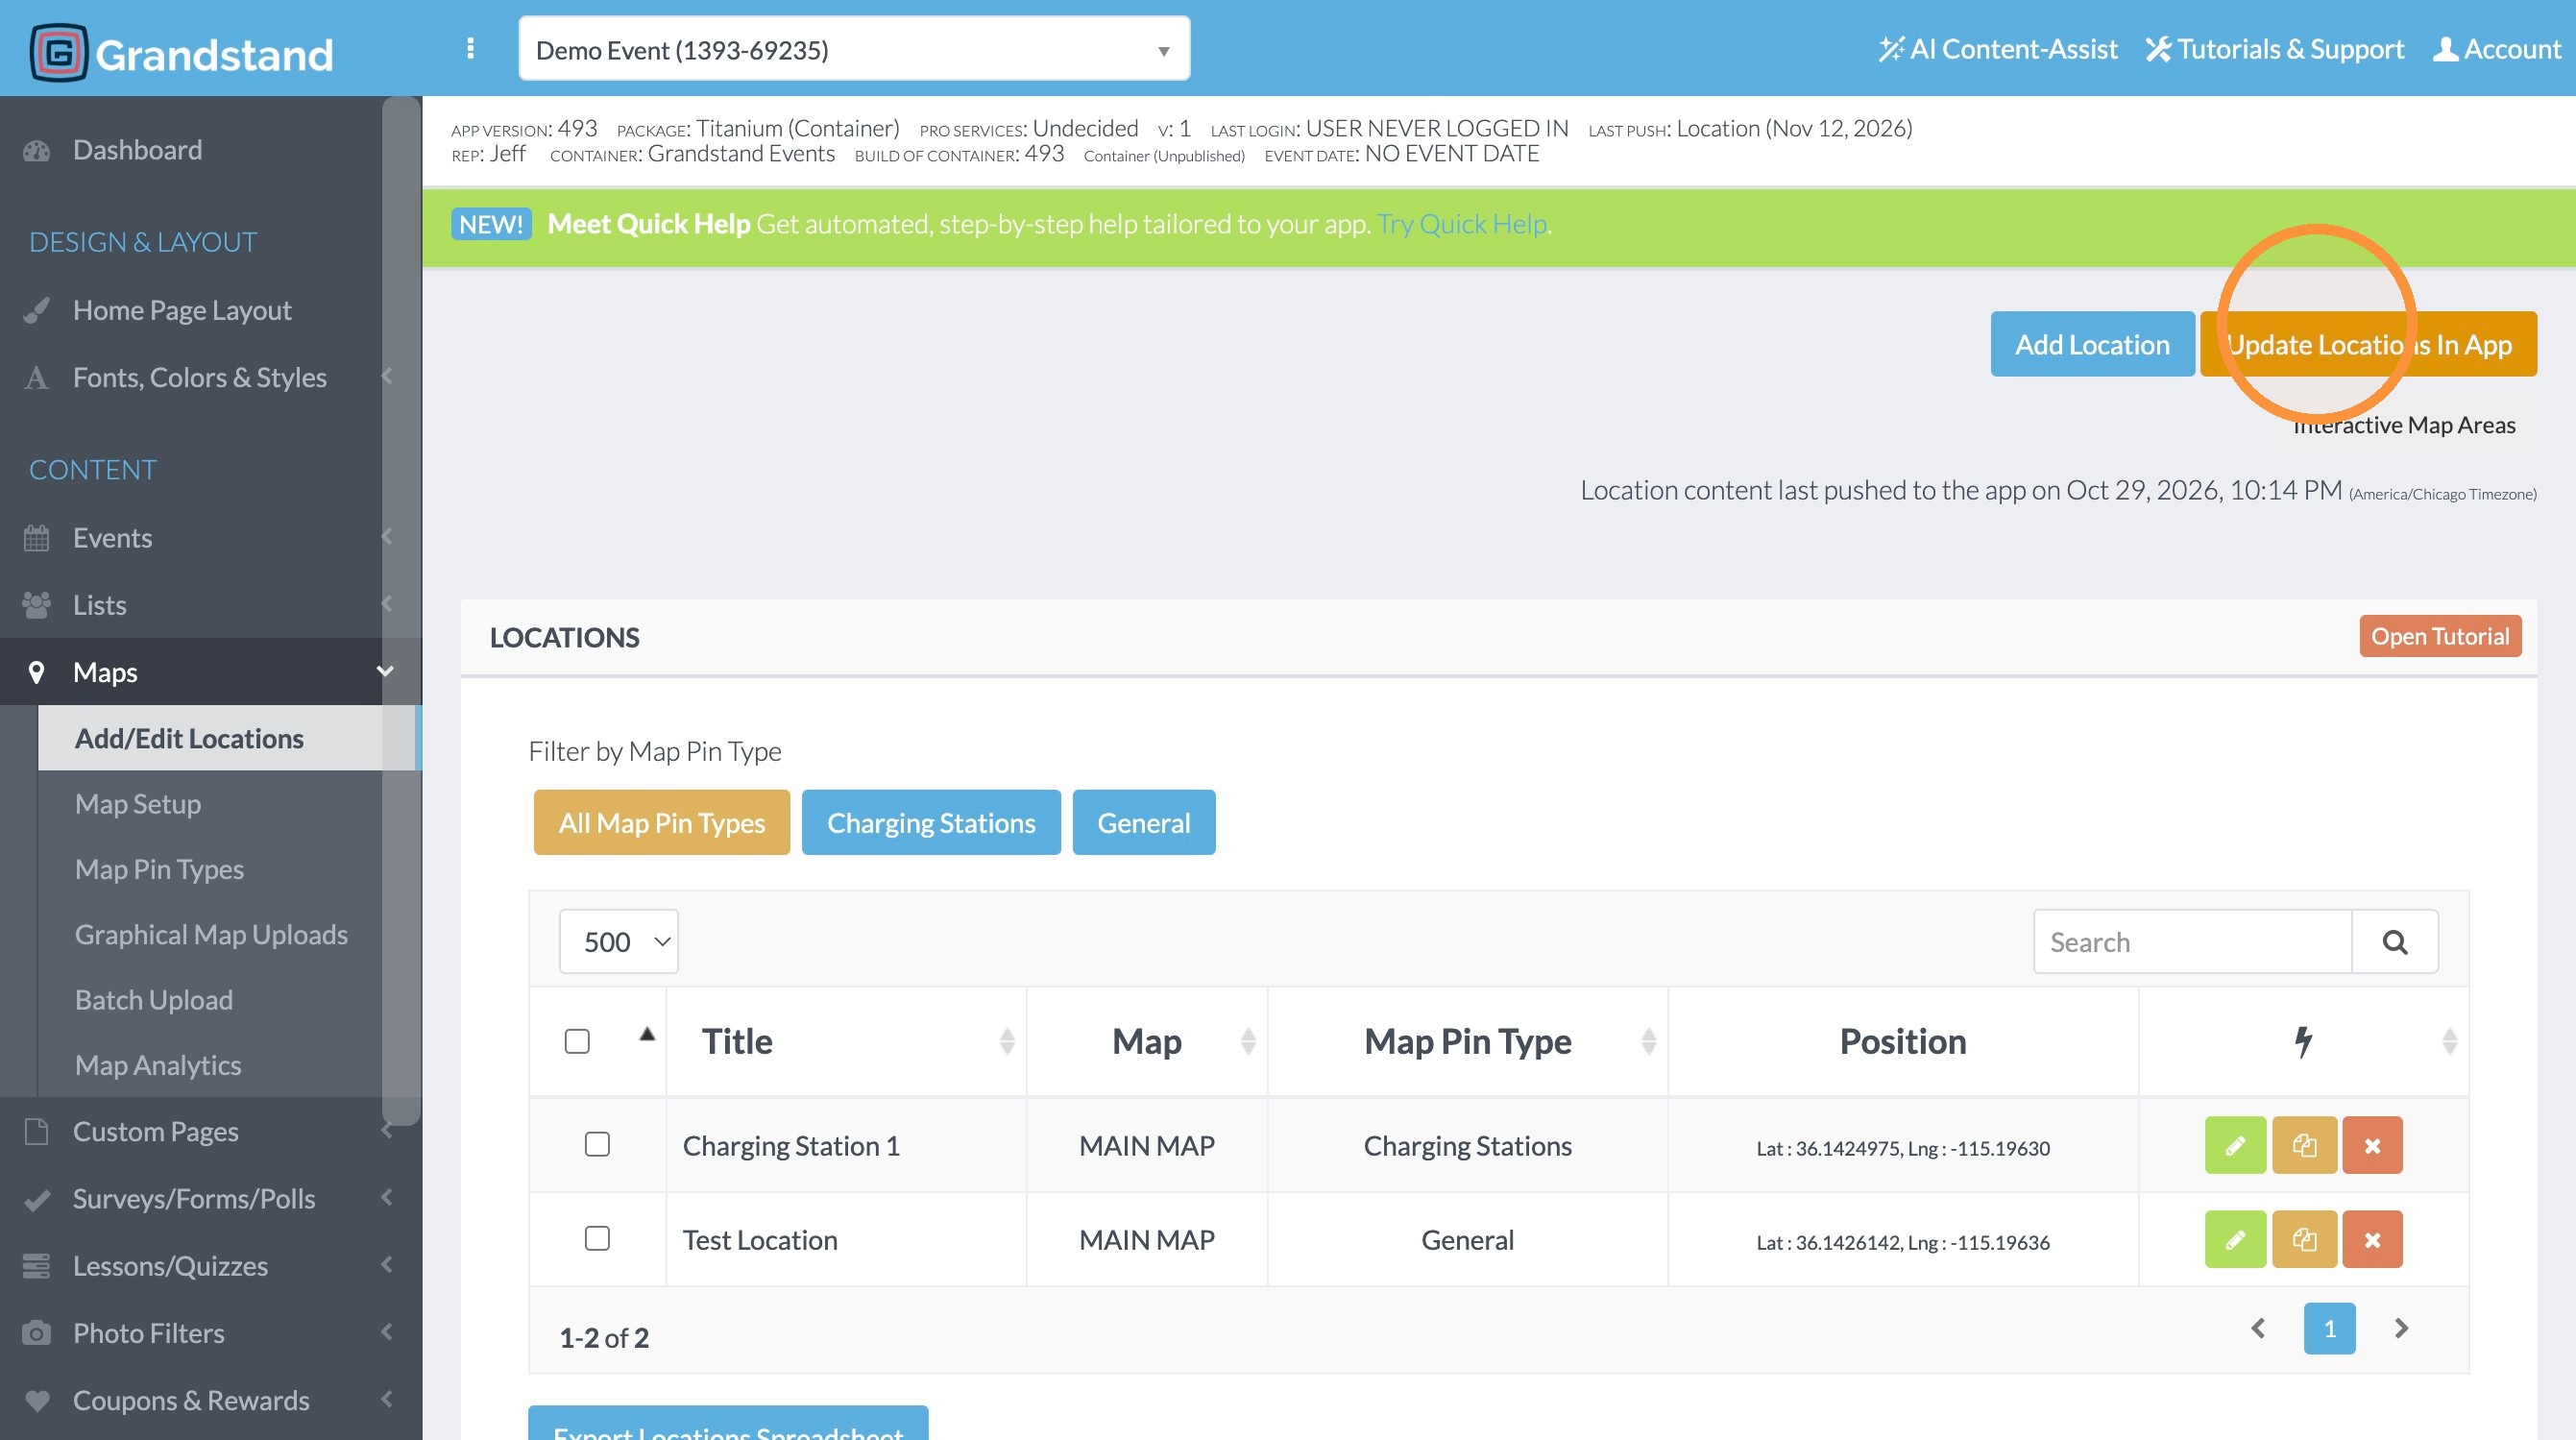
26. Click "Update Locations In App"
Create Map Graphic with AI Assist
Tip: You may want to create a set of map pins that match your selected colors and a common style, but don't have the time to design them in a graphics design. We have assistive tools to help you create these map pins.
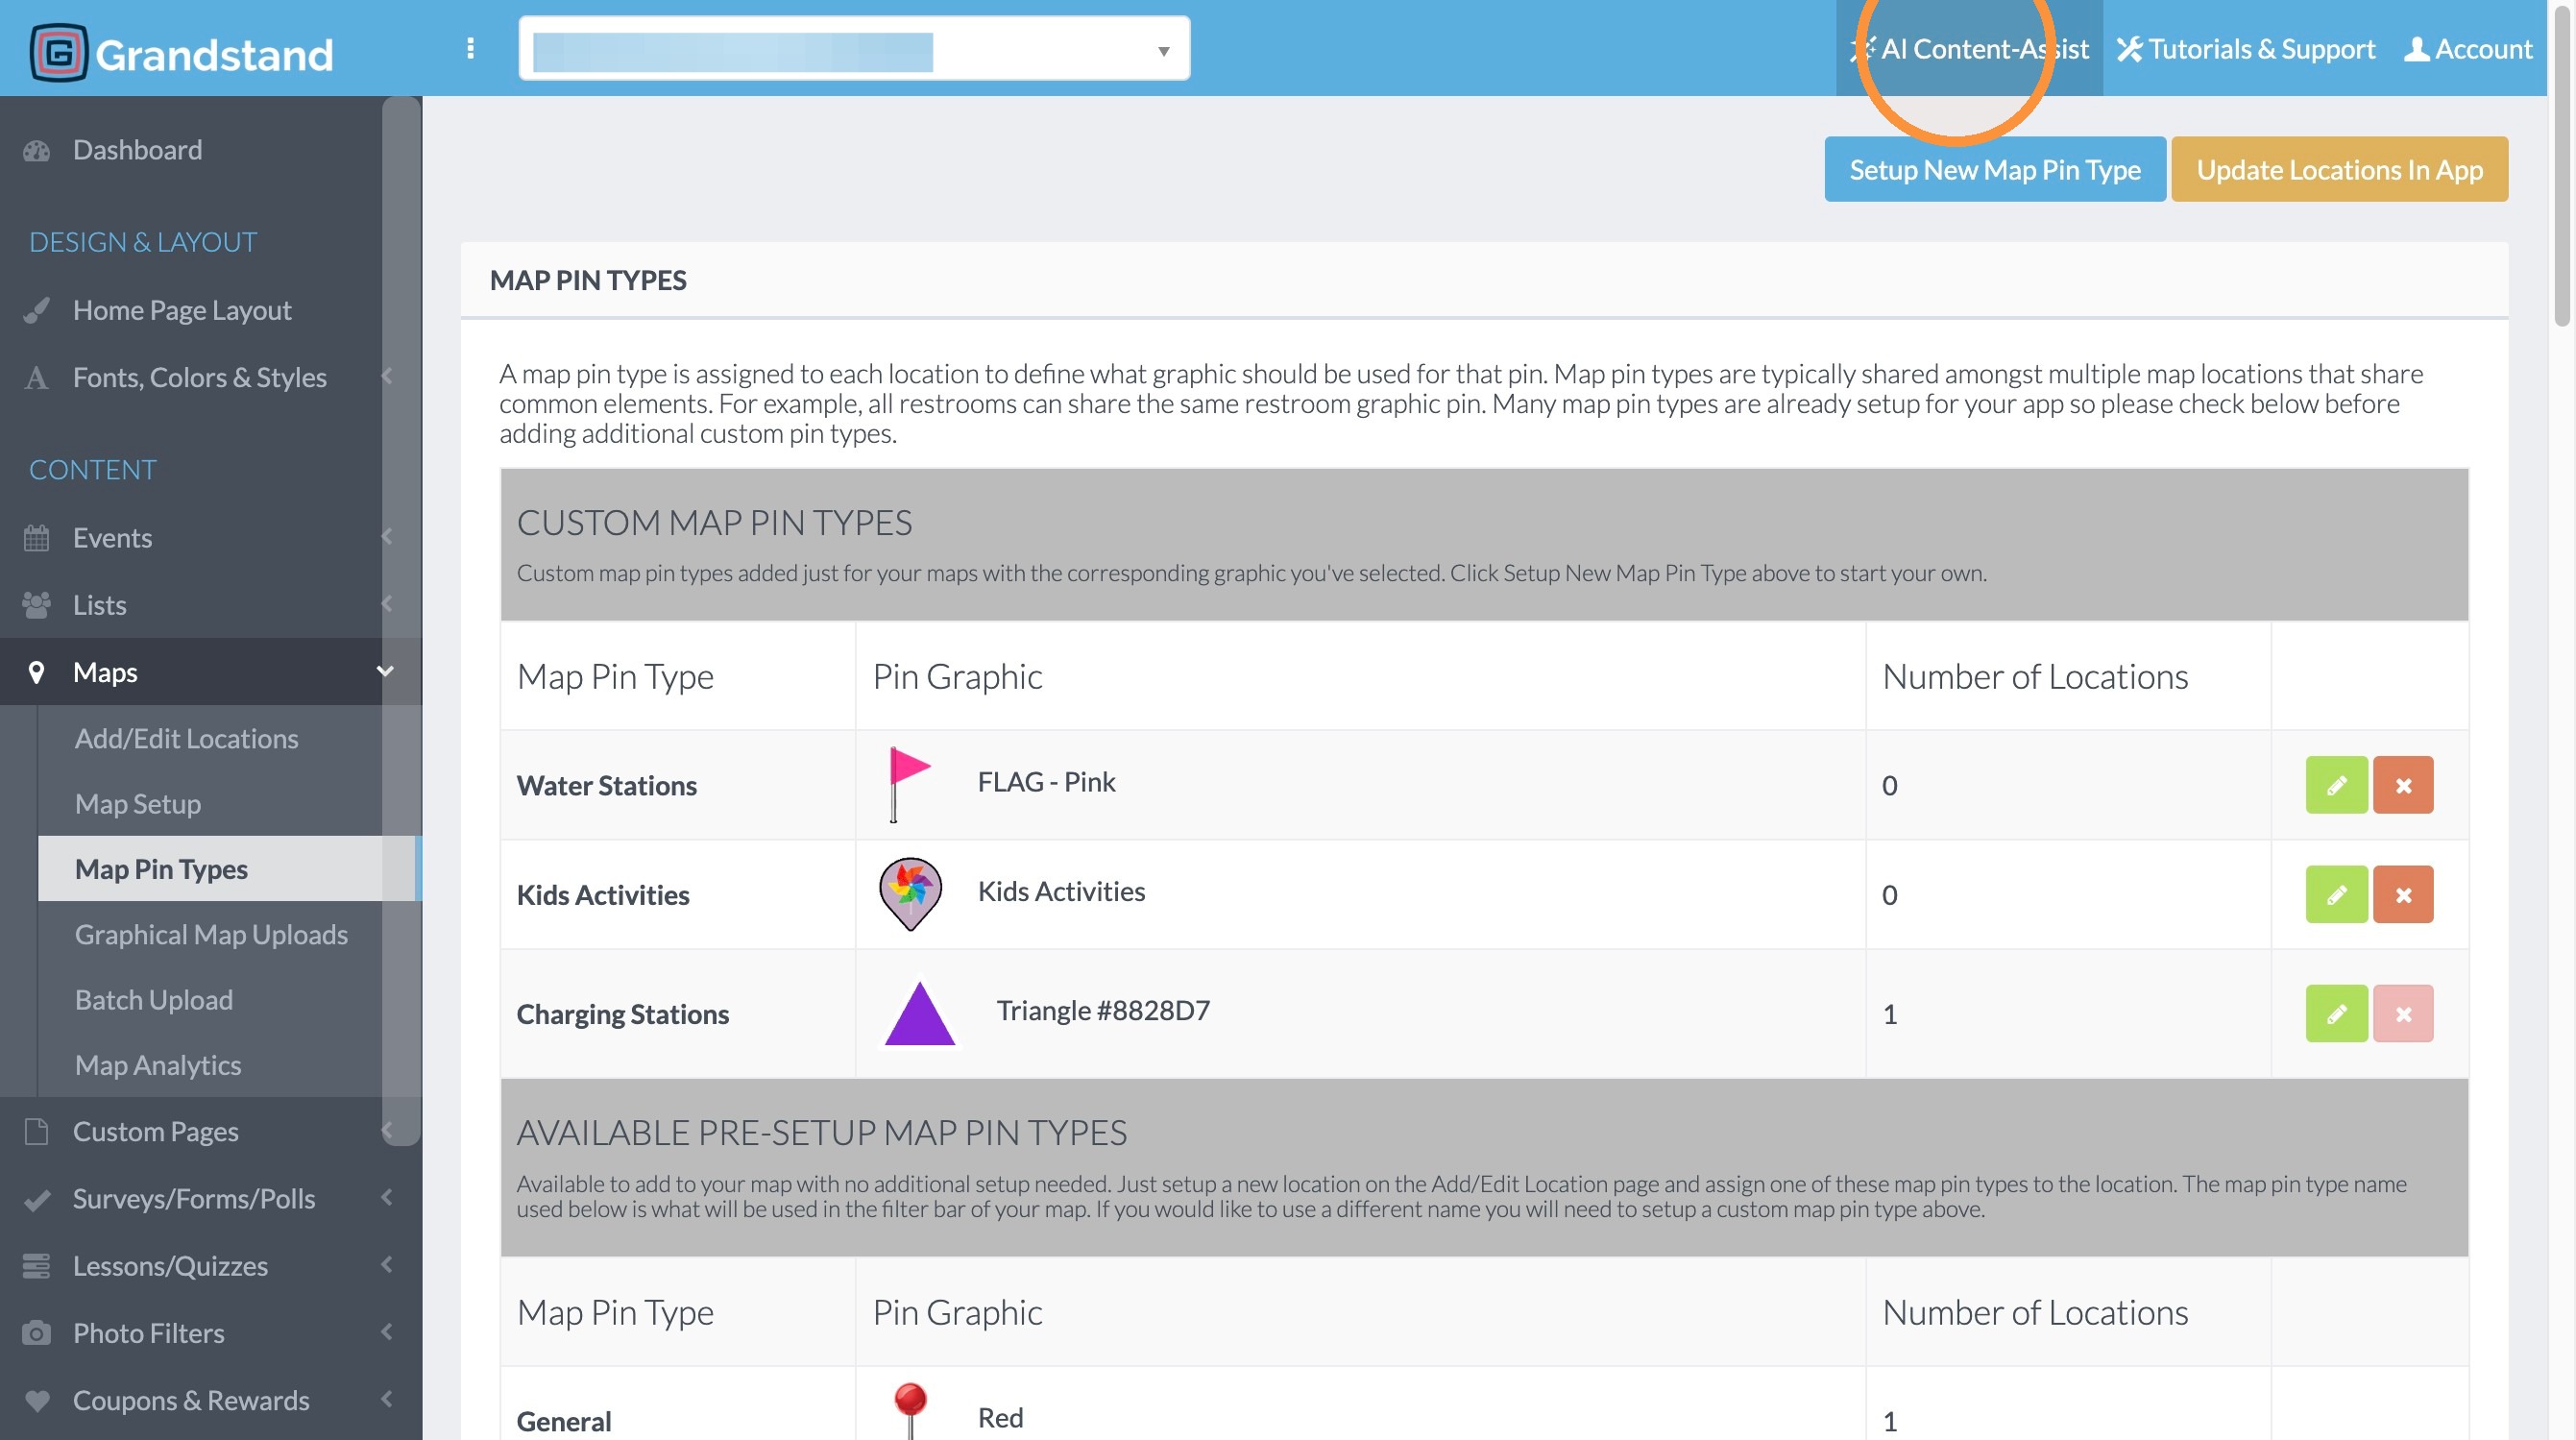
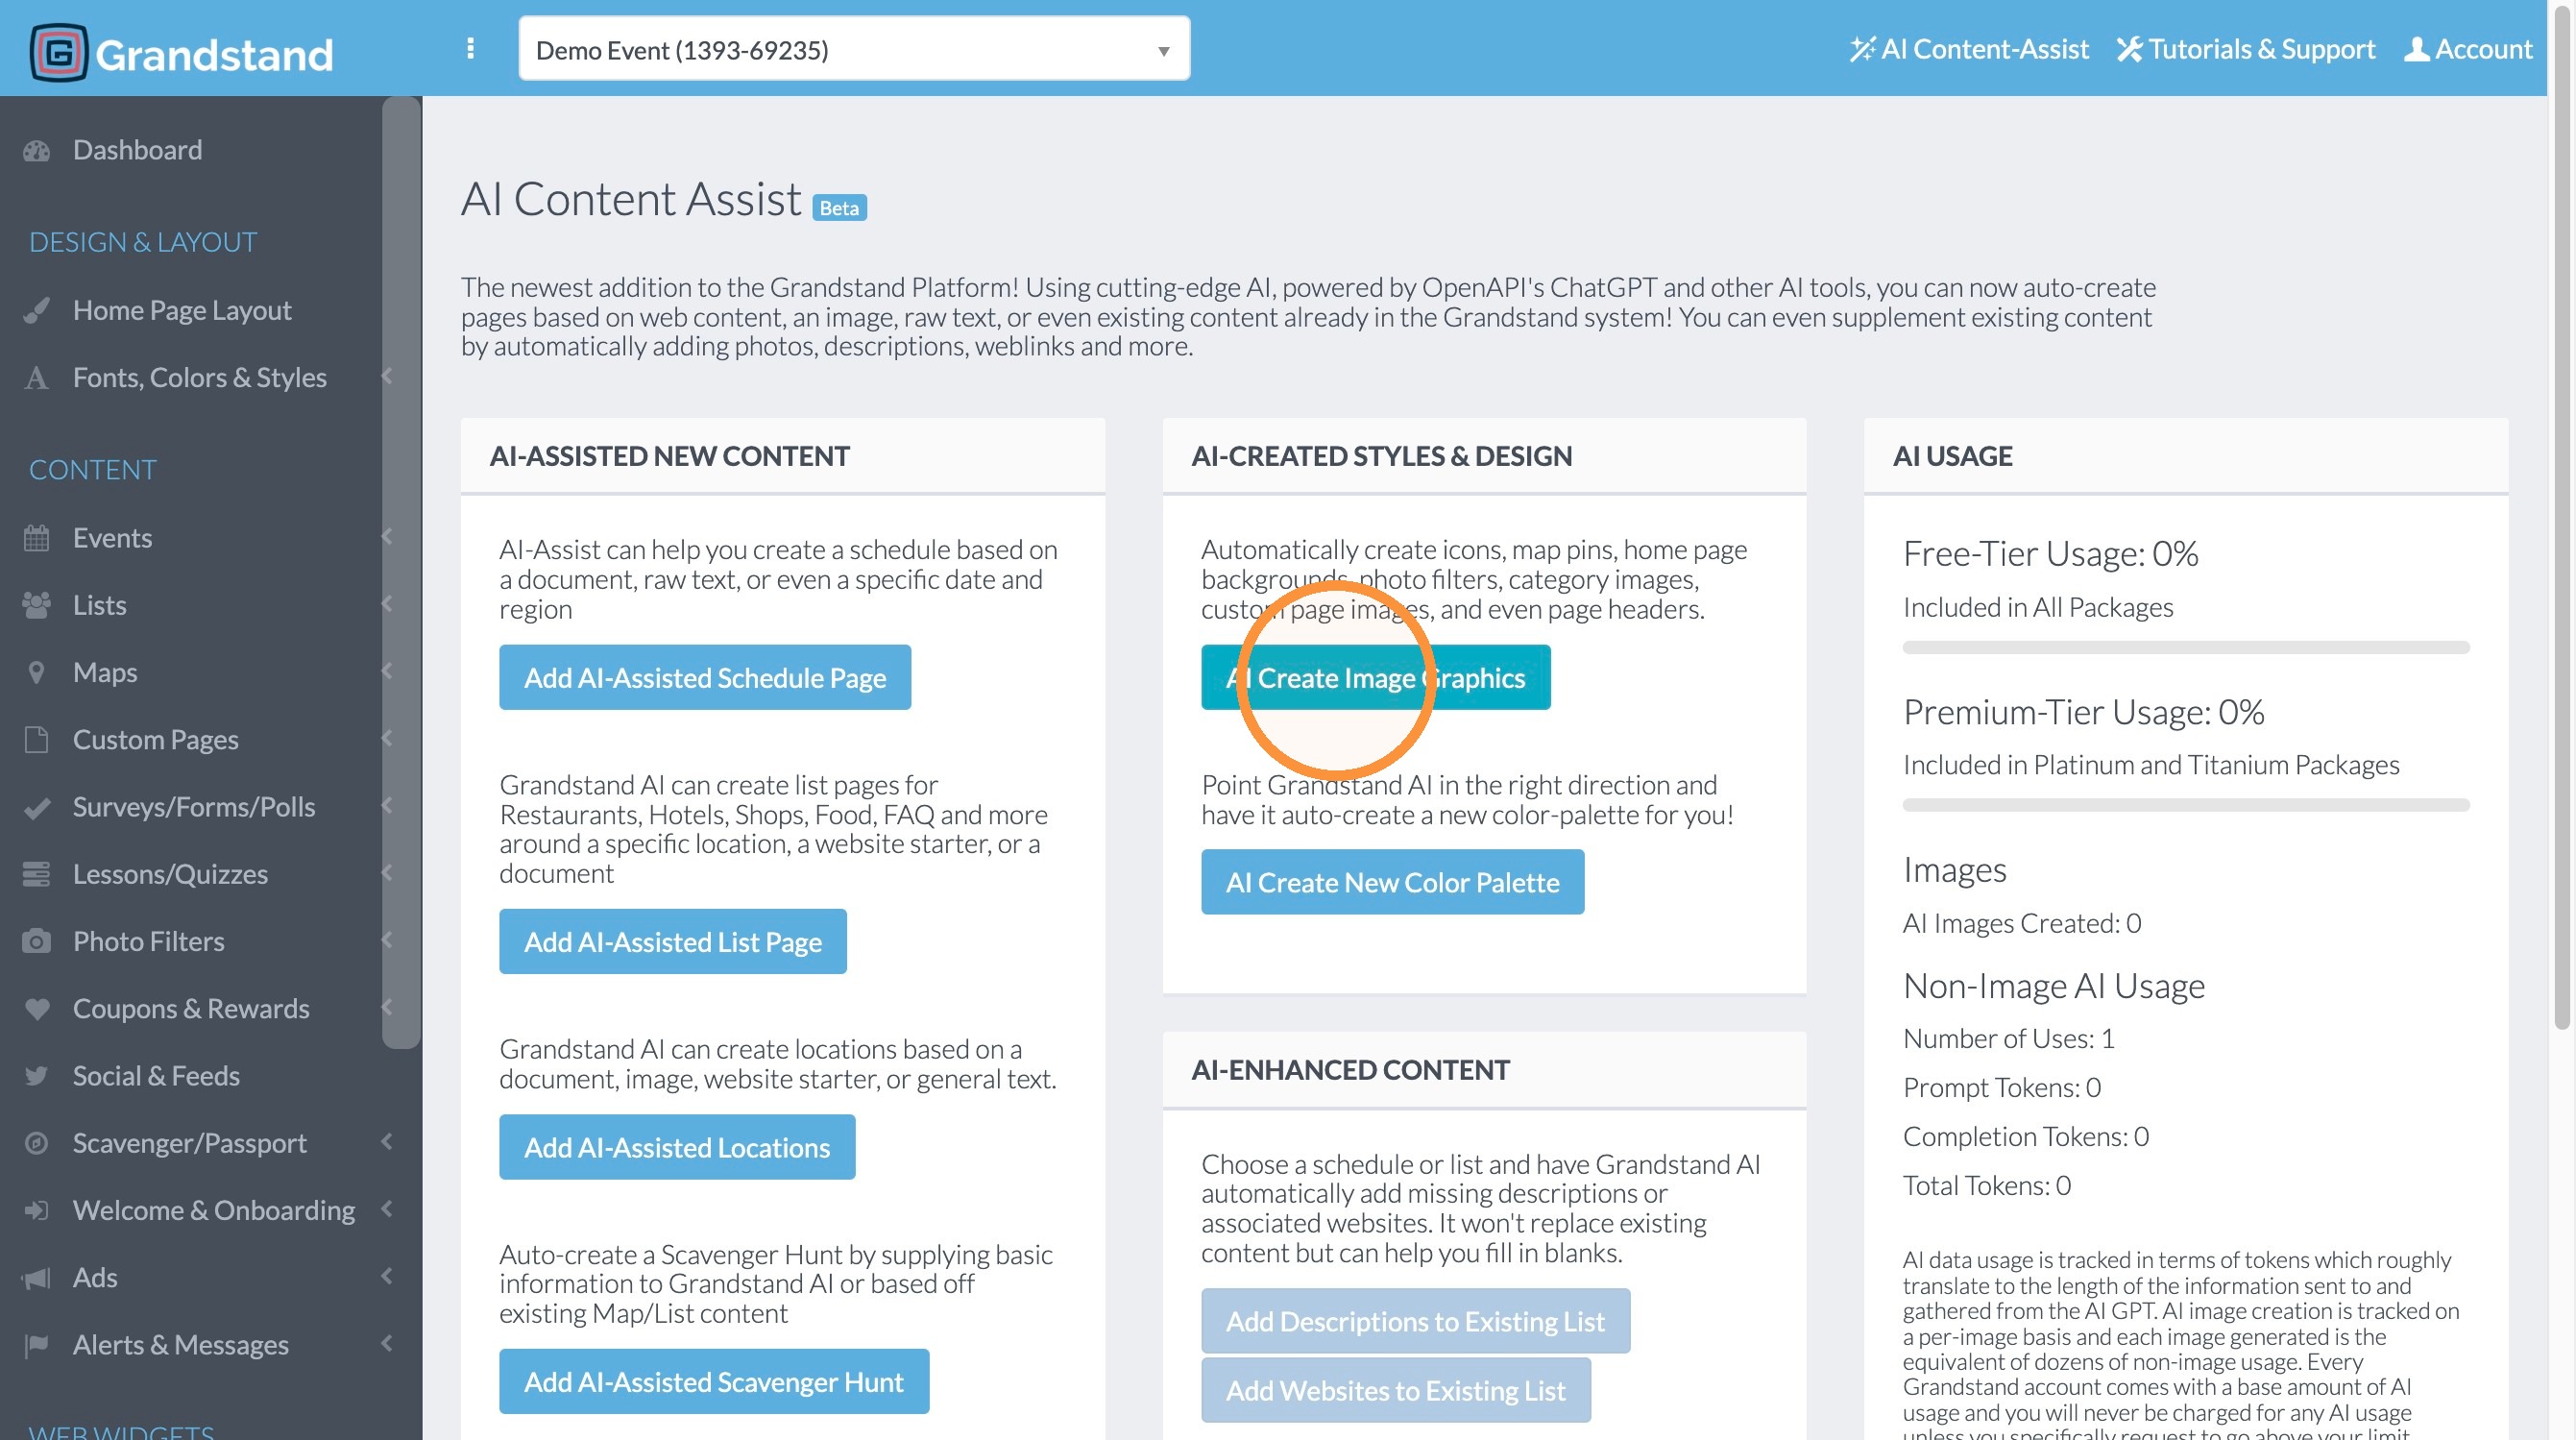
27. Click "AI Content-Assist"
28. Click "AI Create Image Graphics"
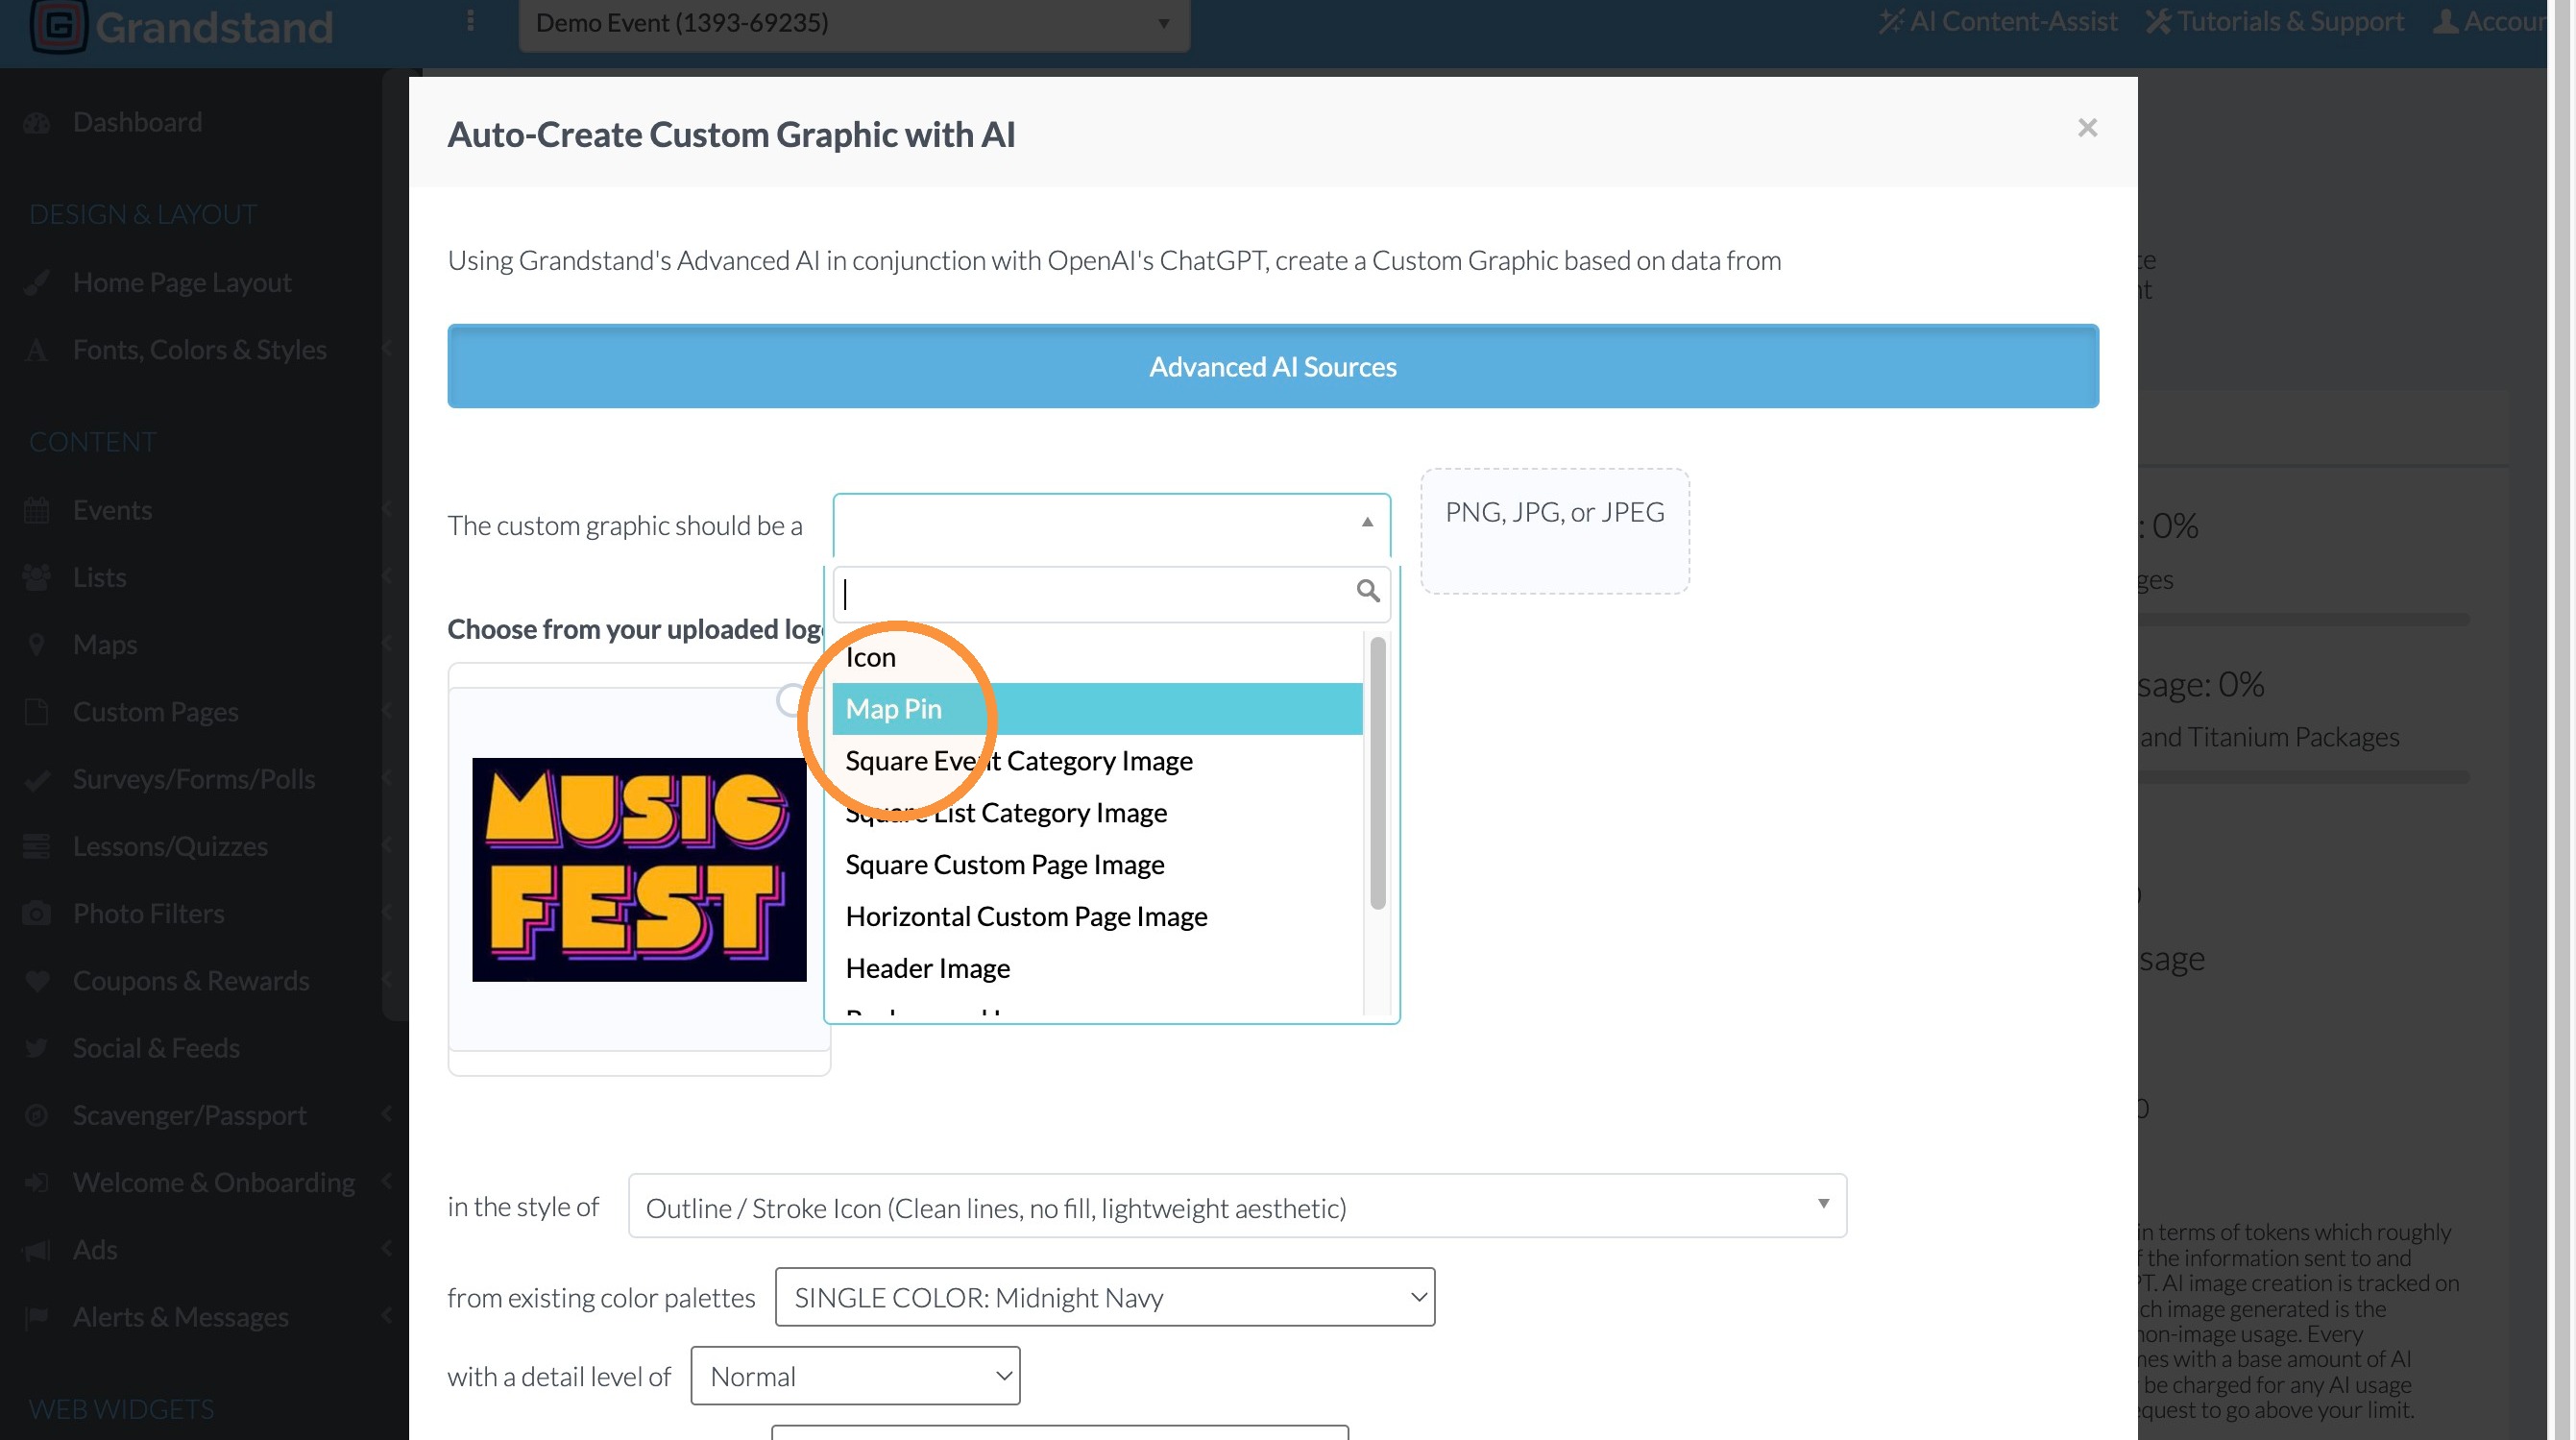
29. Click dropdown for the type of graphic. Here we are creating a "Map Pin"
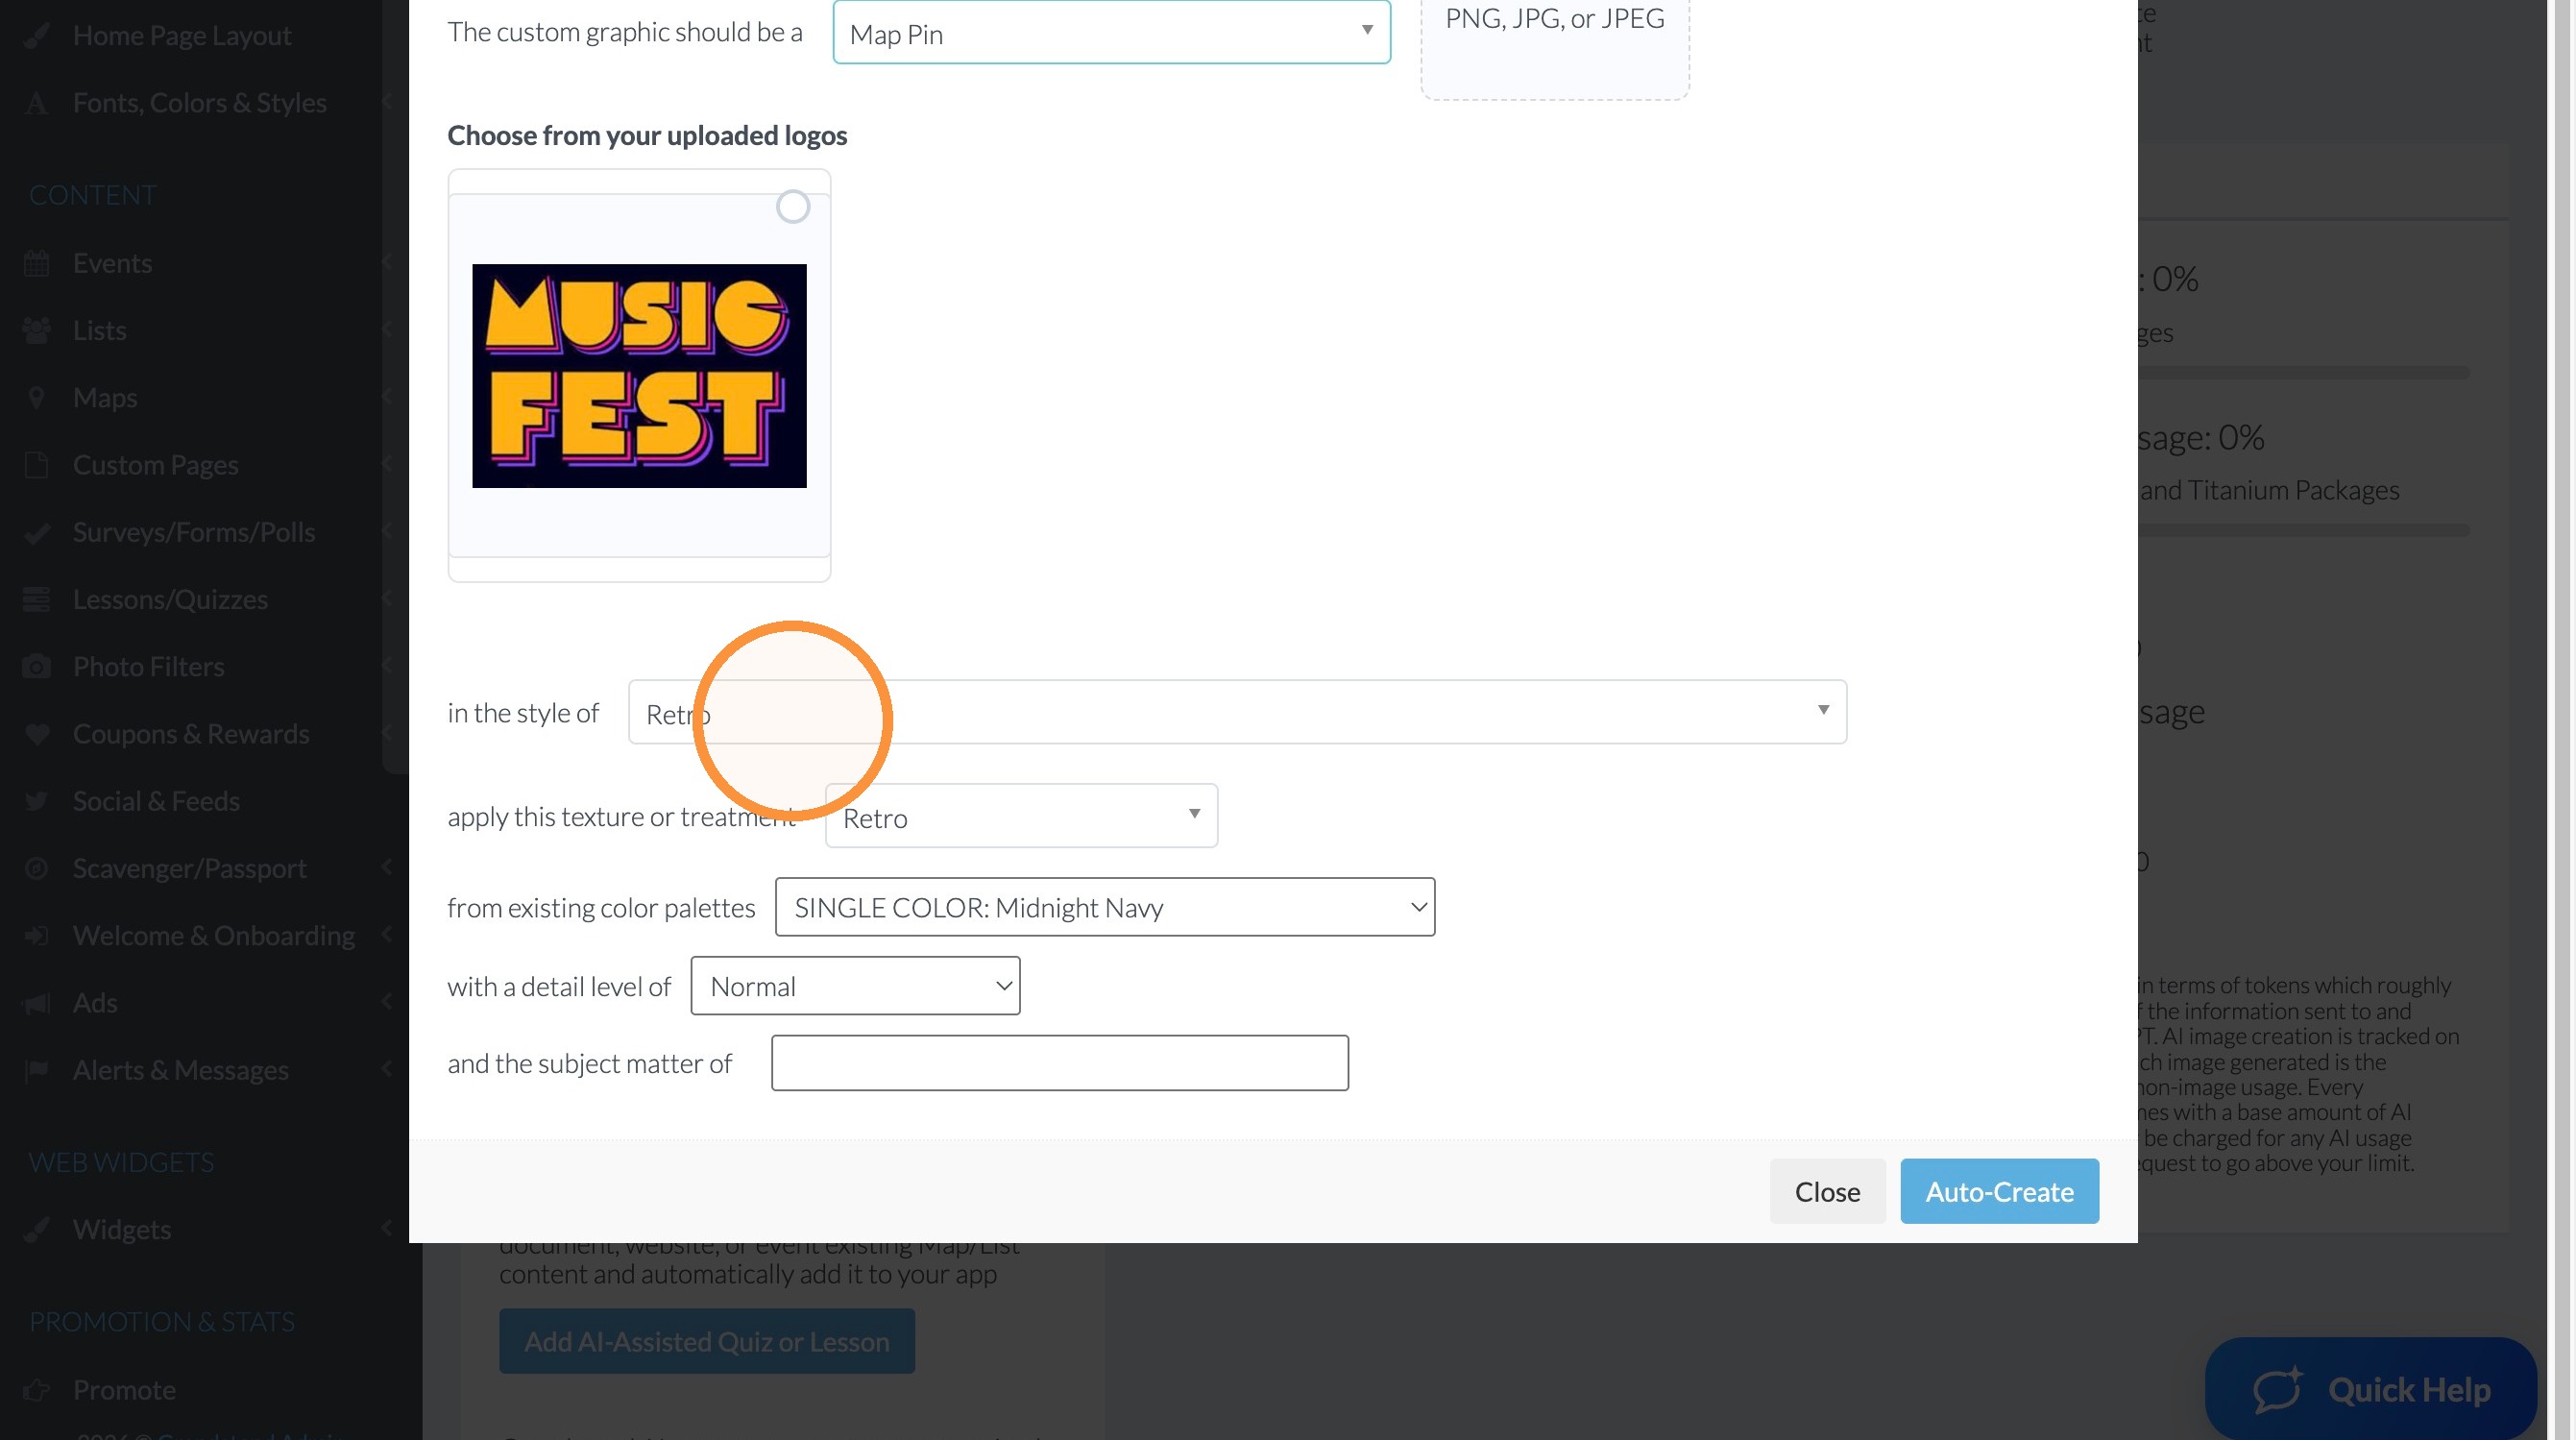
30. Click the dropdown for the style and select the type of style you want to use.
31. Click the dropdown for the color to use and select the option you like.
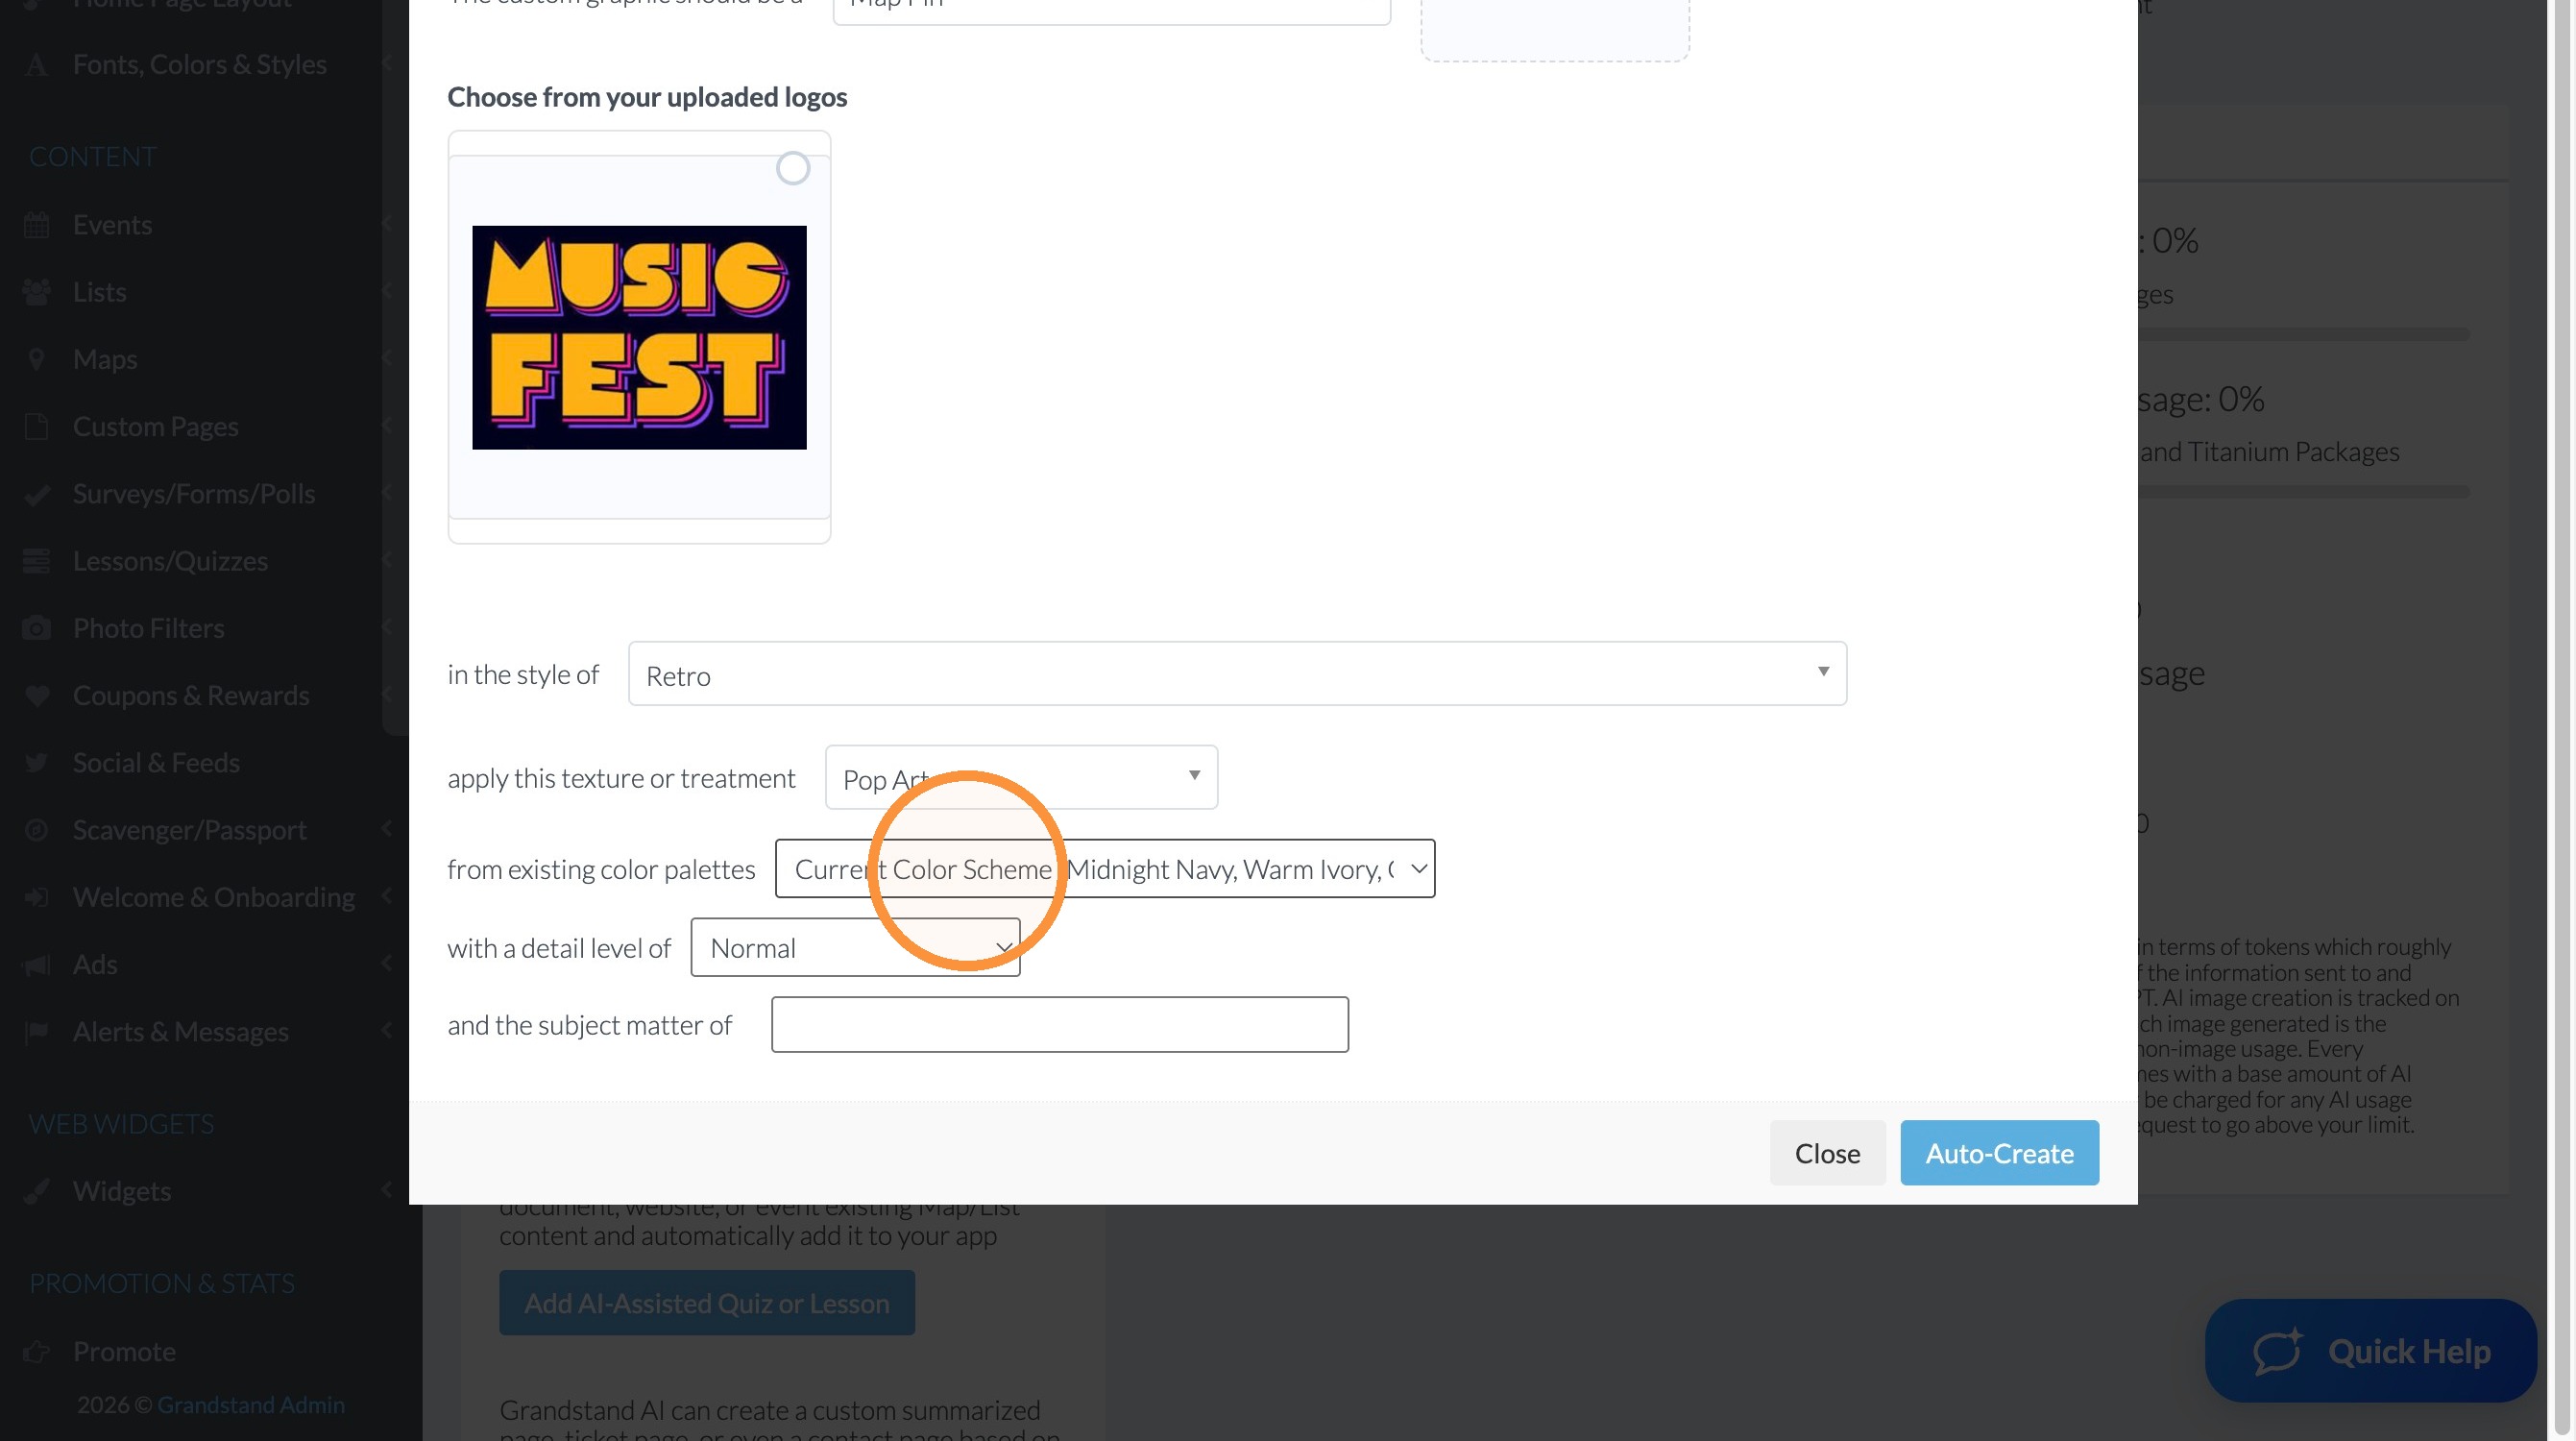
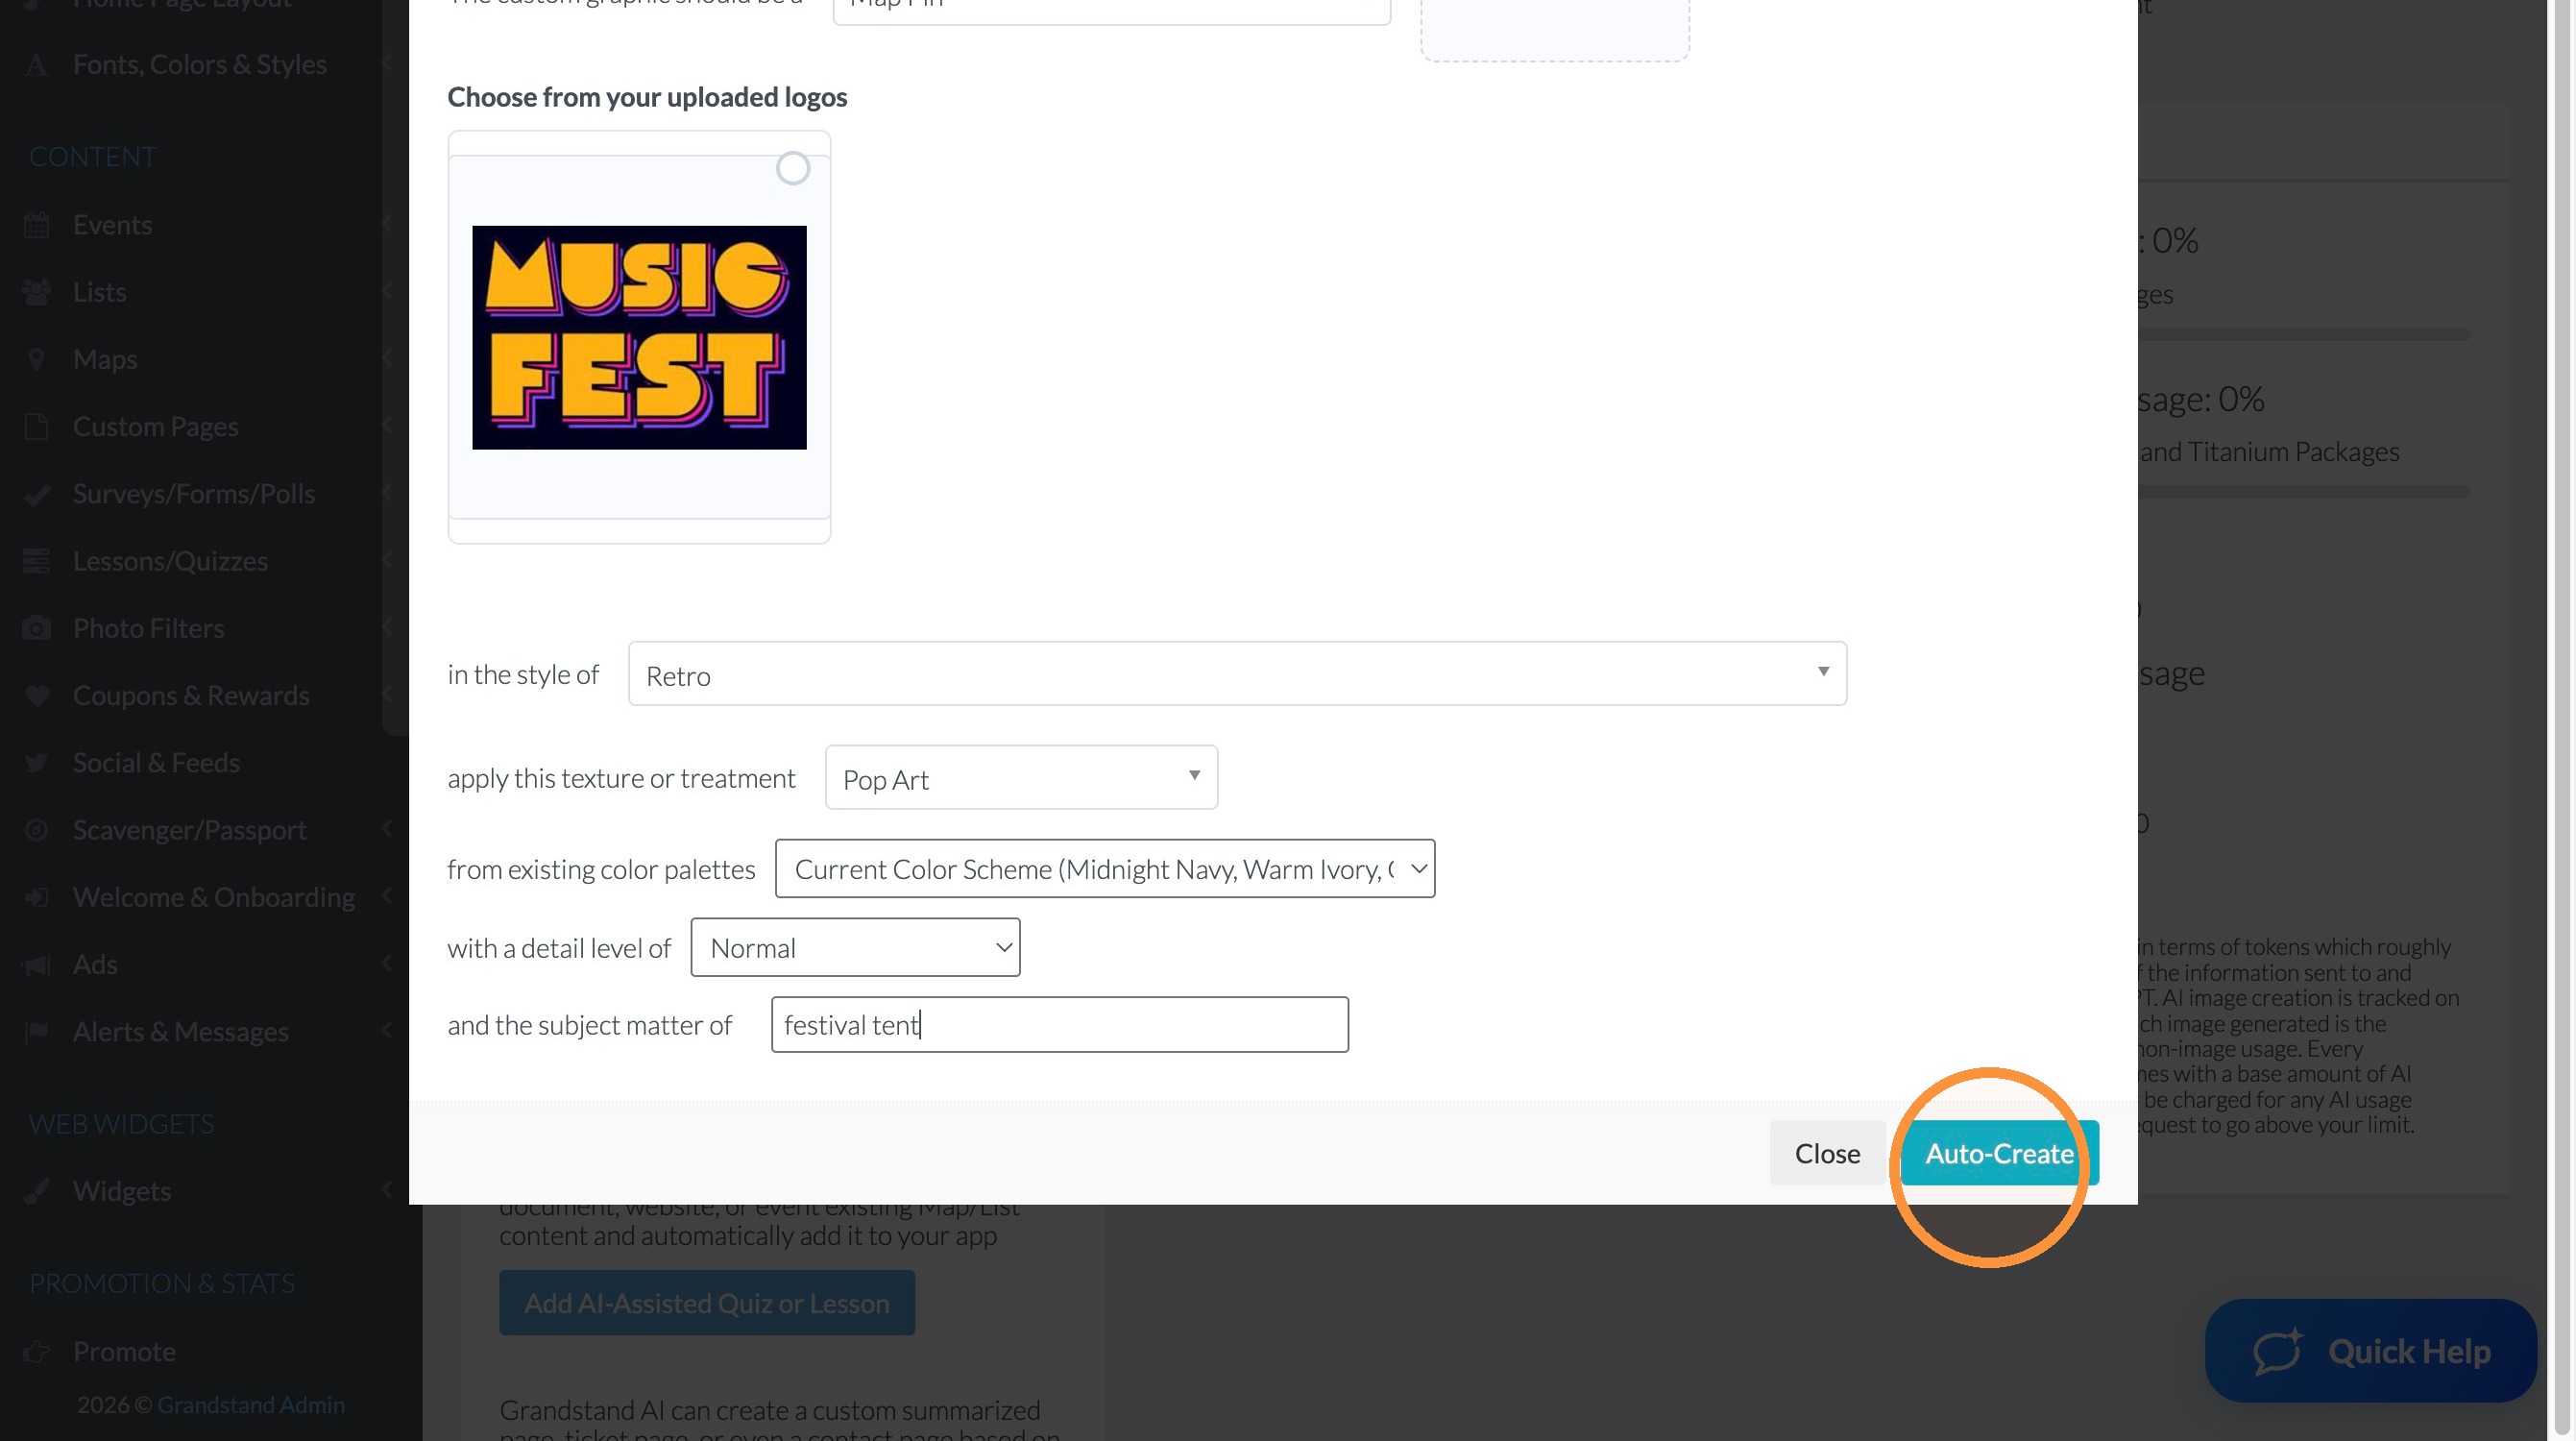
32. Enter the subject matter in the subject field. Be as precise as you would like.
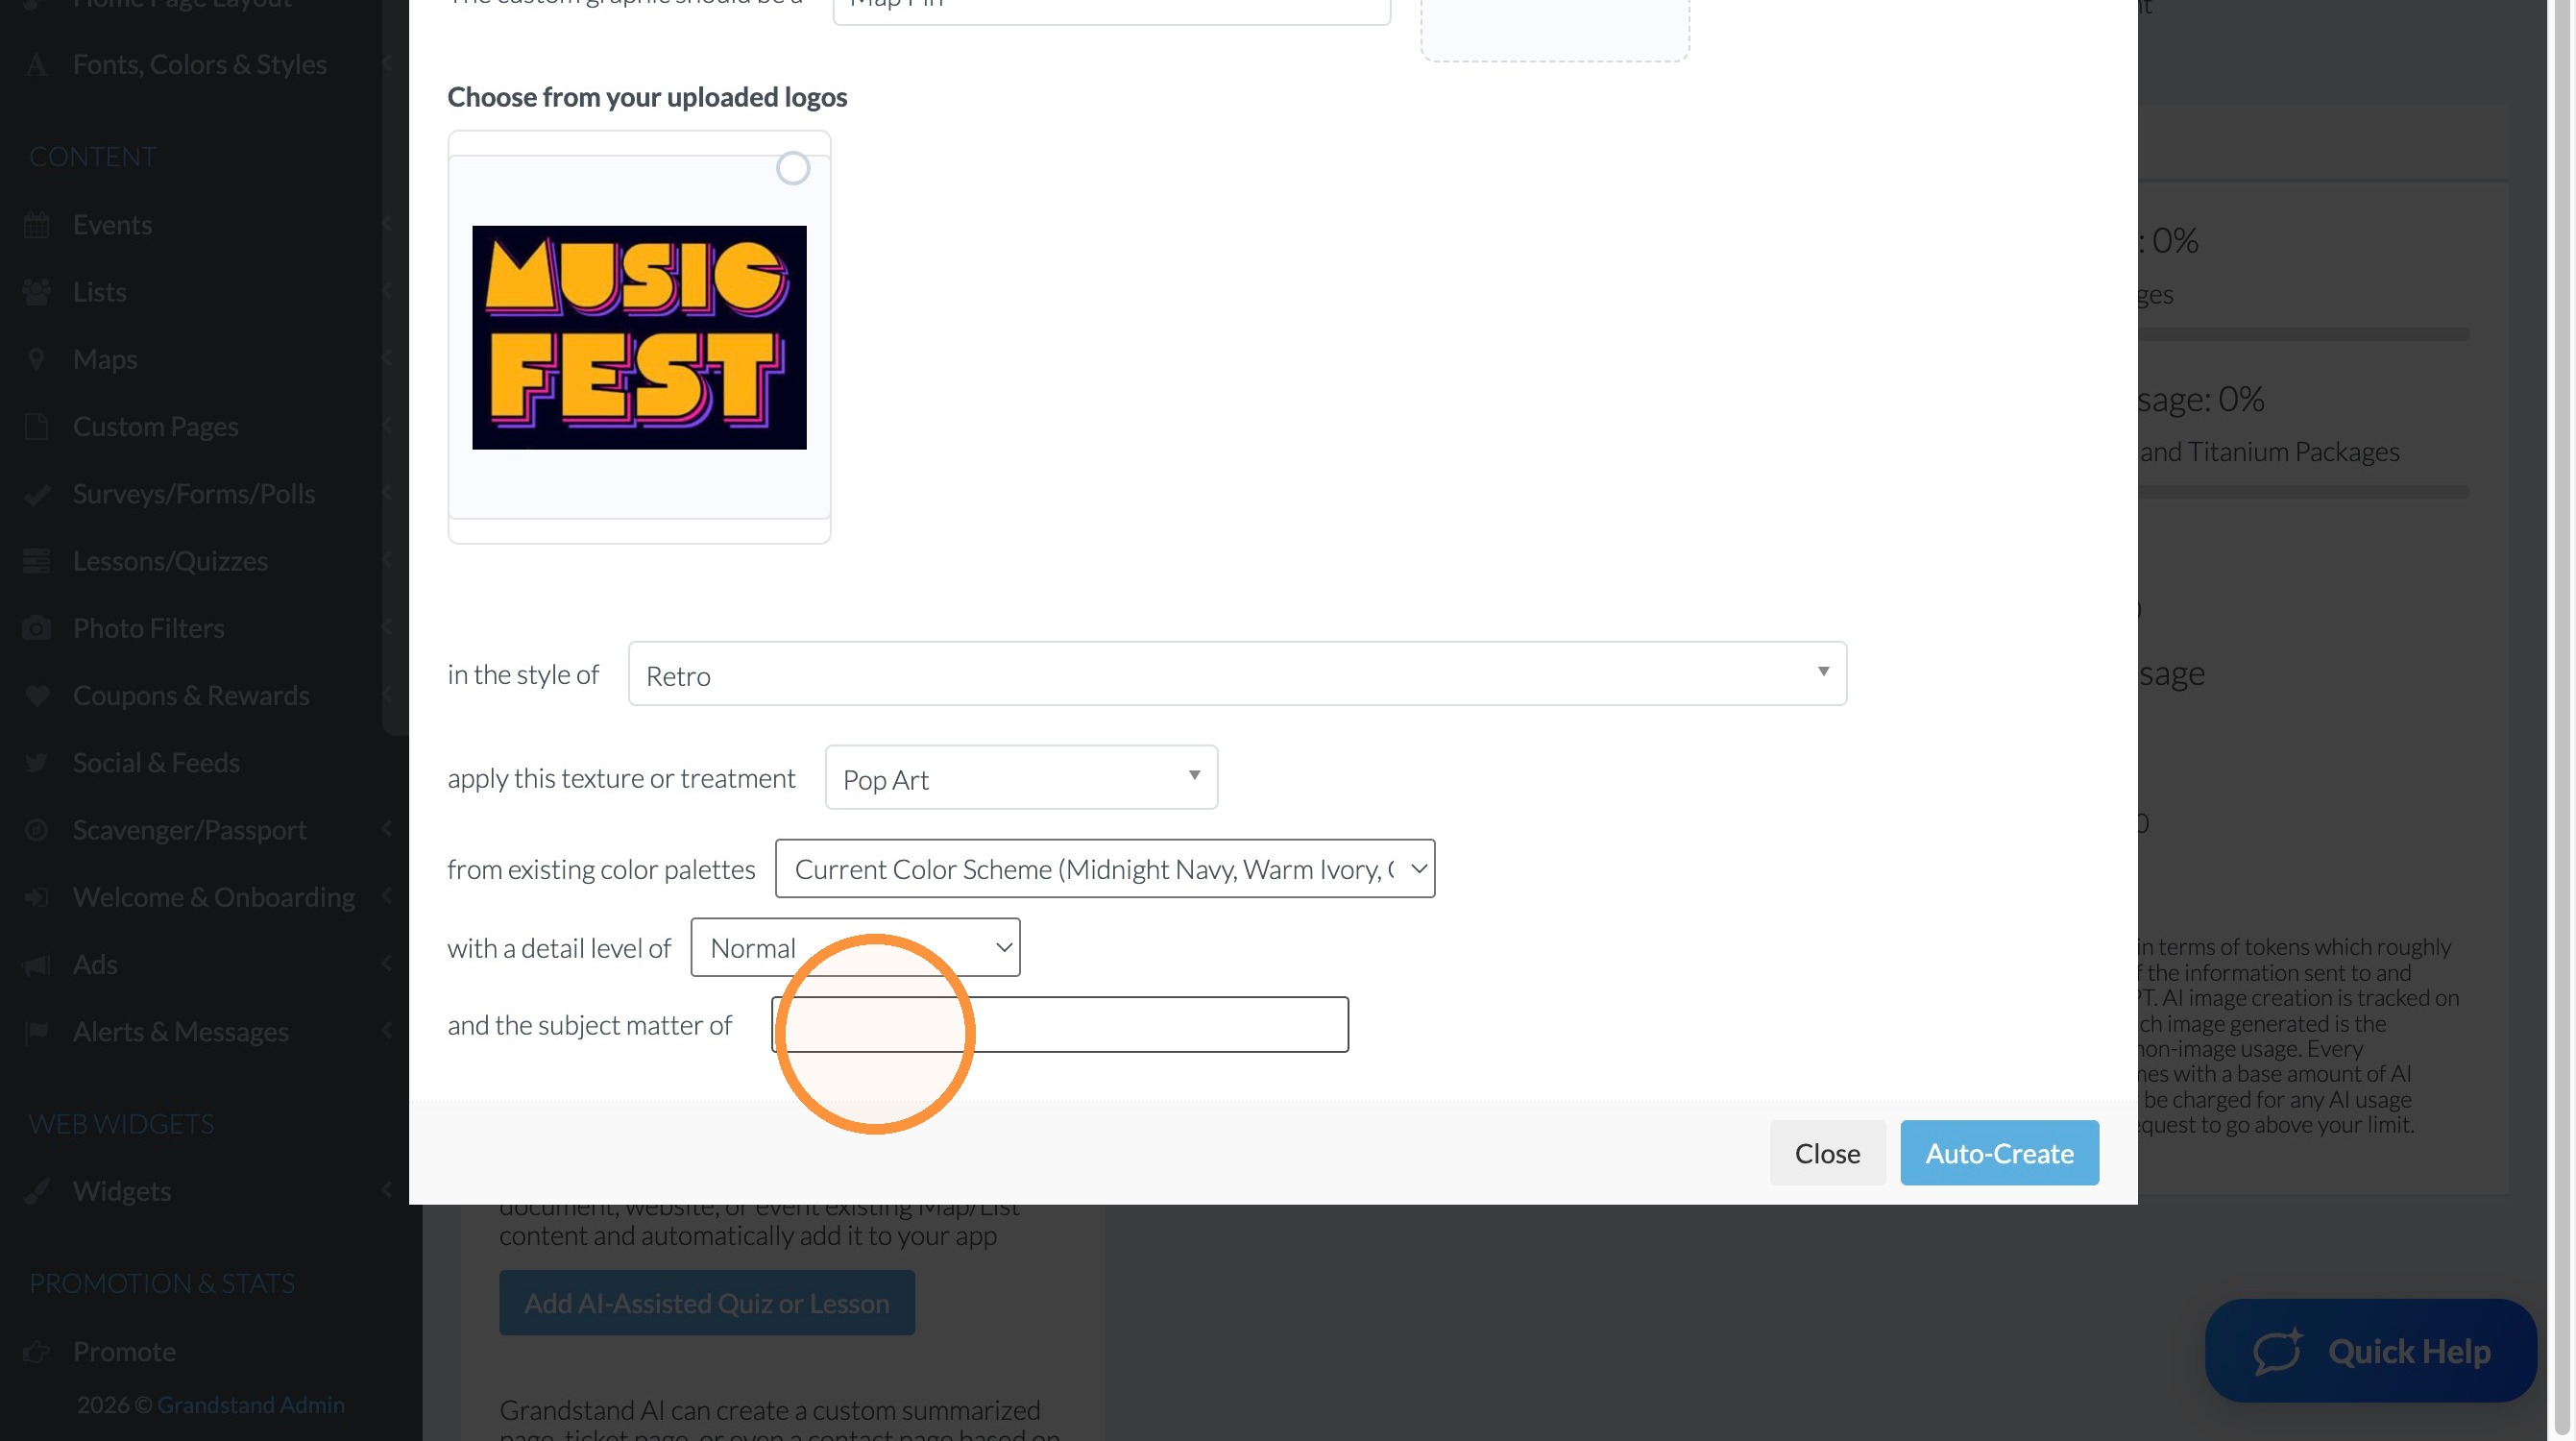
33. Click "Auto-Create"
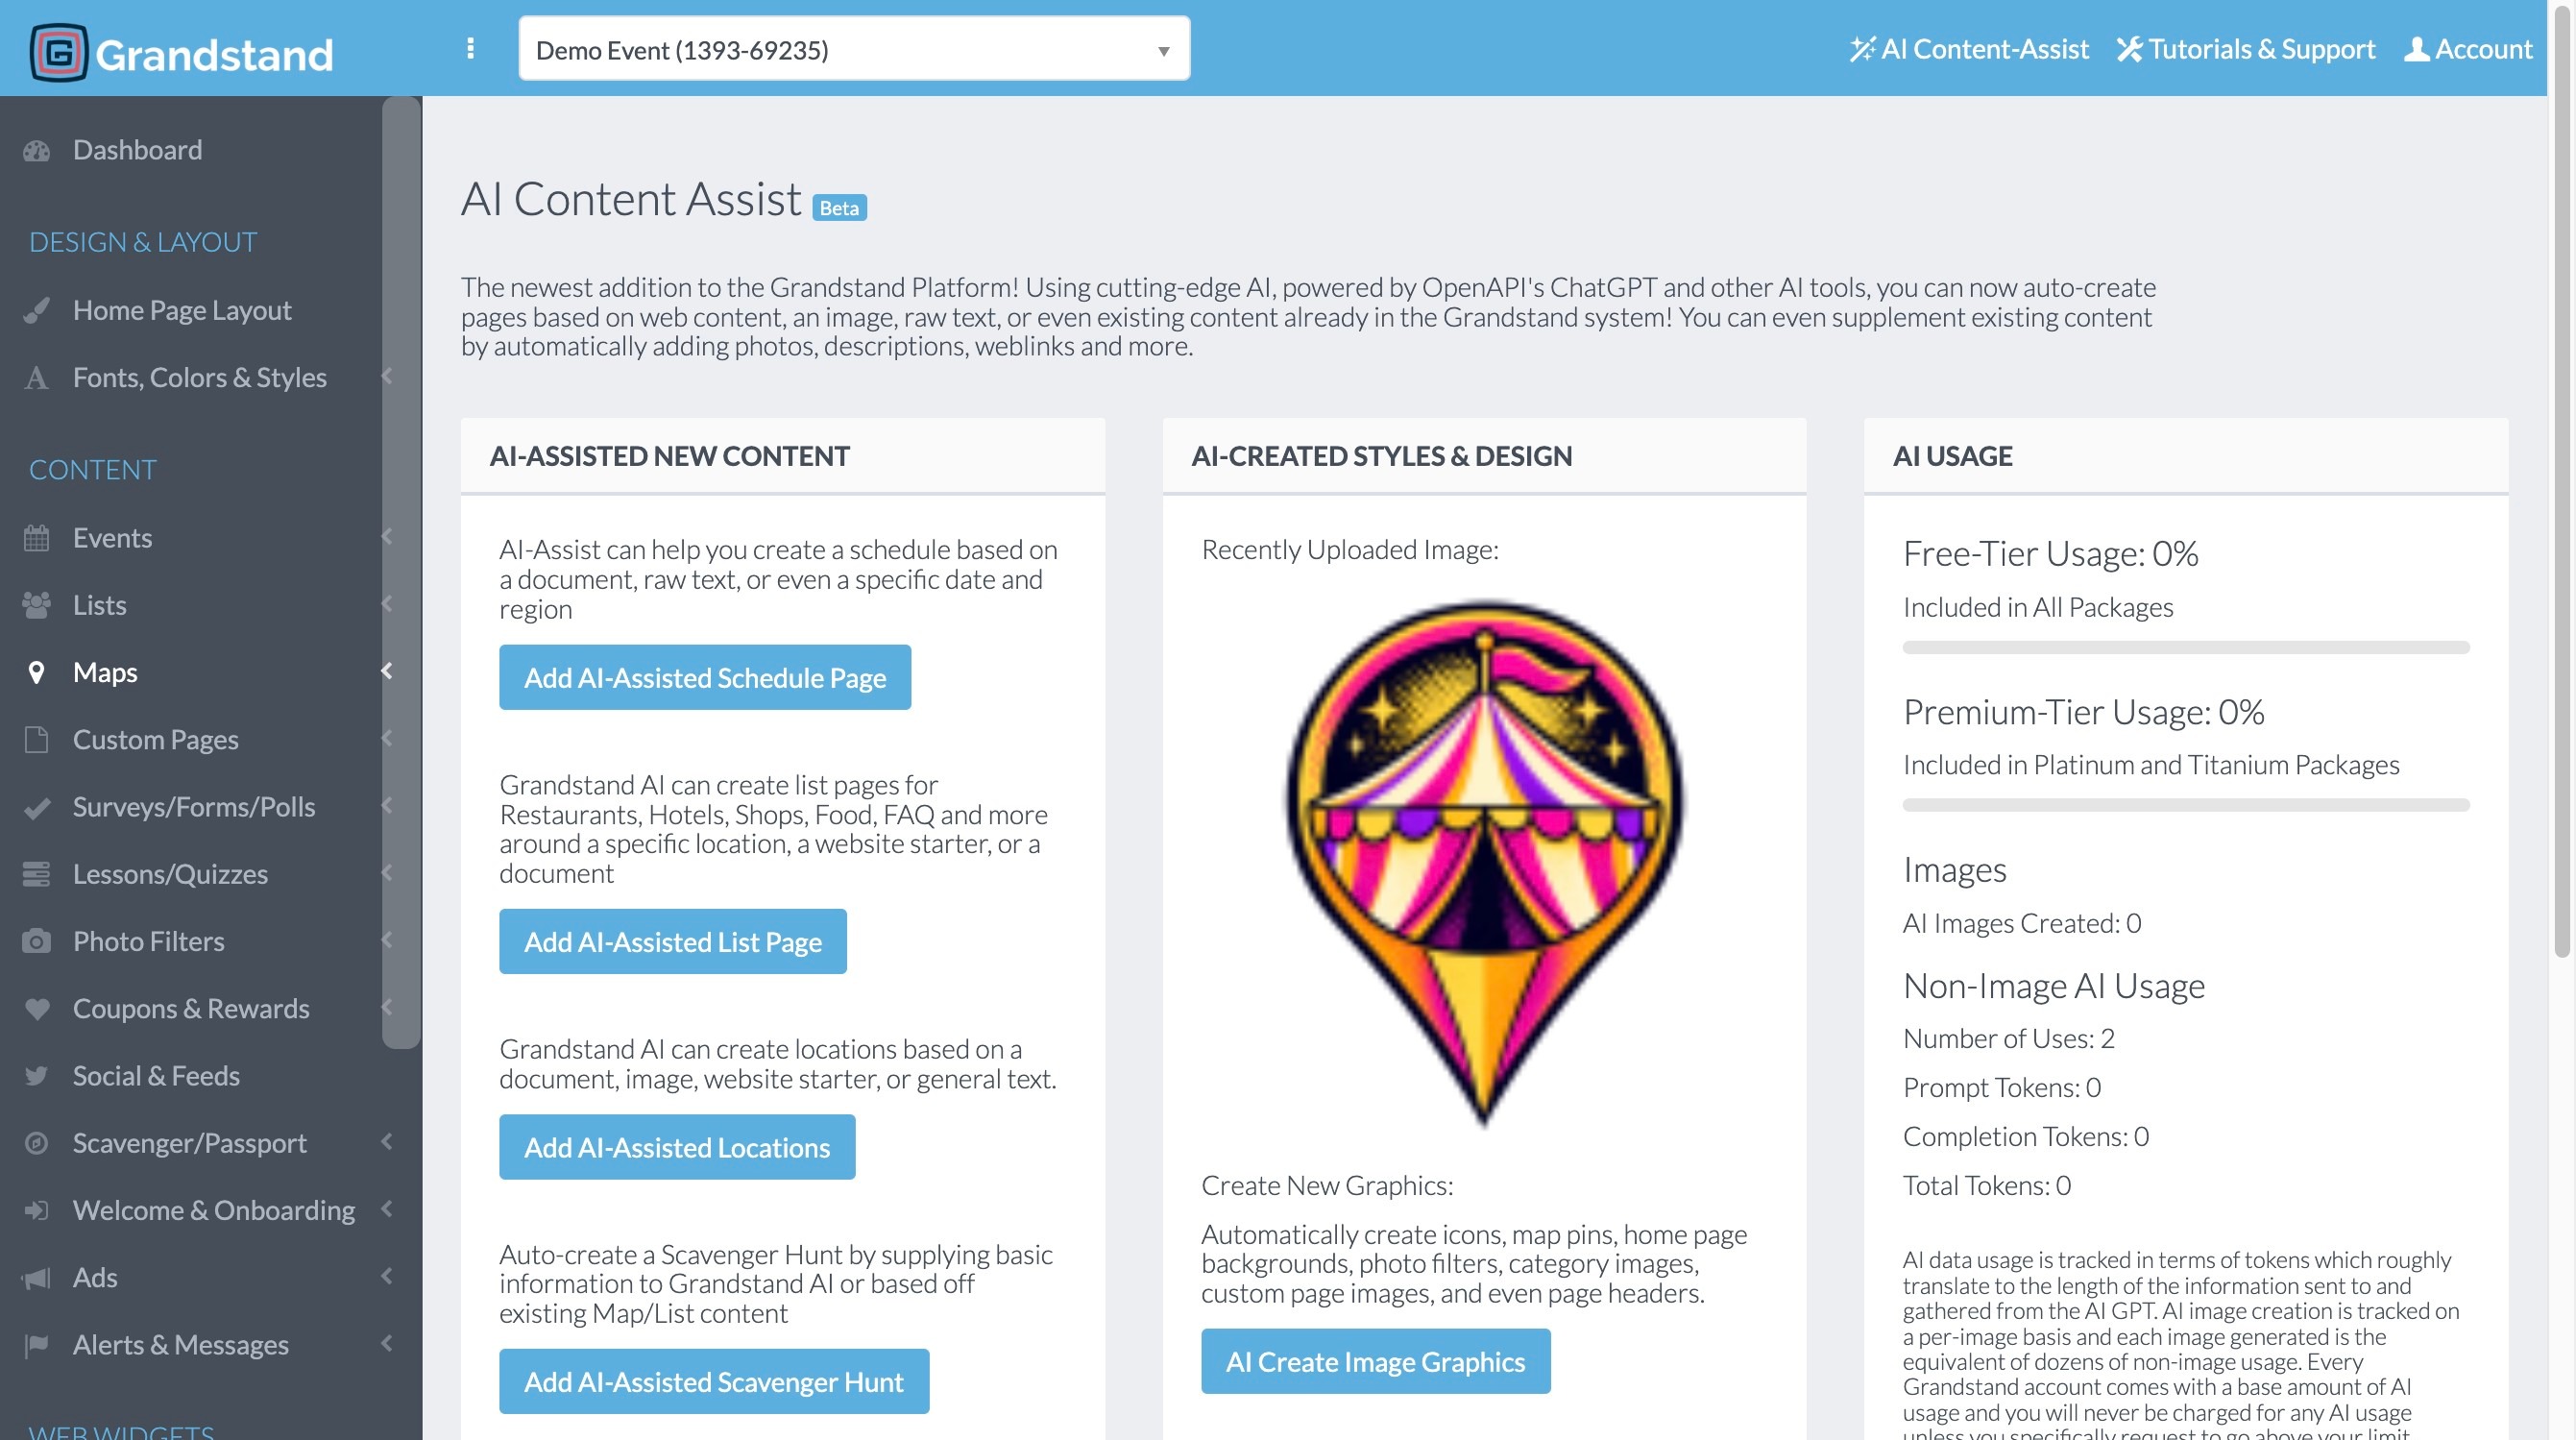
34. The pin image will be shown on the page. The image is also now available under the graphic pin types just like the pre-loaded images we selected from in the first option for map pin graphics.
Configure Map Pin Type
35. Next you will need to assign the map pin image to a map pin type.
36. Click "Map Pin Types"
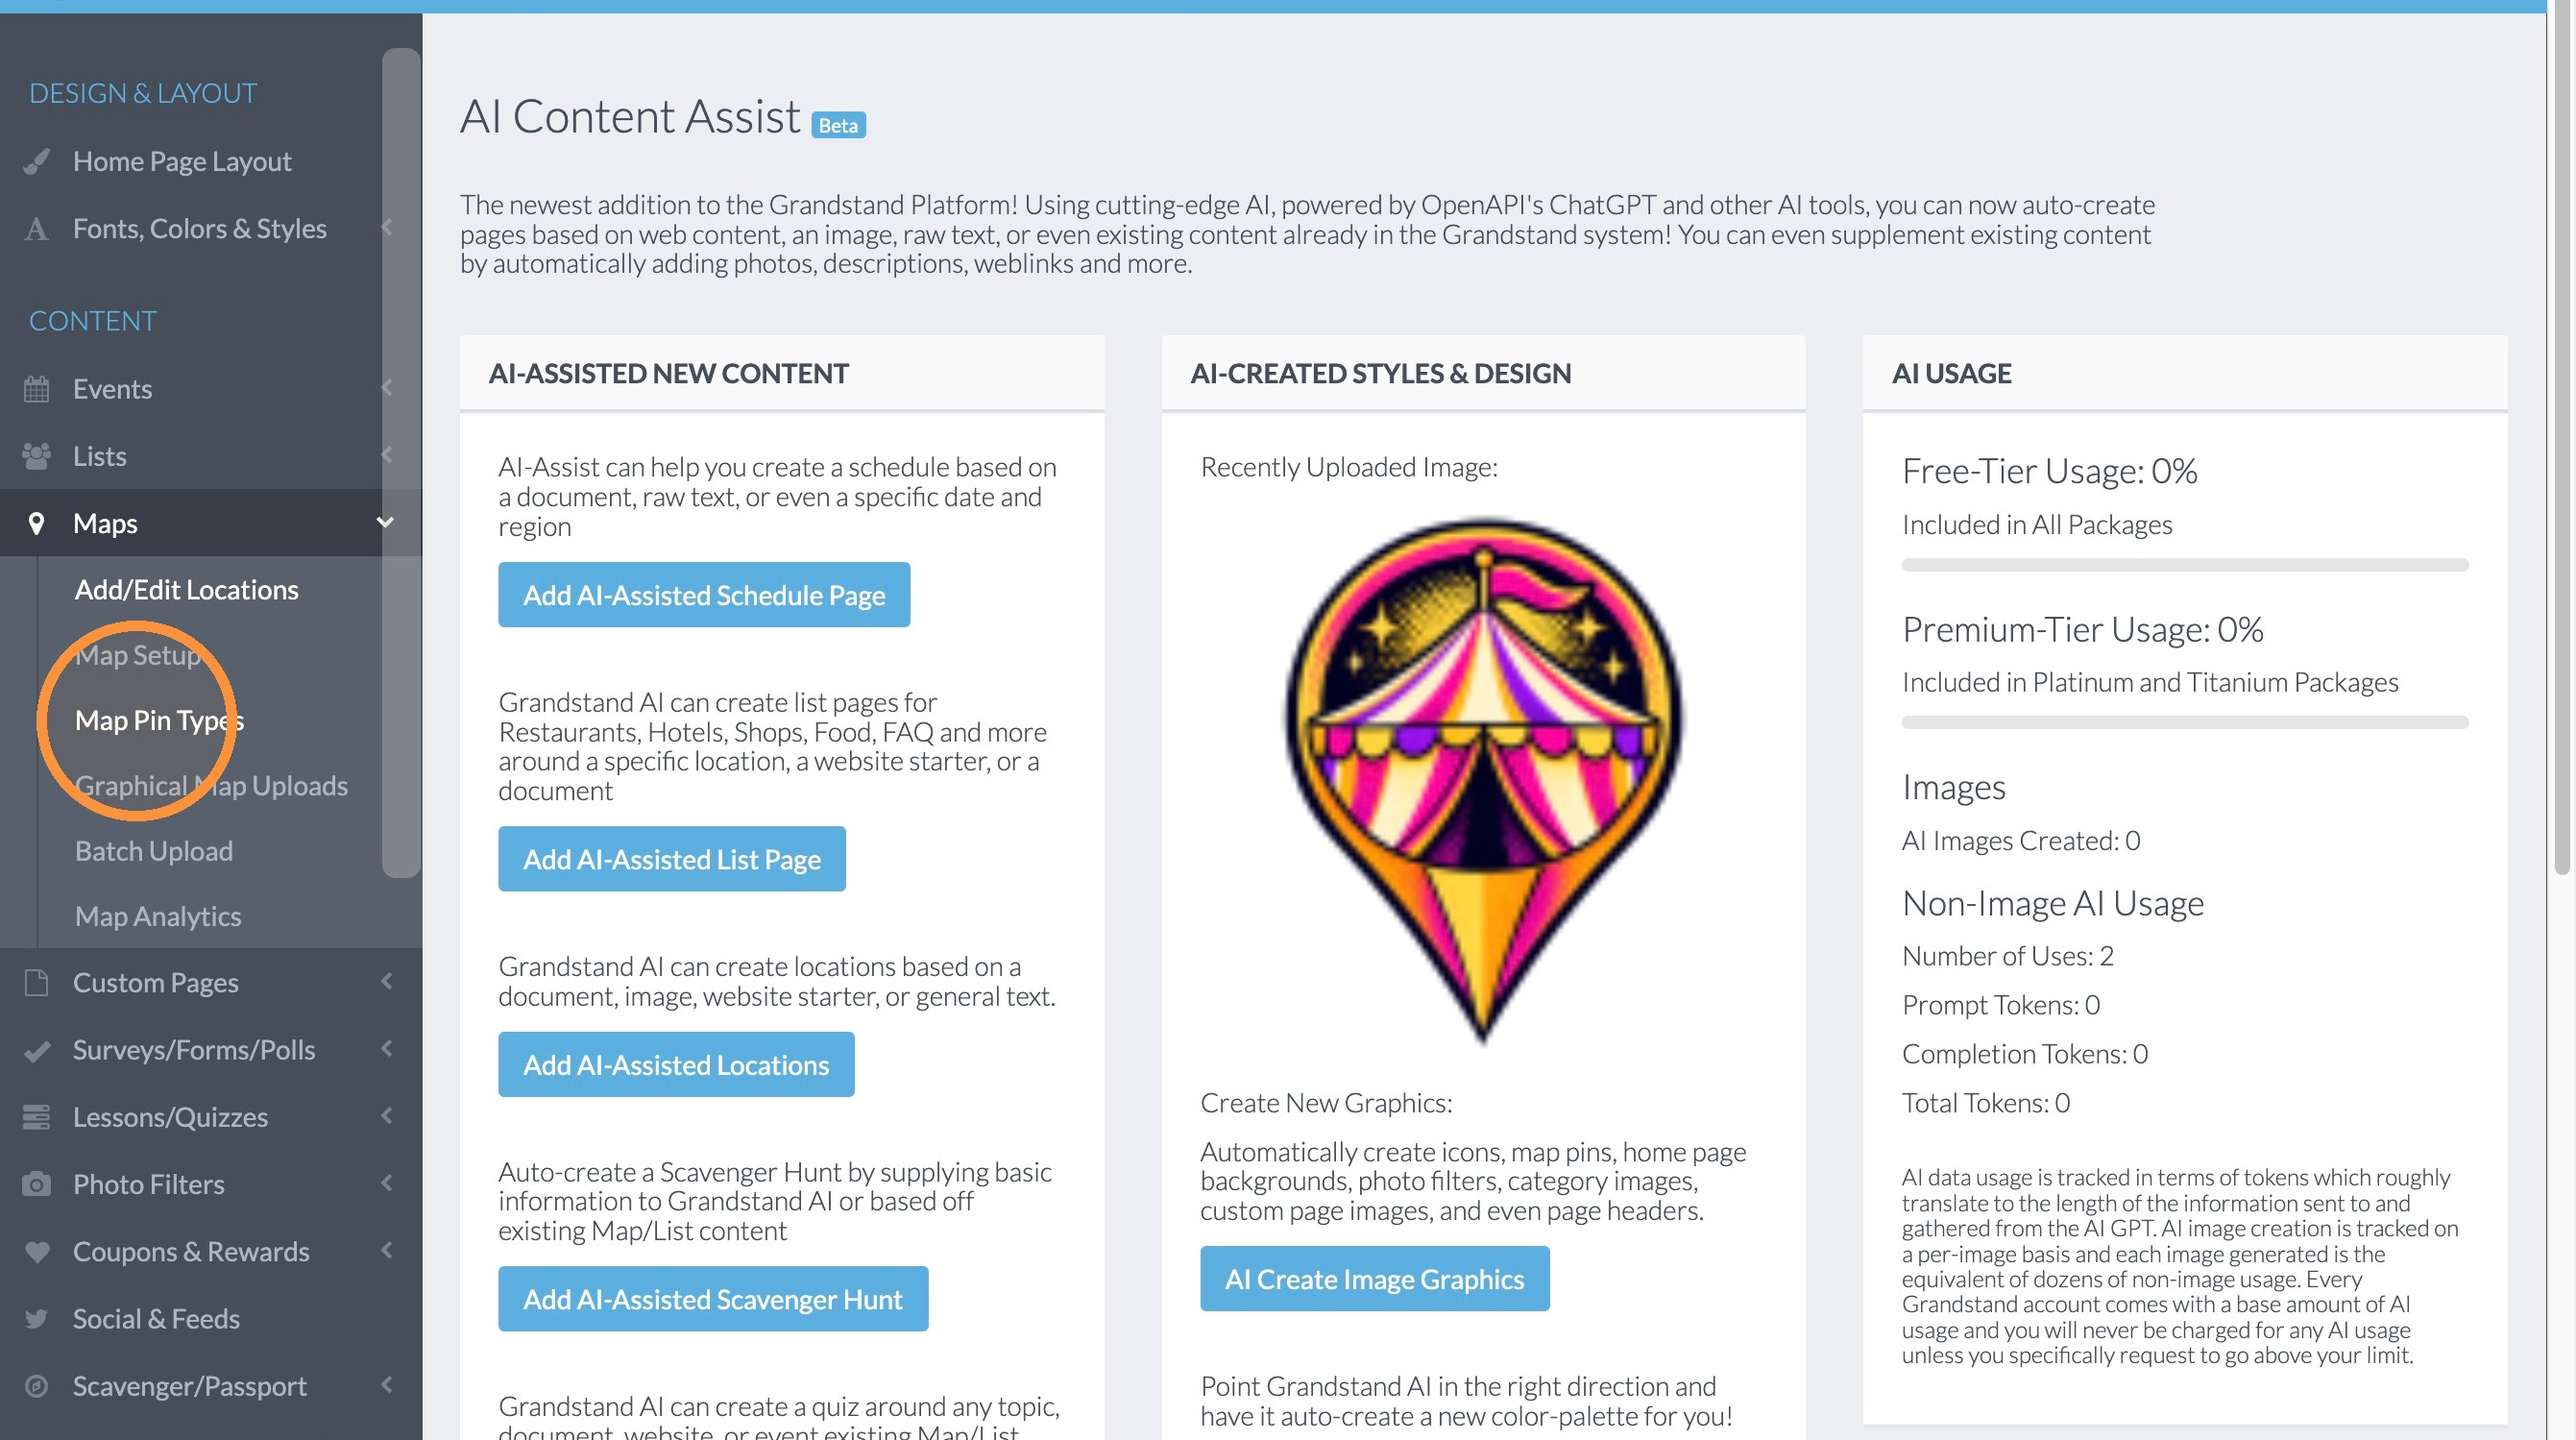
37. Click "Setup New Map Pin Type"
38. Enter the map pin type name.
39. Select "Choose Existing" to select the graphic you just created.
40. Select the festival tent graphic (the name of the graphic we just created).
41. Click "Save"
Publish Updates
42. Click "Update Locations In App"
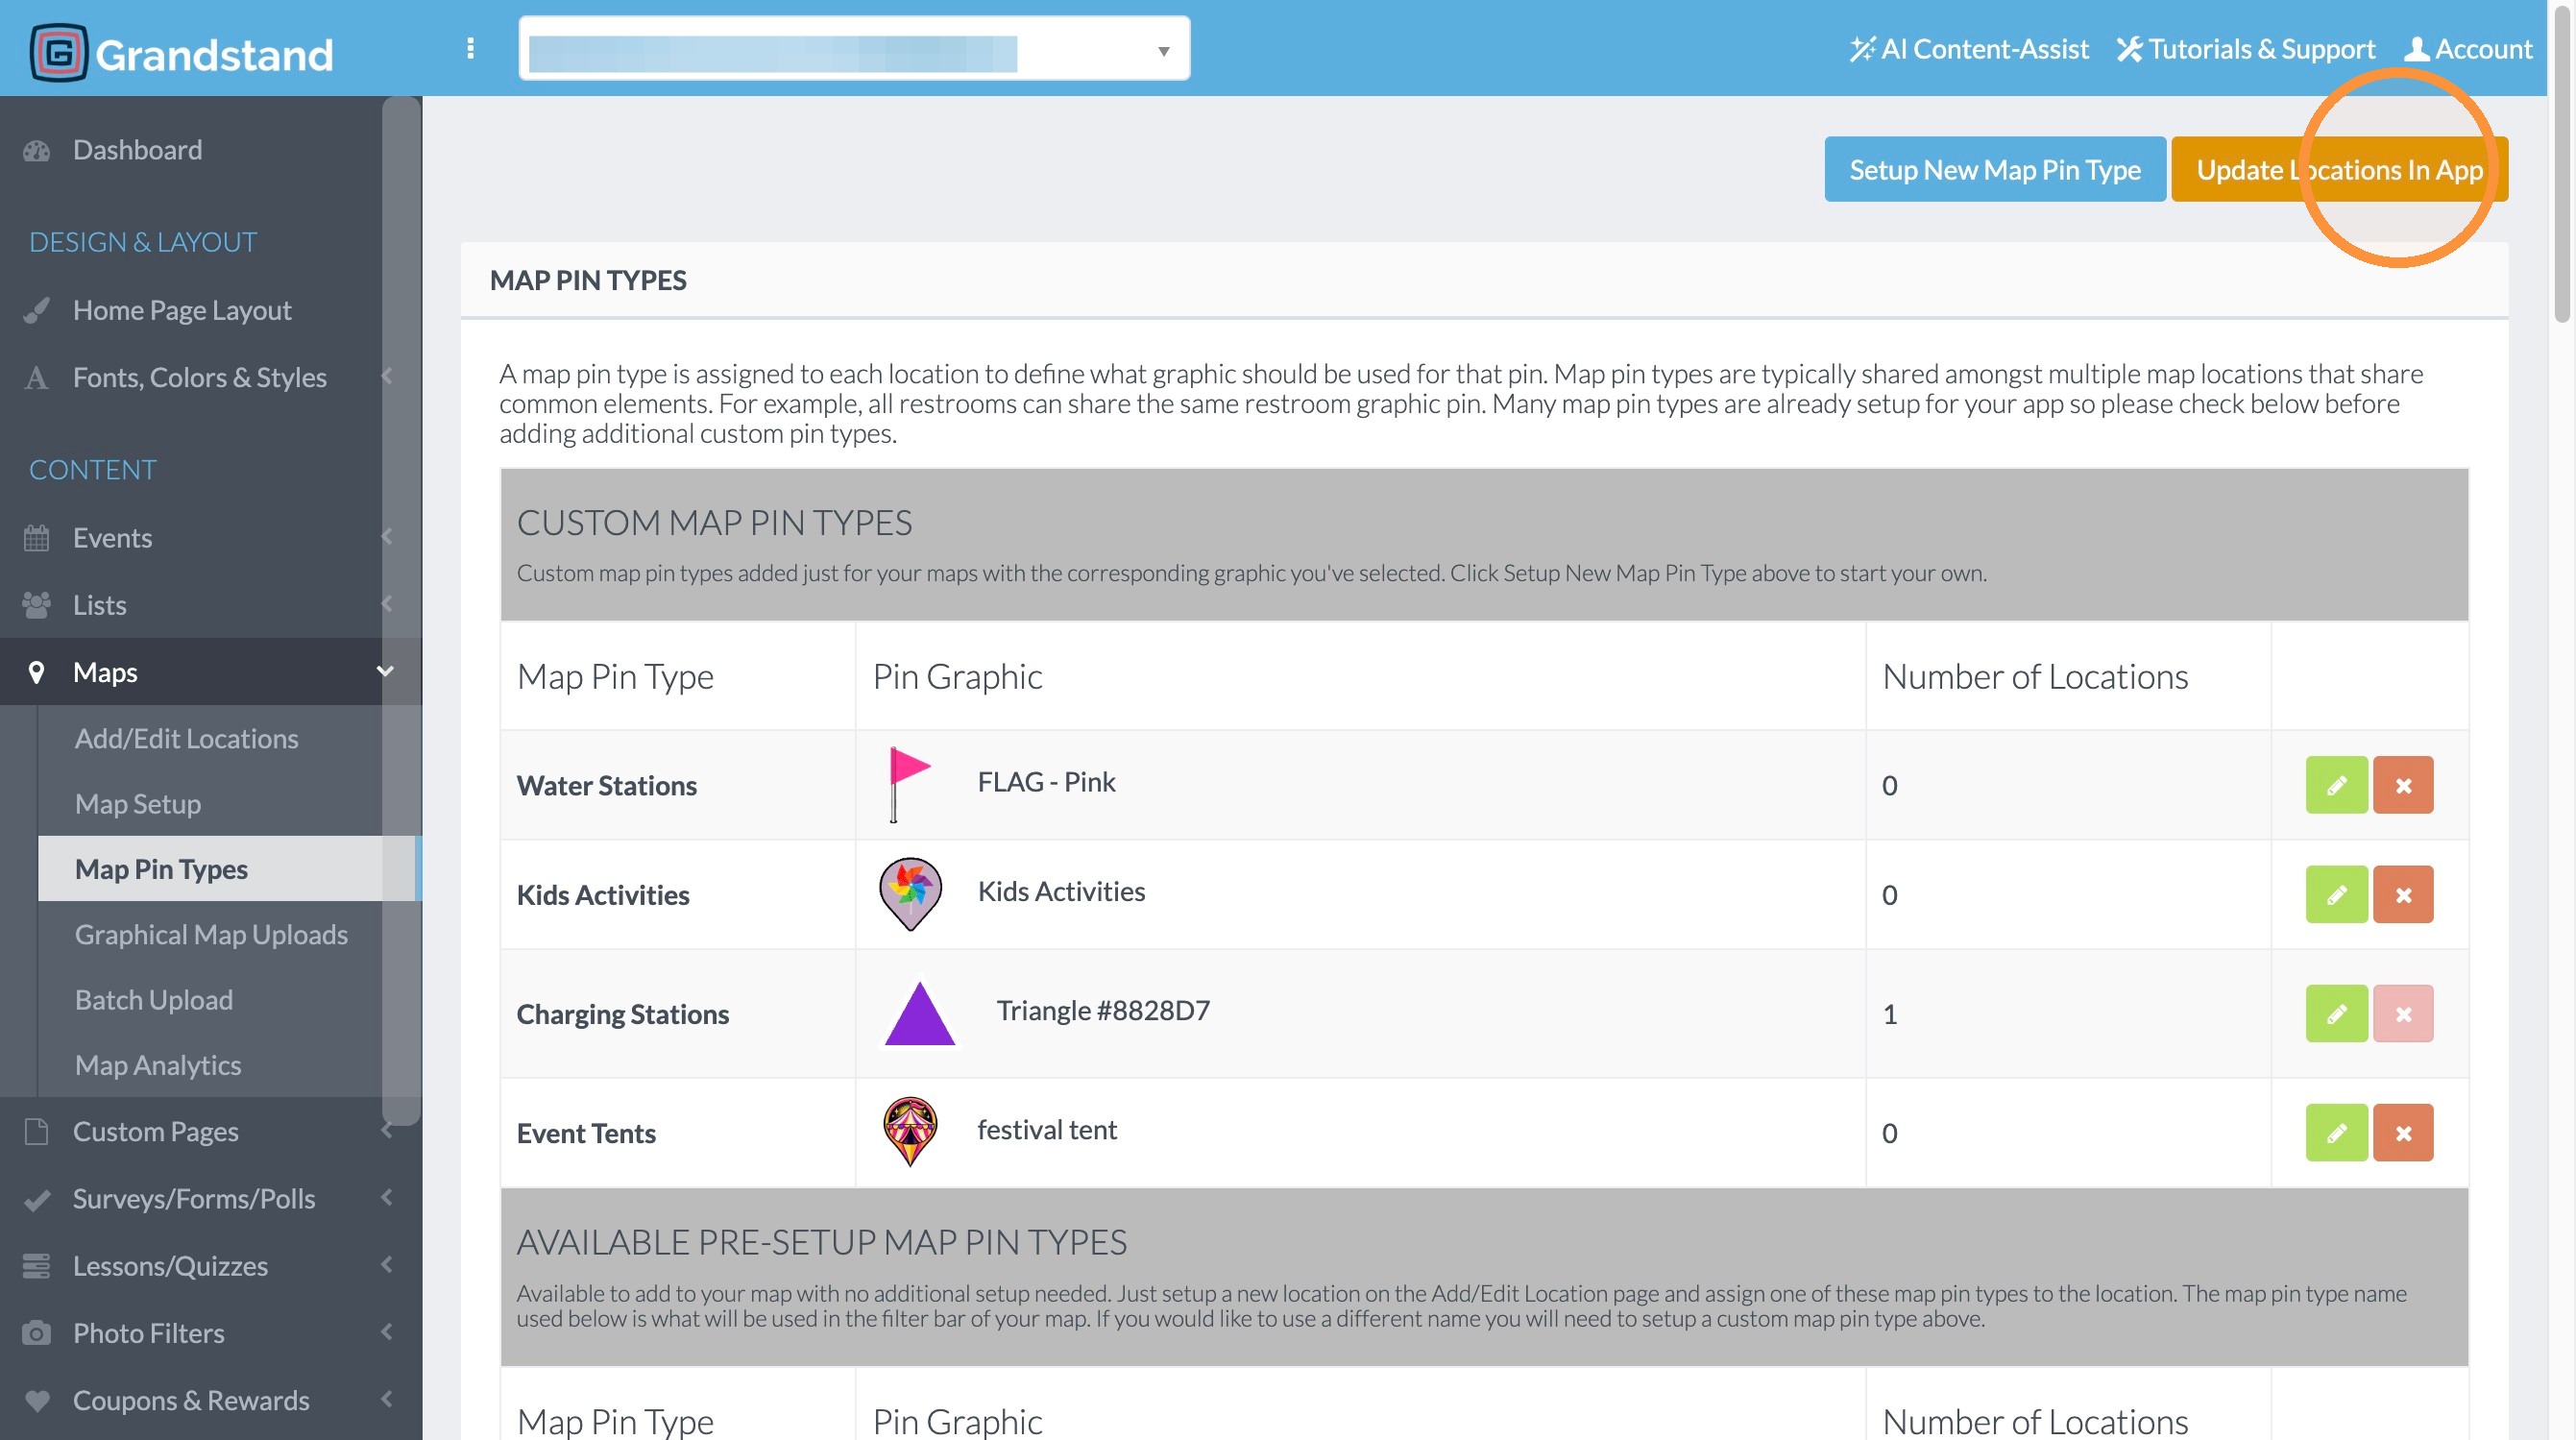
43. You can now continue to add locations to the map using these new map pin types!